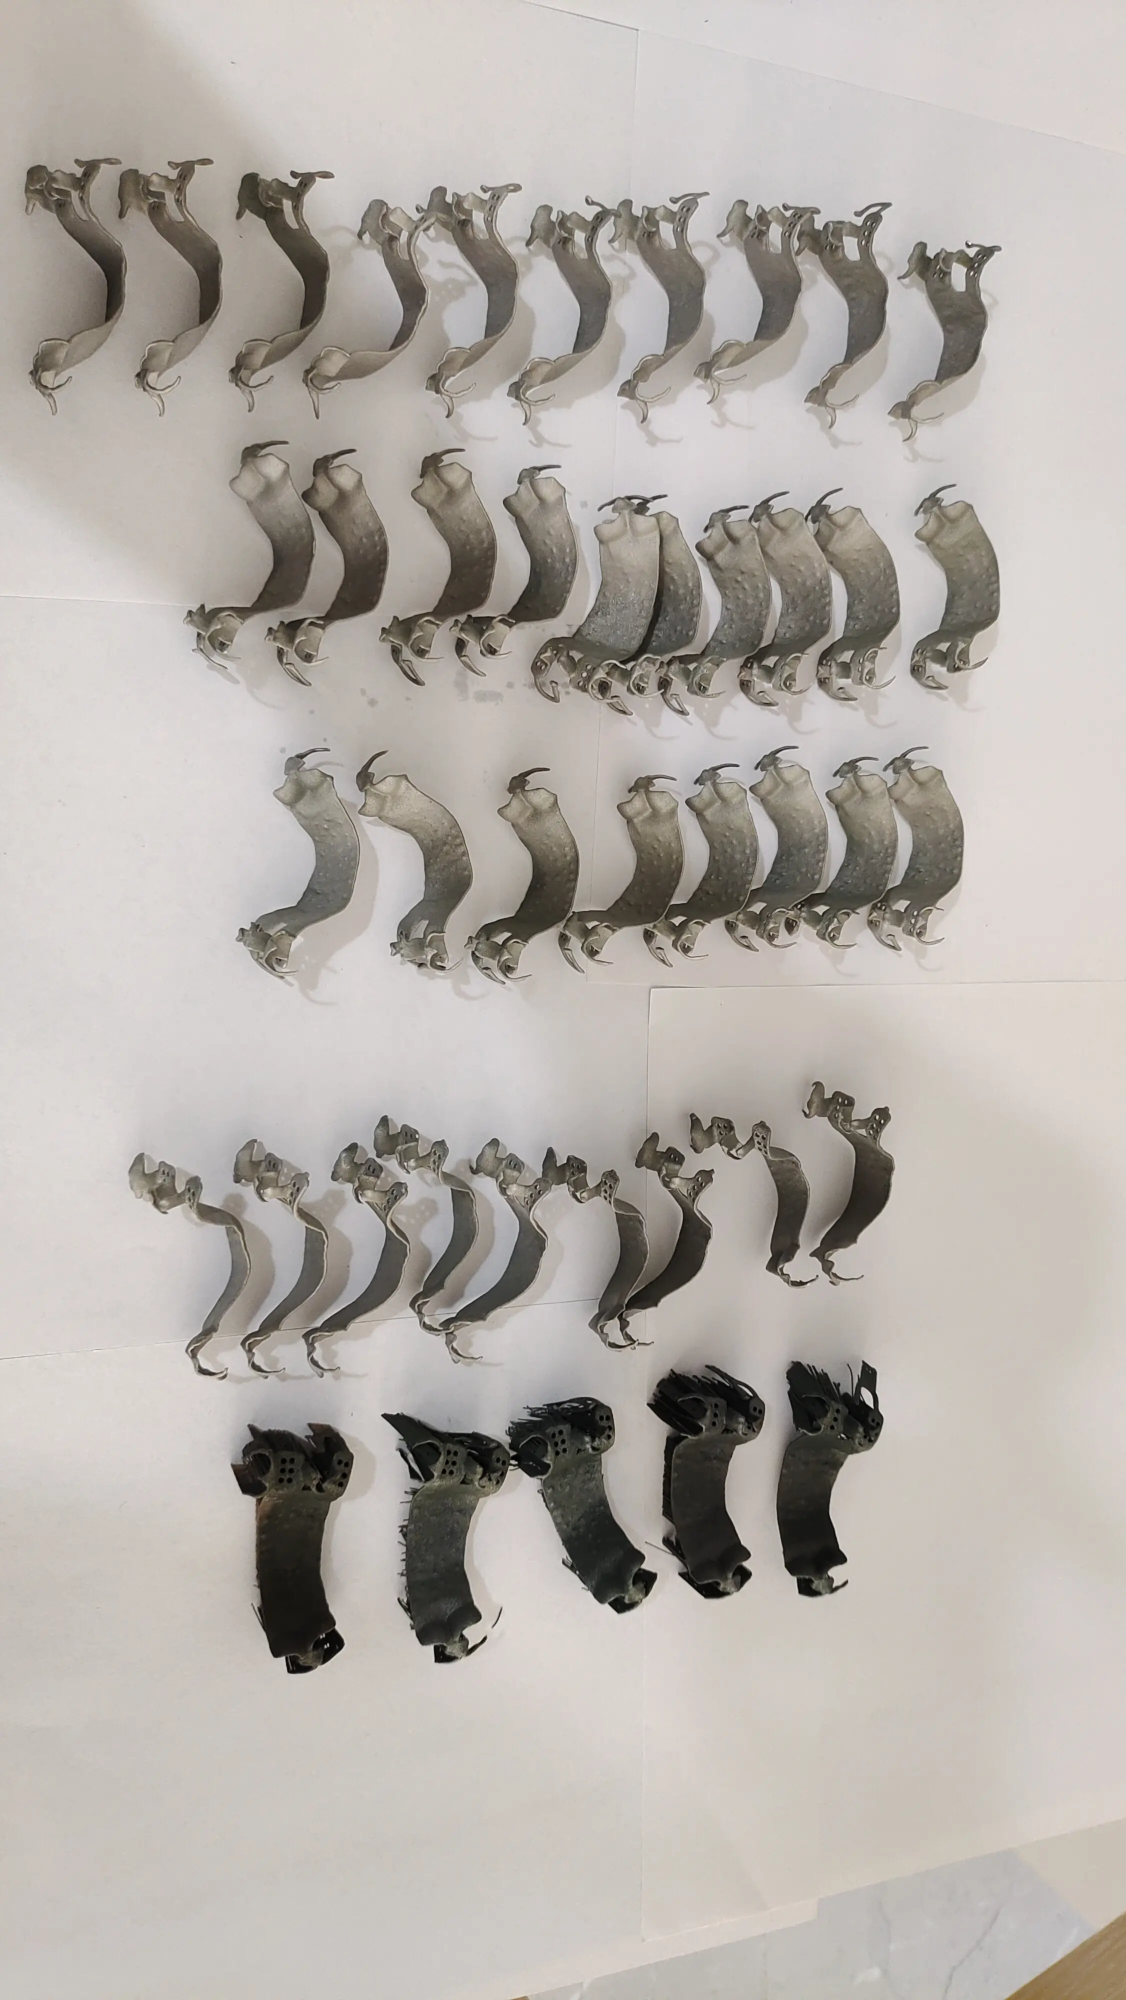
The revolution of fishing: Making custom baits with 3D printing molds
For fishing enthusiasts, the pursuit of perfect bait is eternal. What if you can create custom baits without relying on ready-made options, you can precisely adjust to target species or replicate elusive prey? Enter 3D printed bait mold– DIY innovation that successfully blends digital design with tangible fishing. By leveraging accessible 3D printing technology, anglers unlock unrivaled customization, cost efficiency and the potential for rapid prototyping. Let’s get a deeper look at how this revolution works.
Why 3D printing molds go beyond traditional methods
Traditionally, making bait molds involve labor-intensive engraving, silicone casting or CNC machining – technology requires expertise and expensive tools. 3D printing changes this by:
- Reduce costs: Single printing mold replaces expensive multi-step process; the cost of PLA material per gram.
- Speed and iteration: Design adjustment test cycle takes hours, not weeks. Testing new lip designs? Just adjust your CAD file.
- Precision Engineering: Implementing complex geometric shapes – rattling, segmented body or internal channels for surreal scales – Difficulties encountered with manual methods.
- Scalability: Repeat printing the same mold or creating variants without losing mass.
Your DIY Blueprint: Making 3D Printed Bait Molds
Step 1: Design like a professional
software: Start with CAD tools like Fusion 360 (free amateurs) or beginners’ Tinkercad. Key Design Principles:
- Draft corner: Add a 1-3° taper to the cavity wall for easier reduction.
- Align the pin: The holes of pins integrated in multi-part molds to ensure perfect registration.
- Ventilation channel: Include tiny ventilation holes (0.1-0.3mm) at the tail or joint to allow air to escape when poured into the resin.
- Sprues & Gates: Design a wide entrance to smooth the material flow.
Backline: Browse repositories like Thingiverse or Printables to get an open source bait template and modify it to your specifications.
Step 2: Material Important – Select Thin Wire
Not all filaments are subject to casting pressure or solvent. Best choice:
- Petg: Durable, chemical resistance, and easier to print than ABS. Ideal for epoxy baits.
- ASA/ABS: Higher heat and UV resistance for high volume casting, but a closed printer is required.
- Avoid PLA: Distort or degrade when exposed to heat in cured resin.
For industrial-grade applications that require longevity, we use Nylon (PA12) or resin-based prints (SLA/DLP)provide injection quality. Greglight’s SLM/SLS feature provides metal mold options for anglers who need thousands of actors.
Step 3: Printing Best Practices
- Layer height: 0.1–0.2mm, for smooth cavity.
- filling: 50–100% (solid filling amount minimizes flexibility).
- direction: Print the flat half of the mold downwards to avoid supporting in the cavity.
Need impeccable surface quality? Our SLM printers produce molds with <0.02mm precision and RA3.2μm finish.
Step 4: Perfect post-processing
- Grinding: Wet cavity with 400–1200 sandpaper to eliminate layer lines.
- seal: Coat with epoxy or XTC-3D to enhance mold and enhance release.
- Release agent: Be sure to apply spray (such as silicone) before casting.
Step 5: Cast your masterpiece
Popular bait materials:
- Epoxy resin: Crystal removal finish; add pigment or glitter.
- Polyurethane: Quick settings; ideal for rapid prototyping.
- Soft plastic: Recycled worms using PVC Plastisol.
process:
- Use adhesive clamp to fixture halfway.
- Mix the resin/pigment according to the instructions.
- Slowly through the hole of Puli.
- Treatment according to material specifications (e.g. 24 hours of epoxy).
- DE-MOLD, clips and polishes.
Troubleshooting Traps
- Stuck the bait?: Increase draft corners or use heavier release agents.
- Bubble casting?: Embed the vent hole deeper or pressure cooker treatment resin.
- Mold warp?: Switch to ASA/PETG and avoid environmental drafts during printing.
Conclusion: From the number to the trophy
3D printed bait mold democratizes tackle customization and turns the garage into a micro thing. Whether you are copying a retro bait or an engineered biomimicking masterpiece, once the manufacturer has unique synergy between CAD and 3D printing. For anglers seeking extreme durability or complex metal molds, Great Ensure aerospace-level results. Our SLM 3D printers and one-stop post-processing, from proof-of-concept resin to production-grade stainless steel tools (more and more).
Innovation. Print. fish. repeat.
FAQ: Open 3D printed bait mold
Q: Can I print a mold directly for use with soft plastic baits?
A: Yes, but use high temperature wires such as ABS. Soft plastic is poured in at 300–350°F; PET may deform. Consider designing the silicone intermediate casting in the mold (making the silicone mold from the printed host).
Q: The durability of resin 3D printing molds?
A: PETG/ASA molds can withstand 20-50 cycles with proper care. Post-treatment seal is crucial! For thousands of actors, please request Greatlight’s metal SLS molds, which are stainless steel or tool steel.
Q: Do I need a $1,000 printer to boot?
Answer: No! An entry-level FDM printer ($200–$500) can be used with PETG. Priority is given to heated beds and decent extruders.
Q: How to add weight/rattle to the bait?
A: The design cavity in the mold halves to hold lead wire or BBS. For rattle, add nail slots between segments.
Q: Can I sell bait made from 3D printing molds?
Answer: Absolute. Make sure your design is original (or with proper permission). Greatlight assists entrepreneurs with scalable production tools and manufacturing compliance.
Q: Why choose professional services over home printing?
A: Regarding complex details (such as g or scales at 0.1mm resolution), industrial DLP/SLA printer Excel. Greatlight offers nanocoated molds with EDM grade finishes with tolerances of ±0.01mm, ideal for perfect counting highlights or texture baits.
Is there a bait idea? Prototype or leverage Greglight’s full spectrum rapid prototyping service–From nylon verification to titanium marine-grade tools, available for performance fishing. Customize your project [via our platform] today!


