The ultimate craftsman’s guide to 3D printed Bane’s iconic facial mask
The masks in the novel are rarely immediately identified and intimidated The Dark Knight Rises. Its complex, muscular design and powerful presence make it a coveted work by actors and collectors. Until now, realizing true authenticity often seemed to be limited to expensive prop shops or complex carving techniques. 3D printing has revolutionized this process, allowing creating screen-accurate Bane copy to go straight to your workshop. However, navigating in this project requires careful planning, technical knowledge and completion skills. Let’s break down how to conquer the beasts.
Digital Basics: Finding the Perfect File
Your journey starts with pixels instead of plastic. Looking for high-quality, accurate 3D models is Not negotiable. Looking for captured files:
- Complex anatomy: The mask has different muscle groups, forming the jaw, bone, eyebrows and tube. Avoid overly simple models.
- Topology and details: Clean geometry ensures smoother printing and easier completion. High resolution details such as textures and smaller outlines are crucial to realism.
- Size and Scaling: Consider your head size and intended use (displayed with wearable). Most models require scaling – measure the head circumference and compare it to the size of the model. Remember the impact of scaling all Size proportional. Slicing software provides scaling tools.
- Source and License: Make sure you have the right to download, print and modify files as needed. A reputable model sharing platform is your best choice.
hint: Search like model tags "The Dark Knight of Bane Mask rises," "Connectable," "High details," "The game is ready." Experienced creators often optimize files specifically for FDM or resin printing.
Choose your Arsenal: Printing Dilemma – FDM and Resin
Printing methods significantly affect aesthetics, durability, and post-processing efforts. Choose wisely!
| Printing method | Material selection | Advantages | shortcoming | The best |
|---|---|---|---|---|
| FDM (Filament) | PLA, PETG, ABS, Nylon | ✓ Strong structural integrity ✓Large format function ✓Economic materials |
✗Visible layer line ✗Lower details resolution ✗Requires significant post-processing |
Larger masks require good structural integrity The construction of budget awareness |
| Resin (SLA/DLP/LCD) | Standard resin, hard resin, abs-like resin | ✓On top surface details ✓Simple initial completion ✓ Excellent feature capture ✓ Less visible layer lines |
✗More fragile by default ✗Small build volume ✗Higher material costs ✗Requires careful chemical treatment |
Highly detailed screen refined mask Projects with complex designs Role Playing Apps |
| Professional Services | Various metals (aluminum, steel, titanium) | ✓High structural integrity ✓ Suitable for special use cases ✓Premium durable finish |
✗More cost ✗Long delivery time |
Professional Applications Permanent device High impact environment |
Notes on FDM printing:
- Layer height: As low as the printer allows (0.12mm or 0.08mm). This reduces visible layer lines.
- support: Basic! Tree support is usually used for easier removal. Pay close attention to the danglings such as the chin, the nasal cavity and the bottom surface of the tube.
- filling: 15-25% is usually enough to achieve strength. The solid filling of the highest layer (5 layers) helps with sanding. Increased to 40%+ in terms of role-playing intensity.
- direction: Vertical printing (chin down or up) minimizes support on the surface of the touch surface, but may require a raft to stabilize. Laying flat means more support, but may result in less overall printing time. Test the direction of a specific model.
Notes on resin printing:
- support: Touch the support (medium density) is key. They are easier to remove, but are crucial for successful prints. A large amount of support is supported only by gravity points.
- direction: Tilt the mask to minimize large flat surfaces facing directly to the build plate (such as forehead). This reduces suction, potential shape distortion and support markings in key areas. Initially point the subtle tube upwards. The thick recessed portion saves resin, but requires drainage holes, increasing the complexity of cleaning and risking unfixed resin inside. Solids are generally safer for beginners.
- Expose settings: calibration! Overexposure can lead to vulnerability and difficulty in eliminating support. Inadequate exposure risk Print failure. Pay close attention to the recommendations of resin manufacturers.
The Art of Post-processing: From Printed Objects to Props Masterpieces
this It’s where your mask changes from plastic to legend. Budget a lot of time here.
- Supports removal and grinding:
- FDM: Use a flush cutting machine, pliers and needle files for a lot of support. Then start polishing the legend: start rough (120-220 particle size) to the horizontal layer line and flatten the support block. The wet surface is carried out through the wet sand (320, 400, 600, 800, maybe 1000+) of wet sand. Please pay extra attention to the curved areas and seams.
- Resin: Cut off the support carefully. Grinding starts with finer grit (probably 240 or 320 as the starting point) to remove the nib and light lines. A similar progress is made through higher gravel. Resin dust requires excellent ventilation and N95 mask!
- Sealing and starting:
- FDM seal (optional but recommended): Use the Bondo Spot Putty/XTC-3D epoxy coated with fill primer or thin application fill layer. The sand is smooth again. Repeat until satisfied. This step defines the final quality of completion.
- Resin Sealing: Usually not required, but shallow sand with 400 grains, followed by high building fills to fix smaller imperfections. The sand is smooth.
- Final prime number: Use high-quality automotive-grade fill primers. Apply a thin coat into a thin coat and gently matte between coats (600+). Designed to maintain a smooth, uniform, non-textured surface. This creates the perfect canvas for painting.
- Painting: Achieve the iconic dystopian look:
- Primer: Black or dark grey. Spray evenly for full coverage. Let it be completely dry.
- Main colors: The classic Bane mask is worn or dark metallic silver. Apply light, even coat. Avoid numerous applications; metal effects with thinner layers are most effective. Alternative explanations (e.g. comics, video games) may use blue, bronze, etc.
- Weathered (secret sauce):
- Dry brush: Use lighter metallic silver or even chrome on the high points and edges, with little paint.
- washing: Black and/or brown acrylic thin acrylic paint can be painted in large quantities with water or thin paint. Freely apply for embedded areas, seams, around tubes and dirty areas. Wipe off excess immediately with a damp cloth, or lift the sponge from the tall parts. This highlights the depth and adds dirt.
- Scratches and scratches: Carefully use the edges of small flat brushes, a fine-tuned brush or sponge to add tiny debris and scratches to reveal the dark primer below. Focus on edges and areas that will naturally wear out.
- Realistic combat destruction (brave): Create deeper chisels or cracks with DREMEL tools with small burrs forward Final start/paint. After that, carefully copy the damaged metal edges with paint techniques.
- Add hardware and belts: For wearable, use strong epoxy adhesive to securely secure the powerful elastic straps, buckles or Velcro points to the inner edges. Ensure uniform and comfortable tension. For display, consider custom brackets or wall-mounted mounts.
Why post-processing expertise makes everything different: In skilled surface preparation and artistic weathering, the metal appearance that achieves signature wear depends on. This labor-intensive process requires precise equipment and consistent technology – professional completion of services, such as services provided. Great It can really elevate your work beyond standard home prints. Our finishing experts accurately mask sand, seal and finish onto near-hairless surfaces, ready for advanced coating applications.
Conclusion: Release the Beast
3D printing of the Bane’s mask is a very meaningful project that blends technology with traditional Propaking Artistry. It democratized opportunities that once were props in the field of experts. Although the journey requires a significant investment in time, materials and patience (especially during the demanding post-processing phase), the end result is a dynamic statement.
From procuring perfect digital files to navigating the complexity of FDM or resin printing, the initial steps set the basis. But in reality, it is in the slightest extent of the original plastic beyond Bane’s obvious range in meticulous polishing, primer, painting, precise processing and delicate weathering. Whether you solve every step by yourself or with expert rapid prototyping and such Great For the critical stage, your commitment will produce a mask of shocking fear or become the core of your collection.
FAQ: Answer your Bane mask printing query
- Is it cheap to 3D printing a bane mask or buy a replica?
- print: Material costs (fiber/resin + paint/supplies) are generally much lower than high-quality precast replicas. However, it requires a lot of time investment and equipment ownership/access. If you don’t own a printer cost factor.
- replica: Purchase provides instant gratification and professional results, but at a higher price (quality version of 200-$600+ $600+ $30-$30-$100+ $100+ material depending on the printing method and finish level). Your transaction cost time.
- Which plastic is best for role-playing bane mask?
- FDM: PETG is the best position – good strength, impact resistance (important to formulas!), flexibility and easier sand than PLA. Nylon is even harder to print and finish.
- Resin: "Similar to abdominal muscles" or "Tough / durable" Compared with standard brittle resins, the resin has the necessary flexibility and impact resistance. A must-have for role-playing.
- Professional: To achieve ultimate role-playing durability and thermal comfort, aluminum is king-natural heat conductivity, non-Confucian for better hygiene, and extremely elastic. Great Specializes in such high strength, lightweight metal prototypes.
- How to make facial mask comfortable?
- filling: Line internal contact points (forehead, cheeks), with thin, dense interior foam or adhesive-backed EVA foam strips. Make sure there is no visible glue that can reach the painted exterior by cleaning.
- ventilation: Drilling smaller inconspicuous holes near the nose/mouth area can significantly improve airflow without changing the appearance. Place the holes carefully for minimal visibility.
- Safe and fit: Use a wide, non-tight elastic for the rear strap for connecting to the small D-ring (inside ultra-high + epoxy reinforced) and a comfortable buckle. Don’t rely on Velcro alone. Test fit is often performed during belt attachment.
- Keep capturing! How can I make them stronger?
- Smart printing: Oriental tubes are to the greatest extent along their length (usually perpendicular).
- strengthen: Drill tiny holes through the bottom of the tube to enter the mask. Insert thin metal pins or paper clips cut to lengths and apply epoxy inside to maximize enhancement.
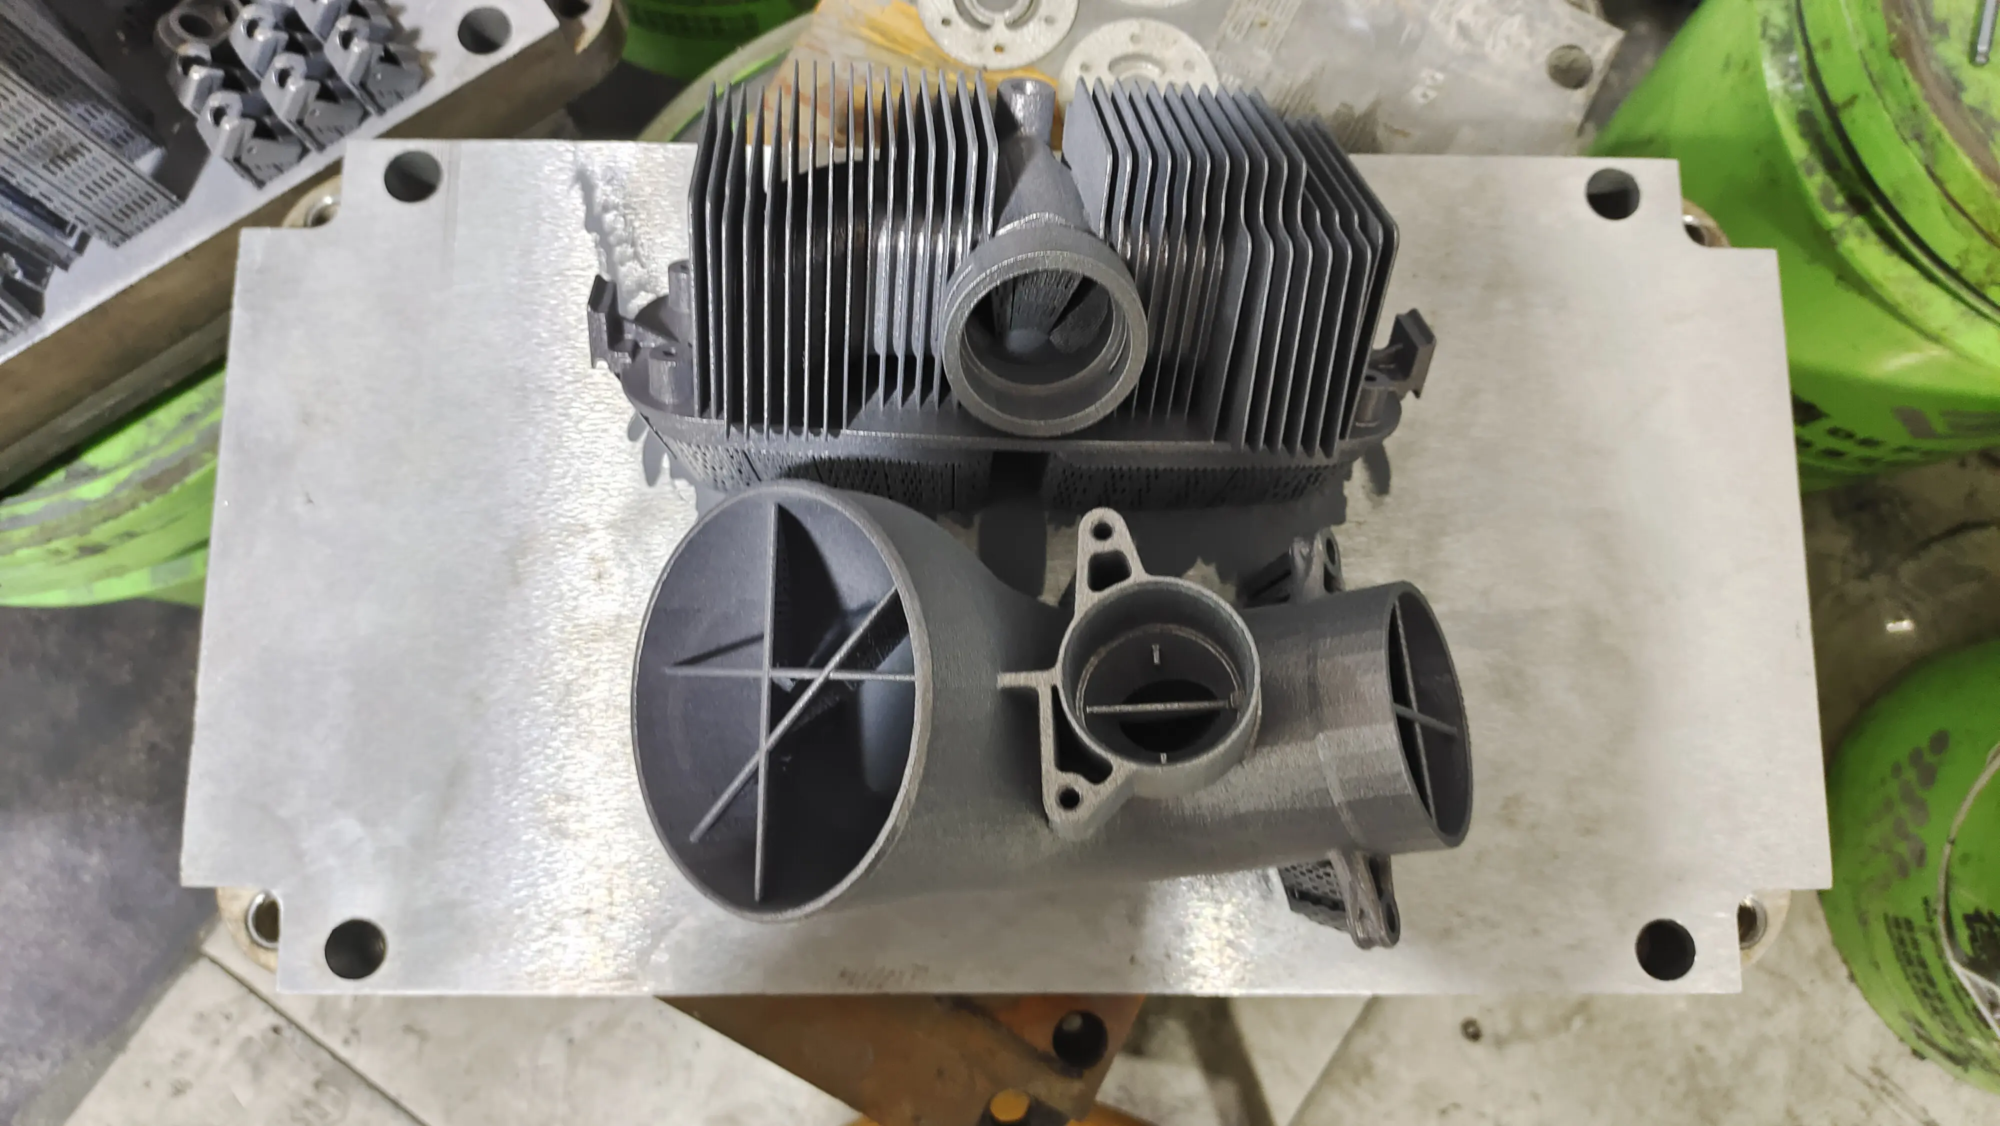
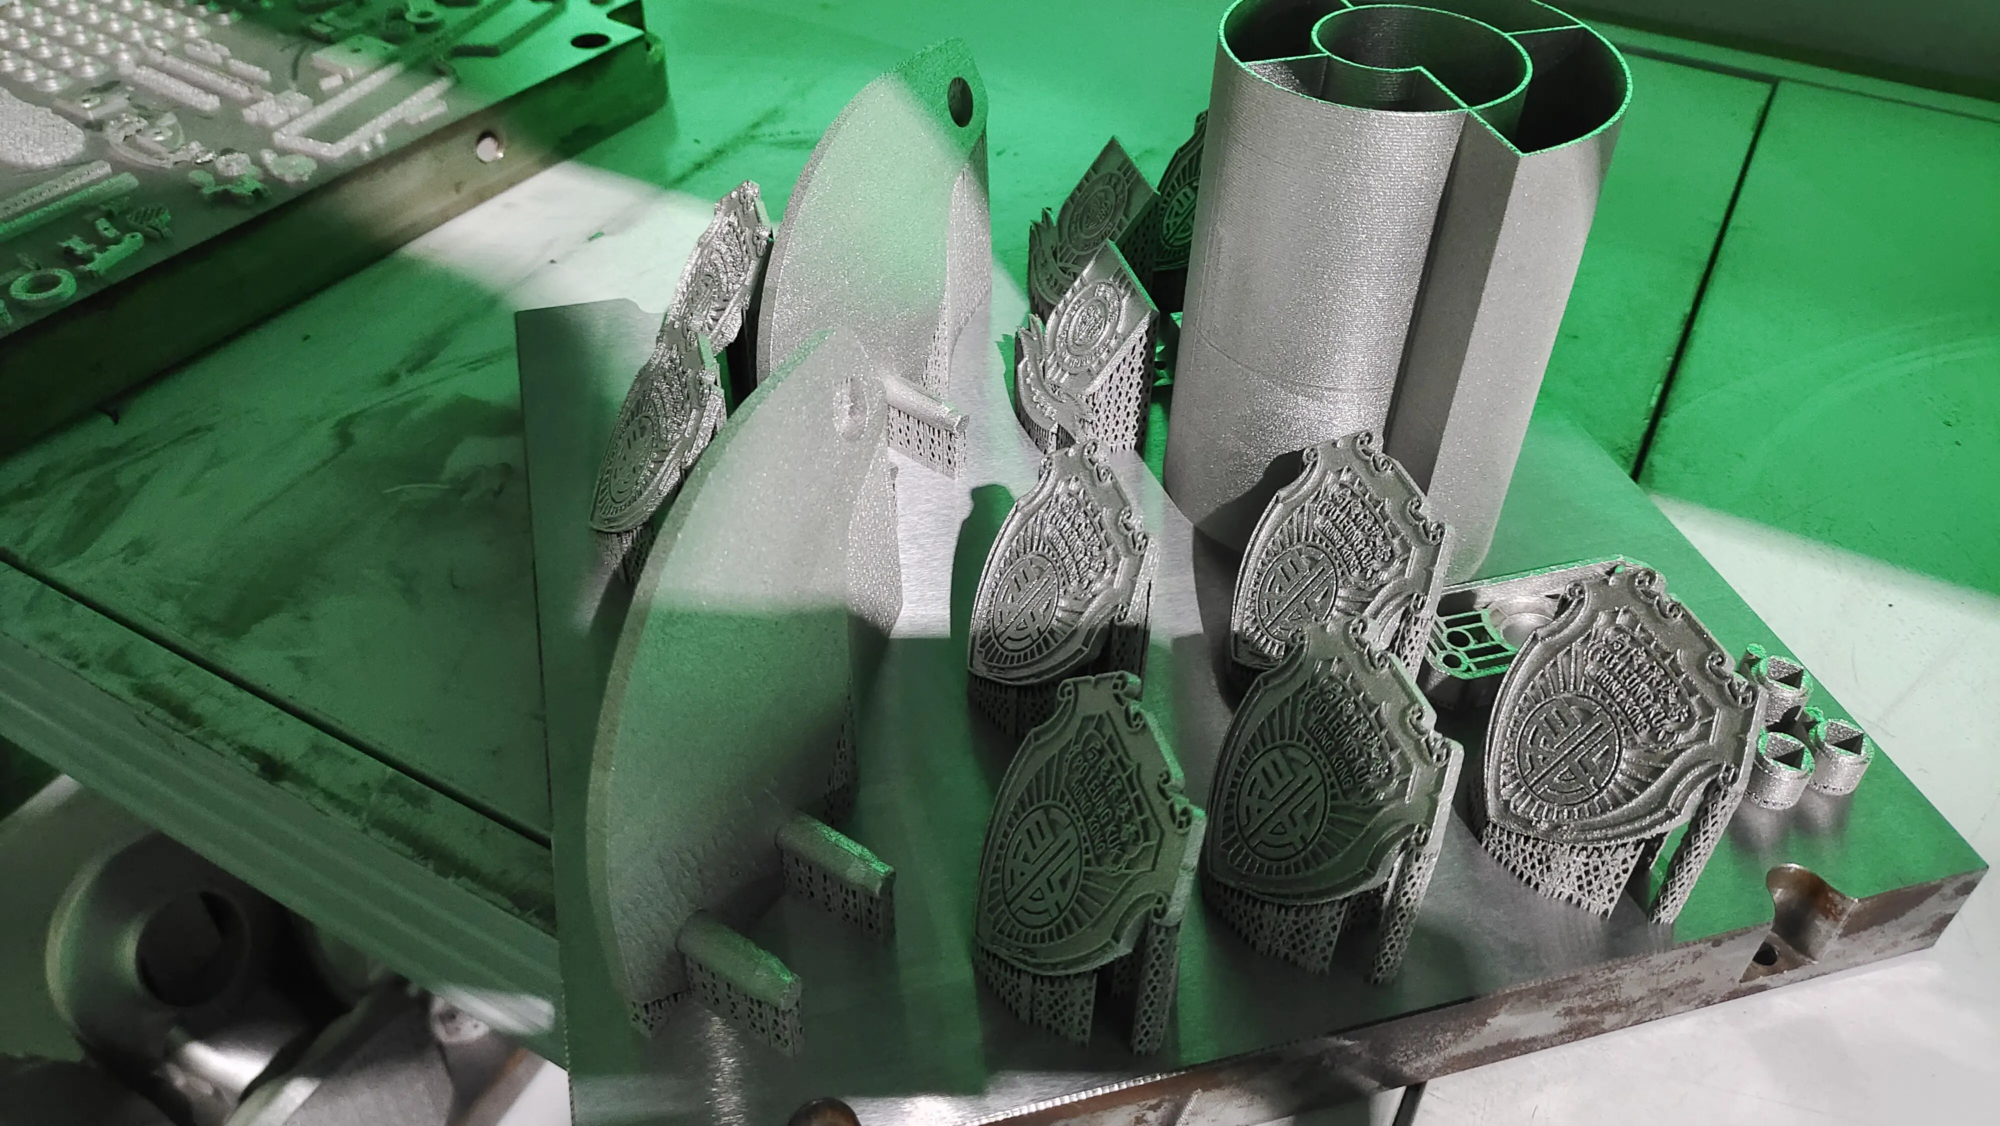
- Material selection: For FDM, use PETG, nylon or high impact PLA+. For resin, use elasticity "Tough" Variants. Metals (such as Alsi10mg) are inherently strong. GreatThe SLM prints produce a seamless metal mask with integrated tubes that won’t capture.
- Can I print and finish professionally?
- Absolutely! Work with professional rapid prototyping services Great Ideal for complex, high-risk projects:
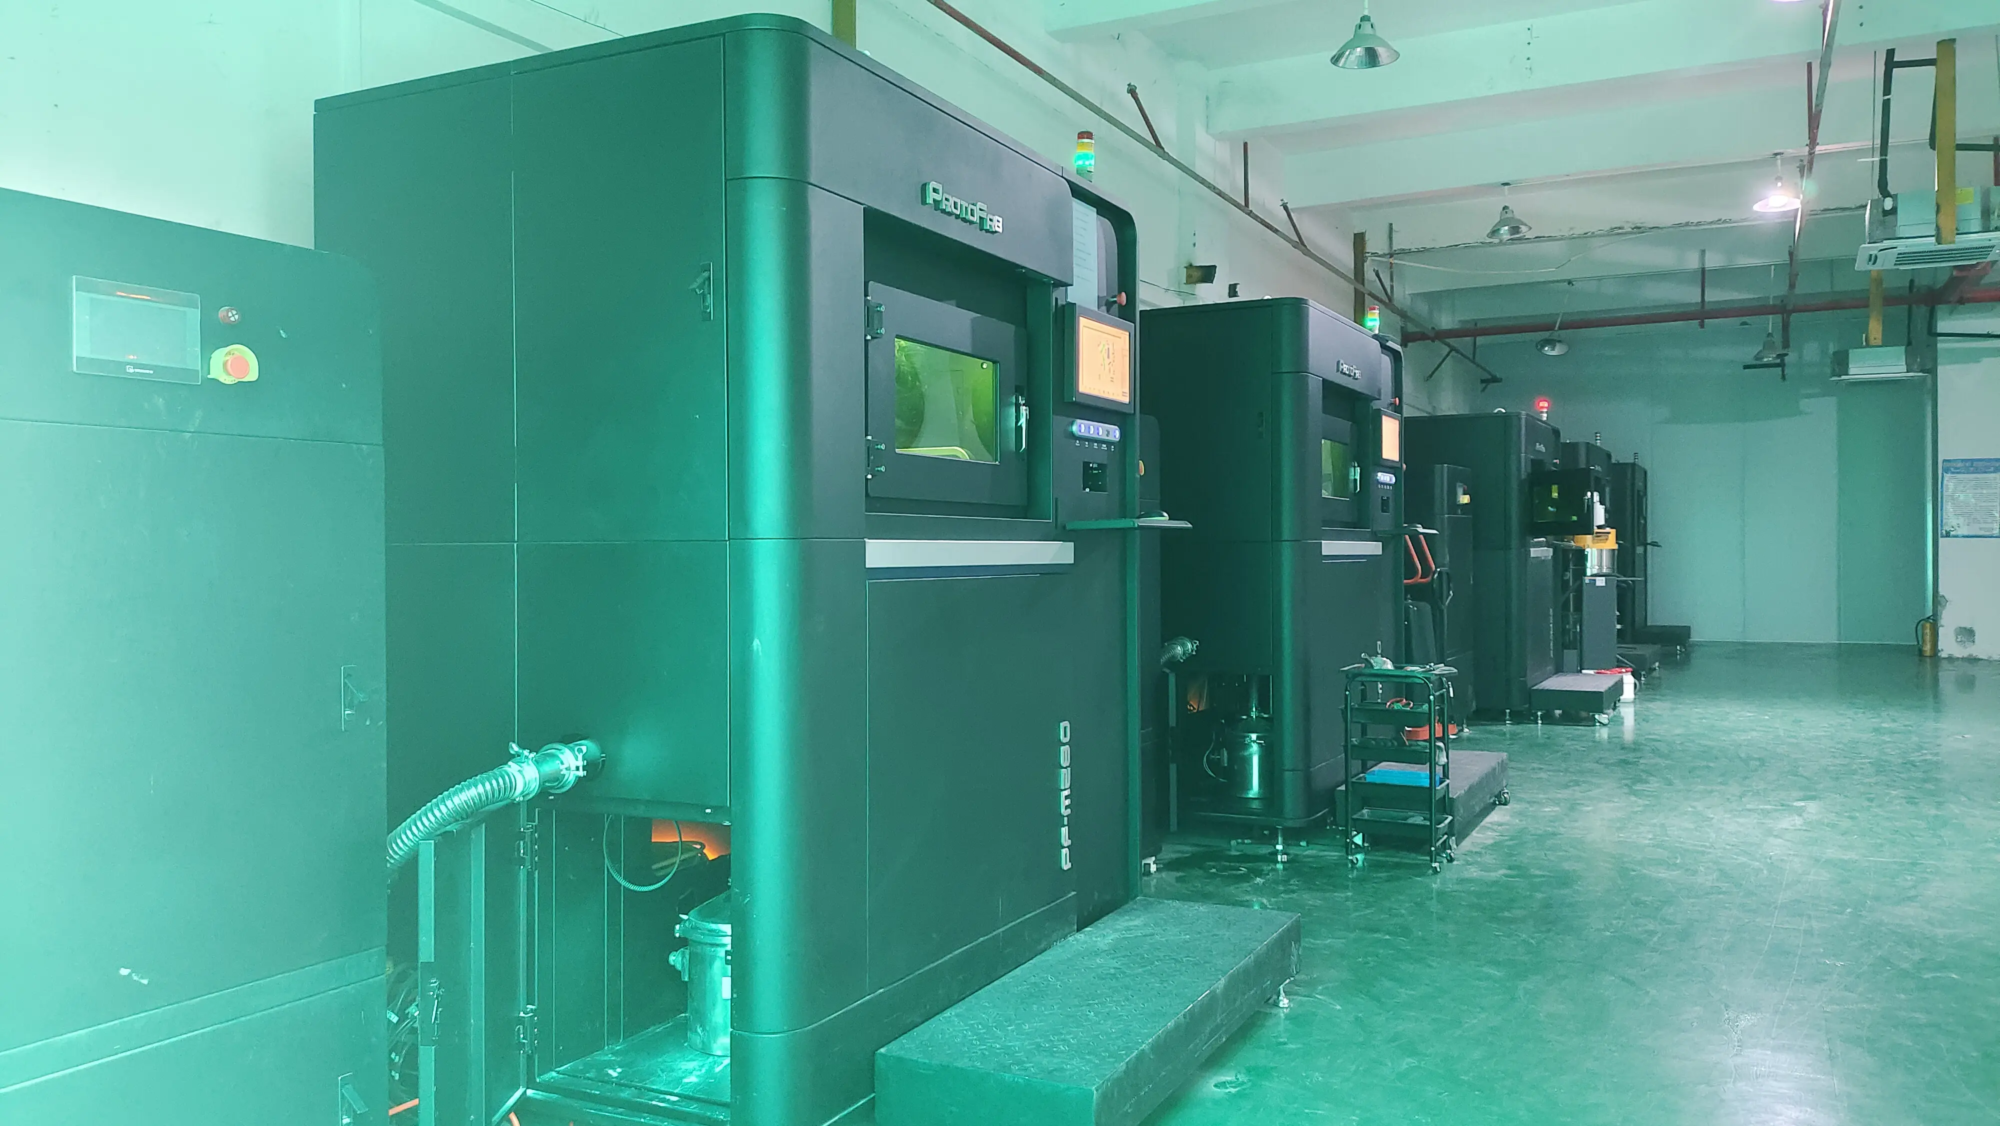
- Expertise: Use an industrial-grade SLM 3D printer to seamlessly navigate complex geometries such as the curves and tubes of the mask for a powerful metal construction.
- Material: Get high-quality materials such as corrosion-resistant aluminum, stainless steel or high-performance polymers.
- Completed quality: Achieve museum-grade surfaces and precise painting/weathering with standard home settings.
- One-stop solution: Handling everything from file preparation to final sorting saves huge time and hassle.
- Strength and durability: Metal SLM prints offer unparalleled durability for role-playing or permanent displays.
- Absolutely! Work with professional rapid prototyping services Great Ideal for complex, high-risk projects:


