Making an Immersive World: The Ultimate Guide to 3D Printing Dungeon Tiles
Desktop RPGs Dungeons and Dragons Growing up on imagination, but physical terrain improves the experience. Hand-made tiles can be time-consuming, while commercial sets are often expensive or lack customization. Input 3D Printing – A revolutionary tool for creating customized, highly detailed dungeon tiles suitable for any campaign setup. This guide delves into everything you need to know for your own terrain building adventure.
Why 3D Print Your Dungeon Tiles?
- Unrivaled customization: Need a temple filled with lava, a cold cave or a ruin of elves? Design or download models that exactly match the aesthetics of the campaign, which are rarely offered by pre-made settings.
- Cost-effective: After the initial printer investment, it was much cheaper to print each piece of tiles by yourself than buying high-end commercial terrain. You only print what you need.
- Creative Control: Fine-tuning details, proportions, textures, and even combine unique features like traps, magnetic connectors, or LED light inserts.
- Community and Resources: There is a huge library of free and paid models (Myminifactory, Thingiverse, Patreon creators) – you don’t need to be a 3D modeling expert to get started.
- Scalability and modularity: Gradually build your collection. Print the core modular kit (floor, wall, door) as per the adventure needs and expand with featured fragments.
- A sense of accomplishment: Holding the physical terrain you create adds great satisfaction to game nights.
Choose your Arsenal: Printers and Materials
The basis of large tiles is to choose the right technology and filaments/resin:
- FDM (Function Deposition Modeling – Film Printer):
- Material: PLA (most popular, easy to print, width range, biodegradable), PETG (more durable, slightly flexible, heat/chemical resistant), ABS (durable but requires ventilation/heating chamber).
- advantage: Affordable printer and filament, suitable for base/larger tile strength parts, possible large build volumes.
- shortcoming: Layer lines need to be polished/filled to smooth terrain; sophisticated details may be softer than resin. Best for dungeon floors, large rock formations, simpler walls. Calibration is the key to quality.
- Resin (SLA/DLP/LCD printer):
- Material: Standard resin (fine details, brittle), ABS-like resin (more durable, flexible), sturdy/durable resin (impact resistant), washable resin (easier cleaning).
- advantage: Excellent detail resolution (ideal for complex engraving, bricks, wood grain), smooth surface minimized post-processing, isotropic strength.
- shortcoming: Higher printer costs, resin handling requires safety precautions (gloves/ventilation), parts smaller/brittle than FDM, post-processing (washing, curing) mandatory. Ideal for very detailed walls, furniture, complex objects, microscopes.
- recommend: Start with FDM from using PLA For cost, loose and large flat tiles. Invest in resin printers Later, super detailed scattered terrain and complex wall slices were performed. Consider a mixed army!
Design and Preparation: From Model to Printable Files
- Source your model: Repositories such as Thingiverse, Prinables, Myminifactory, and Patreon creators offer thousands of designs. Look for modular systems (e.g. Open Lock, Dragonlock, Warlock) to ensure compatibility across tiles.
- Notes when selecting a model:
- compatibility: Is it part of the system? Are tiles easy to connect?
- Level of details: Match the printer’s functions (resolution).
- Dangling/Support: Complex models may require a large amount of support structure during printing, which affects cleaning time and surface treatment.
- Printing direction: Consider how to orient the model on the build board for optimal detail and minimal support. Slicer software can handle this, but the model design affects it.
- slice: Required software (Cura, Prusaslicer, Lychee resin) converts 3D models (STL) into machine instructions (G code). Key settings:
- Layer height: Lower = more details/time (e.g. 0.1mm-0.2mm for FDM, 0.02mm-0.05mm for resin).
- filling: 10-20% of ceramic tile is usually enough to save time/material while ensuring adequate strength.
- support: It is crucial for overhanging. Generate automatically, but review/manually adjust for best results. Resin printing always Need support.
- Adhesion: Use edges (FDM) or rafts (resin/FDM) to prevent warping/lifting.
- Wall thickness: Make sure the walls are thick enough (e.g., 1.2mm -2mm) for durability. Model design usually determines this.
Mastering Prints: Success Tips
- Flat bed: FDM’s non-negotiable steps. The first layer of attachment is everything.
- Manage temperature: Comply with the specifications of the filament/resin supplier for nozzles/heat tables, establish plates and resin temperatures.
- Optimize model direction: Minimize large flat overhangs. Position complex details where possible. The resin parts should be at an angle of 30-45 degrees.
- Batch printing: Effectively group multiple tiles on the build board to maximize printing time. Ensure good spacing drain/cure.
- Monitoring the first layer: Watch the initial layer to capture adhesion problems immediately.
- Embrace iteration: Before you work on a large job, test prints a single tile or wall section to dial in the setup.
Post-processing: bring your tiles to life
This turns the original print into a stunning terrain:
- Cleaning and supporting removal:
- FDM: Use the pliers/cutter to carefully remove the support. Gentle sanding to smooth out layers/glitter. A common knife helps clean hard spots.
- Resin: Clean parts thoroughly in IPA (or water from WW resin) in a dedicated washing station. Remove support after washing (sometimes easier) or Before curing. Completely cured under ultraviolet light.
- Gap Filling and Smoothing (FDM Focus):
- Use fill putty, modifier paste (Vallejo, Tamiya) or lightweight stabs to fill the layer lines and support the scars. The sand is smooth once dry.
- Advanced: Vapor smoothing (acetone smoke) for ABS/ASA (Note: Dangerous! Outdoor/High ventilation).
- start up: Apply primer sprays (preferably gray/black) to unify the surface, reveal the defects that need to be modified, and provide a basis for paint adhesion.
- Paintings and details:
- Basic jacket: Use acrylic or spray paint.
- Dry brush: Dark light colors create realistic highlights on brickwork, stone, and wood.
- Wash/shadow: Dark ink/paint is leaked by water/middle to become gaps, adding depth and shadow (game changes!).
- Additional details: Paint specific elements (wooden doors, metal hinges, magical runes).
- (Optional) Sealing: Protect your paint job with matte varnish spray. Gloss varnish adds wet effect (water, mucus). Mod Podge provides protection and texture before launching.
Improve your build: Advanced technology
- magnet: Embed small new magnets into the tile side/clip for an incredibly safe, flexible layout. Accurate slot modeling/hole is required.
- LED integration: Drill tiny holes and embedded tiny LEDs powered by small batteries hidden under the playing surface. Illuminated torches, magic fonts or lava!
- Multi-matter printing: Some advanced FDM printers can use soluble support or different filaments in one print. Resin printing is excellent when mixing windows/fire with standard gray stone transparent resin.
- Texture: Mix sand/paint (FDM base tiles) before starting to make it realistic gravel. Use textured paint spray.
Beyond Plastics: Professional Metal Prototyping Solutions
While FDM and resin are excellent in dungeon landscapes, occasionally the game master may envision reliable metal components that can be used for unique accessories, custom miniature foundations, complex mechanical traps or special game parts that require extreme durability or weight. For these high-precision, functional metal parts, it is crucial to work with professional rapid prototyping services. This is professional knowledge Great Come in.
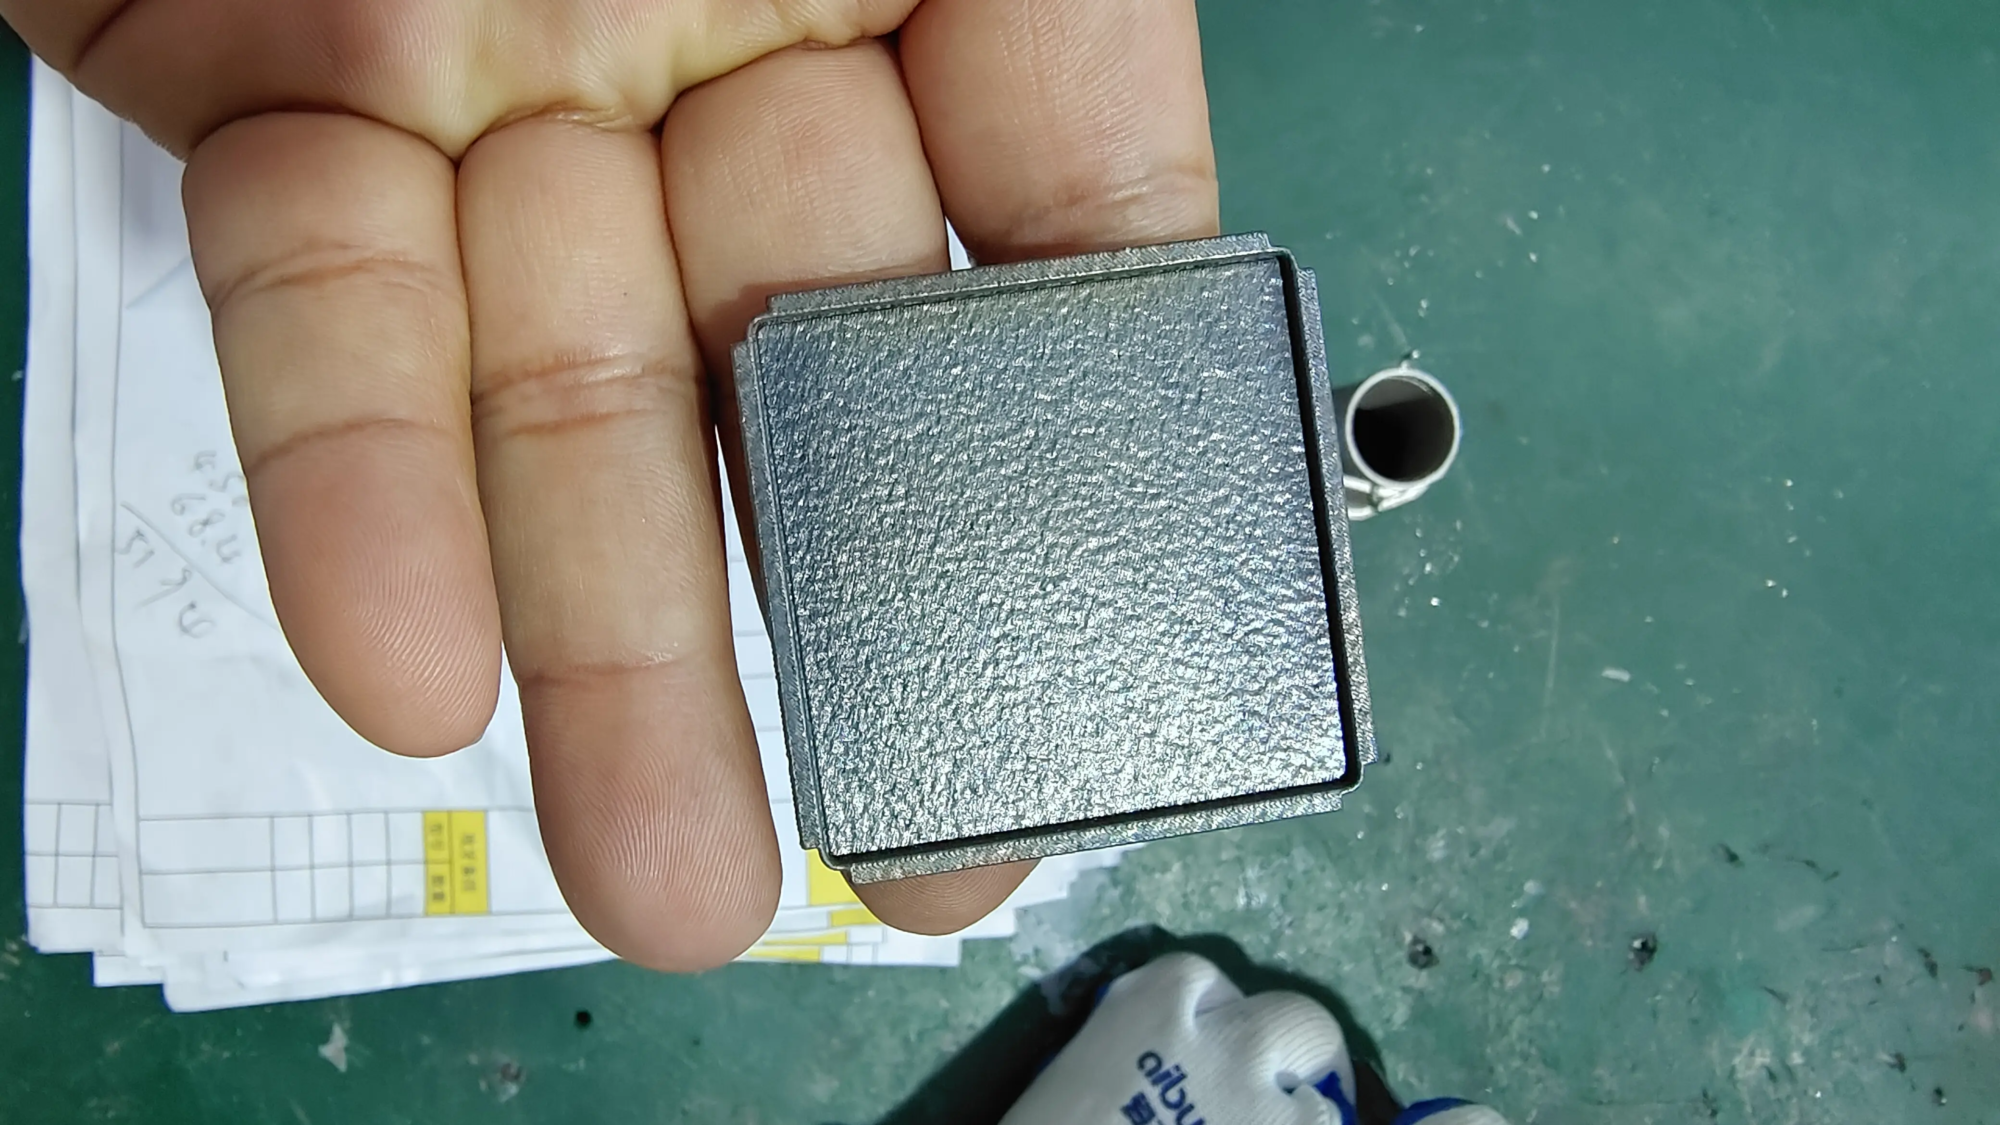
As a leading rapid prototype manufacturer, Great Advanced leverage Selective laser melting (SLM) 3D printer And perfected production technology to skillfully solve challenging metal parts prototype problems. Their proficiency is more than just printing to full One-stop post-processing and completion service – Includes CNC machining, heat treatment, surface polishing, shooting, anodizing and coating. Whether you need prototypes in aluminum, titanium, stainless steel or other professional alloys Great discount Customized materials and Quick turnaround timeensure high quality and accurate dimensions. To require custom precise machining requirements related to your gaming project or any other industrial application, Great Standing Prime Minister Rapid Prototype Company from China. Explore their abilities High-strength elastic metal components That pushes the boundaries of desktop creation.
in conclusion
3D printed dungeon tiles unlock new areas of creativity and customization for tabletop games. By understanding the advantages of FDM and resin printers, mastering the slicing environment, embracing post-processing and applying thoughtful painting techniques, you can build immersive, unique terrain that brings your adventures to life vividly. Starting with the core modularity set and gradually expanding core modularity, you can manage your learning curve and investments. Whether you’re crafting a boss arena or an entire cityscape, 3D printing makes you an architect of an incredible world. So start the printer, unleash your imagination, and start building your dream dungeon – the bricks of digital bricks.
FAQ: 3D printed dungeon tiles
- Which one is better for dungeon tiles, FDM or resin printing?
- No single "Better." FDM is excellent with cost-effective, larger, sturdy foundation tiles and simpler design. Resin provides incredible details for complex walls and scattered terrain. Many creators use both! FDM is usually better than budget-conscious beginners.
- How much does it cost to start 3D printed terrain?
- The price of entry-level FDM printers starts from around $200-$300. The basic filament (PLA) costs about $20-$30/kg. Resin printers start at a higher price ($200-$500) and the resin costs about $35-$60/liter. Add safety gear (especially for resin), scrapers and basic grinding/painting. It quickly repaid the returns with the purchase of commercial terrain while initial investment.
- How long does it take to print dungeon tiles?
- Time varies greatly! Modular floor tiles can take 1-2 hours on FDM. A large complex wall with complex details may take 8-12 hours on the FDM or 3-6 hours on the resin printer. Layer height, fill and printer speed can significantly affect time. Multiple tiles printed at a time are crucial to efficiency.
- Can I make my own tile design?
- Absolutely! Software such as Blender (Free), TinkerCad (free, browser-based), Fusion 360 (free caregivers available), or dedicated tools such as OpenSCAD or Dungeon Builder lets you create custom designs. It’s easy to get started! Before diving into full-scale modeling, consider modifying existing open source designs.
- How to make my FDM printed tiles look smooth?
- Grinding (start rough, move to fine sanding), applying a filler primer or professional model filler putty/brain, and carefully polishing between coatings are key. Dry brush painting techniques can also mask layered lines by emphasizing texture. Correct calibration minimizes obvious layer lines.
- Is resin printing safe for home use?
- Care is required. Unfixed resin is toxic and may cause skin/eye irritation or sensitization. Basic: Working in well-ventilated areas or in shells, always wear nitrogen-haired gloves and eye protection, clean with tissues, and never pour resin on drains. Follow the Safety Data Sheet (SDS).
- Where can I find a good tile model?
- Excellent resources include Thingiverse, Prinables, Myminifactory (there are also advanced creators), creators on Cults3D and Patreon (usually large monthly bundles are available). Search keywords similar "Dungeon tiles," "Modular terrain," "openlock," "Sharock," "Warlock tiles."
- Do I really need to cheer up before painting?
- Highly recommended. The primer produces a uniform surface that significantly improves paint adhesion and helps reveal defects that require more grinding/filling. It prevents the base color of the plastic from passing through.
- When do I need professional metal printing to play?
- Metal printing is a niche for desktop terrain Function or Tall clothes Components other than purely decorative plastic tile: custom metal microcosm (heavy duty), sophisticated magnetic lock base connectors, robust mechanical traps with moving parts, custom game tokens or durable wearables (like buttons). For precise metal prototype requirements, services such as Greatlight provide expertise and quality production capacity.


