Beyond plastic kits: DIY your dream Gundam with 3D printing
Assembling intricate plastic models of Gunpla has been a beloved hobby for decades, requiring meticulous hand-eye coordination and patience. But the rise of barrier-free 3D printing technology is ushering in a revolutionary era: 3D Printing Gundam DIY. It’s not just about building a kit; this is about Engineering and Creation Your unique mobile suit masterpiece that pushes the boundaries of customization and precision far beyond what traditional injection molding can offer. Welcome to the frontier of personalized mecha modeling.
Why 3D print your Gundam?
- Unlock unlimited customization: Swap heads, limbs, weapons, armor plates, or even entire parts with designs from around the globe or entirely in your imagination. Repaint RX-78-2 into camouflage? Design your own custom zaku variation? Building an obscure mobile suit that was never released as a kit? 3D printing makes this possible.
- Resurrection of the forgotten or expansion of the impossible: Can’t find your vintage 1/550 infantry set? Dreaming of owning a jaw-dropping, gigantic 1/48 Perfect Grade style model that won’t break the bank in boxed form? Find or design STL files and print them yourself.
- Premiere accuracy and detail (when done correctly): High-resolution resin printers, in particular, can capture surface textures, panel lines, and minute details to a level that rivals or exceeds high-end master kits, delivering unprecedented fidelity.
- Cost-Effectiveness of Customized Projects: While there are costs for printers and materials, printing specific custom parts or larger models is often much cheaper than purchasing rare or large commercial kits, especially for highly personalized creations.
- The ultimate maker experience: It’s the complete life cycle: design or planning, printing, testing, refining, organizing, painting. The feeling of accomplishment from going from raw filament/resin to a fully articulated painted mobile suit is unparalleled.
3D Printed Gundam DIY Journey: From Parts to Beam Rifle
Embarking on this journey requires understanding the key stages:
-
Blueprint Phase: Find or Make Your STL File
- purchase: Platforms like Cults3D, MyMiniFactory and Patreon are a treasure trove of talented Gumpla (3D printed Gundam) designers. It is crucial that if Bandai’s IP is modified, priority is given to artists who have clear rights to distribute derivative works. Designed by many creators "original" The mecha was inspired by the Gundam aesthetic to avoid copyright issues.
- design: For the brave and skilled, CAD software like Fusion 360 or Blender opens up endless possibilities. Before trying a full kit, start by modifying existing parts. Focus on design for printability: wall thickness, support requirements, articulation points.
-
Basic Phase: Choose your arsenal (printers and materials)
- Fused Deposition Modeling (FDM – Plastic Filament): Ideal for large structural components, interior framing or larger projects. More post-processing (sanding) is required to obtain a smooth surface. PLA is versatile and simple; ABS is stronger but prone to warping; PETG is a durable middle ground.
- Stereolithography/DLP/LCD (resin): Your first choice for high-detailed armor, weapons, and small parts. Output incredibly smooth surfaces and crisp details directly from the printer. Standard resins provide good detail at low cost, but premium engineering resins or ABS-like resins provide superior toughness, which is critical for thin or stressed parts such as joints. Requires strict safety handling (gloves, masks, ventilation) Due to the toxicity of uncured resin.
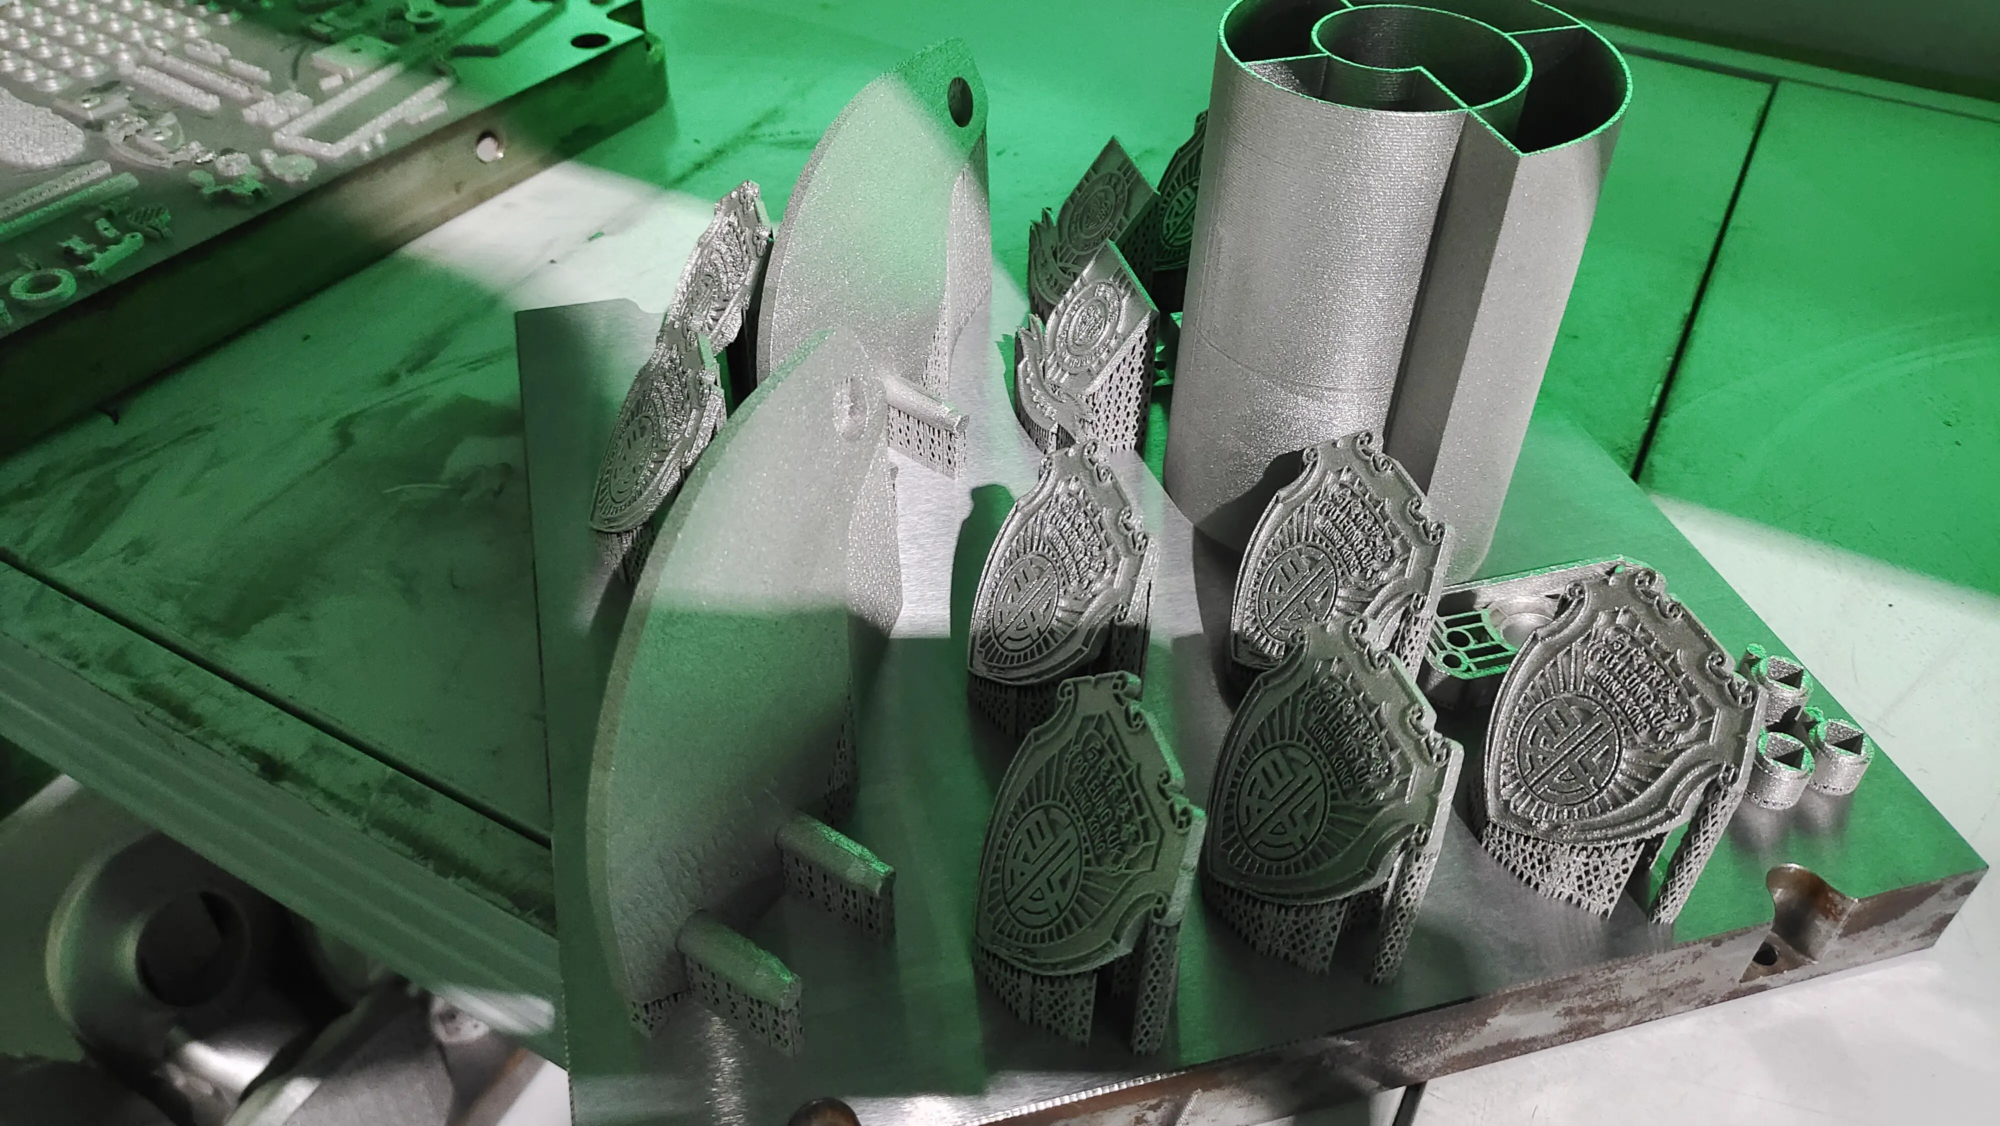
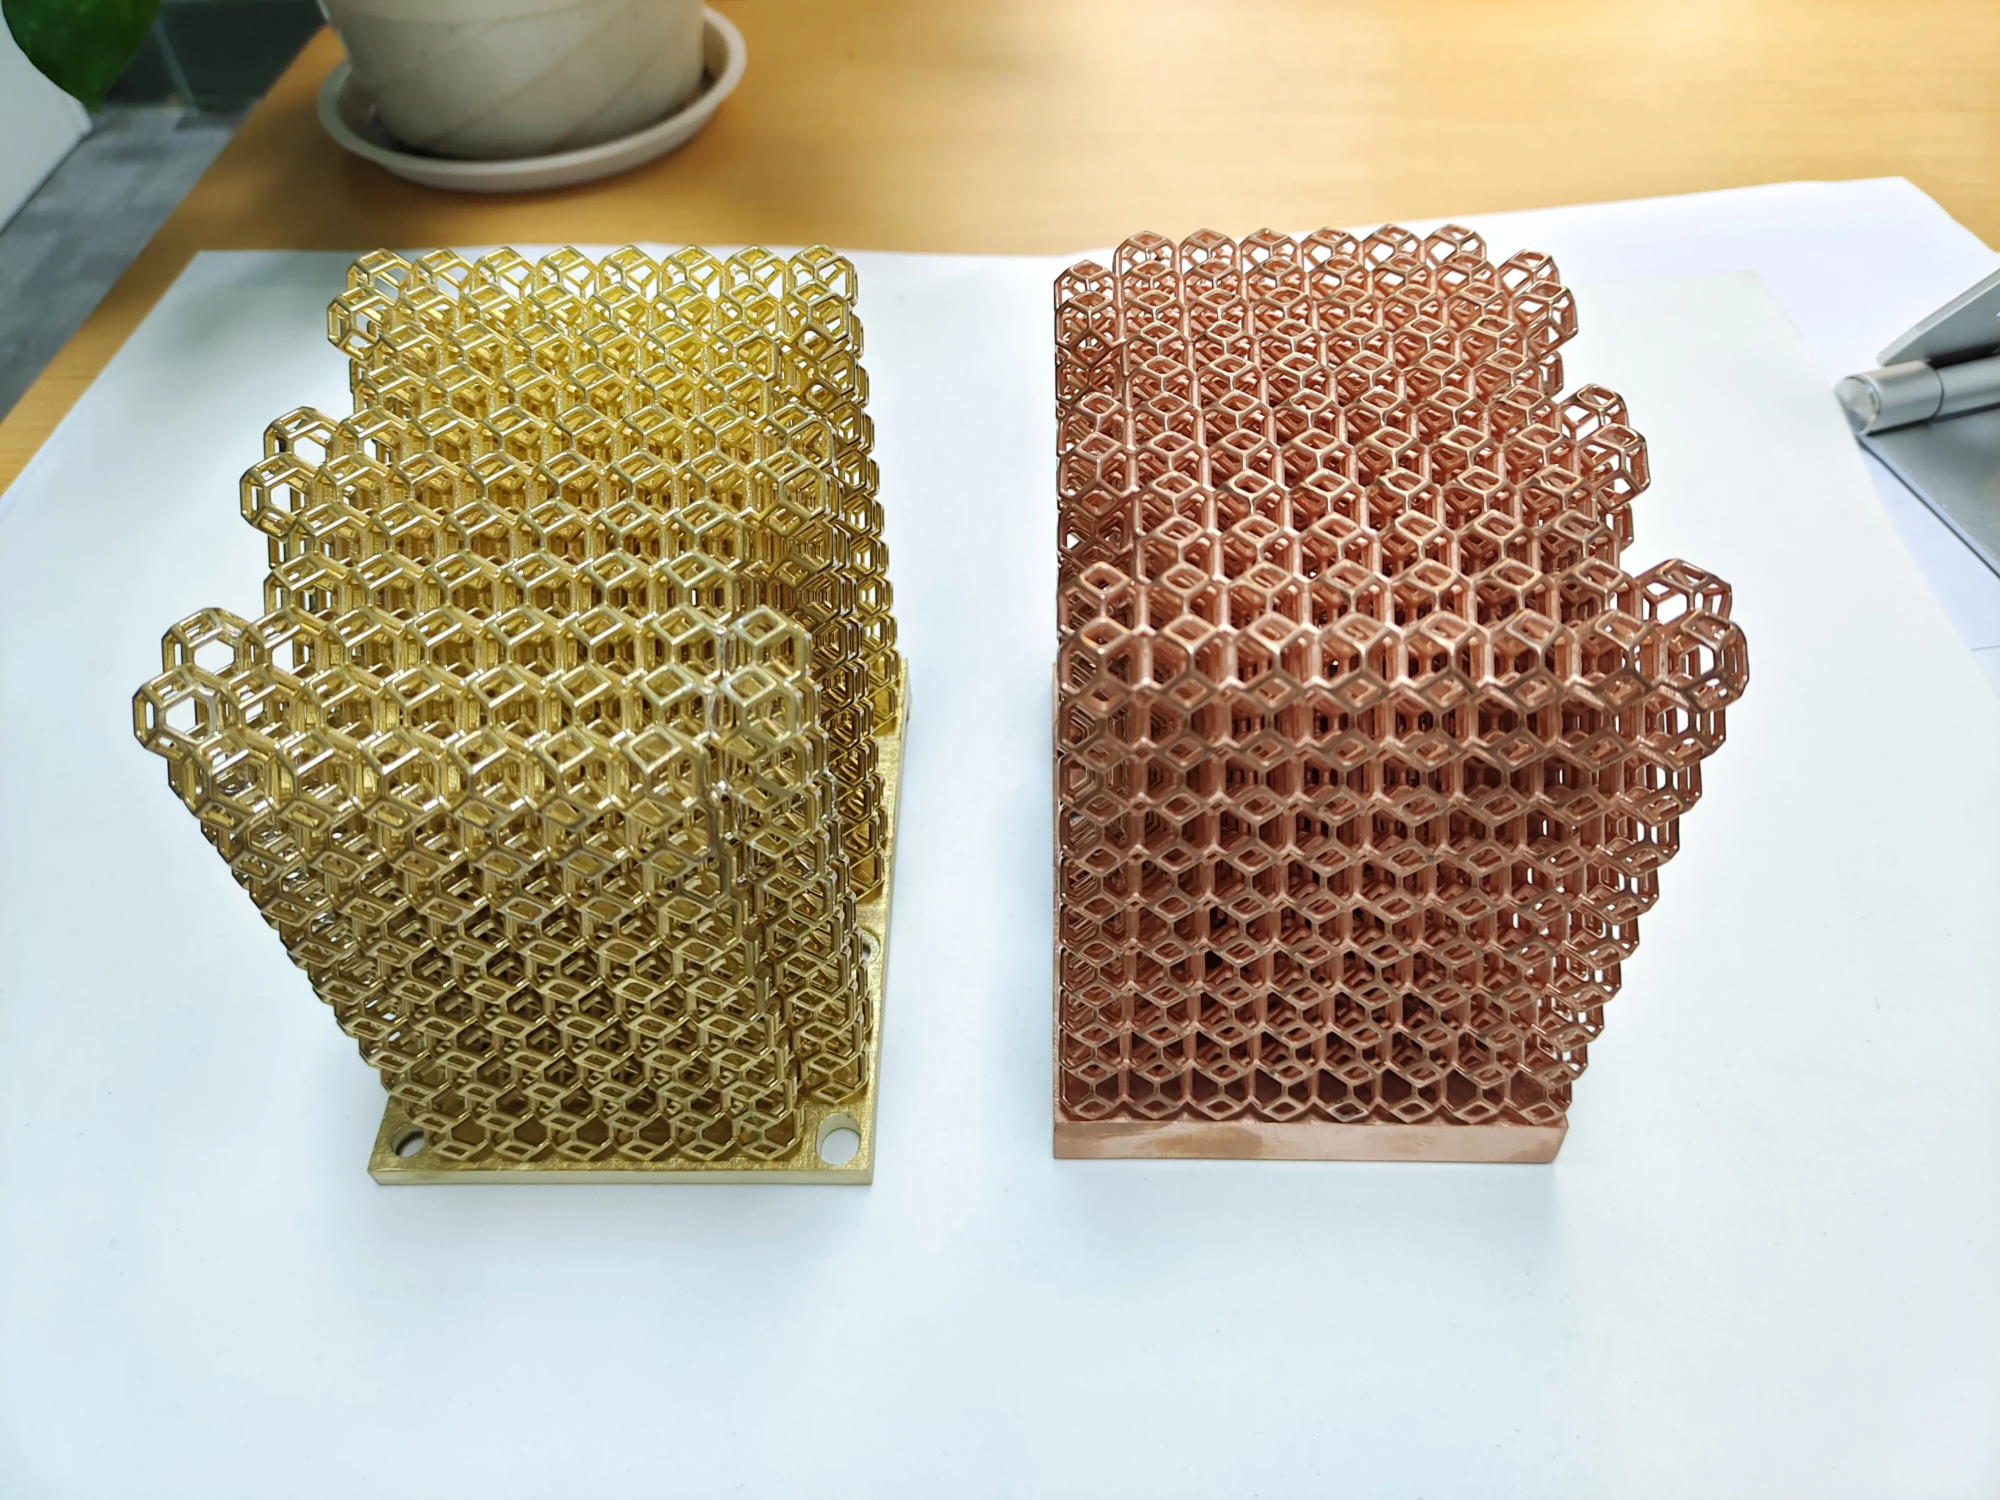
- Industrial metal printing (SLM/SLS): For the truly ambitious (and well-funded), want custom metal structural components? Technology such as Selective Laser Melting (SLM) Used by companies, e.g. huge light Materials such as aluminum, titanium or specialty alloys can be used for printing. While typically out of the hobbyist’s budget, it represents the pinnacle of strength and precision in custom high-stress components.
-
Engineering Phase: Printing and Troubleshooting
- Slicing Savvy: Software (Chitubox, Lychee, PrusaSlicer) converts your STL into printer instructions. Setup (layer height, resin exposure time, infill, supports) is critical. Resin gloss layer as low as 0.01mm; FDM typically goes down to 0.05-0.1mm for best detail.
- Support strategy: Correctly placed supports are crucial for draping. Resin printing requires complex, quickly dissolving support structures. Learning to position parts to minimize supports and visible connecting lines is an art form.
- troubleshooting: Warpage (FDM), failed supports, suction cups (resin), layer shifting, under/over curing – expect problems and learn to diagnose them. Calibration is king.
-
Refinement stage: meticulous post-processing
- Cleaning and de-bracing: FDM parts require support removal and extensive sanding. Resin parts need to be cleaned in a solvent (IPA, bio-alcohol) to remove uncured resin, and then the supports (usually pre-cut in a microtome) are carefully removed.
- Maintenance: Resin parts must Fully cured under UV light for maximum strength and stability. FDM parts benefit from annealing (PETG, ABS) or steam smoothing (ABS).
- Gap filling and surface perfection: Use putty (like Tamiya) to fill in layer lines (especially FDM), printer artifacts, and gaps after assembly. Meticulous sanding with gradually finer grit is essential for a paintable surface. Primer exposes imperfections.
- Assembly and articulation: Fit parts to ensure smooth joint movement. Do you use pins or magnets for complex joints? Depending on the material, special modeling glue (plastic cement) or superglue (CA) can be used. Test pronunciation forward painting!
- Art Stage: Painting and Final Touches
- Primer: Creates an even, paint-adherent surface. Basic.
- painting: Acrylic, enamel or varnish – your choice. Airbrushes provide the smoothest, most professional results. Masking is essential for clean lines. Layering, panel lining, dry brushing and weathering techniques create depth and realism.
- Topcoat: A final gloss, satin or matte clear coat protects your paint and unifies the finish. Most modelers prefer a matte finish for a realistic look.
Overcoming Challenges: Precision Matters
Building a strong, articulated, and beautiful 3D printed Gundam comes with unique obstacles:
- Tolerances and installation: Resin shrinkage, FDM layer adhesion, or minor design flaws can cause parts to fit poorly. It has become common practice to narrow the hole slightly or sharpen the nails strategically.
- Joint strength: Thin resin joints can be brittle. Designing a strong poly cap or utilizing engineered resins is key. Metal pins reinforce connection points. FDM needs strategic strengthening.
- Scale complexity: Bigger size = bigger power. The structural integrity of the internal frame becomes critical. This is where industrial processes, e.g. SLM metal printingprovided by Companies like GreatLight that excel in rapid prototypingdemonstrating its value in creating ultra-strong, lightweight custom internal skeletons.
- The pursuit of surface perfection: Achieving injection molding-grade smoothness requires extensive post-processing, especially when using FDM.
Conclusion: The Dawn of Customized Mobile Suits
3D printing Gundam DIY goes beyond traditional model making. It is a powerful blend of digital design, precision manufacturing and the traditional art of modeling. It democratized access to unique designs and proportions, placing the responsibilities of mobile suit engineers directly into the hands of amateurs. While patience, technical skills, and problem-solving are required, the reward—a truly unique, precision-built mech born of your vision and hard work—is unmatched. As technology advances, especially in terms of high-strength materials and accessible detail, the potential for 3D printed Gundam creations will only soar. Will your next project be a faithful recreation, a radical custom build, or the first iteration of your own original mobile suit saga? The choice and workshops are yours.
Frequently Asked Questions: Travel around the world of 3D printed Gundam
Q: Is it illegal to print copyrighted Gundam designs?
A: Print the official copyrighted Bandai design privately Distribution or sale is copyright infringement. Most enthusiasts do the following "fair use" For personal, non-commercial projects. Designed by many talented creators "original" Mecha inspired by the Gundam aesthetic have unique names to avoid copyright issues. Always respect the originators and distributors of intellectual property.
Q: FDM or resin: which one is more suitable for Gunpla?
A: Resin is usually the first choice for most parts: superior detail, smooth surfaces and less warping make it ideal for armor and weapons. FDM is ideal for large structural members, bases or internal frames due to its high strength and low cost per part. Combining the two in one model is a powerful strategy.
Q: Why are my resin parts so brittle? How can I make them stronger?
A: Standard resin prioritizes detail, but can be delicate. Solution:
- Upgrade to "ABS-like" or "project" Resin, with higher toughness and impact resistance.
- make sure thorough maintenance. Uncured resin is always weaker.
- Strategic Design: Thicken key joints/stress points, avoid sharp corners, and use pins for reinforcement.
- For extreme requirements: Explore professional SLM printing options for durable materials with rapid prototyping services.
Q: My FDM printing surface is terrible! How can I make it work?
Answer: This is the main challenge of FDM:
- Lower floor height (For example, 0.08-0.12mm).
- Carefully polished (Start coarse at about 120 grit, finish at about 1000+ grit wet grinding).
- Apply filler primer And repeat the sanding cycle.
- Consider steam smoothing For ABS/ASA (need to be cautious).
- design: Orient the part so that the layer lines are not on protruding surfaces.
Q: How can I design or modify parts for better printability and assembly?
Answer: Main principles:
- Wall thickness: Ensure adequate thickness (typically 1.5-2mm+ for resin walls and 1.2mm+ for FDM walls).
- tolerant: The hole size is designed to be slightly smaller (0.1-0.3mm) to allow for a tight fit on the nail. Includes gaps.
- support: The design should minimize major overhangs or make them self-supporting.
- Chamfer/fillet: Rounded sharp edges reduce stress concentrations that can easily chip/break.
- Modular: Break large, complex assemblies into smaller, printable subassemblies with clear connection points.
Q: My dream project requires extreme strength or heat resistance – can 3D printing handle it?
A: Standard home printers that use plastic filament or resin have limitations. For mission-critical structural components subject to high loads or temperatures:
- Explore industrial-grade FDM materials (PC, Nylon, PEEK) on compatible printers.
- Take advantage of professional rapid prototyping: The company is equipped with industrial SLM (Selective Laser Melting) or SLS technology, e.g. huge lightcan produce parts High performance metals (e.g. titanium, aluminum alloys) or advanced engineering polymersstrength and thermal performance far exceed consumer-grade options. This is ideal for custom interior framing and its exceptional durability cannot be ignored.
(Call-to-action cleverly integrated into service context)
Ready to explore the vast potential of high-strength materials for your most ambitious 3D printed Gundam Engineering project? When your design requires metal-grade durability or professional performance, remember the pros Rapid prototyping services provide solutions beyond the desktop. Whether exploring the power of advanced resins or industrial SLM metal printing, specialized suppliers like GreatLight have the equipment and expertise to transform your custom component needs into reality, providing a wider range of possibilities for your DIY creative journey.


