Making the Perfect Workspace Companion: The Final Guide to 3D Printing Custom Pencil Stands
Is your table drowned in a sea of loose pens, pencils and markers? Tired of a universal, uninspired organizer? 3D printing provides an exciting solution: the power of designing and creating a unique pencil stand your. Whether you are a newbie of 3D printing or an experienced manufacturer, this guide takes you through every step to create a functional and personalized desktop essential. It’s not just sorting out, it’s about bringing your own design vision to life.
Why 3D printed pencil holders? Advantages
- Unrivaled customization: Get rid of mass production design. Create hexagonal shapes, merge your name, add specific compartments to USB drives or paper rolls, or even sculpt into miniature models of city skylines.
- Cost-effective (especially for prototypes): Using a desktop FDM (Fused Deposition Modeling) printer with filaments such as PLA, the material cost is surprisingly low. Iterative design is fast without a large investment in tools.
- Ideal for beginners: Simple geometry and low structural requirements make the pencil stand ideal for mastering the basics of CAD and understanding the slicer settings (layer height, fill, support).
- Practical skills building: Develop valuable skills in 3D design (CAD), printing preparation (slicing), and printer operation.
- Perfect zoom and features: Designed for Exactly Hold yours in your desk space Specific Tools or supplements to other organizers.
Your step-by-step guide to creating
1. Design Masterpiece (CAD Stage)
- Software selection:
- beginner: Tinkercad (free, browser-based, intuitive drag-and-drop interface). Ideal for basic shapes and engraved text.
- Intermediate/Advanced: Fusion 360 (for amateur/personal use) or FREECAD (open source). Provides powerful parameter design for complex curves, precise dimensional control and integration capabilities.
- Key design considerations:
- Stability is the king: Compared to height, make sure the base is wide enough to prevent tilting. Rule of thumb: Basic diameter/width>= 2/3 of height. If desired, weight can be increased by a thicker base or integrated cavity.
- Wall thickness: Strength is crucial. Target At least 1.2mm For PLA. Thinner walls risk breaking; thicker foods unnecessarily consume more material and printing time. 1.5-3mm is usually a good range.
- Internal dimensions: Consider the diameter of the pen/pencil. Each item allows ~1.5-3 mm of clearance. Plan the compartment or divider as needed. Avoid overly complex internal overhangs without support structures.
- Surface features: Text, logos, and patterns can be embossed (bulges) or engraved (indented). Make sure the embossed text has sufficient height (+0.5mm) and is engraved with sufficient text depth and width (>0.8mm) for easy post-printing.
- Those edges (rounded corners): Adding rounded edges (rounded corners) to the inside and outside of the base can significantly increase the intensity by reducing stress concentration points – highly recommended! Aim at 1-3 mm rounded radius.
- exit: Save the final design as STL (Stereometric Lithography) document. This is the standard format for slicers. Make sure the units (mm/inch) are correct.
2. Prepare for printing (slicing stage)
- software: Popular options include Ultimaker Cura, Prusaslicer or Bambu Studio – all free.
- Key Slicer Settings:
- Layer height: Balance details with speed/time. 0.15-0.2mm Provides good results while being efficient. If necessary, use 0.1mm details.
- filling: Provides internal structure. 15-30% It’s enough for pencil holders. Use mesh, triangle or capability mode for effectiveness. Rarely 100% filler is required and material/time is wasted.
- Wall thickness (circumference): It should match your design intentions. Make sure the number of walls is calculated to the thickness of your design (e.g. 3 walls * 0.4mm nozzle = 1.2mm wall).
- support: For pencil stands, support is usually only required under important circumstances Dangling (>> Verticality above 45-60 degrees). If design is allowed, avoid internal support.
- Edge/raft: one edge (Thin layer extending from the base perimeter) It is strongly recommended to improve the adhesion of the bed and prevent warping/lifting, especially on narrower bases. Avoid rafts unless the base has a minimum contact area.
- Printing speed: Start with the printer/shrink default settings (usually 50-80 mm/s). Slow down the exterior walls to improve quality.
- Generate G code: Use these settings to slice the STL to create G-code instructions for the printer.
3. Perform: 3D printing stage
- Printer settings:
- Bed upgrade: Absolutely critical. Follow the printer’s calibration procedures carefully. A bed that does not upgrade is the main reason for printing failure.
- Bed cleaning and adhesion: Wipe the bed with >90% isopropanol. Apply adhesive as needed: Blue Painter’s tape (PLA), glue stick or specialized bed adhesive (PEI boards are usually suitable for AIDS-free PLA).
- Filament Loading: Feed the filament of your selected correctly. Make sure the extruder grabs it.
- Preheat: Preheat the nozzle and bed to the recommended temperature of your filament (PLA: ~190-220°C nozzle, 50-60°C bed).
- print:
- Load G-code files via SD card/USB/network.
- Start printing, then Monitor the first few floors. This is when adhesion problems occur most frequently. Make it completely undisturbed! Avoid drafts near the printer.
4. Completed (Post-processing)
- Part removal: After cooling, gently pry the pencil holder with a spatula/scraper.
- Support removal: If support is used, carefully cut and strip it off. Use a rinse cutter or needle pliers. Small pliers help clean remaining small pieces. Be careful with the sand if needed.
- Grinding: Start with coarse sand (e.g. 120) to remove the main layer lines or imperfections, thus developing to finer grit (e.g. 220, 400, 600+) to make it smoother. Wet sand can reduce dust.
- Painting or finishing (optional):
- start up: Use spray filler/primer designed for plastic. Gently apply a light coat between coatings. Hide layer lines and improve paint adhesion.
- painting: Use acrylic paint with brush, spray paint (applied in a light coat) or spray gun. Sealed with clear acrylic varnish (matte/satin/gloss) for protection and shine.
Beyond PLA: Advance to high-quality materials
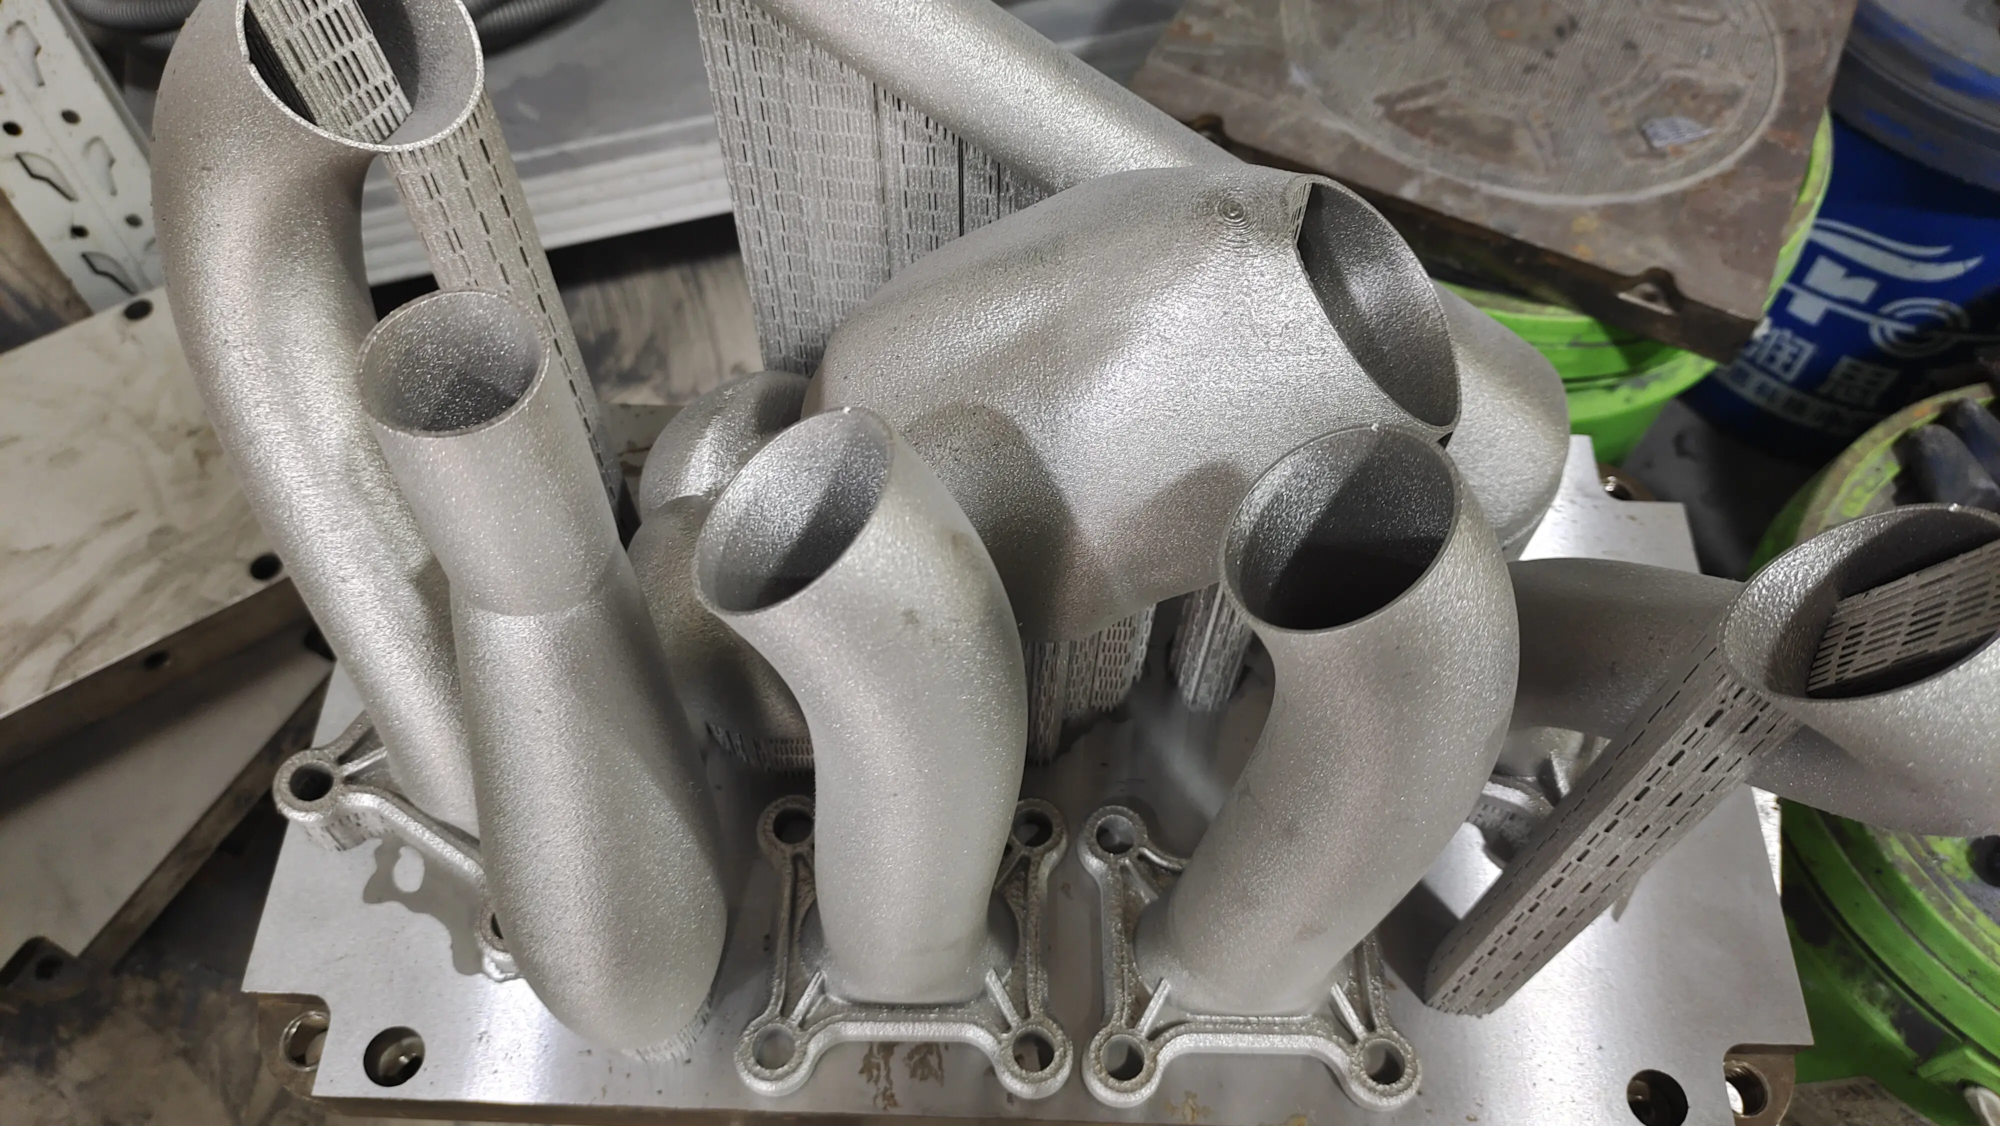
While PLA is great for desktop printing, industrial-grade manufacturing opens incredible possibilities. Imagine a pencil stand with a smooth, durable Stainless steel, custom aluminum and even bronze. These metal creations have excellent lifespan, excellent feel and unique designs that are too complex or powerful for basic FDM printing. They make amazing corporate gifts, luxury tables or lasting personal statements.
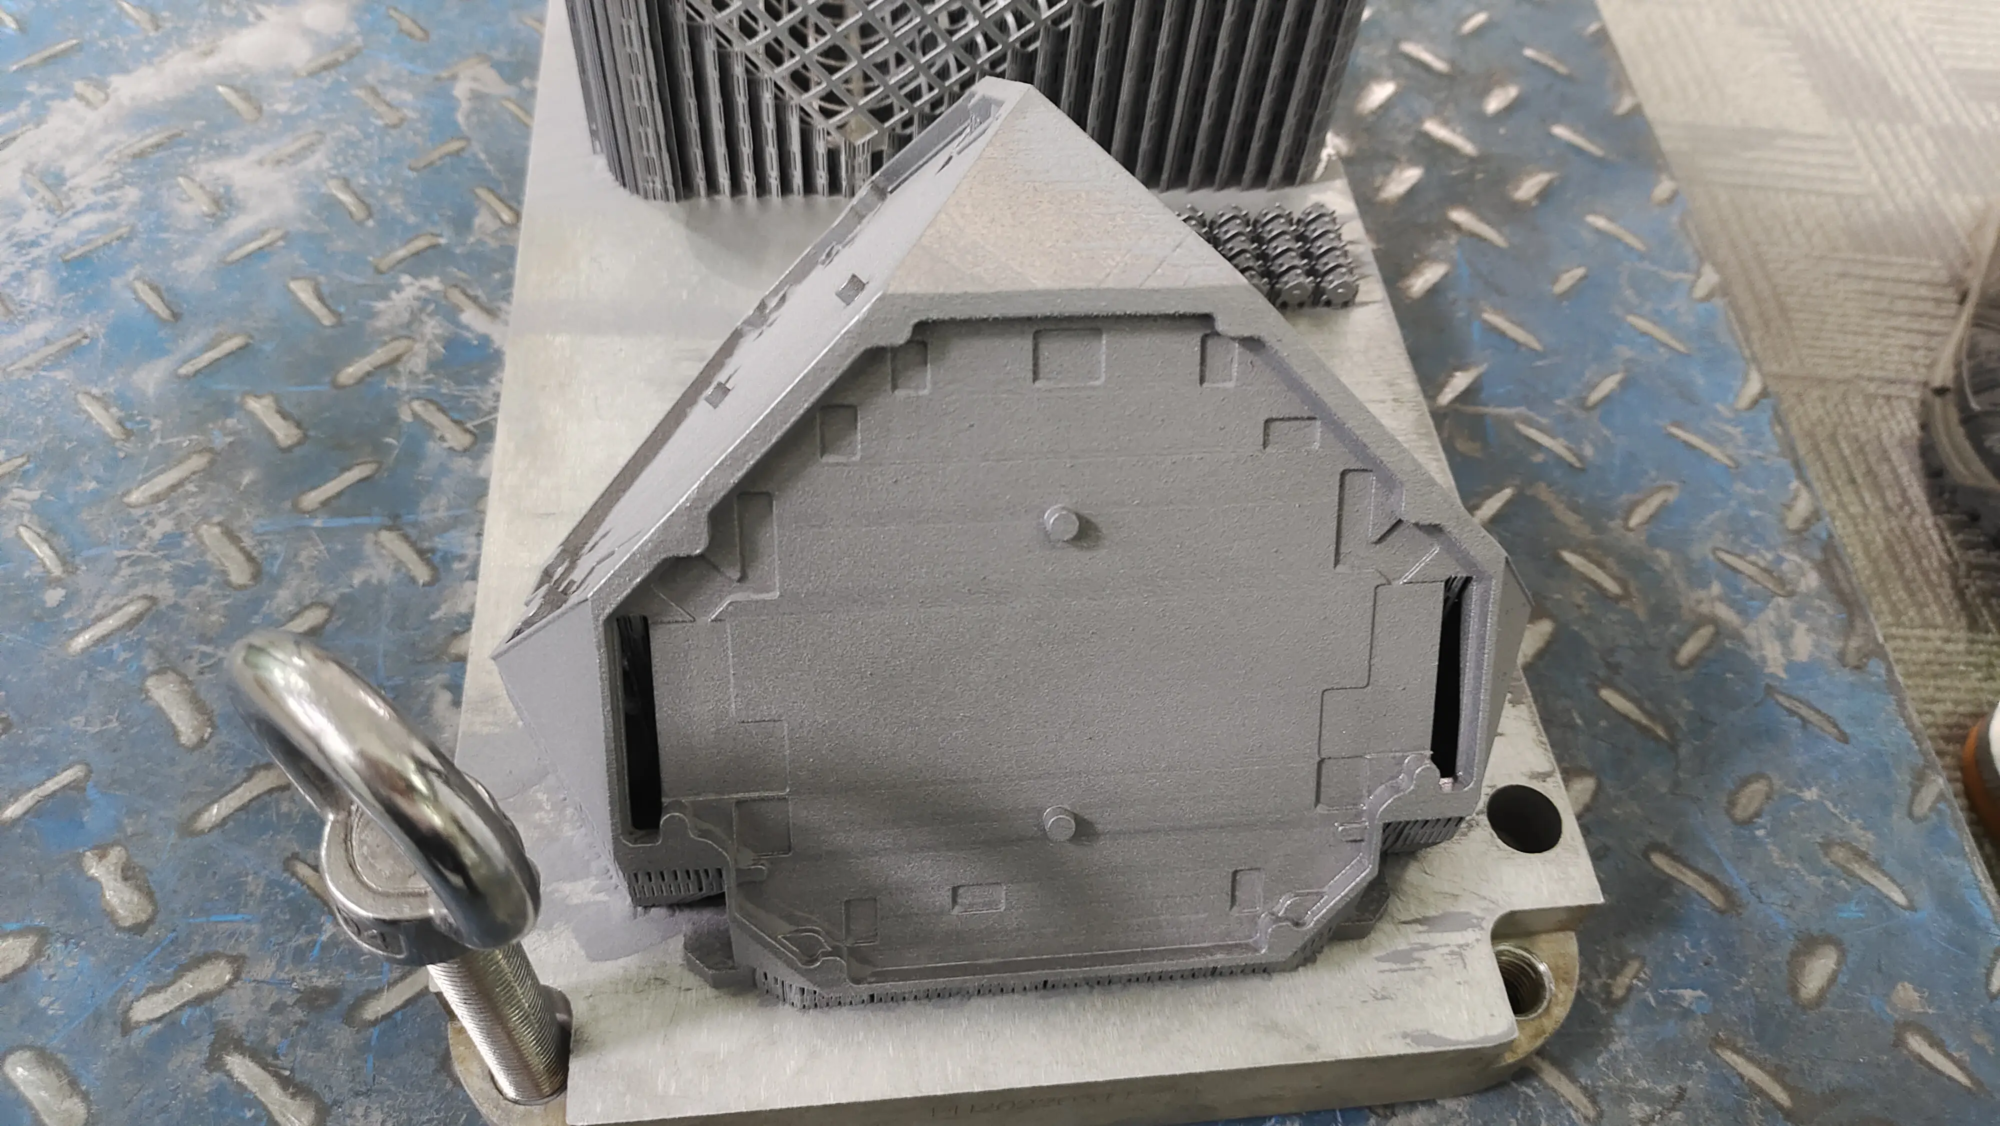
This is Great Good at it. As a leading professional rapid prototyping manufacturer from China, Greverlight Leverages cutting-edge Selective laser melting (SLM) 3D printing technology and advanced production technology. We focus on solving challenging metal parts prototype development needs, providing:
- Unlock complex geometric shapes: In traditional machining, complex internal lattice structures are produced, ideal for lightweight and highly complex or artistic conceptual designs.
- Material versatility: Use with a large number of metal alloy combinations (stainless steel, aluminum alloy, titanium, tool steel, inconel, cocr -Alloys) to meet your functional or aesthetic requirements.
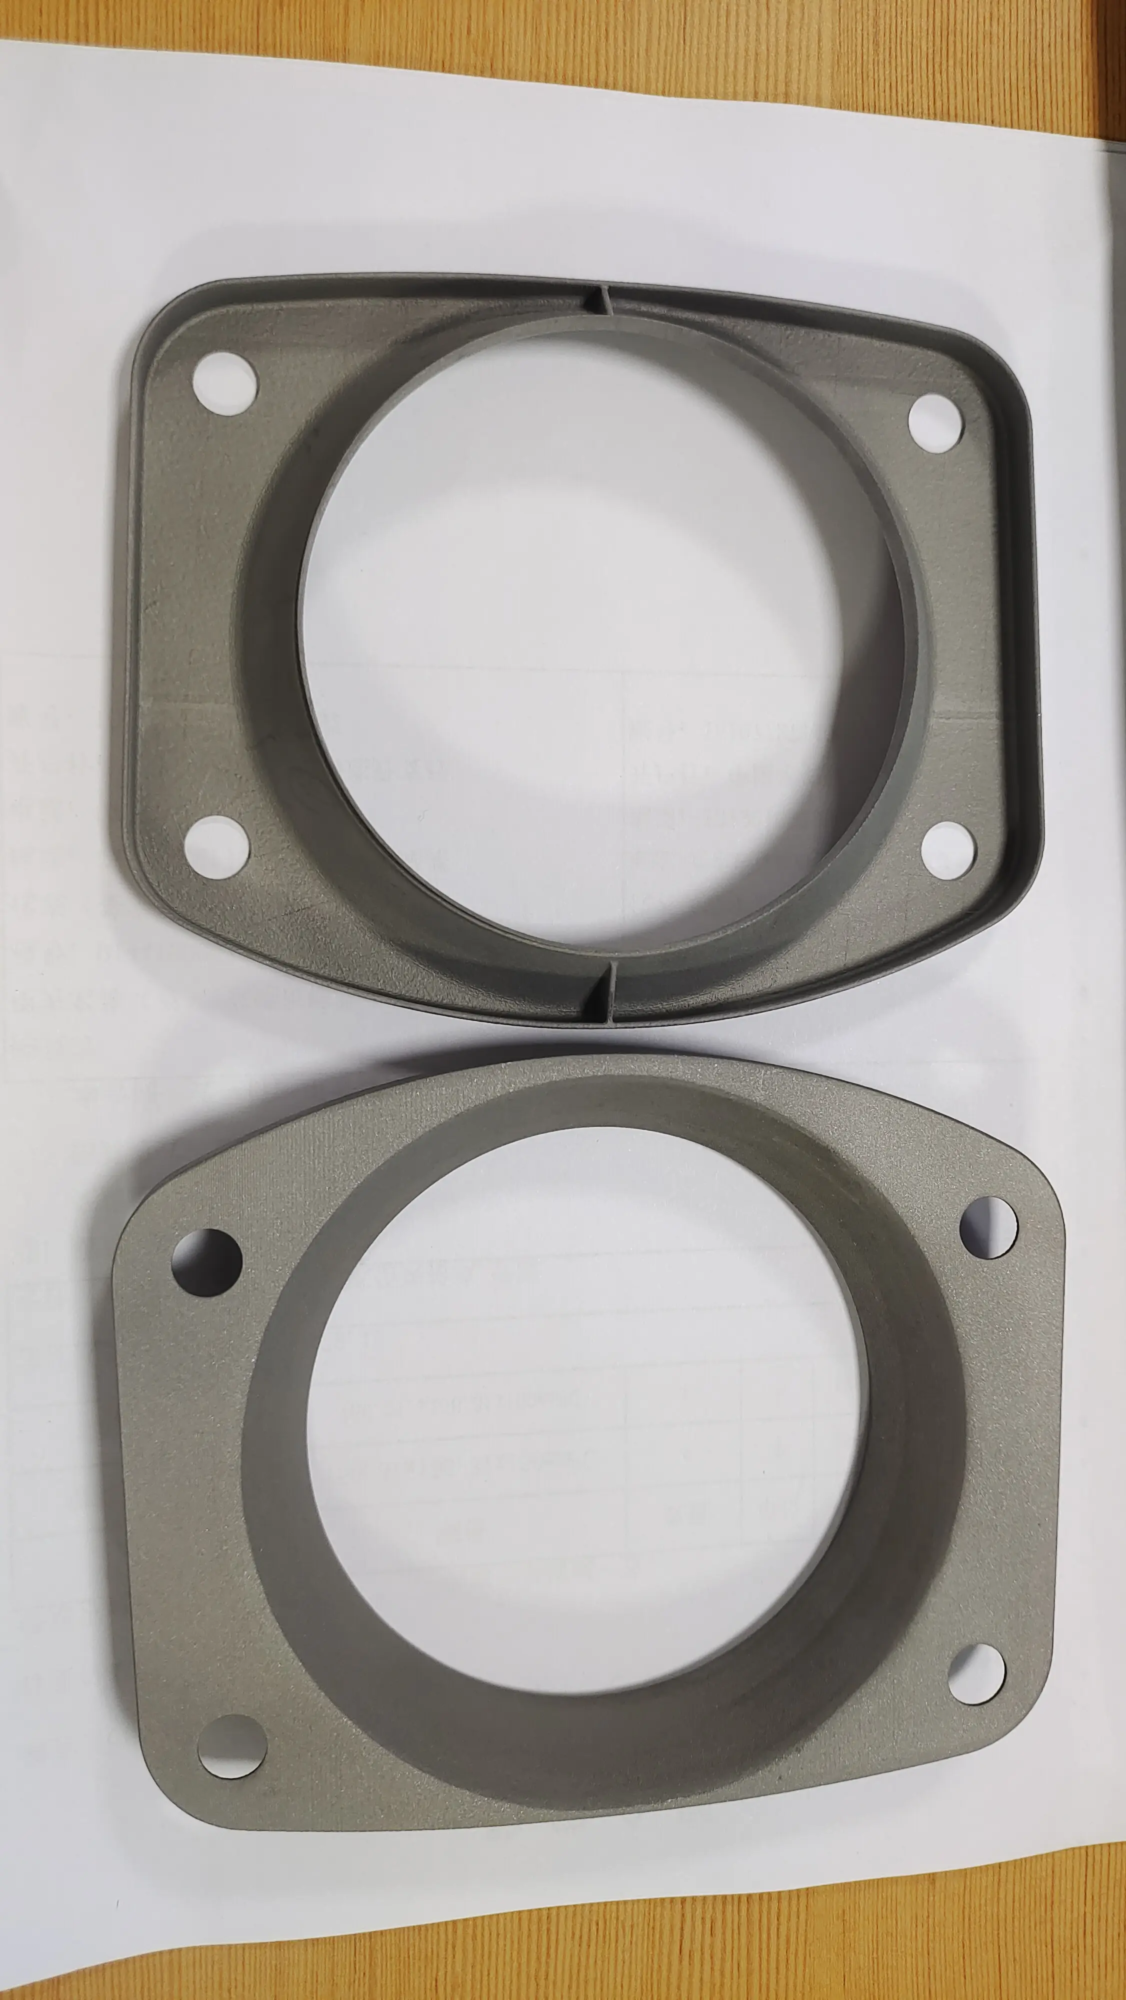
- End-to-end excellence: In addition to printing, Greatlight offers a comprehensive one-stop Post-processing and completion of services – Includes precise machining support, meticulous heat treatment, targeted CNC machining improvements, flawless polish, amazing coatings or aesthetic powder coatings – Make sure the metal pencil stand is a true masterpiece that can be displayed or given away.
- Speed and customization: Fast delivery times and dedicated engineering support ensure your vision effectively becomes an effective, high-quality reality.
Whether starting with simple plastic prints or craving a unique piece of metal sculpture, your journey to the perfect pencil stand starts with design. Gremplay authorizes you to implement the most ambitious concepts in durable, amazing metal. [Explore the possibilities with professional-grade custom metal solutions today.]
Conclusion: Creatively organize through 3D printing
Creating your own 3D printed pencil stand is extremely beneficial. It turns chaos into orders tailored to your taste and needs. The process reveals the basics of 3D printing – design, slicing, printing, finishing – providing a solid foundation for more complex projects. From PLA’s quick bedside organizers to the core of metal companies carefully completed through professional services such as Greatlight (Greatlight), 3D printing offers unparalleled flexibility. Don’t just organize the table – personalize. Launch the CAD software, adjust those slicer settings, and print your way to a perfectly organized and inspiring workspace!
FAQ (FAQ)
Q: How long does it take to 3D-print pencil stand?
- one: Time varies greatly. A simple little (4" High 2.5" Diameter) The PLA bracket can take 3-5 hours to print in a 0.2mm layer. Larger, more complex or finer resolution printing can take more than 8-15 hours. Industrial metals are significantly longer printing, but are handled by manufacturers.
Q: Can I use an FDM printer to print a flexible pencil stand (such as a TPU)?
- one: Although possible, the TPU (flexible filament) is not ideal. Its flexibility makes it unable to maintain the stability of rigid tools less stable. Stick with standard holders to PLA, PETG or ABS. TPUs can be useful for dedicated grip linings in compartments.
Q: My printed parts keep bent from the bed or around the corner. How can I solve it?
- one: Warpage is usually caused by poor bed adhesion and uneven cooling. Solution: 1) Ensure that the bed is impeccable. 2) Clean the bed thoroughly with IPA. 3) Use edges. 4) Slightly increase the bed temperature within the filament limit. 5) Pack the printer to minimize draft/cool air. 6) It may increase the initial bunk bed temperature or add mouse ears (small discs) to the corners of CAD.
Q: Are 3D printed pencil stands suitable for children or daily use?
- one: PLA holders made with correct settings (enough wall thickness, sufficient fill) – for example, 3 walls, 20% fill) are very durable for normal desktop use. They can withstand dripping from the height of the table to the hard floor compared to cheap plastic injection holders. Avoid prolonged exposure to very high temperatures (> 60°C). Metal printed brackets exceed standard durability expectations.
Q: Can I make a pencil stand without knowing CAD?
- one: Absolutely! Many online repositories like Thingiverse, Prinbables, and Cults3D offer thousands of free (and paid) prefabricated pencil holder designs ready to be downloaded and printed as STLS. Search, download, slice and print!
- Q: When is a professional metal 3D printing (e.g. from Greatlight) for pencil stands?
- one: Consider professional metal printing:
- Advanced aesthetics and durability: Desire for truly high-end, permanent heirloom quality and is resistant to heavy wear and tear.
- Highly complex and artistic design: Complex geometric shapes (internal lattice, organic shape) cannot be achieved through injection molding or FDM printing.
- Functional metal characteristics: Conductivity, magnetic properties, extreme heat resistance, biocompatibility or significant weight are required.
- Company Brand: Create unique high-value branded gifts or executive desk accessories with metal customization options such as engraving, polishing or gold plating.
- Materials specialization: Specific industrial alloys are required to implement properties other than plastic functions. Greatlight’s prototype expertise ensures these complex, high-quality results.
- one: Consider professional metal printing:


