Making a Colossus: Your Final Guide to 3D Printing Warlord Titans
Warhammer 40,000’s iconic warlord Titan is more than just a miniature. This is a possible towering symbol of the empire. For enthusiastic amateurs, the dream of realizing this behemoth often clashes with the price of the official toolkit. Enter 3D Printing – A revolutionary way to build your own God machine. However, printing a model with a height of more than 60 cm, with sophisticated Gothic details poses a unique challenge. This guide delves into the journey for expert insights to transform your vision into plastic (or metal!) reality. We will also explore how to work with experts like this Great You can lift your project from a tough dream to a desktop victory.
Understand the scale of ambition
The Warlord Titan represents the pinnacle of Imperial Fighter Engineering – it is ambitious to convert it into a 3D printing model:
- Pure size: Components span hundreds of millimeters and require careful printing, adhesion, warping and structural integrity.
- Complex details: From gorgeous armor plating and rolling pieces to weapon barrels and joint mechanisms, capturing the essence requires high resolution printing.
- Structural load bearings: Legs, hips and weapons arms must support the weight of weight without crashing, requiring a strong design or internal reinforcement.
- Assembly complexity: Printed in dozens, if not hundreds, subassemblies, precise alignment, firm bonding and delicate gap filling are crucial.
The Blueprint of the Behemoth: The 3D Printing Process
1. Model acquisition and preparation:
- source: Get high-quality design STL files from well-known creators. Beware that free models often lack proper scaling, engineering or printable details.
- Slicing strategy: This is very important. Using advanced slicers (e.g. Lychee, Chitubox, Prusaslicer)
- Split wisely: The model is divided into printable segments based on the amount of build of the printer. Plan seams along natural panel lines for easier hiding.
- Optimization direction: Position the parts to minimize overhangs (reduce support) and ensure structural loads running parallel to the strongest layer lines. Planar surfaces like armor panels are usually printed vertically.
- Generate support: User manual or optimized automatic support. Intensive, hard to escape support details can cause heartbreak. Tree-shaped or conical support is generally preferred.
- Zoom: Carefully check the assembly scale with the official dimensions (usually 1:110).
2. Material and printer selection:
- Resin (SLA/DLP/LCD): The main choice for details. advantage: Surface Surface Surface Surface Surface Surface Surface Surface Surface Surface Surface captures details. shortcoming: Crispy, potentially warping on large flat parts, post-processing smoke/cost.
- Respected: Rugged/durable resins (such as Siraya Tech Stubborn Mix, ABS-like resin), high temperature resins (for stability), special ceramic/engineering resins for extremely high durability.
- FDM (Filament): For huge sizes for budgets. advantage: Stronger (lateral), cheaper per kilogram, with a wide range of material options. shortcoming: The visible layer lines require extensive post-treatment/sanding, with loss of detail.
- Respected: ASA/ABS (higher temperature resistance), PETG (toughness, ease of use), redesigned nylon mixture (strength).
- Printer requirements:
- Resin: Large format MSLA printers (Preferred for Mono LCDs) are essential (e.g., Anycubic M3 Max, Elegoo Saturn series, Phrozen Sonic Mega).
- FDM: Corexy printers have excellent rigidity and large beds (e.g., rat rig V core 3, Voron built, large debris/Prusa models). Dual Z, heating chamber (for ABS/ASA) and fine nozzles (0.4mm or smaller detail layer) are beneficial.
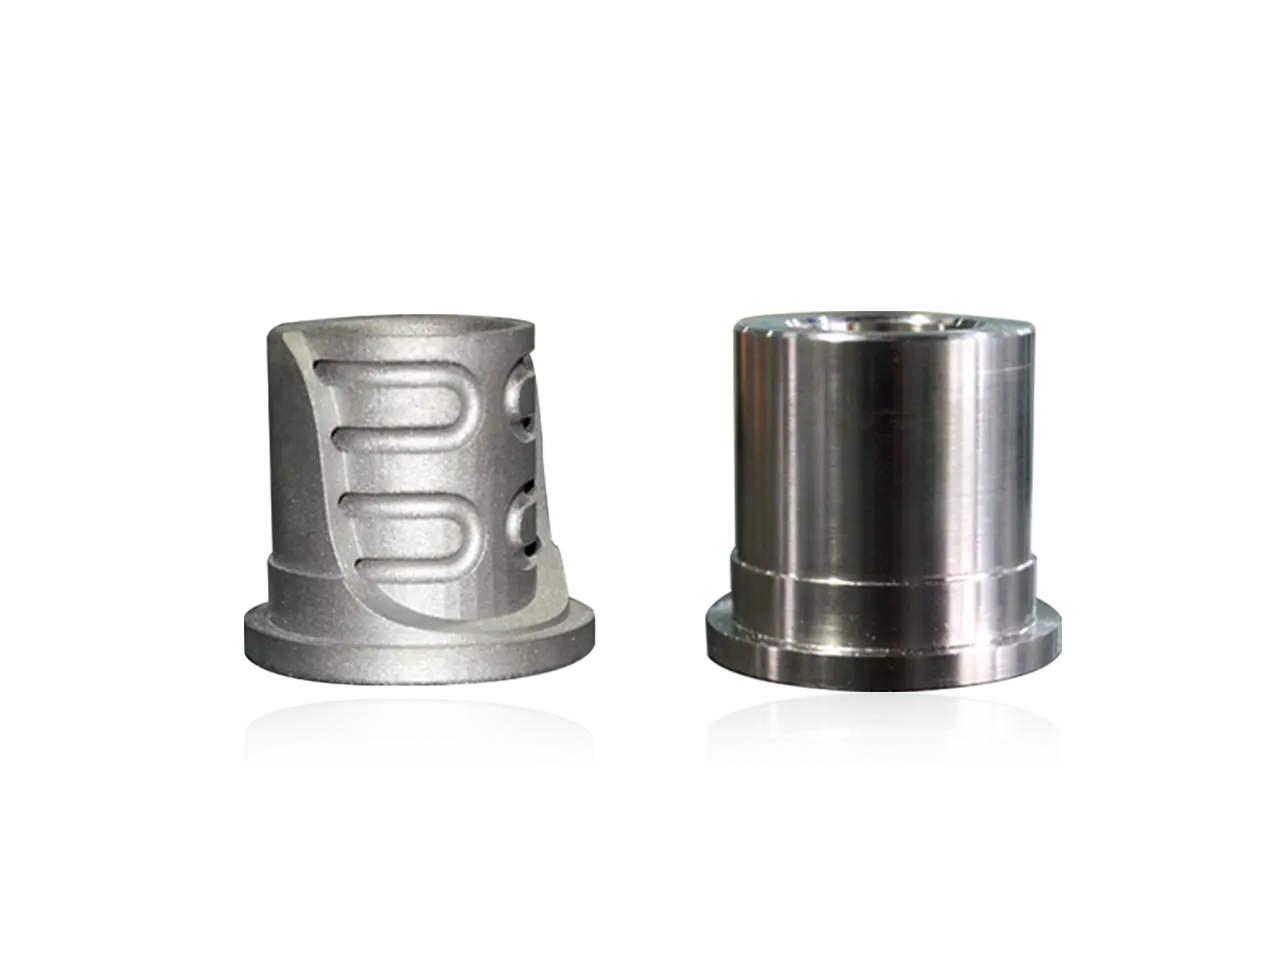
- Enter metal? Although the core is usually plastic, consider Metal reinforcement Used for critical joints, weapon barrels or custom hydraulic pistons. This is a professional place Selective Laser Melting (SLM) Service shine. The company likes it Greatequipped with advanced SLM and other metal 3D printing technology, can produce customized titanium, stainless steel or aluminum components that provide unparalleled strength, heat resistance and weight savings for pressure components. They ensure precise design of these custom metal inserts to integrate seamlessly with printed plastic structures.
3. Crucible: Printing execution
- Calibration is King: Bed, Exposure Test (Resin), E steps, PID Adjustment (FDM), Flow Rate – Perfect These forward Perform titan-sized prints. Waste resin/fiber costs soar on this scale.
- Adhesion: Ensure perfect build board preparation. Rafts, edges and complex base plate textures are crucial with warping forces. Many large FDM parts benefit from active chamber heating.
- Resin Printing: Layer height (25-50 micron details), lift speed, rest time, Support location – Each setting affects success. Avoid sucking in the cup and ensure effective resin drainage. Rotate the parts slightly to reduce peeling force.
- FDM Printing: slow down! Printing speed is 40-60 mm/s mass. Critical structural components may require higher temperatures and 100% filling. Consider designing inside hollow legs or printing internal spar or box structure.
4. Post-processing and assembly (Titan shape)
- Supports disassembly and cleanup:
- Resin: Clean thoroughly (IPA, bio-crystal caster cleaner), carefully cure (avoid fragility), and then carefully remove the support. It is crucial to flush the cutting machine and needle files.
- FDM: Grab a lot of support and embrace a lot of polishing. Starting rough (120-220 particle size), progressing to fine (800+ gravel). Fill the blank gap/print lines with fill putty or resin mixture.
- assembly: Accuracy is not negotiable.
- Dry and get together everything Before applying adhesive.
- Use high strength adhesives: plastic cement (PS/ABS), epoxy resin (strongest bonds, slow curing) or professional Ca Glues+S with gap filling characteristics (resin). Pin joint with brass/metal rods for critical load connections.
- Fill the gap with putty (e.g., tamiya, perfect plastic greasy putty) and radiate the sand smooth. This step greatly affects the final appearance.
- Start and Painting: Use a high fill primer. A multi-layer coat is better than a thick coat. Acrylic (a highly recommended spray gun) layered on the primer to provide the best lunar Walker finish. Don’t forget the iconic dangerous stripes and heraldic emblems!
Why collaborate with professionals? Improve Titan with Greatlight
Despite the exciting DIY journey, the printed masterpiece-class warlord Titan often pushes hobby equipment and time limits to its limits. Greglight, a leading rapid prototyping manufacturer with advanced SLM and SLS capabilities and comprehensive post-processing servicesproviding compelling advantages:
- Overcome scale/density limitations: Print huge and complex components, exceeding consumer printer volume. Greatlight’s industrial machinery handles projects that most enthusiasts can only dream of.
- Material expertise beyond the norm: Need professional engineering resin, high performance nylon (SLS) or Customized metal reinforced parts through its precision SLM service? Gremply offers access and mastery for a vast portfolio of materials, including rapid metal prototyping.
- Unrivaled accuracy and repeatability: Industrial grade machines guarantee dimensional accuracy and consistent quality of all Titan parts.
- Professional post-processing: Save countless hours. Greatlight offers expert support for removal, precision machining (for metal parts), industrial grade grinding/bead blasting, steam smoothing (for resin/some silk), finishing, and even custom painting services.
- Speed and reliability: Leverage its production capacity to turnaround times on critical components, especially those within complex metals.
- Project support: Their team tackles technical challenges – optimizing files for printing, designing load-bearing structures or creating custom metal reinforced components that fit perfectly with plastic parts.
Conclusion: Forge your legend
3D printing of the warlord giant is a huge undertaking – the labor of true love requires patience, skill and technical understanding. From ensuring perfect model files to mastering the complexity of slices, material selection and printing giant components, and conquer post-processing and assembly marathons, every step is crucial. While achievable solos, challenges of scale, detail and structural integrity are often found in collaboration with professional rapid prototyping partners Great Strategic advantages. They gain industrial hardware, vast materials science expertise, metal printing capabilities (Especially the key reinforcements of SLM), a comprehensive collation service can turn tough tasks into simplified operations to ensure your Adeptus Titanicus God-Machine stands tall, imposes and is ready to clear the heresy. Embrace the challenge, mate smartly, and forge the Titans!
FAQ: 3D Print Your Warlord Titan
Q1: What is the best material for 3D printing the entire Warlord Titan?
A: No single "The best," It depends on priority:
- Ultimate details: Highly detailed resin (DLP/MSLA) such as Siraya Tech Blu or Phrozen Aqua 8k Gray. The best finish for the printer.
- Durability/slightly small details: Hard resin Mix (such as Siraya Tech Stubborn + Mechanical Mix) or Engineering resin. It is crucial for legs/joints.
- Large and affordable: FDM with PETG or ASA/ABS. It requires a lot of patches/filling, but is stronger than resin and is cheaper per kilogram.
- Key reinforcement: Metal (SLM/SLS options such as steel, titanium, aluminum). Ideal for joints, weapon barrels, internal brackets. Consider working with these custom metal parts.
Q2: How long does it take to print a copy?
Answer: Support yourself. Print time alone It’s easy to surpass 200-500 hours Spread multiple large components, even with multiple printers. A lot of post-treatment (support cleaning, cleaning, gap filling, sanding, primer, painting) is easy to add 100-200+ hours. Consider a few months, not weeks, for a high standard individual project.
Q3: Can I really print a warlord giant on a regular 3D printer?
A: Technically "Yes," But strictly restricted:
- Resin: You need one Large format MSLA printer (For example, Saturn is size or larger). A small Saturn/phrozen 4k can be printed partbut the core components (trunk, legs, feet) may be a big one.
- FDM: Need one Big bed Corexy printer (For example, 300mm x 300mm+ bed) has excellent stability and can handle high prints without artifacts. Most of the FDM twists are a big battle.
judgment: Home printers can contributebut build one Complete, stable Unit Titan often requires a large number of distribution models or upgrades to a production/large format device. Professional services such as Greatlight handle size effortlessly.
Question 4: Which post-processing steps are absolutely essential?
A: Skipping these will display:
- Delete and clean up in detail: Any residue or scratches will damage the basic surface.
- Gap filling and seam smoothing: Putty is essential to add the portion. For FDM, polishing is not negotiable and is very important for resin connection.
- start up: The necessary conditions for painting to adhere and reveal/hide surface defects. High build primer helps.
- Fixed structure: For any important load bearing joints (hip, ankle, weapon arm) – drill and insert metal rods (brass, steel), bonded with epoxy.
Q5: Why can I use a service like Greatlime instead of printing my own?
A: Gremight offers important advantages specific to such a large, challenging project:
- Overcome technical limitations: Print a large number of components on a consumer machine.
- Material mastery: Use durable engineering materials (industrial resin, nylon) and Precision SLM metal printing Used for critical reinforcements.
- Professional surface: Achieving a certain level of surface quality and dimensional accuracy at home (especially for metal parts). Their post-processing has been eliminated "DIY appearance."
- Time and risk reduction: Rapidly accelerate production and unload the most technically demanding aspects for experts to reduce waste and reprint risks.
- Complete solution: From prototype challenge parts to complete pre-assembled sections and professional finishes, including custom color matching on metal components.
Open up your Titan project with a challenge, but be guided by the knowledge and potential partnerships of Greatlight Elov. Happy printing, commander!


