Comprehensive Guide to 3D Printer Pull Testing: Diagnostics and Solutions for Perfect Prints
Have you ever admired the results of a 3D print fresh off the printing platform, only to find that the surface was covered in tiny plastic hairs, cobwebs, or specks? that is Threading (or "ooze"), one of the most common and annoying problems in FDM/FFF 3D printing. While this can be frustrating for hobbyists, it becomes a critical quality issue in professional applications, especially for rapid prototyping where dimensional accuracy and surface finish are critical. This guide goes in-depth, diagnoses by performing a threading test, and effectively eliminates this hassle. GreatLight is a leading supplier of precision rapid prototyping and metal additive manufacturing, leveraging strict process controls, including solving problems like large-scale wire pulls, to deliver flawlessly functional prototypes and end-use parts.
Why String Pulling Happens: Understanding the Dilemma
Drawing occurs when molten filament continues to be extruded ("slime") passes through the air from the nozzle during non-printing stroke movements. Tiny strands of material solidify in mid-air, forming characteristic ropes or spider webs between different parts of the model or in the gaps. The root cause always comes down to an imbalance in temperature, pressure, or retraction mechanism:
- High printing temperature: Overheated filament becomes too liquid and tends to drip.
- Insufficient retraction settings: Not enough retraction distance or speed to pull enough molten filament back to the hot end, leaving a spot ready to drip.
- Retraction distance/speed too large: While trying to prevent stringing, too much retraction can cause clogging, grinding, or air being sucked in, causing other defects or rattling in the extruder.
- Long distance travel: A longer distance of travel gives the exuding filament more opportunity to leak.
- Low driving speed: Slower movement also allows more time for the material to ooze out as it moves.
- Wet filament: The moisture absorbed by hygroscopic plastics (such as nylon, PETG, PVA) evaporates in the nozzle, creating pressure bubbles that squeeze out excess filaments during the movement. This phenomenon is very common and often overlooked!
Basic Threading Test: Your Diagnostic Tool
You can’t fix what you can’t measure. purpose built Threading test Designed specifically for your printer "Clean up." Rather than printing complex, time-consuming models, it effectively isolates problems by forcing extensive movement between simple towers or points. Popular versions include:
- Two Pillars/Pyramid: Simple vertical towers are placed on the build plate at intervals of a few millimeters.
- Single point testing (e.g. "Super pull test"): Having a cone, point, or thin wall with increasing distance from the center point, forcing the travel to move different lengths. This can help diagnose whether the string action is worsened by longer movements.
- Temperature tower with guyed section: Often integrated into a temperature calibration tower to simultaneously visualize the interaction between print temperature and stringing severity.
The goal is not to create a beautiful feature; the goal is to create a beautiful feature. It is about creating a controlled scenario with repeatable travel actions where you can easily observe and evaluate quantity and nature of threading.
Performing a Threading Test: A Step-by-Step Guide
- Choose your test model: Select or download a simple stringing test model compatible with your microtome. The two-pillar test is a great starting point for beginners.
- Started with "safe" set up: Load dry, known good filament. Use the baseline printing profile for this filament (based on manufacturer recommendations or generic PLA/PETG settings).
- Slice the model: Import STL into slicer. Crucially, Disable any retraction settings. Print one layer height (0.15-0.20mm works better). Slower print speeds (e.g., 40-50mm/s) will initially produce sharper results.
- Print and observe: The printer should move quickly back and forth between the tops of the pillars without squeezing When moving. Watch carefully for leaks during travel. While some minimal “wisps” may be acceptable for non-decorative parts, thick lines/spots are problematic.
- Enable retraction: Slice the model again, this time with retraction enabled. Use typical starting values (for example, for PLA on Bowden: distance: 5 mm, speed: 40 mm/s; for direct drive: distance: 1 mm, speed: 40 mm/s).
- Print and compare: The strings should be significantly reduced or gone. If not, you know the retraction needs adjustment. Continue printing variations.
Calibrate the printer to eliminate string pull: Adjust
Based on your test results, systematically adjust one setting at a time and rerun the test:
- Retract distance: Major adjustments. Not working? Increase 0.5-1mm (Bowdoin) or 0.1-0.5mm (direct drive). If grinding occurs, your height is too high. Pull cord only slightly reduced? increase again. Aim for minimum effective distance.
- Retraction speed: Second adjustment. Residual wisps or spots? Increase speed by 5-10 mm/sec. A low speed may give the filament time to drip. Avoid extreme situations that may shock the motor or filament.
- temperature: Still threading with good retraction? Reduce the nozzle temperature in 5°C increments. Too low may result in under-extrusion. Temperature towers are great for finding the sweet spot for layer adhesion, detail, and minimal stringing.
- Driving speed: If string persists, increase travel speed (For example, from 150mm/s to 200mm/s or higher). Faster travel minimizes leakage time.
- Linear Advance/Pressure Advance (Advanced): Firmware feature proactively manages nozzle pressure to minimize leakage. Requires firmware support and tuning.
- Dry your filament: If you notice significant stringiness in a previously known-good filament, put it in the dryer overnight! Especially important for PETG, nylon, and TPU.
- Check the nozzle: Worn or degraded nozzle holes can lead to uneven extrusion and leakage.
Conclusion: The critical role of accuracy in prototyping
For anyone who is serious about 3D printing, mastering wire pull testing and its calibration is crucial. While this may seem like a minor cosmetic flaw, too much brushing on a functional prototype can:
- Damage the fit of mating parts.
- Impedes post-processing and surface finishing.
- Masking critical geometric details.
- Indicates potential process instability (moisture, worn components, poor setup).
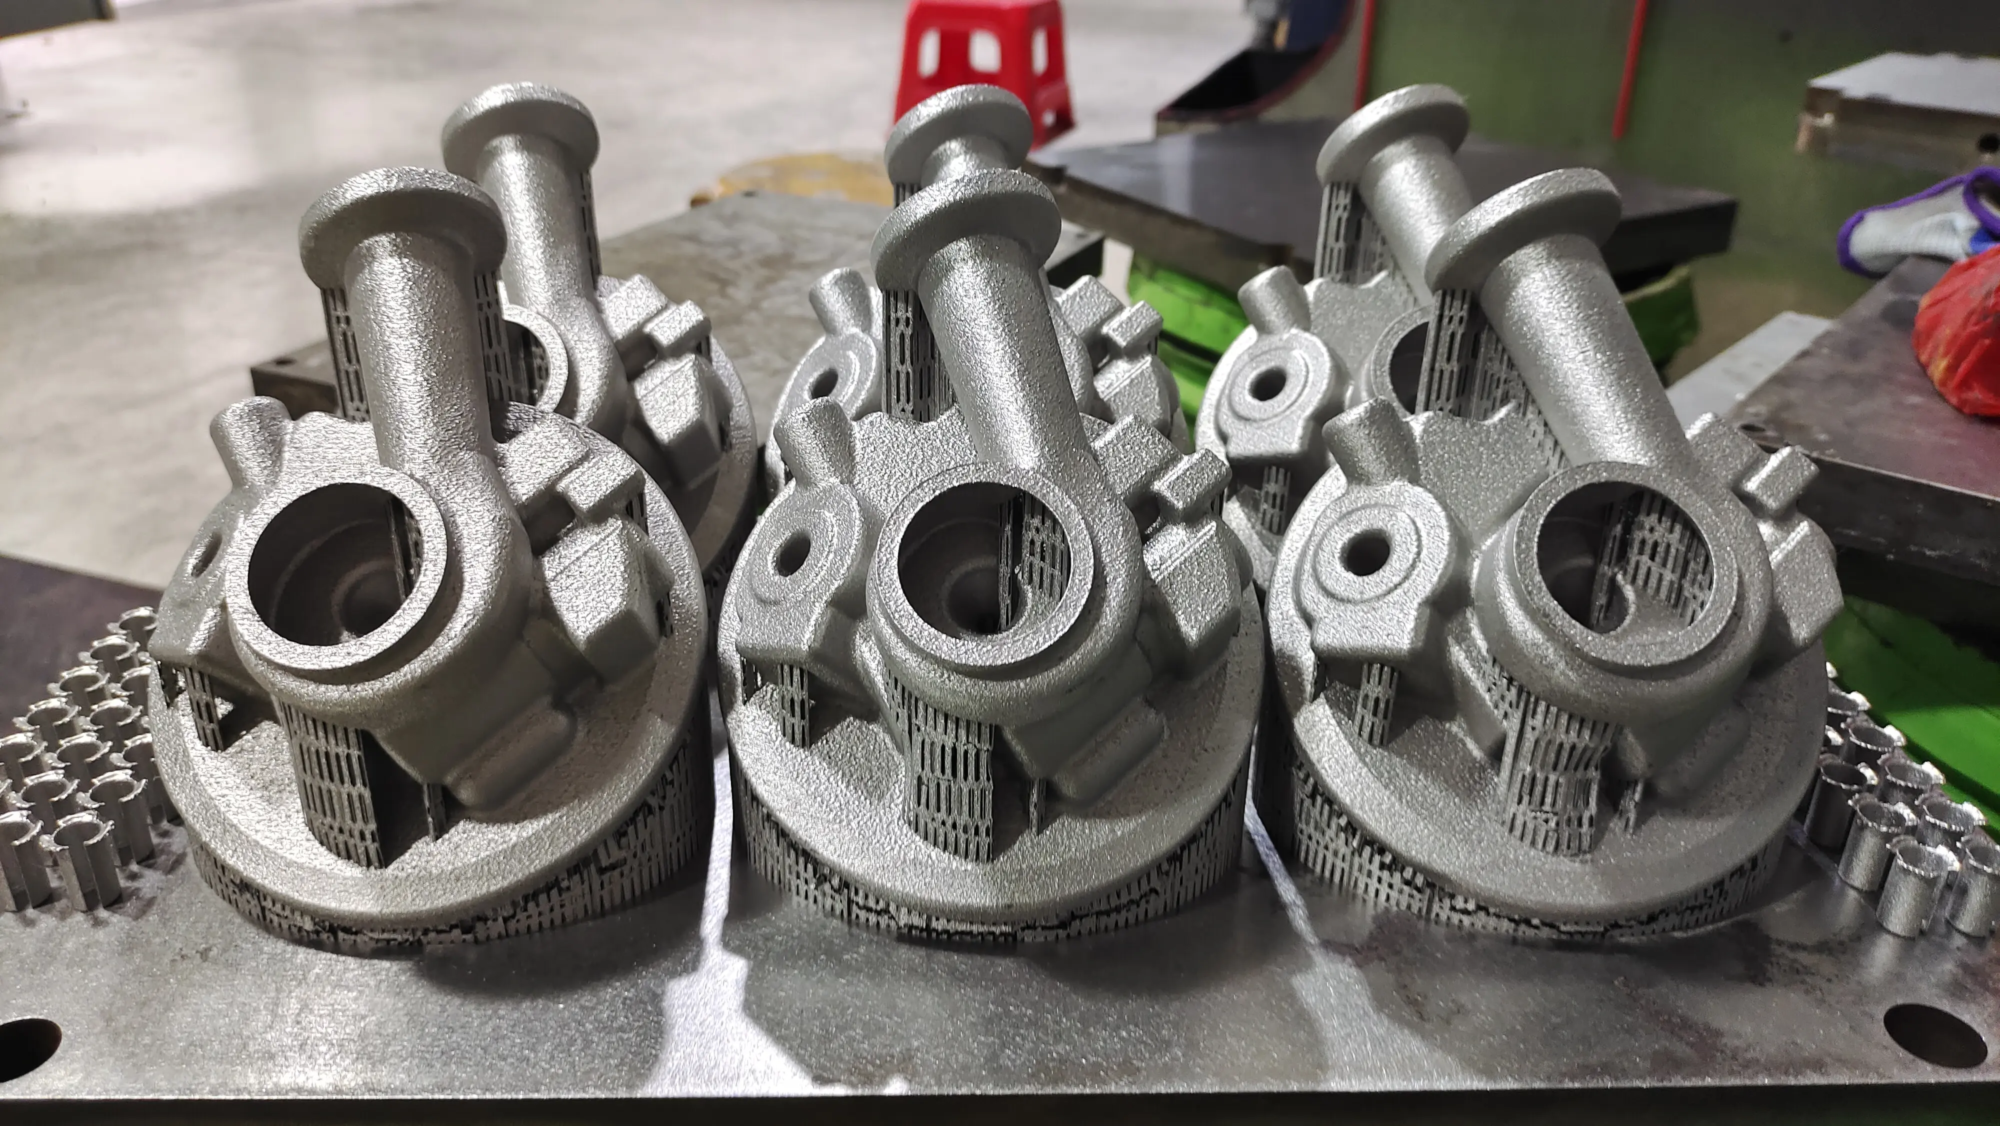
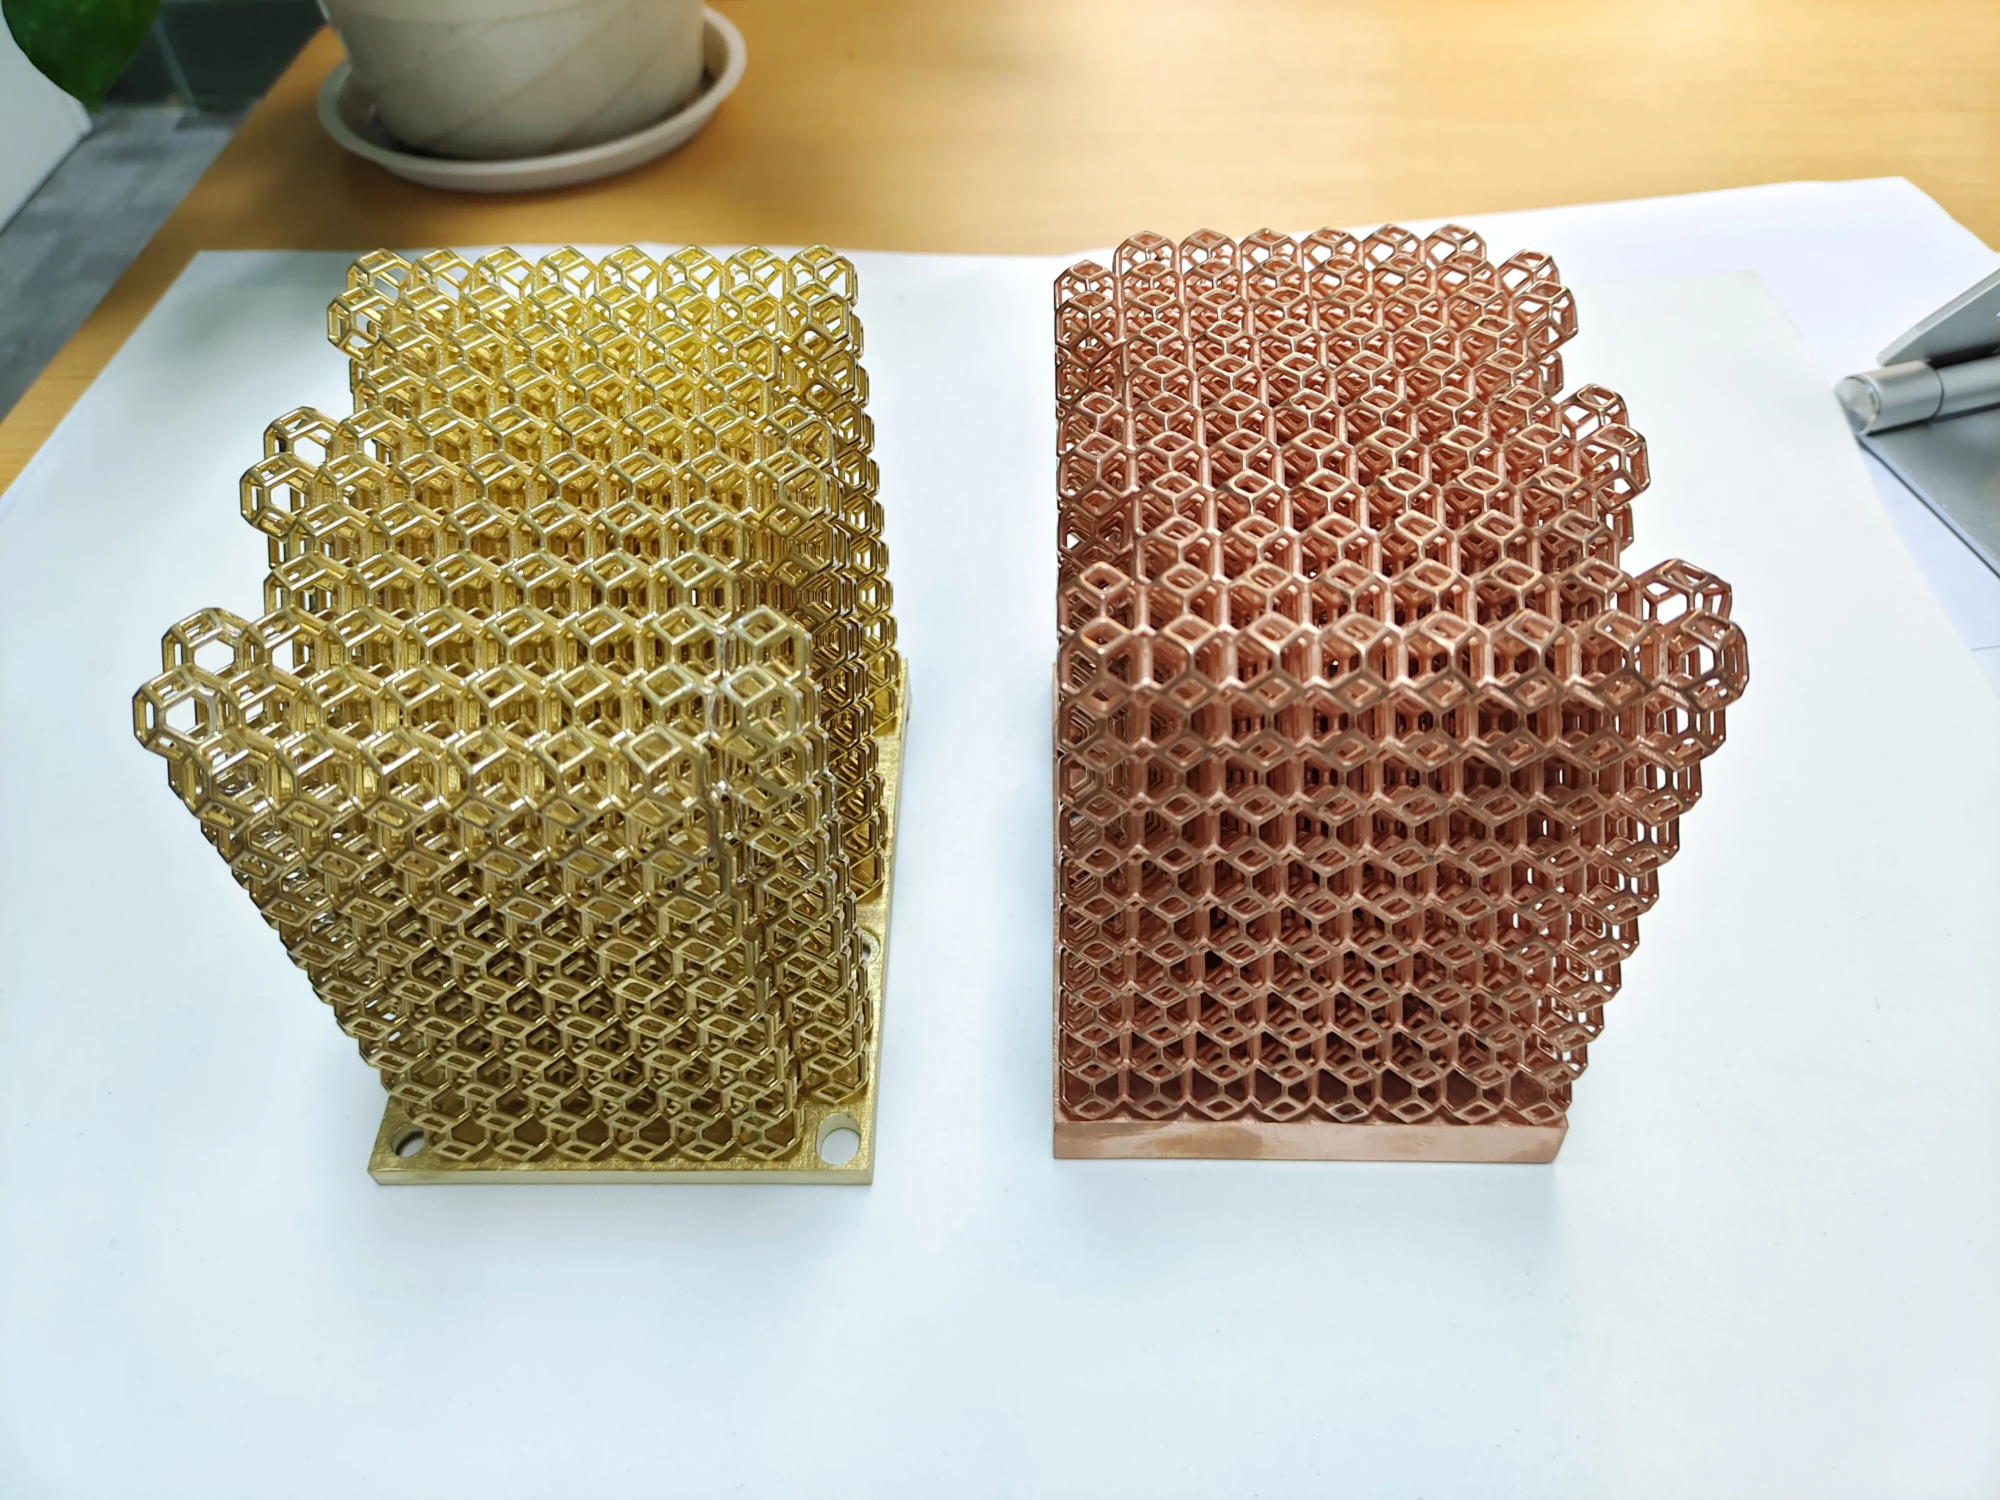
For a company like this huge lightconsistency and precision of each printed layer are non-negotiable. Our expertise Professional rapid prototypingpowered by Advanced SLM 3D Printer Precision FDM for metal parts and for polymers does more than just run the machine. It incorporates deep process knowledge and rigorous testing protocols. The factors that lead to defects like pull cord testing are systematically addressed using methods similar to pull cord testing, but amplified for industrial-grade quality control, including moisture management in our purpose-built facilities. This commitment ensures that the prototype you receive—whether a complex metal mesh or a detailed functional plastic component—meets the highest standards of dimensional accuracy and surface quality, ready for rigorous testing or final production handoff. We compare it with Comprehensive post-processing services (sanding, steam smoothing, painting, metal surface treatment), providing a true one-stop solution for your custom precision manufacturing needs. If stringing is plaguing your prints or you need parts with zero tolerance for defects, trust GreatLight’s expertise.
FAQ: 3D Printer Threading Explained
- Question: Why does PETG have more threads than PLA?
- one: PETG has a more elastic melt profile and is highly hygroscopic. Compared to PLA, it requires slightly higher retraction settings, careful temperature regulation (often lower than expected), careful drying, and possibly lower print speeds.
- Q: Yes any Is threading acceptable?
- one: For purely functional internal parts, tiny filaments may be acceptable. For visible surfaces, decorative parts or components that require tight tolerances, Zero cable pull is the gold standard.
- Q: Am I using the recommended undo settings? Why do I still pull the cord?
- one: Advice is the starting point. There are differences between every printer, hotend, extruder, and filament batch (even within brands). Your environment (humidity) also plays a role. Calibration via a pull test is always necessary.
- Q: Will a dirty nozzle cause stringing?
- one: Indirectly, yes. A clogged or degraded nozzle (burning, wear) can destroy smooth extrusion pressure and retraction. Clean or replace suspect nozzles.
- Q: How do I prevent wire pulling without excessive retraction?
- one: Optimize temperature (print as cold as possible while maintaining layer adhesion), maximize safe travel speed, dry filament carefully, and consider linear/pressure advance adjustments. The path of travel in the slicer is shorter ("combed" Patterns can help limit movement within a print) and also reduce opportunities.
- Question: Why did my printer suddenly start to pull the cord when it was working fine before?
- one: Suspect Filament moisture First – especially PETG, nylon, PVA, or if the filament has been exposed to humid air. Also, check for worn nozzles, slipping extruder gear tension, or blockages affecting retraction.
- Q: As a rapid prototyping service, how does GreatLight ensure parts don’t string, especially with complex geometries?
- one: We leverage deep materials science knowledge, rigorously refined process parameters developed for specific printer-consumable combinations, rigorous pre-printed filament drying protocols, and regular printer maintenance and calibration programs. We also use expert visual inspections and employ targeted post-processing techniques to address any potential defects. Our focus is on delivering dimensionally accurate, fully functional prototypes without workmanship-induced defects every time.
Conquer the strings and achieve consistently clean prints! Practice this approach and when your prototyping needs quality assurance, don’t hesitate to contact professionals like GreatLight. Customize your precision rapid prototyping project with us today.


