Unleash the Legend: The Final Guide to 3D Printing Bigfoot
Bigfoot. Sasquatch. The lasting symbol of the mystery of the wilderness. For decades, this elusive giant has attracted imagination. Now, with the power of 3D printing, you can bring this legendary creature into your own workshops, turning digital myths into tangible reality. Whether it’s a sculpture that starts a conversation, a unique educational tool, or the core of your stealth collection, 3D printing Bigfoot offers exciting challenges for manufacturers at all levels. This guide will take you through the entire DIY process and explore options when you need professional muscle.
Why 3D printing of Bigfoot?
In addition to the purely cool factor, the trend of 3D printing Bigfoot is several:
- Manufacturer Challenge: Engraving complex organic forms, especially large forms, test designs, slicing and printing techniques.
- Personalization: Create your unique explanation – the scary hunter, a curious observer or a stylized cartoon version.
- Education and Storytelling: Very suitable for igniting discussions about folk literature, biology (assuming anatomy of organisms), or environmental protection.
- Art and Decoration: Build a majestic mantel or create a diorama with a theme.
Your DIY Bigfoot Journey: Step by Step
Concept and design collection:
- Find the model: Start looking on popular repositories:
- Thingiverse & Printables: search "Bigfoot," "Sasquatch," "snowman" For numerous free designs, from simple figurines to detailed busts.
- myminifactory&cults3d: Find more detailed advanced (repeatedly paid) models made by skilled artists here. Expect complex fur textures and dynamic poses.
- debug: Need something truly original? Hire 3D artists on platforms like Fiverr or Upwork to model your specific Bigfoot vision.
- Consider scale and complexity: Is it a desktop mini (10-15 cm high) or a life-size bust? Larger prints mean separating the models. Evaluate the level of detail – Highly detailed fur will require significant post-treatment by a resin printer or FDM.
- Find the model: Start looking on popular repositories:
Select your technology and materials:
- FDM (Fusion Deposition Modeling):
- advantage: The easiest to obtain, affordable filament, suitable for larger prints (if split and assembled), powerful.
- shortcoming: Visible layer lines; it is difficult to obtain fine fur details without post-treatment; it is prone to warping/material problems on large planes.
- Recommended materials: PLA (simplest, good details), PETG (sturdier and more suitable for outdoor display), ABS/ASA (higher heat resistance for outdoor use, requiring closed printer and ventilation).
- SLA/DLP/LCD (resin printing):
- advantage: Excellent detail capture (perfect for fur textures and facial features), ultra-smooth surface.
- shortcoming: Resin is more expensive and fragile; limited build volume (large bigfoots must be divided into many small parts); requires chaotic post-processing (washing, curing) and good ventilation/safety equipment.
- Recommended materials: Standard plant-based resin (good details, economical), strong/durable resin (less brittle on large models).
- FDM (Fusion Deposition Modeling):
Slicing successfully:
- direction: Optimize to minimize support or place it in less obvious areas. Avoid unsupported overhangs, especially on facial features.
- support: It is essential for complex postures. Tree support can usually minimize damage to vulnerable areas. Adjust the contact point size (small = less scar).
- Layer height: For FDM: 0.1-0.2mm details. For resin: 0.03-0.05mm is typical.
- filling: 15-25% is usually enough for decoration. Add structural parts or installation/hanging. Use capability or cubic strength.
- Adhesion: Plate bonding is performed using edges (FDM) or rafts (FDM/SLA), especially in the case of large footprints of ABS (e.g. ABS) or ICF filaments.
- Wall thickness/shell: There are at least 2-3 peripheral FDM strengths. Minimum wall thickness of 1.5-2 mm is recommended for resin parts.
- Model section: For the construction of large bigfoot (life size, full picture), carefully divide the model into key/pin sections for alignment. Plan to be in places where the seams can be hidden or easily filled later (used along the spine or contour).
Print run:
- FDM: Carefully flatten the bed. Ensure the optimal temperature of the wire. Monitor the first layer of adhesion. Consider adding temporary support to long parts such as limbs. The printer is closed for use with critical temperature wires such as ABS.
- Resin: Make sure the resin mixes well. Check screen exposure and projector calibration. Use effective support to prevent islands and reduce suction on the FEP membrane. Clean long prints between VAT.
- Post-processing magic:
- Clear and clean: Be careful to remove the support. Clean resin printing (IPA or dedicated washing station); completely cured under UV light. Sand FDM is gradually printed (120 grain size up to 400+).
- assembly: First dry all parts. Resin with Ca glue (super glue); PLA/PETG specific glue, epoxy or carefully applied acetone (ABS only). Secure large pieces inside with pins or metal rods.
- Perfect surface: Fill the seams and layer lines with fill putty or resin. The sand is smooth. Start (Fill Primer is perfect for FDM) to create a uniform surface for painting. Use a spray gun or spray can for even primer.
- Paintings and details: Acrylic paint is ideal. Primer > Shadow/Highlight > Details. Washing can bring out the texture of the fur. Sealed with matte or satin varnish for protection.
When DIY reaches its limit: Professional advantages
Despite being the charm of DIY, some Bigfoot ambitions push the boundaries of family workshops:
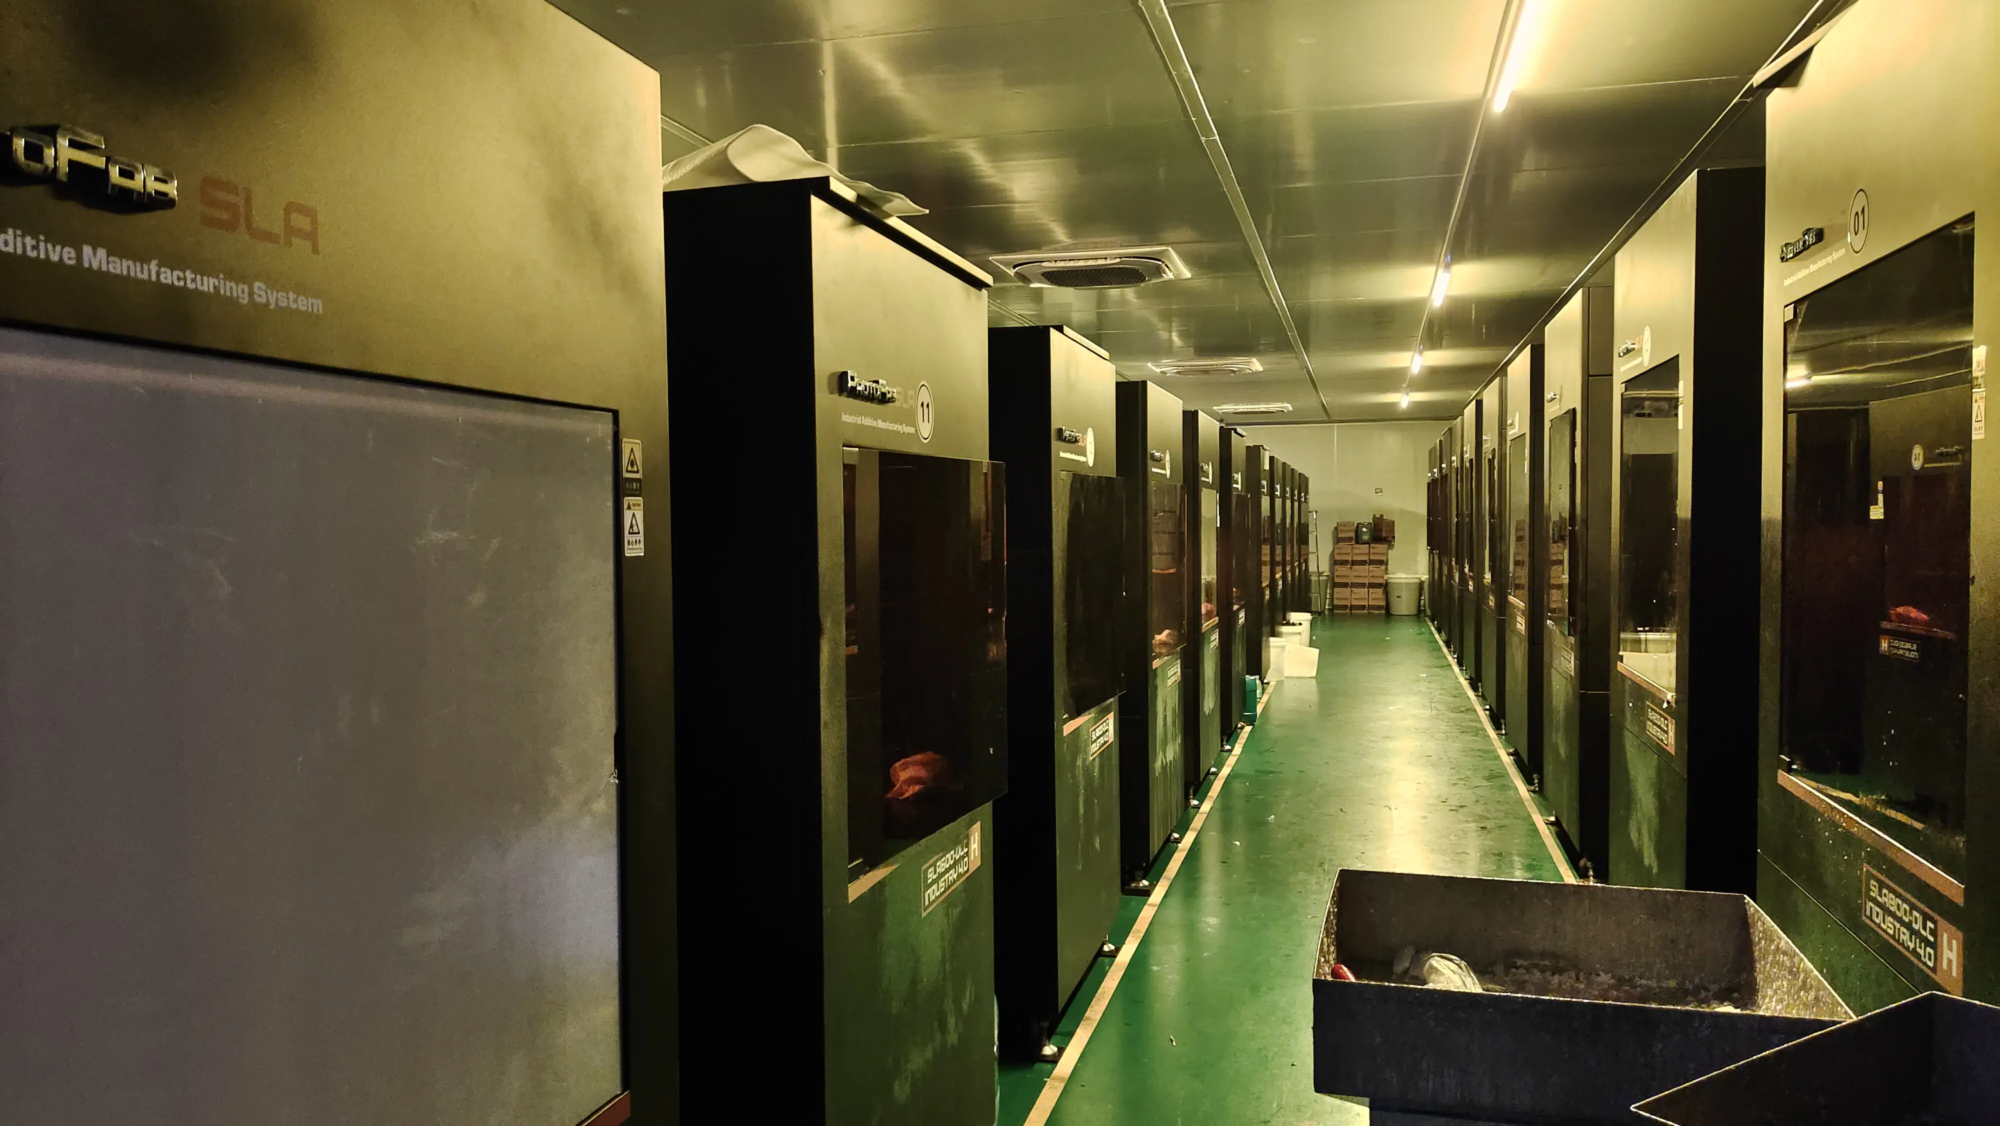
- Large-scale: Dreaming of towering museum-quality Bigfoot? House printers have quantity limits. Greglight specializes in large-scale additive manufacturingovercome the limitations of home printer tool size through industrial-grade SLM printers. They can print large, highly detailed parts and prepare professionally completed.
- Unrivaled details and power:
- Metal je under: Want a patina sasquatch or a sturdy aluminum core piece to withstand the elements? Greglight’s Advanced Selective Laser Melting (SLM) TechnologyThis is a high-precision metal 3D printing process that combines metal powder into one layer to create incredibly strong, complex metal parts – perfect for permanent, durable sculptures or custom accessories. This material and complexity is inaccessible to home printers.
- Perfect surface quality: It takes a huge labor to achieve a showroom-quality finish from home FDM printing. Greglight offer Comprehensive one-stop post-processing and sorting services – Professional polishing, polishing, steam smoothing, coating (powder coating, electroplating, painting), the aesthetics that can be produced directly on the printing bed.
- Complex materials and precision: Need a special metal alloy, ceramic or high temperature plastic designed for demanding applications such as outdoor art? Gremply provides usage and expertise A variety of customizable materialsextrude with the complex details required next to the sculpture or the high precision required for functional prototypes.
- Time limit: Large and complex prints require dozens or hundreds of hours of consumer machines. Outsourcing reduces downtime on your own machines, bringing expertise and high-speed production technology.
As One of the major rapid prototype companies from ChinaGreatlight specializes in solving complex metal parts prototype challenges with its professional equipment and expertise. They transform complex digital designs efficiently and cost-effectively into powerful physical reality, providing Quickly customize at competitive prices. For projects that ambitions exceed home machines – scale, durability, material complexity or time sensitivity – leverage this professional 3D printing service to become a strategic choice to guarantee excellent results.
[Call to Action Integration – Natural Placement]
No equipment or time for a large-scale legendary version? Focus on design and let professionals handle manufacturing. For complex query or custom accuracy requirements, especially in metals, Greatlight provides expert solutions. Now customize your precision with their team of experts at competitive prices and quickly prototyping parts. Learn more about their abilities [Your Website – placeholder].
Conclusion: From myth to masterpieces
3D printing Bigfoot is more than just creating models; it’s a risk of digital manufacturing, creativity and problem solving. From carefully selecting models to fighting support and perfecting paint jobs, this process makes a lot of sense. Whether you’re making a playful desktop companion with a home printer or working with an industrial partner like Greatlight for Greatlight for Greatlight for Greatlight of Greatlight of Greatestearth Earth Atternatering Sasquatch, you’ll be involved in the modern blend of technology and legend. By following this guide and understanding when to call professional reinforcements, you can hold the ability to invent myths.
Bigfoot Print FAQ
- Q: What is the easiest Bigfoot model for beginners?
A: Look for a small (non-coordinated) standing or walking on a big foot that is below 6 inches tall in the Thingiverse or Printables. Avoid overly complex fur textures initially. PLA on an FDM printer is usually the easiest entry point.
- Q: Can I print a life-sized bigfoot at home?
A: Possible, but very challenging. You need to skillfully divide it into many large sections (maybe surpassed a typical build board multiple times), manage significant warping (especially with FDM), and face long printing times and complex connections/sanding. For best results, consider industrial FDM/SLS or consult a company specializing in large-scale printing, such as SLM or Greatlight for polymer options.
- Q: I hate polishing! How to get a smooth finish?
A: Compared with FDM, resin printing can essentially make smooth surfaces more likely to appear. FDM options:
- Choose PETG (the layers are slightly smoother than PLA).
- Print at lower heights (0.1mm or less).
- Gradually use fill primer and sand.
- PLA/PETG filament considered for sale "Relaxed sand."
- Outsource services (such as Greatlime) to services that provide professional post-processing.
- Q: My resin Bigfoot supports the remaining markings. How to avoid it?
A: Fine-tune your support settings: minimize contact tip diameter and density/number of support. The venue is strategically supported in less obvious areas. Be careful or use small files. Resin filler greasy peel is perfect for repairing deeper scars.
- Q: How do I get my Bigfoot to stand, especially if it’s big or move pose?
Answer: Internal structure is the key:
- Design phase: Includes holes (steel, aluminum or carbon fiber) for reinforcement rods.
- assembly: Insert pins/joints with epoxy glue between the connecting parts, especially long limbs or neck areas.
- Material: Use stiffer filaments (PETG, ABS/ASA) or durable/hard resin. For large models designed from the outset, professional metal printing provides the ultimate rigidity.
- Q: I need my Bigfoot to endure the outdoor weather. What materials should I use?
A: Avoid PLA (degradation in sunlight/moisture). use:
- FDM: PETG (resistance, easier), ASA or ABS (optimal UV/resistant weather, but requires careful printing).
- Resin: Resist special weather or "Similar to abdominal muscles" Resin is present, but the manufacturer’s UV stability rating is checked.
- Professional/Durable: For ultimate life, especially in large blocks, metal printing (stainless steel, via SLM aluminum) provides unparalleled weather resistance and strength.
- Q: Is outsourcing large big feet pictures really cost-effective?
A: It depends. factor:
- Your printer cost, wire consumption, power and time (slicing, printing, monitoring, post-processing).
- Large prints can consume a lot of filaments and take days/weeks. Failed printing increases costs.
- Professional services consolidate expertise, industrial-grade equipment efficiency and batch material rates. For highly detailed, large-scale or metal projects, outsourcing is often surprisingly efficient and cost-competitive, providing high-quality finishes instantly. Depending on your specific design file, contact a prototype partner (such as Greatlight) for a quick quote for accurate comparisons.


