In-depth Entertainment: Your Final DIY Guide 3D Printing Ducks
Let’s face it, there is something generally appealing about humble ducks. From companions in rubber duck bathrooms to elegant waterfowl gliding over the pond, they capture our imagination. Now, imagine bringing your own custom duck to life – not from the store shelves, but from the digital realm with a 3D printer! 3D printing of duck is more than just a whimsical project. This is a wonderful entry point to entering the world of additive manufacturing. It combines accessible design with hands-on learning, covering key steps such as model procurement, slicing, printing and post-processing. Ready to unleash your creativity? Let’s browse the whole process!
Why start with a duck?
- Simplicity and Achievability: Duck models usually have smooth curves and manageable sizes, making them perfect for beginners. They print reliably without excessive overhang or complex support.
- Instant satisfaction: The duckling model prints relatively quickly, allowing you to see tangible results without having to make a lot of days of commitment.
- Endless customization: Found a duck wearing a hat? A shaped like a rocket? Or do you want to design your own weird duckling? Very likely!
- Learn core skills: The project teaches basic 3D printing concepts: model procurement/preparation, slicer setup (layer height, fill, support), printer operation and basic finish.
- Functional possibilities: Apart from decoration, your duck can be a keychain, bathtub toy (with secure materials/seals), memorable gifts, and even part of a larger scene or game.
Collecting the Flock: What You Need
- 3D printer: FDM (Fusion Deposition Modeling) printers are the most common and accessible choices for beginners (e.g., Creality Ender 3, Prusa Mini, Bambu Lab A1). Resin printers (SLA/DLP) offer higher details, but require more safety precautions and post-processing.
- Filigree/resin:
- PLA: First choice for beginners. Easy to print, wide range, biodegradable (under industrial conditions). Great for decorating ducks.
- PETG: Stronger and more waterproof than PLA, it is suitable for functional items or bath toys (make sure to be thoroughly dry and sealed).
- Resin (SLA/DLP): Provides exquisite detail for small, sophisticated duck models. IPA cleaning and UV curing are required. It is crucial to use non-toxic skin safety resins and use rated toys if printed bathroom companions.
- 3D Model: Purchase your duck! Popular repositories include:
- Thingiverse: search "Duck," "Rubber duck," "Duck figurine." (https://www.thingiverse.com/)
- cults3d: Another important source of free and paid models. (https://cults3d.com/)
- Printable: With many high-quality planning models. (https://www.printables.com/)
- Design your own: Create unique duck masterpieces with Tinkercad (beginners), Fusion 360 or blender!
- Slicer software: This converts your 3D model (STL file) to printer instructions (G code). Popular Choices:
- Ultimaker Cura (free, multi-functional)
- Plusla agent (free, excellent profile)
- Bambu Studio/Voxeldance Tango (usually bundled with printer)
- Lychee Slicer/Chitubox (for resin printing)
- Basic tools: Side cutting machine (flush cutting machine), spatula/palette knife (for bedside), tweezers.
- Post-processing supplies (optional): Sandpaper (various sandpaper), fill primer, paint (acrylic material works well), brush, super glue (for assembly of multi-part duck), clear coat spray (for protection/gloss). For resins: isopropanol (IPA, 90%+), UV curing station (or sunlight), nitrifier gloves, safety glasses.
Step-by-step guide to 3D printing ducks
Find and prepare your digital duck:
- Browse the repository listed above and download the duck STL file of your choice.
- Import the STL file into your slicer software.
Cut into correct slices:
- direction: Place the duck on the building board. For FDM, it is usually flat on its base, which minimizes support. A slightly tilt may improve beak/head quality, but requires support. Resin printing usually requires almost always support.
- support: For FDM, enable tree or normal support when necessary (in beak, tail). For resin, be careful of the automatic generation of support – thicker at the critical point and denser near the build board. Manually add support if the slicer misses the area.
- Layer height: Lower = longer details, but longer printing (e.g., 0.15mm -0.2mm high on FDM). The resin layer height is usually thinner (eg 0.03mm -0.05mm).
- Fill density: 15-20% is usually enough to decorate the duck. If you create a functional project, it will increase intensity. Without excessive printing time, use energy or cubic fill patterns to achieve good strength.
- Edge/raft: Edges help with FDM printing bed adhesion using smaller contact areas. Rafts can be useful for tricky adhesions, but can create more waste.
- Generate G code and save to SD card/transfer to printer.
Prepare the printer and print:
- FDM:
- Make sure the build board is clean (wipe with IPA).
- Preheat nozzles and beds according to your filament specifications (e.g. PLA: ~200°C nozzles, 60°C beds).
- Carefully level the bed.
- Start printing and monitor critical first layer.
- Resin:
- Wear gloves and safety glasses! Work in well-ventilated areas.
- Make sure the build board is clean and tightened firmly.
- Fill the resin to the appropriate level. Avoid overflow!
- Start printing. Resin printing is largely unsupervised, but make sure it does not fail early.
- FDM:
- Post-processing – bringing the duck to life:
- move: Carefully remove the print from the build board.
- Support removal:
- FDM: Cut off the support with a rinse cutting machine. Peel them carefully/pull them off. Sand and scars.
- Resin: Remove the print from the build board (a scraper may be required). Soak in an IPA bath (using gloves!) to dissolve unauthorized resin. Use tweezers or rinse the cutter to gently remove the support.
- Cleaning (resin): After washing the IPA, rinse thoroughly with fresh IPA or according to the resin instructions. Allow to dry.
- Curing (resin): Place the duck at the recommended time or in the UV curing station in the sun. This hardens the resin thoroughly.
- Grinding/Filling: The sand starts with medium gravel (~120-180) and then progresses to gravel (~320-600) to fill FDM prints with layered lines or supporting scars. Filling primer can help smooth surfaces before painting. Resin printing usually requires minimal sanding unless bonded parts.
- Painting/Facial: Prime (especially FDM), then made with acrylic. Sealed with a clear coating (matte, satin or gloss) for long-lasting. Add details like eyes! If it is a bathroom toy, make sure the paint/sealer is non-toxic and waterproof.
- assembly: If your duck is printed with multiple parts (body, wing, etc.), use Super glue (CA glue) for FDM plastic parts or resin-specific adhesives to ensure proper alignment.
Conclusion: More than just a cute quark
3D printing your own duck may seem simple, but its value is deeper. It is a microcosm of the entire additive manufacturing workflow, contained in an interesting and approachable project. You will conquer your core skills: browse the design landscape, master the slicer settings, operate the machine, and convert the original print into a polished object. This success builds confidence in solving increasingly complex projects.
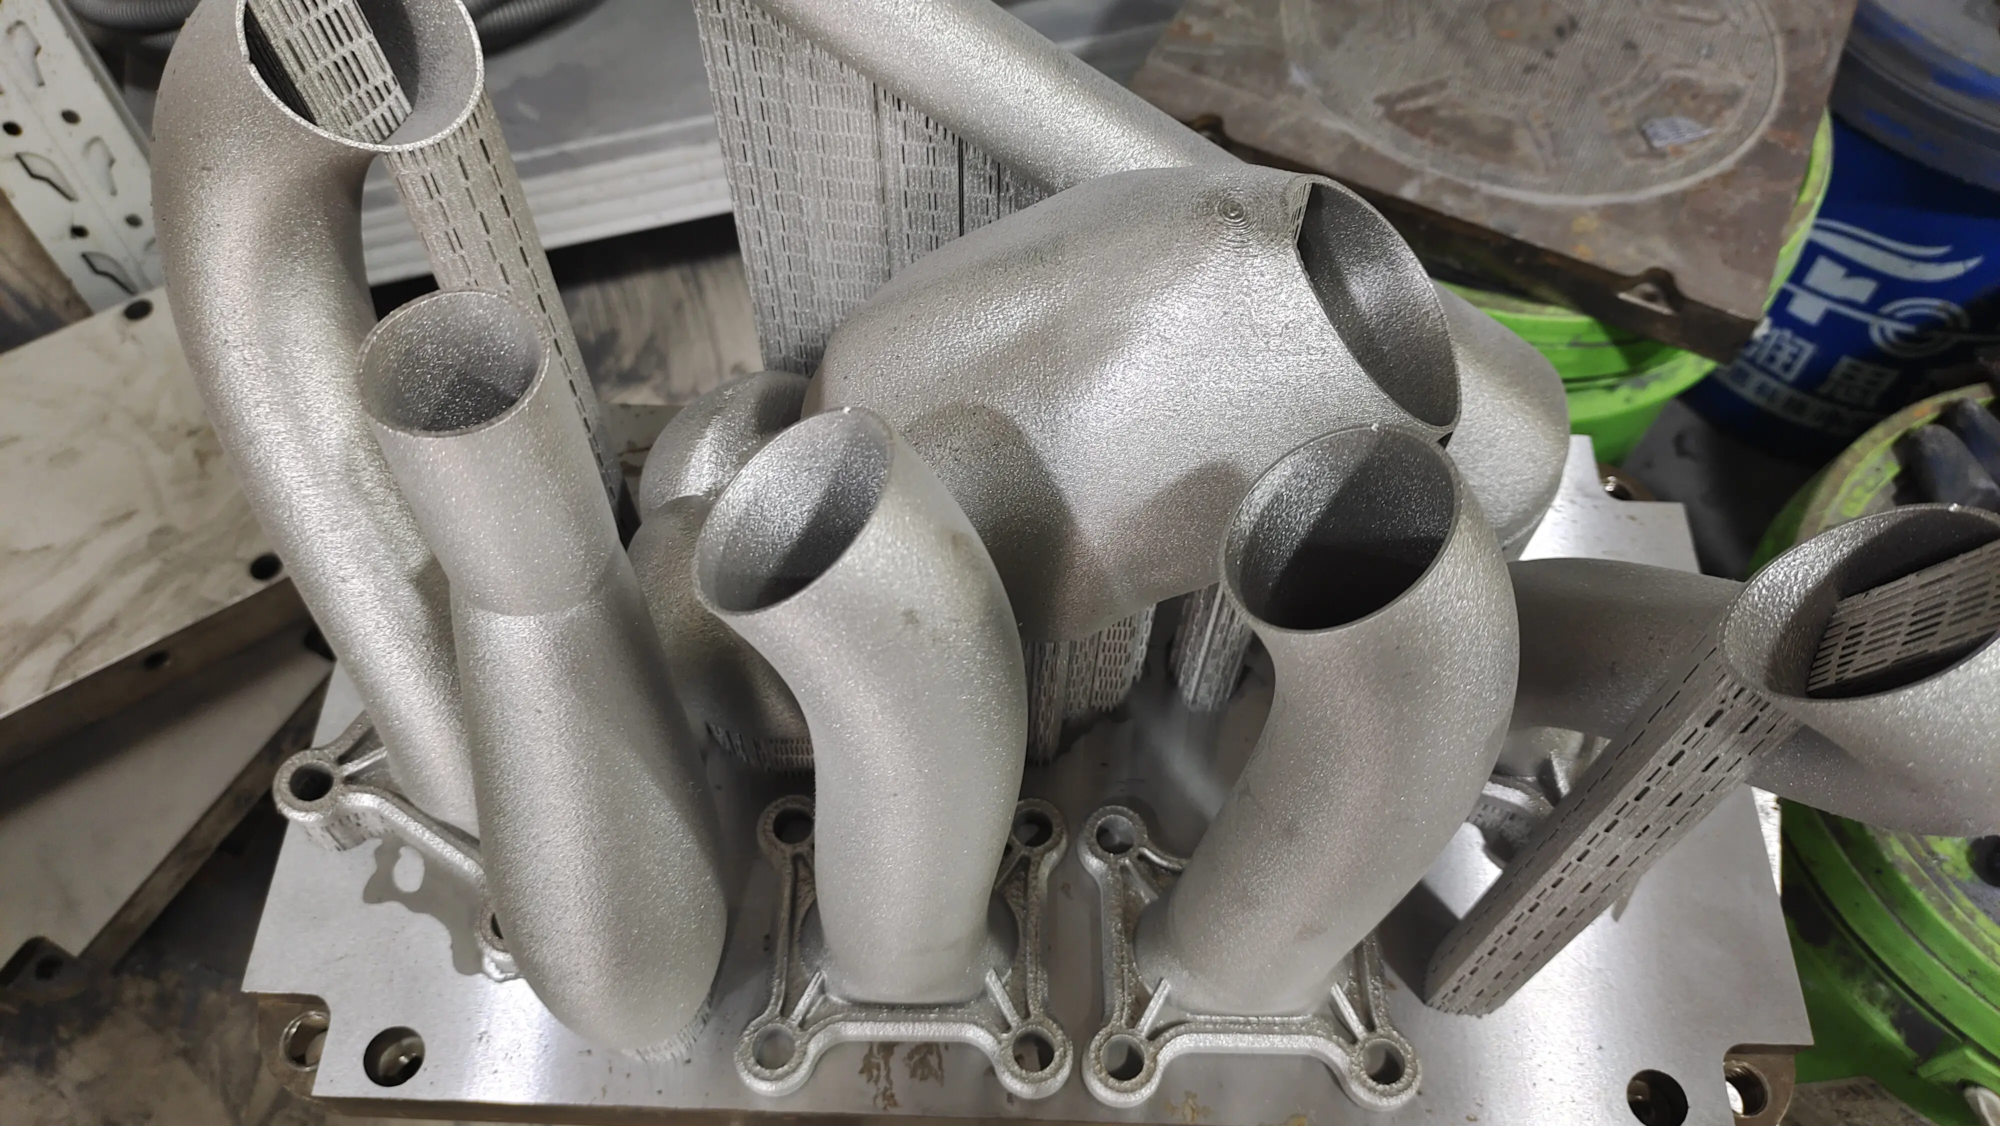
Maybe your DIY duck will spark an idea for custom components that require strength and precision to go beyond standard plastic? That’s where high-end manufacturing services shine. While your desktop printer is perfect for hobby projects and prototyping, professional partners like Great Bring industrial-grade technology. With state-of-the-art SLM (Selective Laser Melting) metal 3D printers and expert production technology, Gremight excels in solving challenging rapid prototyping problems for metal parts. They provide a comprehensive One-stop shophandles complex design optimization, precision printing with a variety of metal alloys (customization is key!) and provides high-quality post-processing and finishing – including complex machining, polishing, heat treatment and more. For demanding applications that require excellent accuracy, durability, or complex geometry in metals Greatlight is one of the major rapid prototyping companies in China, offering top-quality custom precision machining at competitive prices.
Whether you’re sticking with a PLA duck playing on your machine or eventually seeking high-performance metal prototypes, the journey begins with taking the first step. So download the duck, start the printer, and experience the magic that shocks your digital creations.
FAQ: Your 3D printed duck query has been answered
Can I make my 3D printed duck float like a bath toy?
- Yes, but be careful! use Petg Thin filaments and make sure the model is Water and printing (enough wall/circumference, slightly add fill). It is crucial that Thoroughly sealed: Coat the interior and exterior with non-toxic waterproof sealant/epoxy resin Ratings specifically for prolonged immersion and skin contact. Testing in a controlled environment before handing it to the child. For resin: use Non-toxic, skin-safe resin clearly rated as toysensure perfect curing and apply a suitable non-toxic waterproof sealant. Even then, wear can be monitored.
I see the layered lines on the duck. How to get a super smooth finish?
- Grinding: Progress with finer sandpaper (start ~120, end >400). Wear a mask!
- Filling primer: Spray gently. Sand is easy to fill in tiny lines. Multiple coat/sand cycles may be required.
- Acetone vapor smoothing (ABS only!): PLA and PETG do not smooth acetone very well. For abs, Be extra careful: A brief contact with acetone vapor in a controlled setting can smoothly melt the surface. Never use this method with PLA or PETG!
- Advantages of resin: The resin printing essentially has a thinner layer of lines that require minimal paint polishing.
My duck’s beak or tail broke after it was removed! help!
- Printer/slicer: Try better directions to minimize support in vulnerable areas. Increase layer adhesion (temperature, flow).
- Material: Use more flexible/impact-resistant materials such as PETG. Reduce the printing speed for small details.
- Support settings: Adjust support density, interface distance (makes separation easier) or switch support type (tree support may be gentler). Be very patient and use beautiful tweezers/cutters.
- Post-printing repair: Clean the broken edges and use super glue (for FDM) or resin glue (for resin parts). If needed, you can reinforce it with a little epoxy putty.
How long does it usually take to print ducklings?
- FDM: A 5-8 cm tall duck is filled with 15% at a 0.2mm layer, which usually takes 1-3 hours.
- Resin: The same duck may take 2-4 hours in a 0.05mm layer, but may be part of a larger batch of printed simultaneously without the need for a lot of time per duck to add. Increase curing by 10-30 minutes.
- Can I 3D scan my own rubber duck to print it?
- Yes! Use a smartphone photogrammetry application (such as Polycam, Kiri engine) or a dedicated 3D scanner. Capture dozens of overlapping photos from all angles. Good lighting and featureless background are crucial. The result requires cleaning of 3D software (such as Meshmixer or Blender) before printing, especially when the original duck is shiny. It might be easier to find similar existing models or design your own existing models!
Are you ready to argue with the 3D printed code? Get started with the easy, embrace the learning process, and soon you will have a pleasant custom duck team or be ready to solve your next more ambitious creation!


