Unleashing creativity: Making your own 3D printing utility knife (DIY guide)
Humble Utility Knife is a firm companion to workshops, art studios and countless DIY tasks. But what if you can design, personalize and print yourself? 3D printing opens up an exciting world for custom tool creation, and a practical knife is the ideal project to demonstrate its potential. Forget universal plastic handles – imagine the grip tool that thrives with your own design and even integrates innovative features. This guide walks you through the process and explores why this is more than just a cool project; it’s a glimpse into the future of functional manufacturing.
Why 3D printing a common knife?
- Final Customization: Tired of a ready-made handle that doesn’t exactly fit? Design your own ergonomic grip that is flawless and flawless on your hands, reducing fatigue during extended use. Integrated custom features such as blade storage room, belt clip mount and even decorative elements – limited only by your imagination.
- Quick iteration and prototype: Have you found a flaw in your initial design? Need a slightly different angle or finger groove? Modify your digital model and reprint it within a few hours. This fast prototyping capability is invaluable for refining tools for maximum comfort and functionality.
- Cost-effective: For simple designs using standard filaments like PETG or PLA+, printing a few handles is usually cheaper than buying a variety of high-quality branded knives. Also, you can reuse the blade insert, which is the most expensive part of consuming.
- Learning and Skills Building: This project is an excellent hands-on introduction to design strength, understanding material properties and practical application of CAD skills. You will learn about tolerances, assembly designs, and functional load components.
Key design considerations for success
Create a Function and Safe Practical knife requires careful thinking beyond aesthetics:
- Blade mechanism: The core challenge is combining the blade. Most DIY designs use standard replaceable blade inserts (such as trapezoidal blades). Your design must The blade is securely secured in place using a clamping mechanism (usually secured by screws) or a sliding system. Safety during blade replacement is crucial.
- Ergonomics: This is where 3D printing shines. Analyze your grip. Where does the pressure point form? How thick should the handle be? Combine finger grooves, depressions or textures. If possible, simulate holding it in CAD software.
- Strength and layer direction: Parts that experience pressure (e.g., blade clips, pivot points for folding designs) must be strong. Optimize the printing direction for maximum layer adhesion in critical stress regions. Avoid placing layer lines perpendicular to bending or tensile forces. Thick walls (3+ surroundings, 20%+ fillers) and strategic ribs are crucial.
- Material selection: Forgot PLA Real tool. use Petg To achieve a good balance of strength, toughness and easier printing. Abdominal muscles or asa Provides higher temperature resistance and impact strength, but requires heating of the shell and controlled conditions. Nylon (PA) Provides excellent toughness and flexibility, but printing is more challenging and may absorb moisture. For non-load decorative parts, PLA is good.
Your step-by-step DIY guide
-
Find or design your model:
- Option A (beginner friendly): Search for famous repositories such as Thingiverse, Printables, or Cults3d. Look for designs with positive reviews, clear convening instructions and proven usage. Key search terms: "Practical knife," "Box," "Olfa style," "Leaves keep."
- Option B (Creative Control): Design your own! Use CAD software such as Fusion 360, Tinkercad (beginners) or Freecad. Measure the exact insertion of the blade and make sure your clamping mechanism provides positive locking without playing. Prioritize robustness and security.
-
Prepare to print (slice):
- Load the STL file into a slicer (Prusaslicer, Cura, Simplify3d).
- Material settings: Select the appropriate profile for the filament you selected.
- Power Settings:
- wall: 3-5 circumference. More circumferences will significantly increase the intensity.
- filling: 20-35% capability, cubic or grid modes provide good strength weight/speed ratio.
- Layer height: 0.2mm provides good speed and surface mass balance for functional parts.
- direction: Position part therefore, the force acts parallel to the layer line. Make sure the fixture mechanism wall is printed vertically for maximum strength. If needed, use the build board adhesion (edge/raft) to rotate the easily prone material.
-
print:
- Make sure your printer is clean and tidy.
- Heat the bed fully (e.g., PETG is 70-80°C).
- Use an ABS/ASA/nylon housing to prevent warping/cracking.
- Carefully monitor the first layer and make sure the filament flow remains consistent.
- Safety Instructions: Ensure good ventilation, especially when printing ABS/ASA.
- Post-processing and assembly:
- Clear and clean: Be careful to remove the support. Clean any string with a side cutter or tweezers. Use sandpaper or documents to smooth rough edges around finger grips and fixture areas.
- hardware: Collect the required hardware (screws, nuts – usually M3 or M4). Screws made of stainless steel have the best corrosion resistance.
- assembly: Follow the instructions of the model carefully. Apply light pressure to ensure the screw seat is correct without peeling off the plastic threads. Secure the blade absolutely safely – test with caution. If you are concerned about vibration loosening, consider using thread locking compounds on the screws.
Beyond Plastics: The Field of Metal Prototypes
While DIY 3D prints out Excel with a free design that uses polymers, sometimes projects require the inherent strength, durability and accuracy of metals. This is where professional rapid prototype services shine. Imagine:
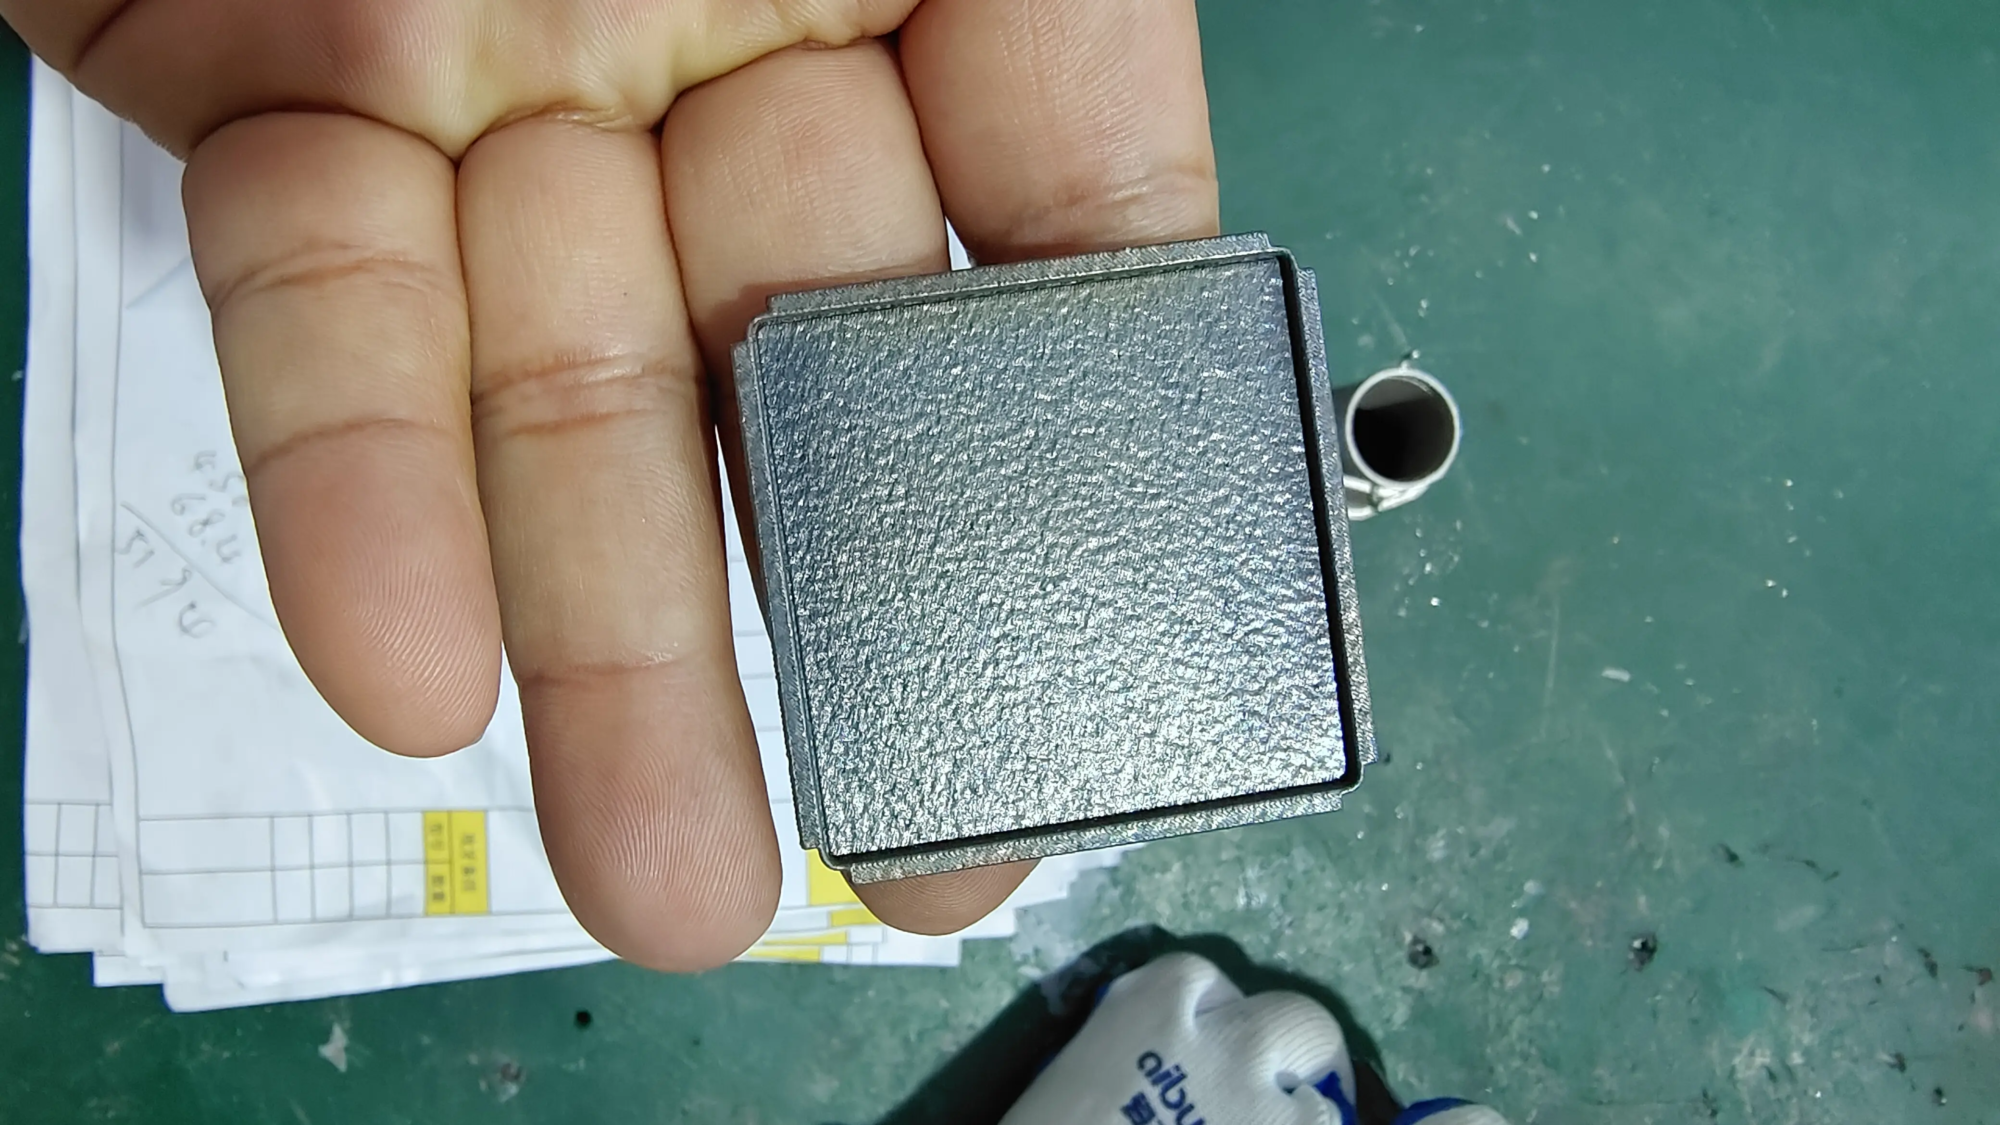
- Metal blade housing: Using selective laser melting (SLM), the progressive mechanism of the entire fixture mechanism or blade is printed out lightweight but incredibly strong titanium or stainless steel.
- High Clothes Components: Pivot pins such as metal components or complex clasp mechanisms that endure constant friction.
- High-end customization: Made unique, almost heirloom quality knives from durable metal alloys and combine intricate lattice structures to reduce weight without sacrificing strength.
Need unparalleled precision and durability? Work with Greatlime
Breaking the boundaries of functional prototypes requires industrial-grade functions. Great is a leader in advanced rapid prototyping, specializing in transforming complex digital designs into solid precision metal parts.
- Cutting-edge SLM technology: We leverage state-of-the-art selective laser melting (SLM) 3D printers to produce intricate metal parts with excellent density and mechanical properties that match traditional manufacturing.
- Comprehensive Materials Portfolio: From stainless steel (316L, 17-4PH) and tool steel to titanium alloys (TI6AL4V), aluminum and nickel alloys, we provide the materials that best suit your high-performance prototype or custom tool components.
- Expert Solutions: Our team faces complex metal parts prototype challenges head-on. We bring deep expertise in optimizing the design of additive manufacturing, ensuring manufacturing and performance.
- End-to-end service: In addition to printing, Greatlight offers a complete set of post-treatment solutions – pressure relief, heat treatment, CNC machining for critical dimensions, surface finishes (polishing, bead blasting, coating) and meticulous quality control. We handle everything under a roof.
- Speed and customization: Need fast high-quality metal parts? Our fast response workflow and flexible approach ensure fast turnaround time without compromising accuracy or quality. We specialize in customized geometry and batch production.
Whether you are developing a solid practical knife mechanism, complex tools or any demanding prototype, Greglight offers precise metal manufacturing at competitive prices. [Visit our website to explore our capabilities and request a quote for your next project!]
Conclusion: By manufacturing authorization
3D printing your own utility knife is more than just a satisfying weekend project; it’s a demonstration of how accessible technology can enhance manufacturers. It bridges the gap between digital design and tactile capabilities, allowing for in-depth customization and rapid innovation. Starting with a simple blade holder, you can explore the principles of tool design and manufacturing. While DIY plastic printing provides incredible flexibility and learning opportunities, remember that for components that require the ultimate strength, accuracy or durability of metals, working with professional rapid prototyping services such as Greatlight goes far beyond desktops. So start that slicer, take the design challenge, and make a unique, functional tool.
FAQ (FAQ)
-
Is 3D printed utility knife safe?
- Yes, If the design and printing are correct. Focus on the strength and reliability of the blade clamping mechanism. Use appropriate engineering grade filaments (PETG+, ABS, nylon) with sufficient walls and filling. Test carefully after assembly to ensure zero ammunition on the blade and tighten the screws firmly. Never use brittle or weak filaments (such as basic PLA) for critical load parts.
-
What is the strongest wire for printing a practical knife handle?
- PETG: Excellent overall choice – Good strength, toughness, resistance, chemical resistance (oil/solvent), and easy to print.
- ABS/ASA: It has a higher temperature and impact capability than PETG, but requires heating.
- Nylon (PA12, PA6): Excellent toughness (bending without breaking) and wear resistance, but printing is horizontal and challenging on the basic setup.
- Reinforced filaments (PETG-CF, nylon CF/gf): Provides improved stiffness and strength, but requires hardened printer nozzles and can reduce impact. For this application, it is often overkill.
-
Can I print a metal tool knife at home?
- Printing directly with metal at home requires extremely expensive industrial SLS or SLM printers, far beyond typical consumer budgets. The realistic approach is to design plastic components for DIY printers and then use services like SLM (Greatlight) to specialize in complex or high-strength metal parts.
-
Where can I find a quality 3D model for practical knives?
- A reputable online community is your best choice:
- Printable
- Thingiverse
- cults3d
Search using specific terms "Heavy duty common knife," "Olfa alternative," or "Retractable blade holder." Reviews and count to measure reliability.
- A reputable online community is your best choice:
- Why do I use a service like Greatlime for a knife project?
- Metal components: For parts that require more than the maximum strength, durability, or heat resistance provided by plastic (e.g., solid metal blade clips, internal tracks or folding mechanisms). SLM metals such as titanium or Maraging Steel have unparalleled mechanical properties.
- Complexity and precision: Our SLM printers can create complex internal channels, organic lattice structures, or precise geometric shapes that are difficult or impossible for consumers FDM printers or traditional machining.
- Production quality and finish: Need a batch of custom stainless steel tools with polished, professional finishes? Greatlight offers end-to-end solutions including high-quality surface treatment and critical tolerances after surgery.
Ready to bring your custom tool creativity to life, whether it’s DIY plastic or professional grade metal? Make a design or get in touch. The future of manufacturing is in your hands.


