Achieve the Perfect Finish: How Bondo Changes Your 3D Printing
You just pulled a complex assembly out of the printing bed, but despite the success of manufacturing, you face annoying layer lines, small gaps in the place where the support connects, or even a small break. Post-processing is the key to turning functional prototypes or presentation models into professional grade, and few tools can be used like Bondo Car Filler. This guide delves into its application of 3D printing to make it smoother, more powerful and more aesthetically effective.
What is Bondo and why 3D printers like it?
Originally designed to repair dents in car panels, Bondo is a polyester-based body filler known for its fast curing time, excellent sandy quality and durable results. For the 3D printing community, it provides powerful solutions to common problems:
- Erase layer lines: Filling those stubborn ridges is faster than grinding for countless hours.
- Fix gaps and holes: Seamlessly fill gaps caused by inadequate situations, support interfaces or secondary design defects.
- Repair rest: Reattach effectively breaks parts or strengthens weak joints.
- Create a smooth outline: Establishing an area of organic shapes or smooth transitions beyond the implementation of the printer.
- Improve paint adhesion: Provides ultra-smooth non-porous base layer for painting without perfection.
Its popularity stems from accessibility, affordability, ease of use (once mastered) and the incredibly hard, grindable surface it creates.
Mastering Bondo on your prints: a step-by-step guide
1. Preparation is crucial:
- Clean and dry: Clean the print thoroughly with isopropanol to remove oil, dust and release agents. Make sure it is completely dry.
- Grinding (optional but recommended): Gentle sand (e.g. 120-220 grain size) to fill areas, especially shiny spots. This roughens the surface, greatly improving Bondo adhesion. Remove all sand and dust.
- masking: Protect your area with painter’s tape No Want Bondo.
- Safety first: Working in A Well-ventilated areas (Preferably outdoors or with powerful extraction). wear Respirator Rated organic vapor rating (N95 insufficient), Nitrate glovesand eye protection. Bondo smoke and dust are dangerous.
2. Mixed Magic:
- Scatter the required amount of Bondo sauce on a clean disposable surface (cardboard, plastic mixing board). Remember, it can be cured Quickly. Start with small batches.
- Add to Red hard (catalyst). The standard ratio is about 1-2 inches bars of the filling spoon the size of each golf ball (check product instructions!).
- Thorough and quick mix: Use a spreader or putty knife for 30-60 seconds until the color is absolutely uniform (no stripes). Incomplete mixing can lead to unfixed spots.
3. Application: Deal with the clock:
- Time is crucial: Your working window is short (usually dependent on temperature/humidity of 2-5 minutes). Where to apply for pre-plan.
- Freely apply and fill: Press the mixed Bondo firmly into the area for filling. The application is slightly greater than it takes into account shrinkage and grinding. Use smooth, intentional strokes.
- tool: Flexible plastic diffusers, credit cards or dedicated Bondo diffusers work well. Work quickly to get as close to the final profile as possible before setting it up.
4. Curing: Patience pays off:
- Let Bondo be completely cured. Do not touch! The initial hardening takes 10-30 minutes, but allow at least 1-2 hours before proceeding (suspended overnight for deep filling and optimal sanding). Touching can be difficult.
5. Shaping and polishing: End point:
- Initial forming: Use coarse sandpaper (80-120 sandpaper) attached to the sand block for flat or wrapping on the object for curves. Remove the bulk and start shaping. Power polishing (for example, Dremel) can speed up large areas, but risk cheating – use with caution.
- Gradually polished: Move to finer gravel (180-> 220-> 320-> 400+). This removes scratches from previous sand particles and brings you closer to a perfect smooth finish. Keep feeling it with your fingers! Keeping the respirator-Bondo dust is equally dangerous throughout the polishing process. Consider wet sand to minimize dust.
- The final feeling: After 400 grit or higher, the surface should remain smooth in touch.
6. Last step: Start and draw:
- examine: Look at a critical look. Apply a light-colored sand Primer Like a car fill primer. Primer reveals Each The tiny imperfections (pinholes, scratches, lows) that your fingers may miss.
- Point fixed: If the primer reveals a defect, apply a small amount of Bondo (or spotted putty) The only one to these specific areas. The spotted putty is thinner and can be set to small pinholes faster.
- Reinstall: Smooth the primer surface again by gradually fine grit (320-400+). Repeat prime/check/sand cycle until Perfect Smooth.
- painting: Once satisfied, apply the selected paint on the primer. Bondo creates an excellent foundation for stunning finishes.
Basic tips for success in Bondo
- Small batch: Mix more than used in 3 minutes = wasteful Bondo. It’s set up very quickly!
- Temperature and humidity: The air conditioner slowly cures and heating accelerates. High humidity can weaken treatment. Ideal conditions are approximately 70°F (21°C) and moderate humidity.
- Primer Revelation: Never skip the startup before the final painting – this is essential for diagnosing a truly smooth surface.
- Smarter polishing: Using sand blocks can prevent uneven surfaces. Change the sandpaper frequently.
- Tack cloth: Wipe the surface with a nail cloth between the sand stages to remove any dust.
- flexibility: Bondo was very hard to heal. While aesthetic fill or rigid parts can be used, numerous applications on highly flexible prints can be avoided as it can break.
Beyond Bondo: Explore alternatives (tip: easier time)
Bondo is perfect for large amounts of fillers and rigid parts, requiring maximum sandiness and durability, but alternatives exist:
- Epoxy putty (Milliput, green stuff): Better suited for smaller fillers, fine detail work and flexible parts. Slower curing times allow for shaping with minimal shrinkage. The bond is very good.
- Vallejo plastic greasy/Mr. Dissolved putty: Water-based acrylic push rods are perfect for Tiny Pinholes and thin layered wires. Easy to polish and low odor, but not for structural filling.
- Wood filler: PLA/PET’s large cavity (especially water-based) is budget-friendly. Sand is easy, but it is durable and not resistant to water.
- UV resin: Ideal for tiny holes in resin prints. Heal immediately, but may become brittle.
When professional perfection is crucial: Your rapid prototyping partner
For the required key components:
- Metal parts (SLM/DMLS/SLS)
- Extremely high tolerance accuracy
- Complex geometry requires advanced support and completion
- Mass production operation requires consistent perfection
- Special surface finish (Polishing, electroplating, anodizing,…)
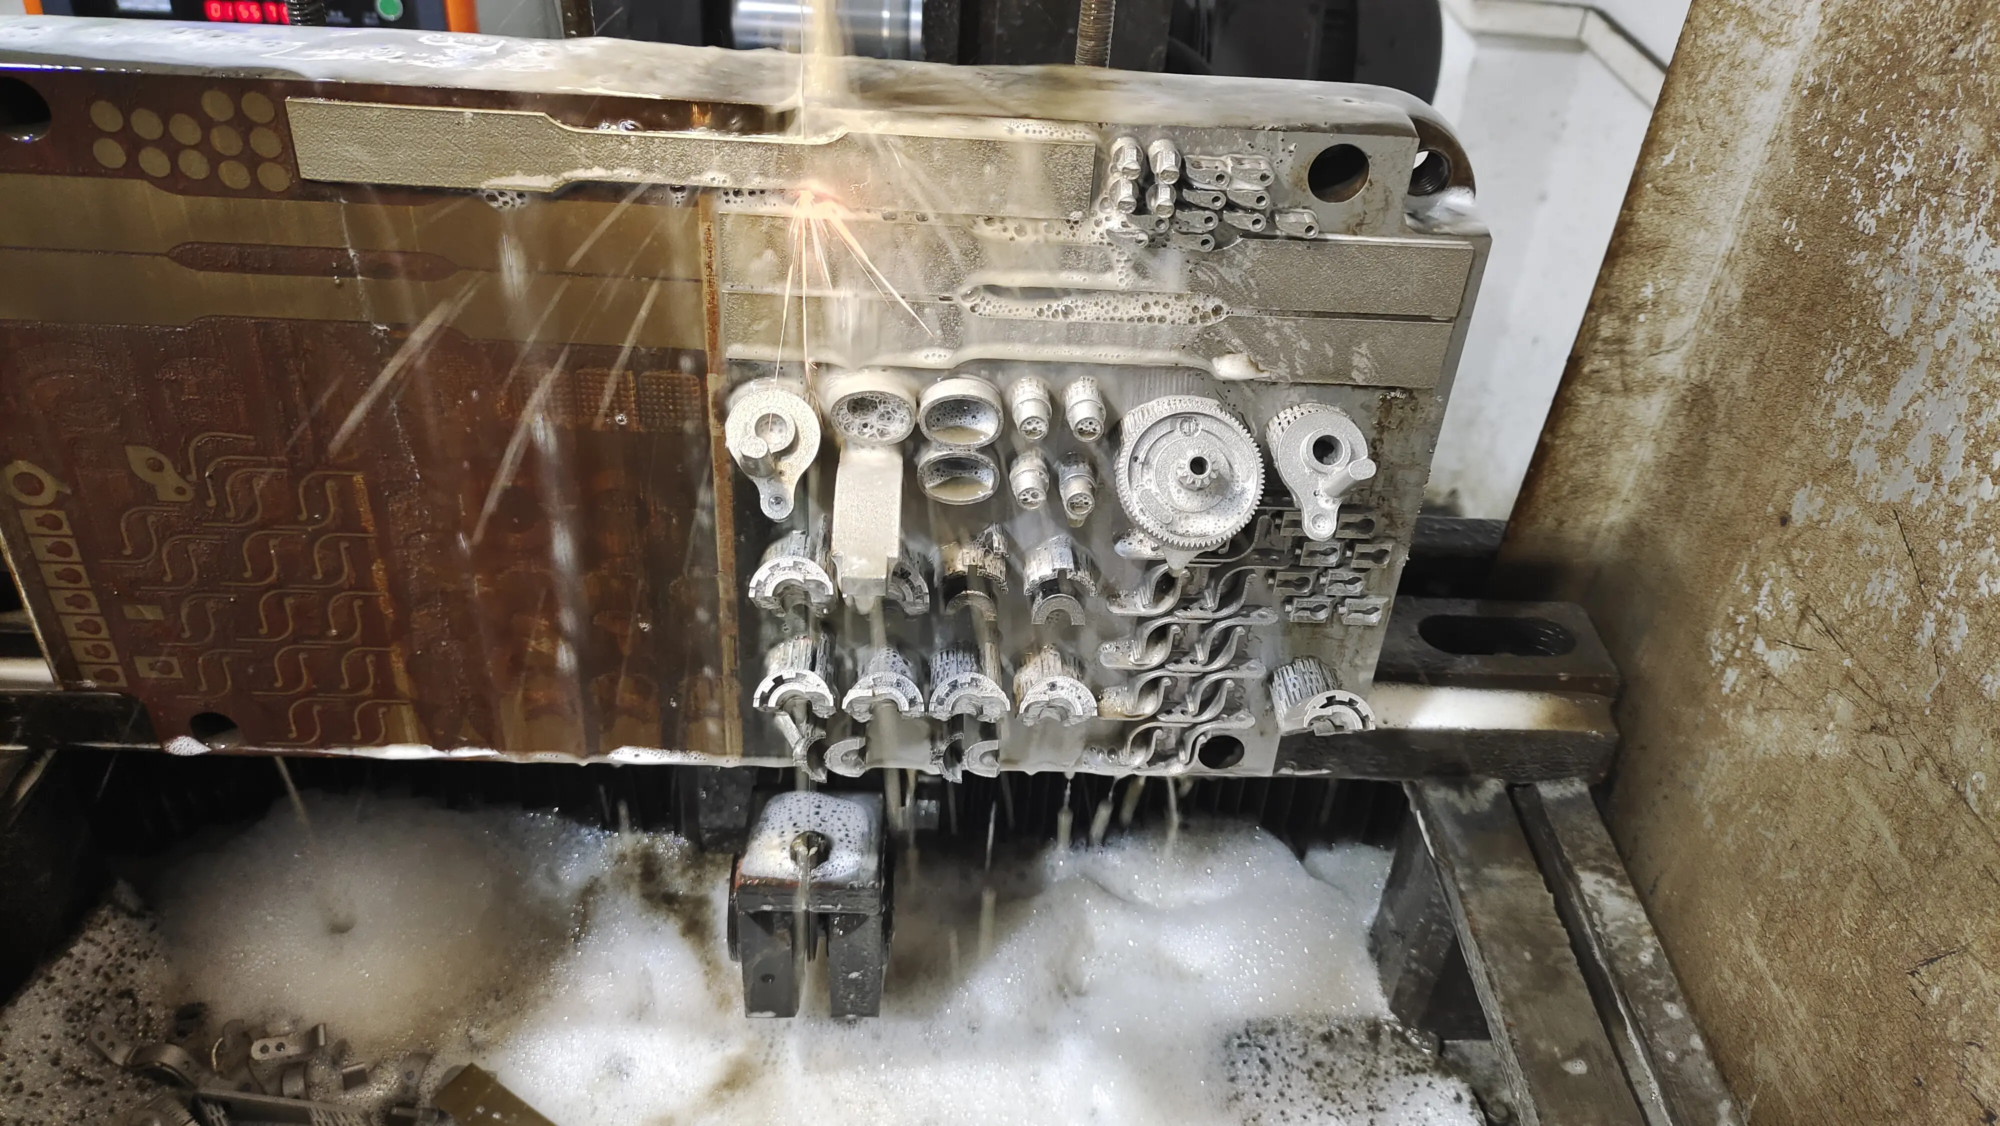
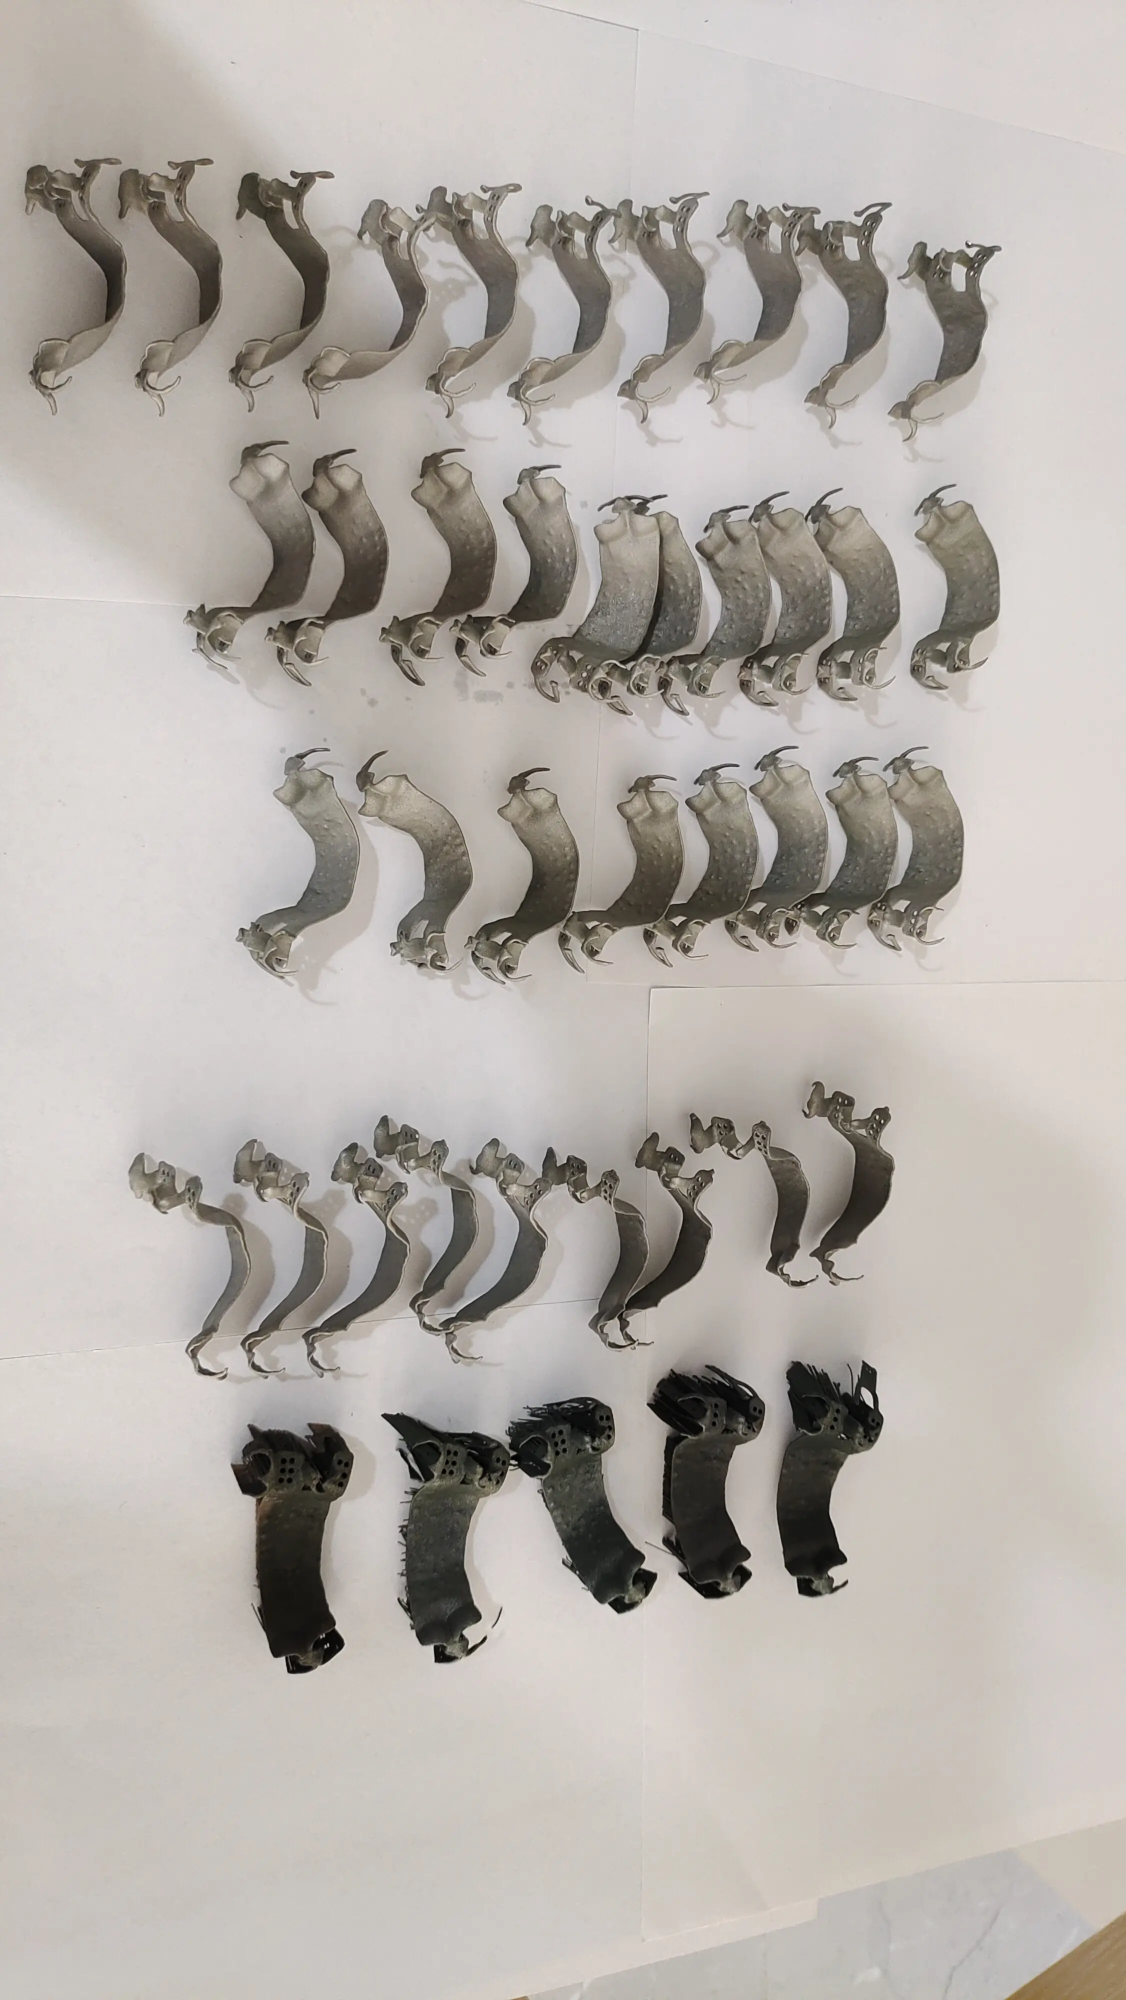
…Professional rapid prototyping partners are priceless. exist GreatWe focus on solving complex metal 3D printing challenges using advanced complex metal 3D printing challenges SLM (Selective Laser Melting) Printer and the most advanced production technology. We go beyond print to provide Comprehensive one-stop post-processing and sorting servicesensuring that your prototype and end-use parts achieve the exact functionality, aesthetics and required durability. From concept to completion, a variety of customizable metals and precise machining options can be used as a leading provider of rapid prototyping solutions. Our commitment is to provide precise parts at competitive prices, supported by engineering expertise.
in conclusion
Bondo proved essential allies in search of the perfect FDM 3D print. Master its applications – from meticulous preparation and rapid mixing to strategic applications and patient polishing – enable manufacturers to transform functional prototypes into objects worthy of display. Whether it’s filling nasty layer lines, rebuilding damaged parts or creating seamless surfaces for amazing paint jobs, understanding this powerful fill will improve your finishing game.
For simple filling, explore alternative methods such as epoxy or acrylic putty. But when faced with complex requirements, tight tolerances or the need for metal additive manufacturing, working with experienced providers such as Greatlight ensures access to cutting-edge technology and expertise to achieve unparalleled results. Embrace Bondo for your DIY fix and know that professional solutions are always challenging projects. Happy printing and sorting!
FAQ (FAQ)
Q1: How strong is Bondo on PLA/PETG/ABS?
A: When applying the properly prepared (clean, sanded) surfaces on these common thermoplastics to properly prepared (clean, sandpaper), Bondo provides powerful mechanical bonds. It creates a rigid shell, perfect for cosmetic filling and repairs that do not require continuous bending. Epoxy putty may be better for high impact areas on flexible prints.
Q2: Will too many Bondos cause rupture?
A: Yes, especially if applied in very thick layers (usually not recommended to exceed 1/4 inch thick at a time – thinner if needed) or highly flexible plastic parts that are noticeably bent during use. Component bending will rupture the rigid Bondo layer.
Q3: Why does part of my Bondo patched area remain sticky?
A: This is almost always due to Incomplete mixing Paste and hard, preventing complete chemical reactions and curing. Any red (undistributed hard) or pink (insoluble paste) stripes are indicators. Make sure to mix thoroughly until the color and texture are completely even before applying.
Q4: Can I use Bondo on resin prints?
A: Although resin printing may occur after thorough polishing, it usually produces finer and more surface defects than FDM. Applications of water-based spots or liquid resins are generally easier and small pinholes on resin prints are easier and messy. Bondo is best suited for larger fillers on resin.
Q5: Can Bondo smoothly polish enough mirror finish?
Answer: Absolutely! This is one of its main advantages. The key is progressively polished (80-> 120-> 180-> 220-> 320-> 400+ grit) and is coated with a primer. The primer will reveal any remaining scratches or lows that require further filling and sanding. Repeat Prime/Sand loops to get you into the smooth finish of the glass, ready for paint polish.
Question 6: When can I choose the professional service of Greatlight over the DIY of Bondo?
Answer: When choosing a professional service:
- Materials Important: You need high strength precision metal parts through SLM/DML.
- Accuracy is crucial: Tolerances that can be achieved by a typical desktop FDM are required.
- Very complex: Parts have complex features requiring dedicated support strategies and expert finishes.
- Quantitative requirements consistency: You need multiple identical parts with high quality post-processing.
- Special finishes are required: In addition to simple grinding/painting, CNC processing, high-quality finishing, anodizing, electroplating or heat treatment are required.
- Limited time: Our industrial production and finishing capabilities far exceed DIY efforts. Greatlight provides expert solutions that challenge rapid prototype and production needs.


