Building the ultimate empire possible: Your guide to your 3D printed star destroyer
The iconic Empire Star destroyer, the sinister wedge slices through space, is a symbol of power and technical strength in the Star Wars universe. It is a dream for fans and model enthusiasts to have a well-crafted replica. Thanks to advanced 3D printing technology, the dream can now become an impressive physical reality – and may be even stronger when solid metals are made. This guide explores the exciting journey of building your own 3D printed star destroyer, covering every step while exploring expertise, e.g. Greatcan improve your project.
The charm of the Star Destroyer
The Star Destroyer not only represents impeccable design, huge scale and intimidating authority. Creating a physical model captures this essence. 3D printing democratizes the process, allowing enthusiasts to build versions of large-scale multi-part masterpieces that have attracted attention. The complexity of its angled hull, complex surface grebriangs (panel lines and details), turbo turrets and bridge structures make it a challenging but incredibly meaningful project.
Plan your Empire Project: Key considerations
Key decisions shape your build before starting the printer:
- Scale bar and size: Confirm your ambitions! Desktop models (12-20 inches) are manageable for amateurs. Larger versions (3+ feet) become complex multi-part components that require robust structures. How much space do you have? Remember, the Star Destroyer is essentially long.
- Design source:
- Free STL files: Many talented creators share free STL files on platforms like Thingiverse or Prindables. The quality varies greatly.
- Purchase/delegate STL file: Higher quality files, often more accurate and optimized for printing, are available from dedicated model designers on Etsy or Patreon. For ultimate customization or extremely high accuracy, consider custom 3D modeling (or looking for designers).
- Material selection:
- Filigree (FDM printing-PLA/ABS/PETG): Hobby printers are easiest to access. PLA is easy, but fragile. Petg is harder. Suitable for practice and smaller models. Surface finishes require a lot of post-treatment.
- Resin (SLA/DLP printing): It produces incredibly smooth surfaces and vivid details, perfect for capturing fine grain size. Each part is more expensive, brittle, and best suited for highly detailed subassemblies on smaller scales or large models.
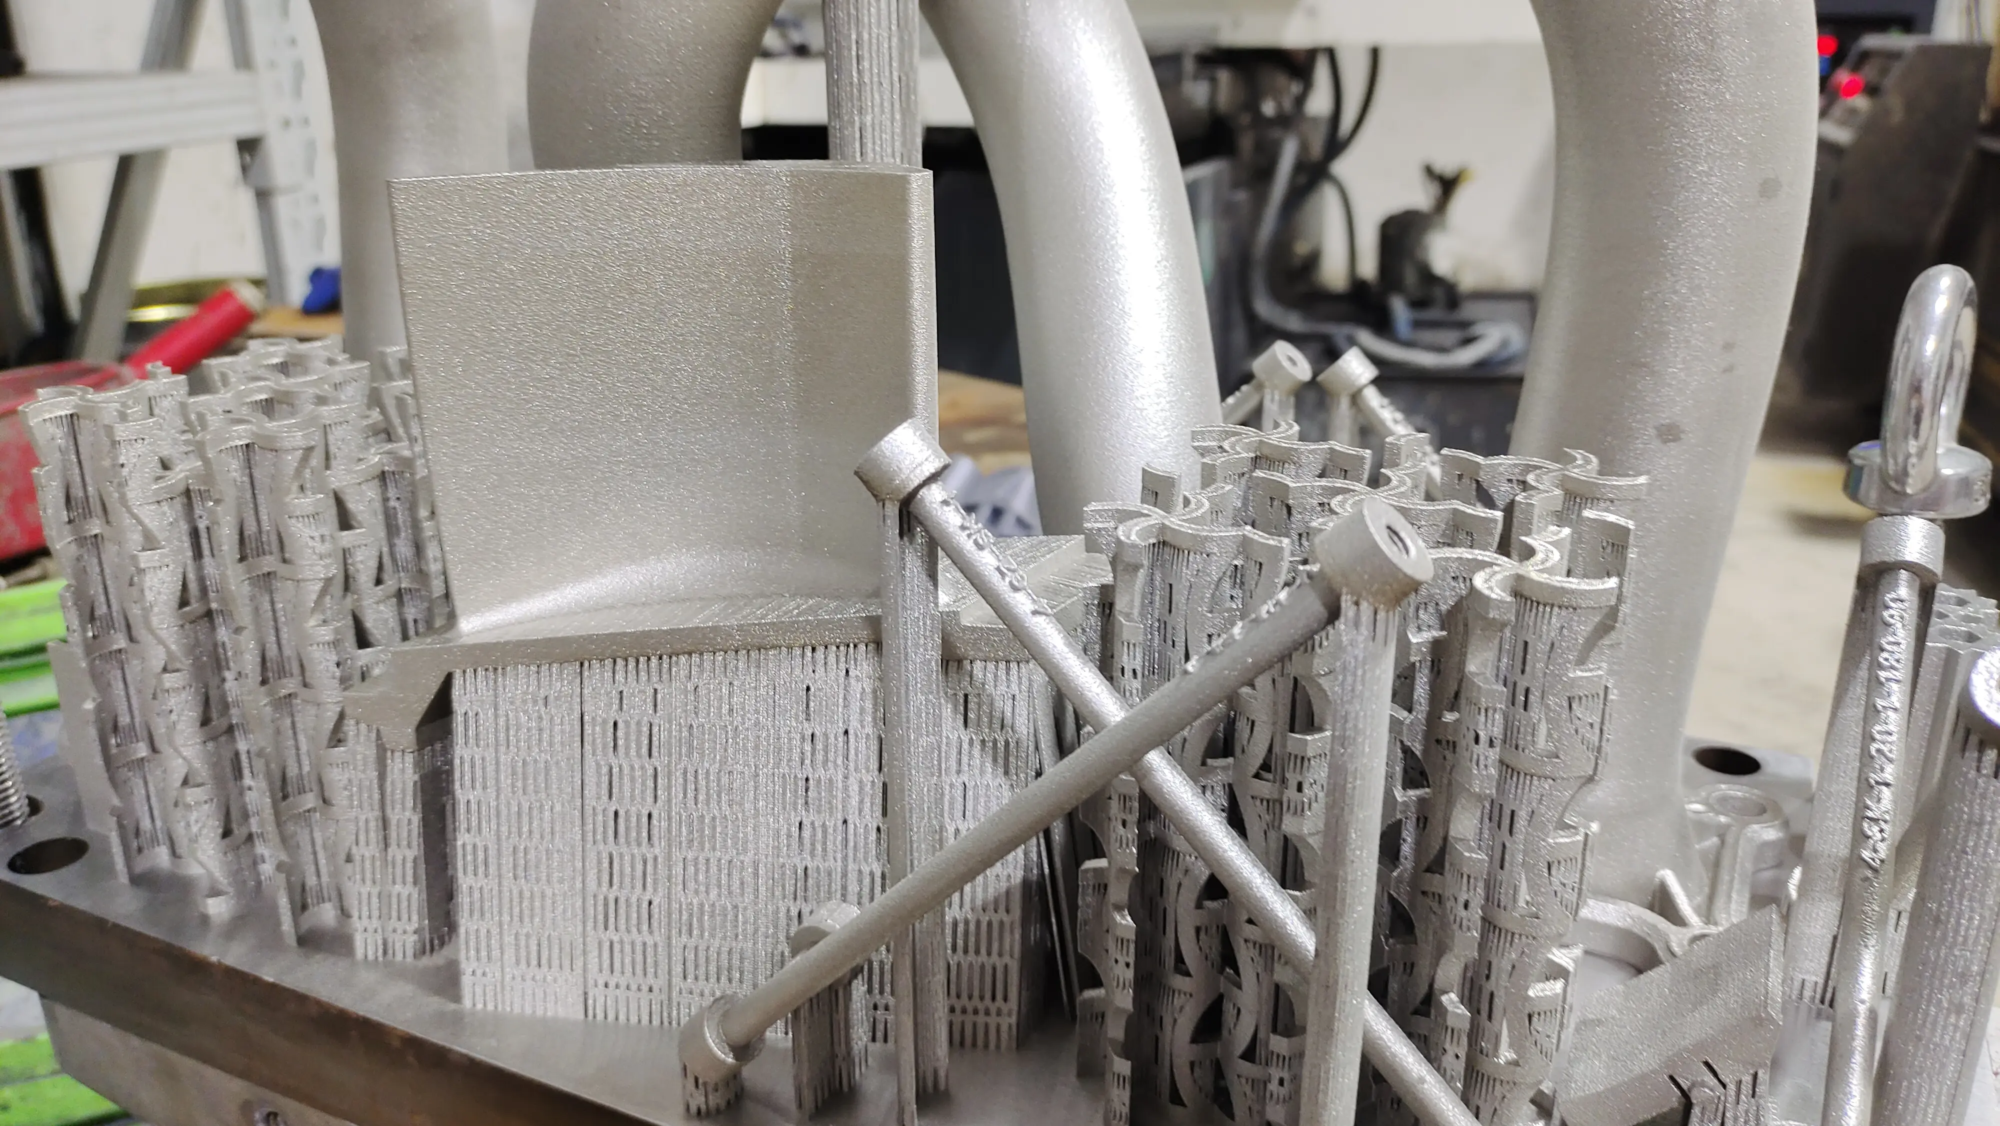
- Metal (SLM/Industrial SLS Print): This is Great shine. Selective laser melting (SLM) or similar techniques use laser fused fine metal powders (such as aluminum, titanium, stainless steel) to create parts layer by layer. result? A Star Destroyer with unparalleled weight, durability, durability and cold metallic luster – truly embodies the power of the Imperial fleet. This approach performs well in demanding applications or collectors seeking museum quality heirlooms.
Construction process: From digital to reality
Get and prepare the model:
- Source the STL file of your choice. For multipart models, carefully review the rally plan.
- slice: Cut 3D models into printable layers using software (Cura, Prusaslicer, Bambu Studio, Industrial Equivalent). focus on:
- support: It is crucial for overhangs, but requires careful removal. Design orientation to minimize them.
- Fill density and mode: Balance strength and weight. Higher fill = heavier/stronger (critical for large/metal prints).
- Layer height: Thinner layers provide better details (especially for resins), but increase printing time.
- Wall thickness: Key strength factors, especially in FDM. It is recommended to use multiple perimeters.
Printing execution:
- Hobbyist Route: Patience and printer adjustments are required. Calibration is the king to prevent distortion, layer movement or poor adhesion. Expect obvious printing times, especially for large models – possible weeks.
- Professional route (enter Greglight): This is where complexity reaches capabilities. Send your digital preparation files to experts Great lever:
- Advanced SLM technology: Precisely built robust, dense metal parts suitable for large structures or complex details requiring high fidelity.
- Large-scale construction volume: Print larger sections seamlessly, minimizing connections for a cleaner final look.
- Material expertise: Use high-performance metal alloys that exceed consumer printers.
- First-time rights reliability: Eliminate the frustration of hobby printing failure through process control and expertise.
Post-processing – The key to perfection:
This stage turns the original version into a museum-worthy exhibition. Complexity varies greatly depending on the initial printing quality and material:
- Support removal: Hard to remove plastic or metal support. Metals usually require precise cutting tools (DREMEL, saw) and grinding.
- clean: Thoroughly clean resin prints (IPA bath and treatment); remove powder residue from metal SLS/SLM parts.
- Grinding and smoothing: FDM printing is crucial to remove layer lines (start rough and progress to very fine grit). Printed resin SLM metal parts require a minimum required layer, but requires grit/polishing.
- assembly: Accurate glue (super bonding, epoxy), fixing reinforcement (especially large/heavy cross-sections – essential for metals), alignment and clamping. The magnet can be embedded in modular components.
- Fill and start: Use gaps/seaters in fill columns (especially FDM). Restrict with spray filler/primer to unify the surface and reveal imperfections.
- Painting and finishing:
- Plastic/Resin: Primer (usually gray), shade/wash to highlight details, turrets, engines, bridge windows, weathering effects, and ultimately a complex painting of a dull/matte coat to seal.
- Metal: Offering unique finishing pathways outside of paint:
- Media explosion: Creates a uniform, durable satin finish.
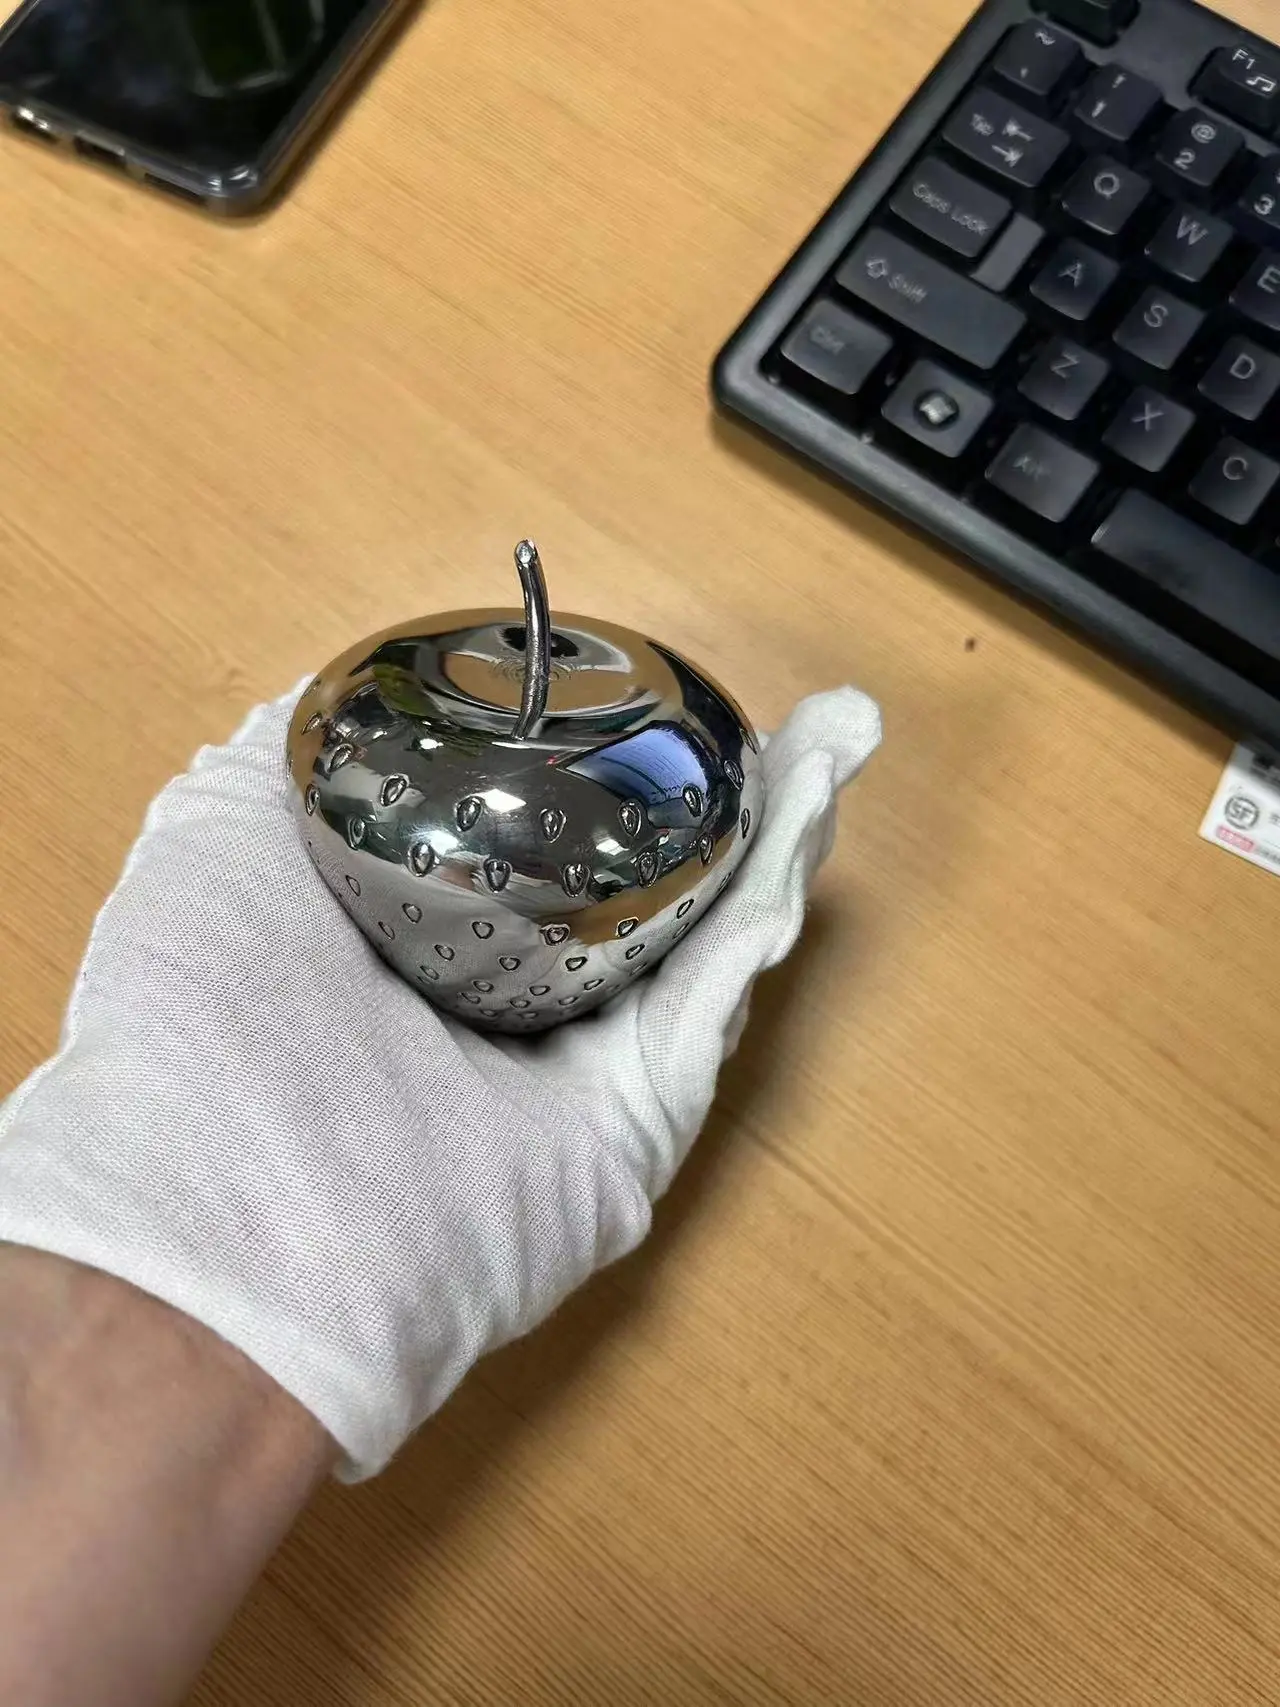
- polishing: For highlight hulls (protected with a clear coat).
- Chemistry Male: A controlled oxidation occurs, such as aged copper or weathered steel.
- Powder coating: Extremely durable colorful finish.
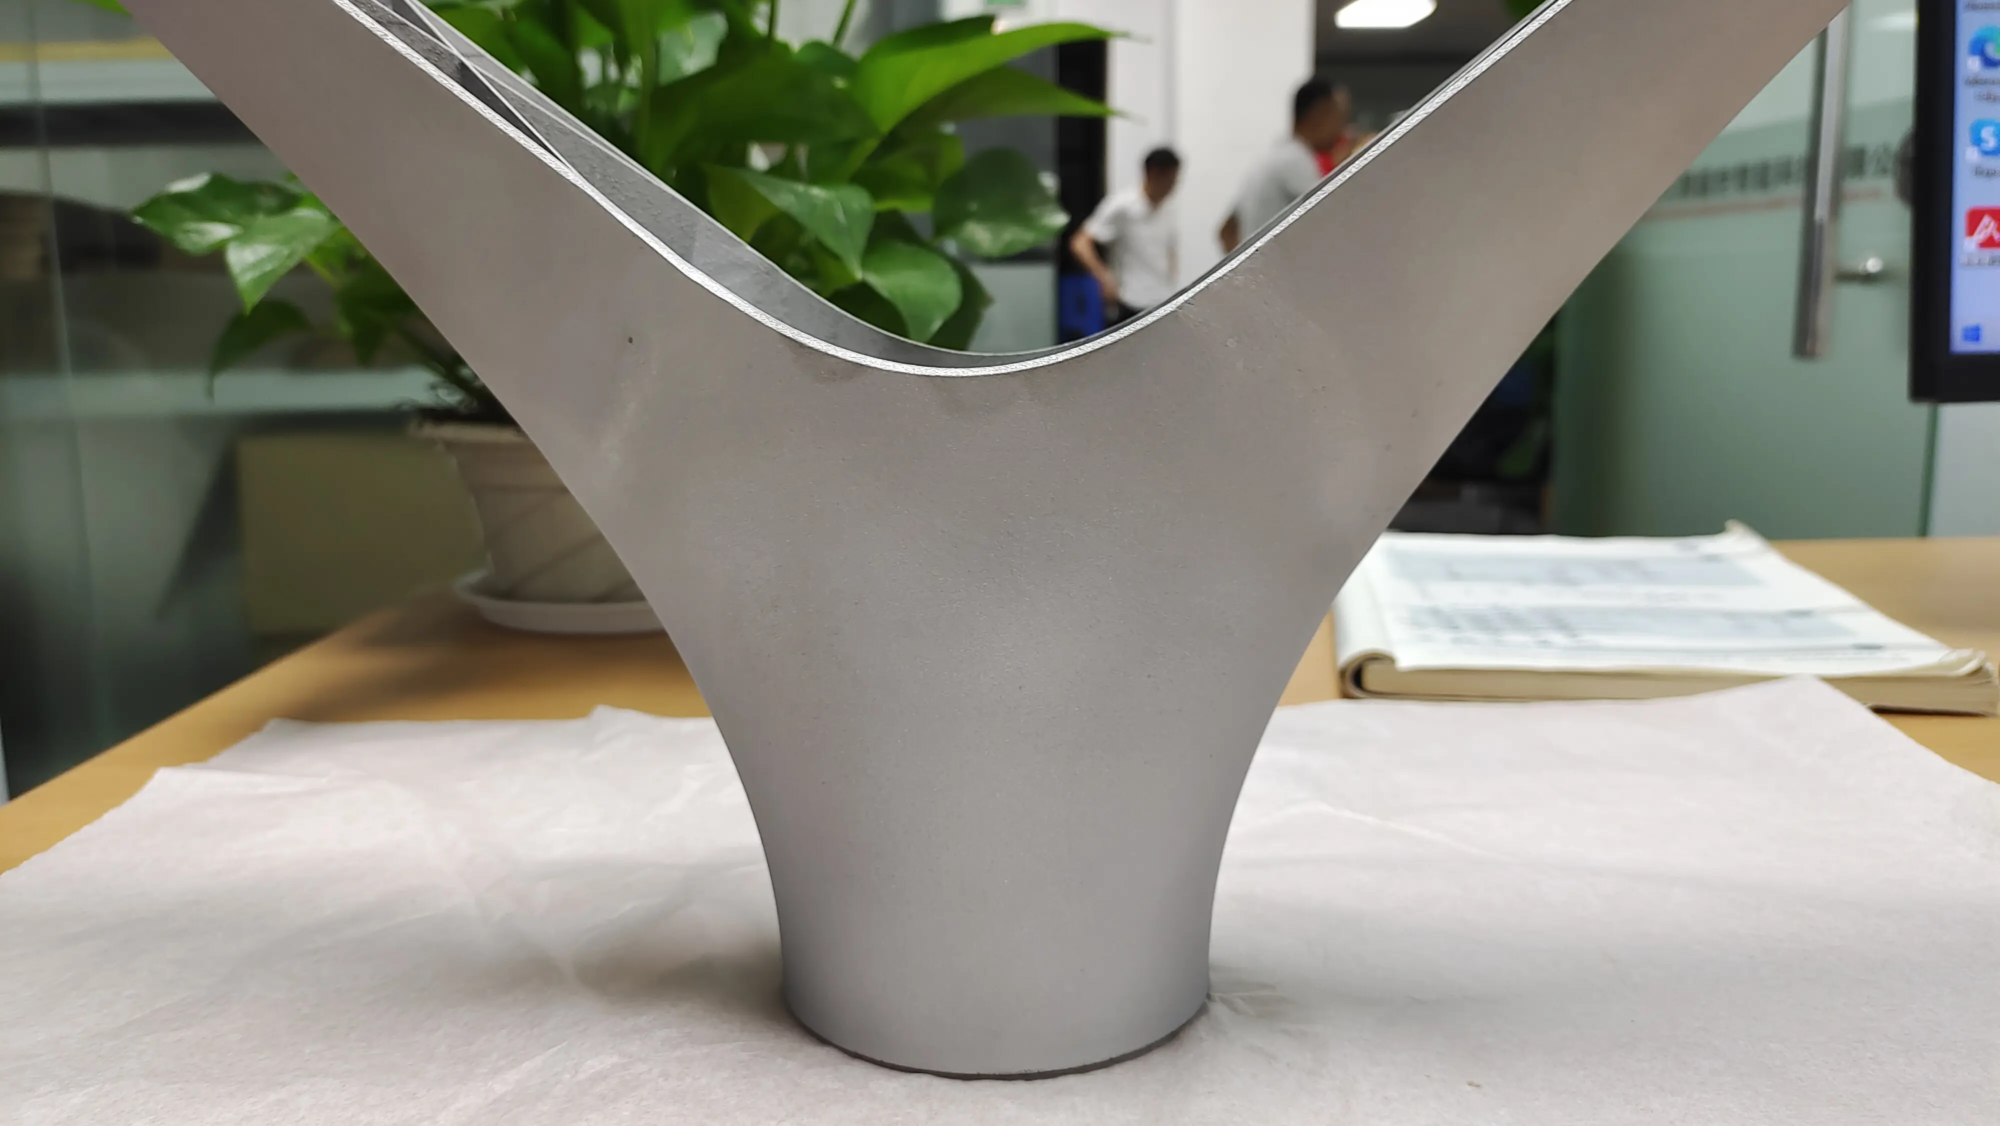
- Greverlight Advantage: They provide comprehensive One-stop post-processing and completion servicehandle everything from removal and heat treatment (lighting metal parts) to professional blasting, polishing or coating – a lot of time savings to ensure consistent high-end results. They have professional equipment and technology that is essential to the effective completion of solid metals such as solid metals or hardened steel.
- exhibit: Create a valuable stand or base to showcase your masterpiece!
Why cooperate with professional services like Greatlight?
Building a truly great star destroyer, especially in metal, usually beyond hobby abilities:
- Complexity and scale: Advanced industrial printers handle complex designs and large components that are impossible or impractical on hobby machines.
- Material mastery: Use engineered grade metals (aluminum, titanium, stainless steel, inconel) with unparalleled strength, weight and finish potential.
- Accuracy and reliability: Industrial SLM technology ensures the lack of dimensional accuracy, material density and consistent quality in consumer printing. Production-grade equipment minimizes the risk of expensive print volumes.
- Premium finish: Great Professional knowledge Metal post-treatment – From complex heat treatment of support removal and placement pressure to professional polishing, blasting and coatings – Turn raw metal prints into flawless premium components. Their knowledge of material-specific post-processing is invaluable.
- Time and resource efficiency: Avoid investing in thousands of devices and weekly/month trials. Take advantage of its optimized workflow for quick turnaround.
- One-stop solution: From digital models to finished, painted/coated assembled parts, sporadic hassle minimal. Great Provides seamless Customized precision machining services.
For fans of celebrity destroyers seeking the final expression of this iconic ship – not only the model to be displayed, but also the Impressed With its importance and craftsmanship – Sign up with professional rapid prototyping experts Great Become a logical path of imperial excellence.
Conclusion: Ask your fleet orders
Building a 3D printed Star Destroyer is a very satisfying project that combines fanaticism, technical skills and artistic horizons. While the amateur route provides accessibility and learning, the results achieved that truly reflect the power and complex design of the Imperial flagship often require resources and expertise.
Utilize professionals Rapid Prototyping Service Elevate this project beyond the normal range. The company likes it Greatequipped with cutting-edge SLM 3D Printer and deep expertise in materials science and Post-processing and completion of servicesenabling you to achieve breathtaking metal star destroyers with unparalleled details, strength and finish. Whether you are looking for a challenging DIY adventure in plastic or eager to create the core of commanding metal, careful planning and leveraging the right expertise is key.
Ready to forge your Galaxy Empire? Explore potential with Greatlight – one of the best rapid prototype companies from China. We specialize in custom metal manufacturing, addressing complex rapid prototyping challenges and delivering high-precision finished parts quickly and cost-effectively. Let us help you turn your empire vision into awesome reality. Get your customized precise quote now!
FAQ: Build your 3D printed star destroyer
Q1: How long does it take to 3D print out the Star Destroyer?
Answer: Time varies greatly. A small (<20 cm) FDM printing may take one day. Large (1m+) models printed in a segment on a hobby printer can take weeks or months. Use such professional services Great The speed of production is greatly accelerated due to its large printers and optimized processes. Professionally printed complex SLM metal parts can take several days of printing stage, but turnover includes post-treatment (metal support removal, finishing, etc.).
Q2: How much does a 3D printed star destroyer cost?
Answer: The cost range is wide:
- Amateurs (plastic): Filigree/resin cost ($10-$100+), as well as personal time and finishing supplies. Printer cost is independent.
- Professional Services (Plastic/Resin): Hundreds to low (USD), depending on size, detail and post-processing.
- Professional Services (Metal-SLM): Significantly higher. Metal powders and industrial printing are expensive. Expect large, detailed models to use materials such as aluminum, titanium or steel for costs ranging from thousands to thousands of dollars. However, the result is a heirloom quality work. Great Provide competitive pricing and quotes for custom metal projects.
Q3: Can I really print a star destroyer with metal?
Answer: Absolutely! Industrial Selective laser melting (SLM) Technology, core capabilities Greatbuild incredibly strong and precise parts, blending metal powders layer by layer such as aluminum, stainless steel and even titanium. This creates a model with excellent weighting, durability, thermal properties and a true metal aesthetic.
Question 4: What is the most challenging part to build?
A: Challenge compared to size and selected materials. Key Obstacles:
- All: Design preparation (slicing/support), time investment, surface finish (especially layered lines on FDM).
- Large-scale: Structural integrity, warping, managing a lot of printing time, complex assembly, precise alignment.
- Metal (SLM): High cost, specialized design limitations (support strategy, thermal stress), complex and potentially hazardous post-processing (cutting support, gravel blasting, heat treatment). Great‘ One-stop service Easing these metal specific challenges.
Q5: Why use professional services like Greatlime instead of printing yourself?
one: Great Provides key benefits:
- Right to use: Used for large industrial printers and advanced SLM metal printing technology.
- Material: Engineering grade metal is not suitable for home use.
- Expertise: Optimize production documents to ensure manufacturability, achieve high precision, tolerant metal parts and apply complex finishes.
- Quality and reliability: Ensure industrial quality and reduce the risk of printing failure.
- Save time: Faster turnover of complex production, high-quality parts.
- finishing: Comprehensive Post-processing serviceespecially important for achieving professional results through challenging metal parts.
They are solutions for complex, large-scale or high-end (especially metal) star destroyers, requiring maximum fidelity and durability.
Question 6: What file format is required for professional 3D printing?
Answer: The standard is stl(.stl) or OBJ (.OBJ). For best results, e.g. Greatmake sure your model is varied (no holes or wrong watertight), scaled properly and include enough details. They can often assist with file inspection and optimization as part of the service. For complex metal prints, they may require specific design considerations.


