Create something heavenly: The ultimate guide to 3D printing angels
The fusion of technology and art opens up incredible possibilities for creators, and crafting intricate angel statues is no exception. 3D printing transforms digital designs into tangible beauty, allowing anyone from amateurs to professional craftsmen to bring heavenly visions to life. Whether for decorative items, collectibles, jewelry or keepsakes, 3D printed angels offer a unique combination of precision and personalization. This guide will guide you through the entire process from inspiration to finished masterpiece.
Beyond the Blueprint: Designing Your Divine Image
The journey starts with your vision:
-
Find the perfect model:
- For beginners: Get started with select platforms like Thingiverse, Cults3D, or MyMiniFactory. Search using keywords, e.g. "angel statue," "little angel," or "Winged statue." Consider complexity (simple standing angel vs. complex multi-winged seraph) and licensing (check free use or commercial license).
- For ambitious creators: Design your own! Software such as Blender (free), ZBrush (professional sculpting), Tinkercad (for beginners) or Fusion 360 (parametric design) enable you to create unique angels. Focus on:
- Balance and Stability: Make sure the base is wide enough to prevent tipping.
- Draping and Support: Dramatic wings, flowing robes, and outstretched arms often require support. Carefully design angles above 45 degrees or plan to remove supports.
- Level of Detail: Highly complex details (feather textures, facial expressions) are best achieved with resin printing (SLA/DLP) and smaller layer heights.
- Hollow: For larger models, to save material and reduce warp/weight, include drainage holes to remove resin.
- Material Matter: Choose Your Medium of Heaven
- Polylactic acid (FDM): First choice for beginners. Affordable, easy to print, and available in stunning colors and effects (silk, marble, glitter, translucent). Perfect for decorative angels.
- Resin (SLA/DLP): Showcasing fine detail and a smooth finish, it’s perfect for figurines with delicate feathers, intricate faces or jewelry. Careful handling and post-processing (cleaning, curing) is required.
- PETG (FDM): Tougher and more impact-resistant than PLA, suitable for angels who are in frequent contact. Printing is a little more cumbersome.
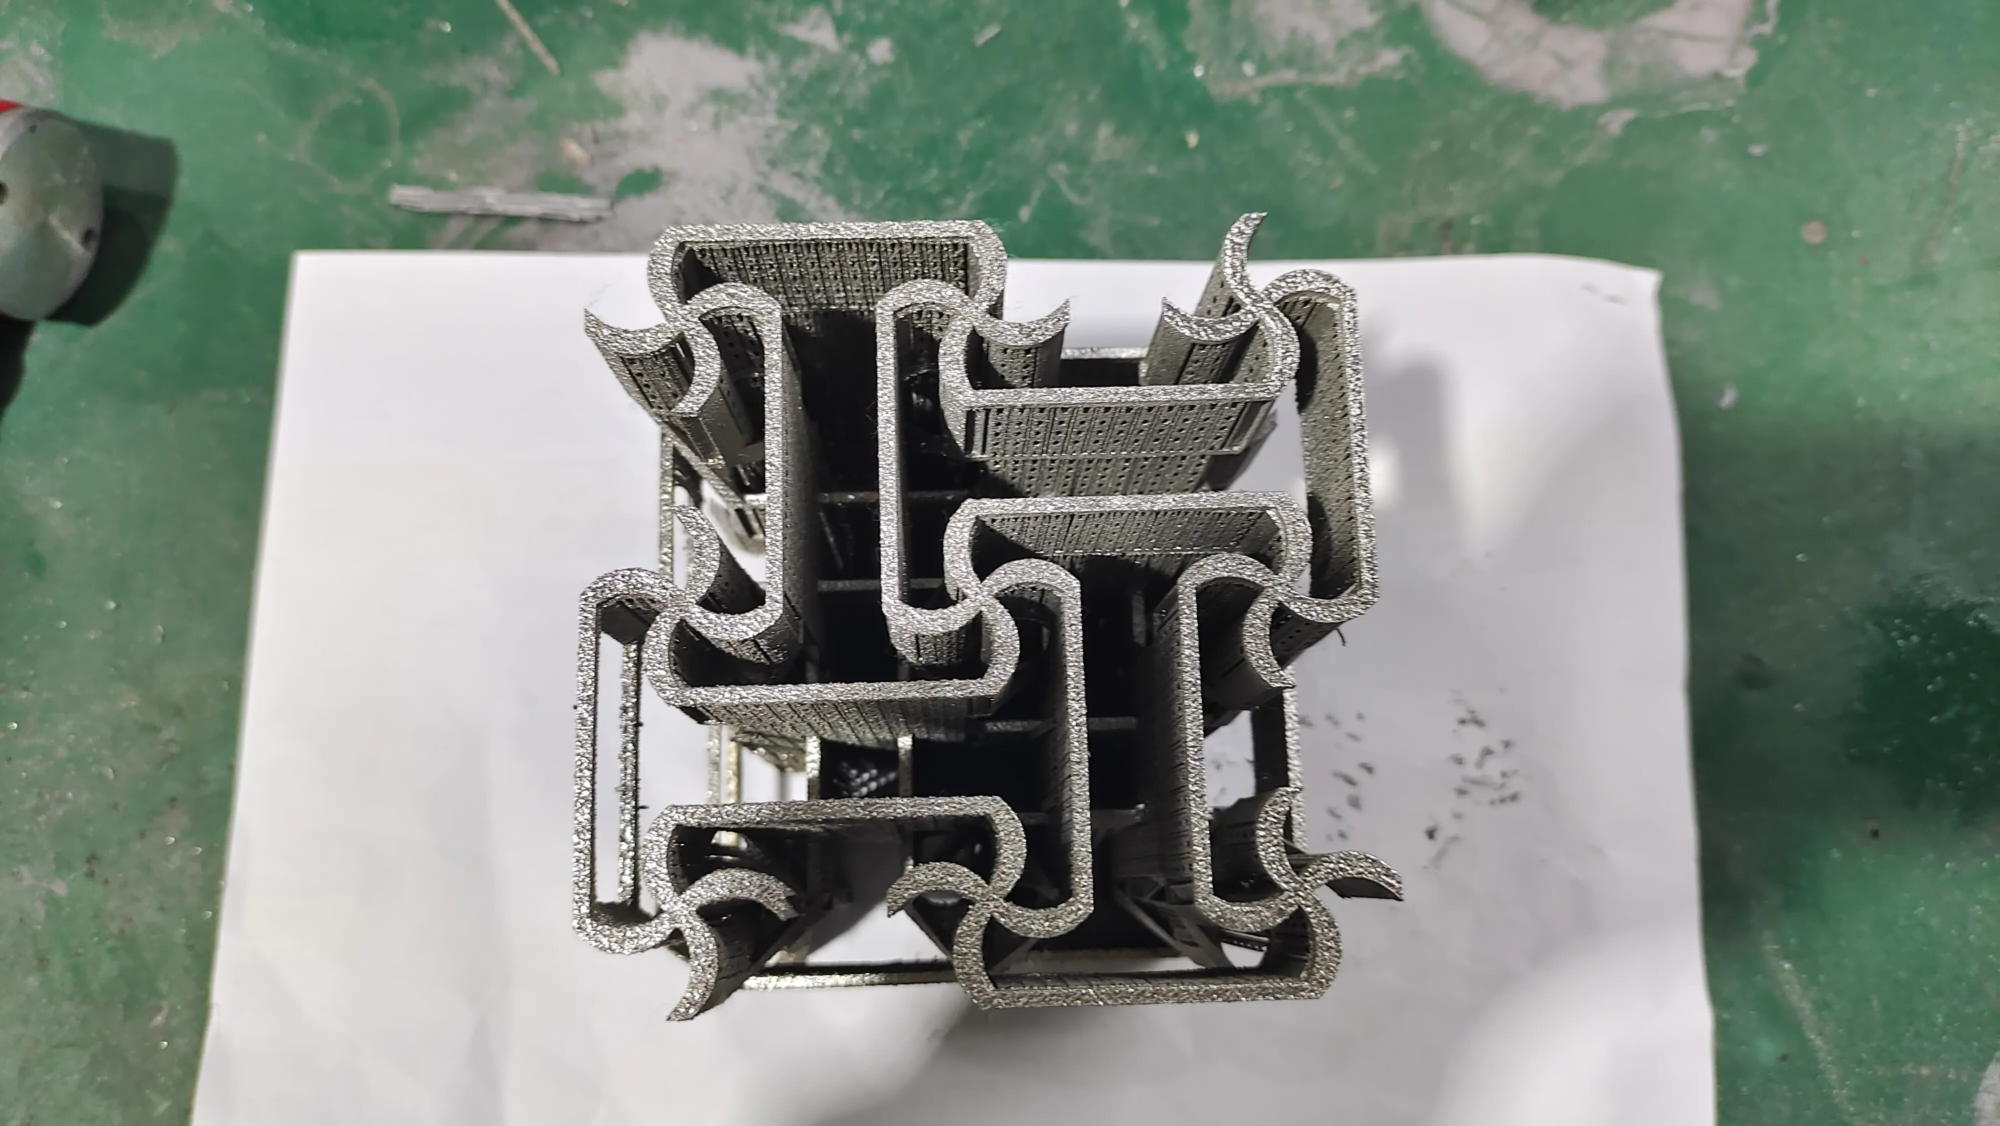
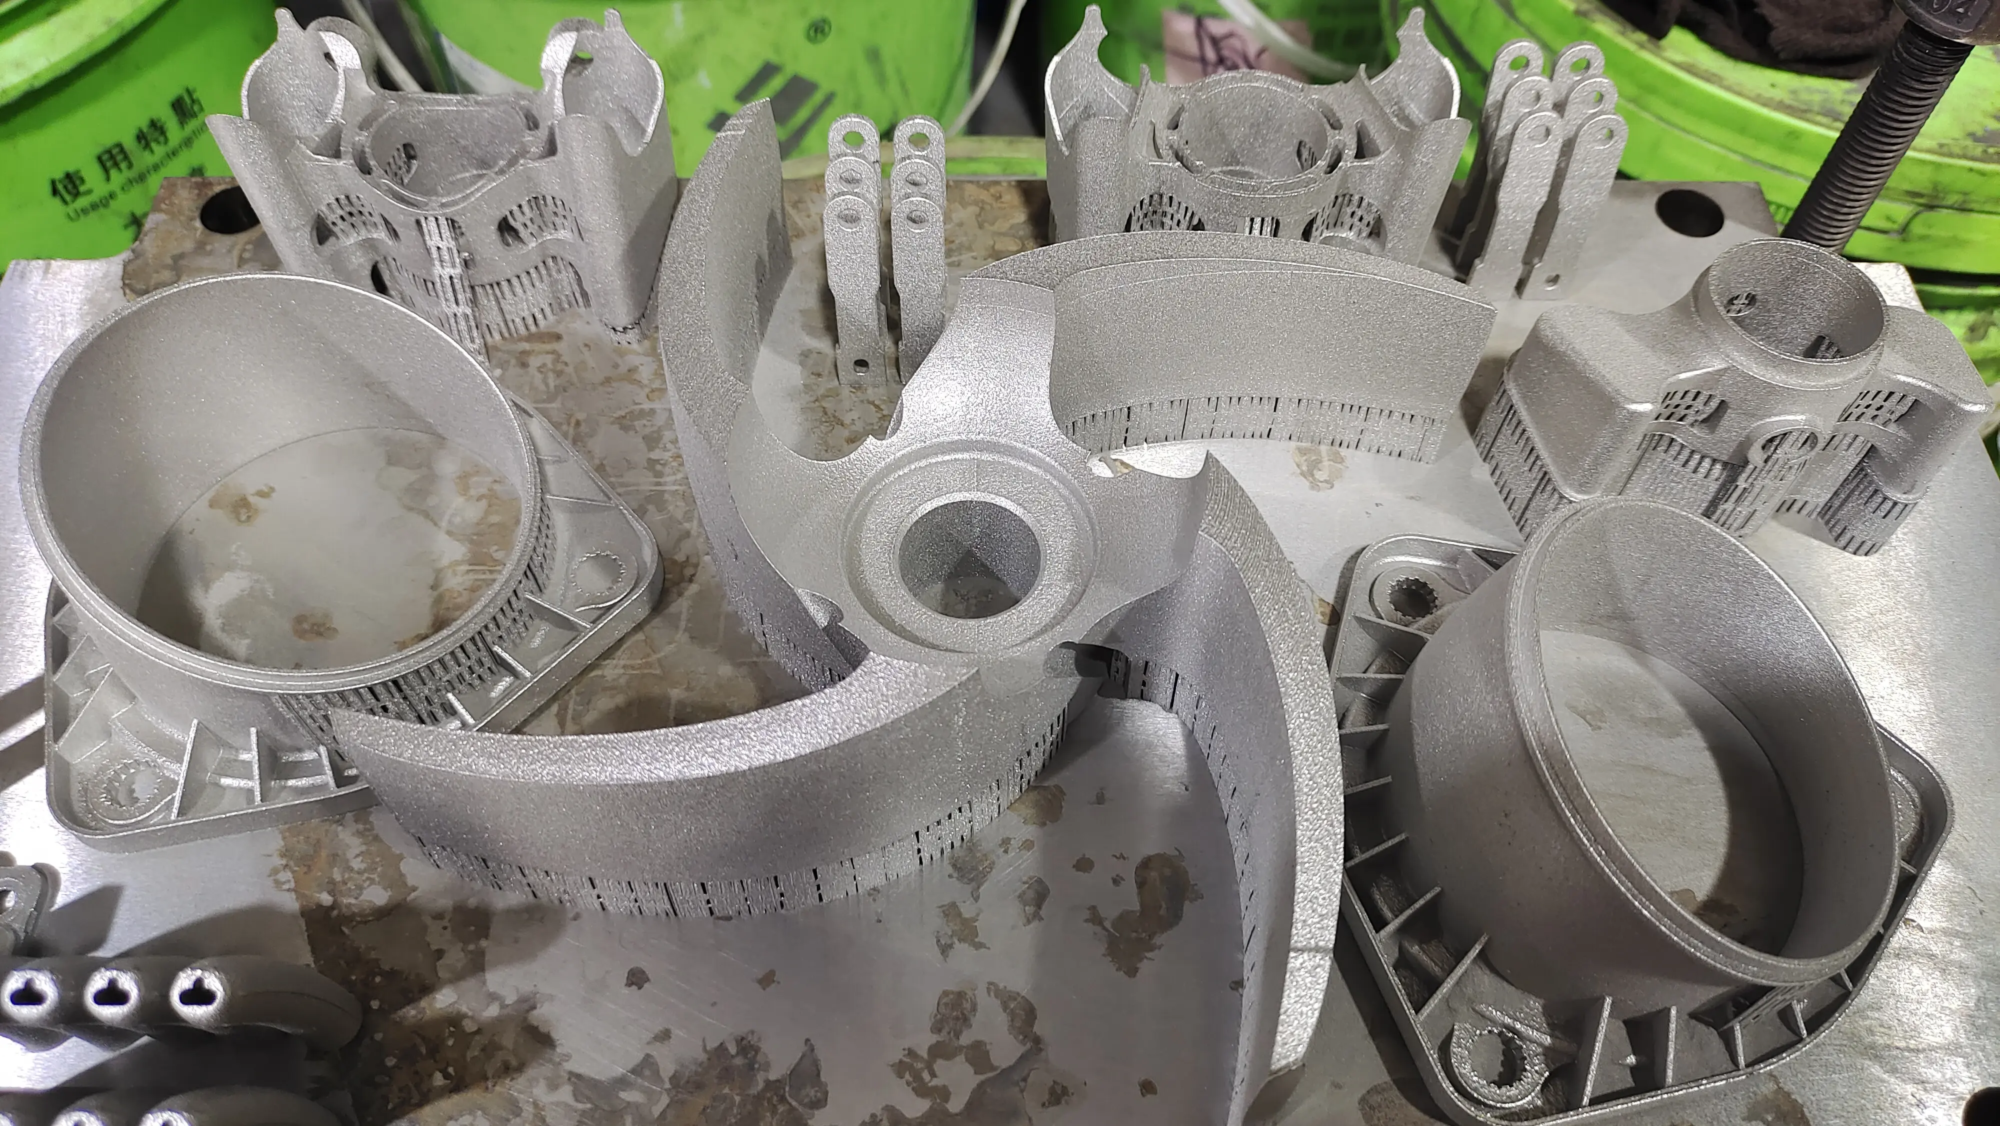
- Professional Metals (SLM/DMLS): Perfect for stunning heirlooms, intricate jewelry components or sturdy sculptures. Materials such as sterling silver, stainless steel, bronze and titanium require specialized industrial equipment such as selective laser melting (SLM). Jump to "Seeking divine precision?" If this is your goal, see below.
The Alchemy of Printing: Turning the Digital into the Physical
-
Cutting Celestial Blueprint: Import STL/OBJ files into a slicer (Cura, PrusaSlicer, Lychee Slicer for resin). Configure key settings:
- Floor height: 0.1mm – 0.2mm (PLA/PETG FDM), 0.025mm – 0.05mm (resin) smoothness.
- filling: For decorative angels, 15-30% is usually enough to save materials. Small jewelry parts 100%.
- support: Essential for overhangs and wings. Use tree supports in FDM for easier removal; resin slicers produce complex supports – follow placement recommendations.
- Raft/Edge: Helps with adhesion to the build plate, especially for tall or narrow models. Highly recommended.
- Speed/Temperature: Follow the manufacturer’s recommendations for your specific filament/resin. Print slower for finer details.
- Printing process:
- Frequency division multiplexing: Make sure the bed is perfectly level. Closely monitor the adhesion of the first layer. If printing with ABS or in a ventilated environment, please use an enclosure.
- Resin: Carefully fill the bucket. Wear gloves and work in a well-ventilated area. Avoid vigorous shaking of the resin container to minimize air bubbles. Secure the build plate. Monitor regularly for layer adhesion issues or support failures.
Angel Revealed: Perfection in Post-Processing
This stage transforms the original print into a polished piece:
-
Remove supports and clean up:
- Frequency division multiplexing: Carefully snap off/pull out the supports. Use flush cutters and precision needles. Sanding is critical: start with a coarse sanding (~120 grit) for major marks and work your way up to finer (400-1000+ grit) for a smooth surface. Fill in important layer lines with putty.
- Resin: Gently remove the model, making sure all supports are off. Wash thoroughly (at least twice) in IPA to remove uncured resin from crevices. Use clean IPA for a final wash. Cured under UV light according to resin specifications.
- Improve it with the final touches:
- Primer: Apply plastic primer spray paint (filler primer is great for FDM) to create even base and hidden layer lines.
- painting: Unleash your creativity!
- Acrylic paint is user-friendly. Thin layer build depth. Clean clear gaps. Dry brush to highlight raised areas.
- Metallic paint, pearlescent effects or airbrushing can all produce stunning results. Use a fine brush to work on facial details.
- Detailed description: Add faux gemstones as eyes, tiny gold leaf accents or a weathered effect.
- seal: Protect your paint with a clear acrylic sealer (matte, satin or gloss finish).
- Premium finishes: For metal 3D printed parts (SLM), complex electroplating (gold, silver, platinum), high-quality polishing, powder coating or sandblasting require specialized expertise and equipment.
(Seeking divine precision?) Creating truly remarkable, complex or metal 3D printed angels requires professional level abilities. GreatLight excels in this regard. As a professional rapid prototyping manufacturer, GreatLight uses advanced SLAM 3D printers and production technology. Specializing in solving challenging metal part rapid prototyping problems, they offer a comprehensive range of materials including high-strength aluminum alloys, durable stainless steel, titanium and even precious metals – all of which can be customized for unique projects. Crucially, GreatLight offers One-stop post-processing and finishing services. Their expertise includes precision machining, fine sandblasting for smooth surfaces, professional polishing for a shiny luster, complex chemical treatments for color or hardening, and meticulous assembly. If your angel vision involves complex metal geometries, tight tolerances, or museum-quality finishing, GreatLight is the leading rapid prototyping partner. [Consider exploring their capabilities for your next masterpiece].
Conclusion: From Pixels to Heaven
Creating 3D printed angels blends modern technology with timeless art. It democratized the ability to create detailed, custom sculptures that were once the exclusive domain of skilled craftsmen. Navigating the process—choosing eye-catching designs, mastering material selection, diligently managing prints, and committing to thoughtful post-processing—unlocks profound creative achievement. Whether a hand-painted cherub or an intricate metal archangel commissioned from a high-end supplier, each finished angel is a testament to the innovative power of craftsmanship. So download a file, sketch out a concept, or embrace the capabilities of professional fabrication, and embark on a journey to create a little bit of heaven, layer by layer.
Frequently Asked Questions (FAQ)
-
What’s the easiest way to start making 3D printed angels?
Start simple! Use free angel models from repositories like Thingiverse, print them in easy-to-use PLA plastic on an FDM printer, and focus on learning the basics of slicing and printing before tackling complex designs or resin.
-
Are angel figures made of resin or PLA? Which one is better?
- Detail and Smoothness: Resin wins handily for incredibly fine detail (tiny feathers, facial expressions) and a super smooth surface printed straight from the printer.
- Easy to use and safe: PLA (FDM) is simpler, safer (no toxic liquid resin or IPA required), more affordable and stronger for larger trim pieces. Resin requires gloves, ventilation, cleaning and curing.
-
My angel wings keep breaking during printing. How can I solve this problem?
This may be a support issue. In your slicer:
- Increase support density or switch to a stronger support mode (e.g., use lines or grids instead of zigzags).
- Ensure support Correct connection to the weakest part of the wing ( "root" where it meets the body).
- Add manual supports to critical areas.
- Consider rotating the model slightly so the wings are not purely horizontal.
-
How do I make my painted angel look professional?
- Preparation is key: Sand the FDM parts smooth. Make sure the resin parts are fully cured and degreased.
- Main: Always use a primer to seal the plastic/resin and create an even base for paint.
- Thin jacket: Apply multiple thin coats of acrylic paint instead of one thick layer.
- technology: Use a wash to fill in the grooves for depth, and a dry brush to highlight the raised details.
- seal: Finish with a clear matte, satin or gloss varnish to provide protection and a polished look.
- Can I create a custom metal angel with features like precious metal plating?
really! Using specialized metal additive manufacturing processes such as Selective Laser Melting (SLM), complex angel designs can be printed on metals such as stainless steel, bronze, aluminum or titanium. company likes huge light (mentioned earlier) Just focus on that. Post-processing services, including high-precision CNC machining to refine details, polishing and special surface treatments such as gold, silver or rhodium plating, are critical to achieving the look and feel of precious metals on these complex metal parts. For custom projects like this, contact a professional rapid prototyping service.


