Unleash the Devil of Hell’s Kitchen: Your DIY Daredevil 3D Printed Masterpiece
Hell’s Kitchen’s brooding vigilante Daredevil jumps straight from the pages of Marvel Comics to our screens and our imaginations. His striking crimson suit, iconic billy club and unmistakable horned mask embody courage and determination. What better way to honor this fearless man than to bring him to life in stunning 3D? With easy-to-use 3D printing technology, making your own detailed Daredevil collectibles, props or functional items is within your reach. This guide delves into the process, offers expert tips, and shows how a professional service like GreatLight can elevate your project when DIY hits its limits.
Why Daredevil? The allure of 3D printed heroics
Daredevil is a gold mine for 3D printing enthusiasts. His designs feature intricate textures (think ribbed armor sections, fabric pleats on suits), unique accessories (Billy Club is legendary!), and dynamic poses that defy printing techniques. Whether it’s a bust, a full statue, or a replica of his weapons, the project provides an excellent canvas for honing your slicing skills, post-processing techniques, and painting techniques. The satisfaction of having a physical version of Hell’s Kitchen heroism makes all the effort worth it.
Phase One: Ideation – Start with Digital Shadow
-
Models are key:
- Find a design: Websites like Thingiverse, Cults3D and MyMiniFactory are treasure troves. Search keywords such as "Daredevil bust," "Daredevil statue," "Billy Club STL." It is crucial that intellectual property rights are respected. Make sure the model’s license permits your intended use (personal/non-commercial is generally safe).
- Debugging/Custom Design: For unique poses or surreal details not available online, consider commissioning a digital artist. or, Gretel provides professional CAD design services. Our team can transform your concepts (or even sketches) into printable, manufacturable models optimized for 3D printing, ensuring structural integrity and minimizing support issues. This is critical for complex geometries such as interlocking billy club sections or dynamic poses with significant overhang.
-
Proportion and Posture Strategies:
- Decide on the purpose of your presentation. Delicate tabletop statues may be 15-25 cm tall, while busts may be larger. The Billy Club replica should be scaled to functional size (approximately 50-60 cm when unfolded). Consider your printer’s print volume limitations. Does the model need to be divided into parts?
- Complexity check:
- Check the model for key challenges: thin supports (wires on the visor, fins on the club), complex textures (the helmet’s “DD” or suit texture), and significant overhangs. This will guide your slicing and support strategy.
Phase Two: Creation – Preparation and Printing
-
Slicing software – production path:
- Use powerful slicers (Cura, PrusaSlicer, Simplify3D). Import your Daredevil model.
- direction: Position for optimal layer adhesion and minimal support. Printing the bust vertically may require heavy support on the chin/jawline, and tilting it slightly back can reduce this. Billie clubs usually print best horizontally or vertically along their length.
- support: Strategically engage bracing, especially in cases of significant overhang (>45 degrees). Use a tree or organic support whenever possible to make removal easier, especially on textured surfaces. Pay special attention to the support position under the mask corners, club hinges, and elbows/knees (if posed). Consider providing customized support for key areas.
- set up:
- Floor height: Lowered (0.12mm-0.2mm) for smoother details on suits and faces. Higher layers are suitable for blocky parts.
- filling: 15-20% is enough to show busts/figures. For a functional billy club for lightweight handling, aim for 40-80% filler or consider Print metal core structural parts (see below). Honeycomb or spiral patterns have a good strength-to-weight ratio.
- Speed and Cooldown: Medium speed for finer details. Make sure parts are cool enough to prevent warping or stringing, especially thin parts.
- Carefully slice and preview: Check layer-by-layer preview for supported effects and potential print failures (collision, floating islands). Adjust as needed.
-
Material Selection – Define your hero’s form:
- People’s Liberation Army: A staple for enthusiasts. Affordable, easy to print, and available in a variety of colors (including Daredevil Red!), it’s perfect for prototyping, display models, and learning processes. However, it is brittle and affected by heat.
- PETG (recommended): A wonderful middle ground. More durable and heat-resistant than PLA, with good interlayer adhesion. Typically, translucent red filaments look beautiful for suit parts. Better resistance to UV degradation of displays.
- ASA/ABS: Excellent durability and heat resistance for parts that may be under stress (such as articulated joints on poseable figures). Enclosed printers are required due to the possibility of smoke and deformation. Ideal for billy club handles where grip and strength are important.
- Resin (SLA/DLP): Unparalleled detail resolution. Great for capturing the subtle texture of detailed facial features on a mask, suit fabric weave, or bust (if sculpted). Requires extensive post-processing (cleaning, curing) and appropriate safety equipment. Best for static display pieces.
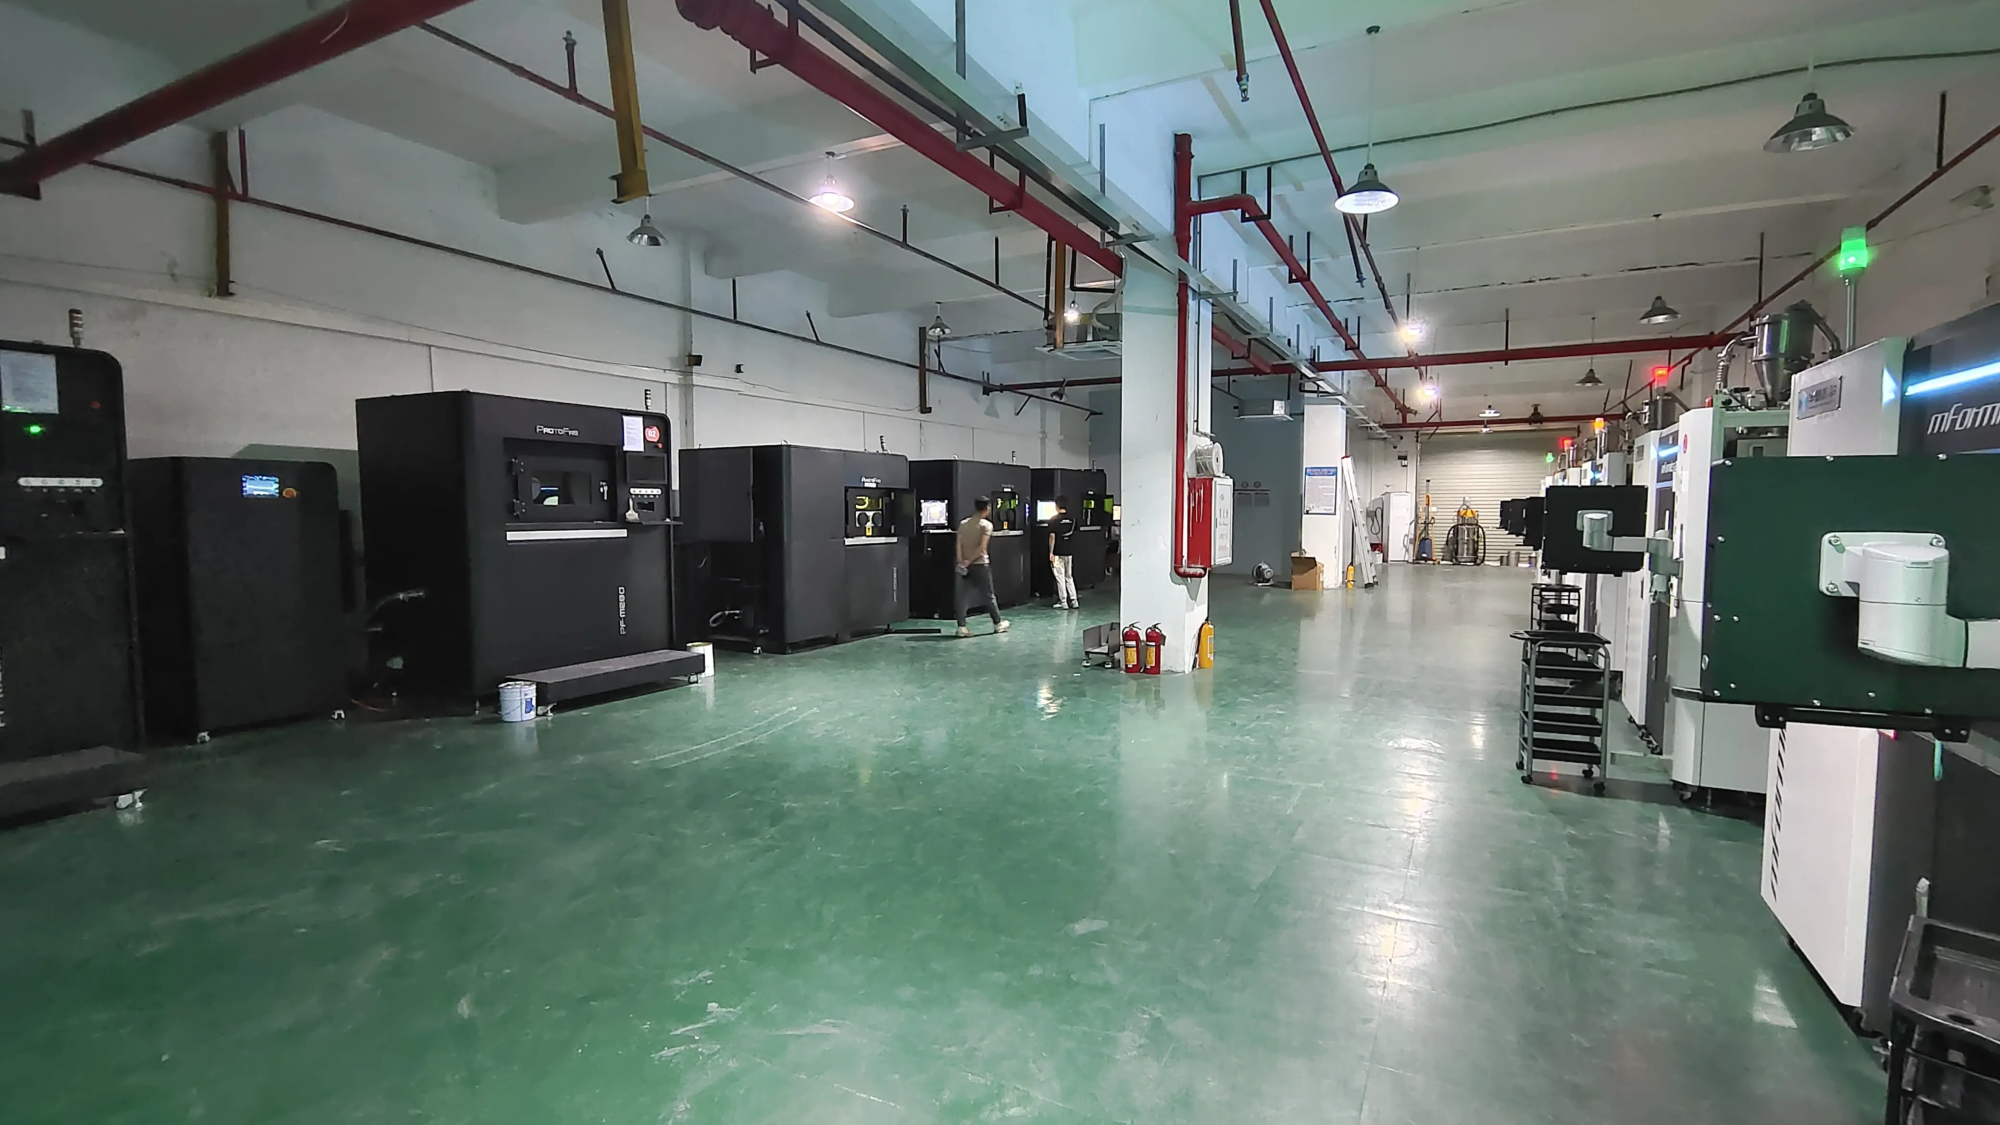
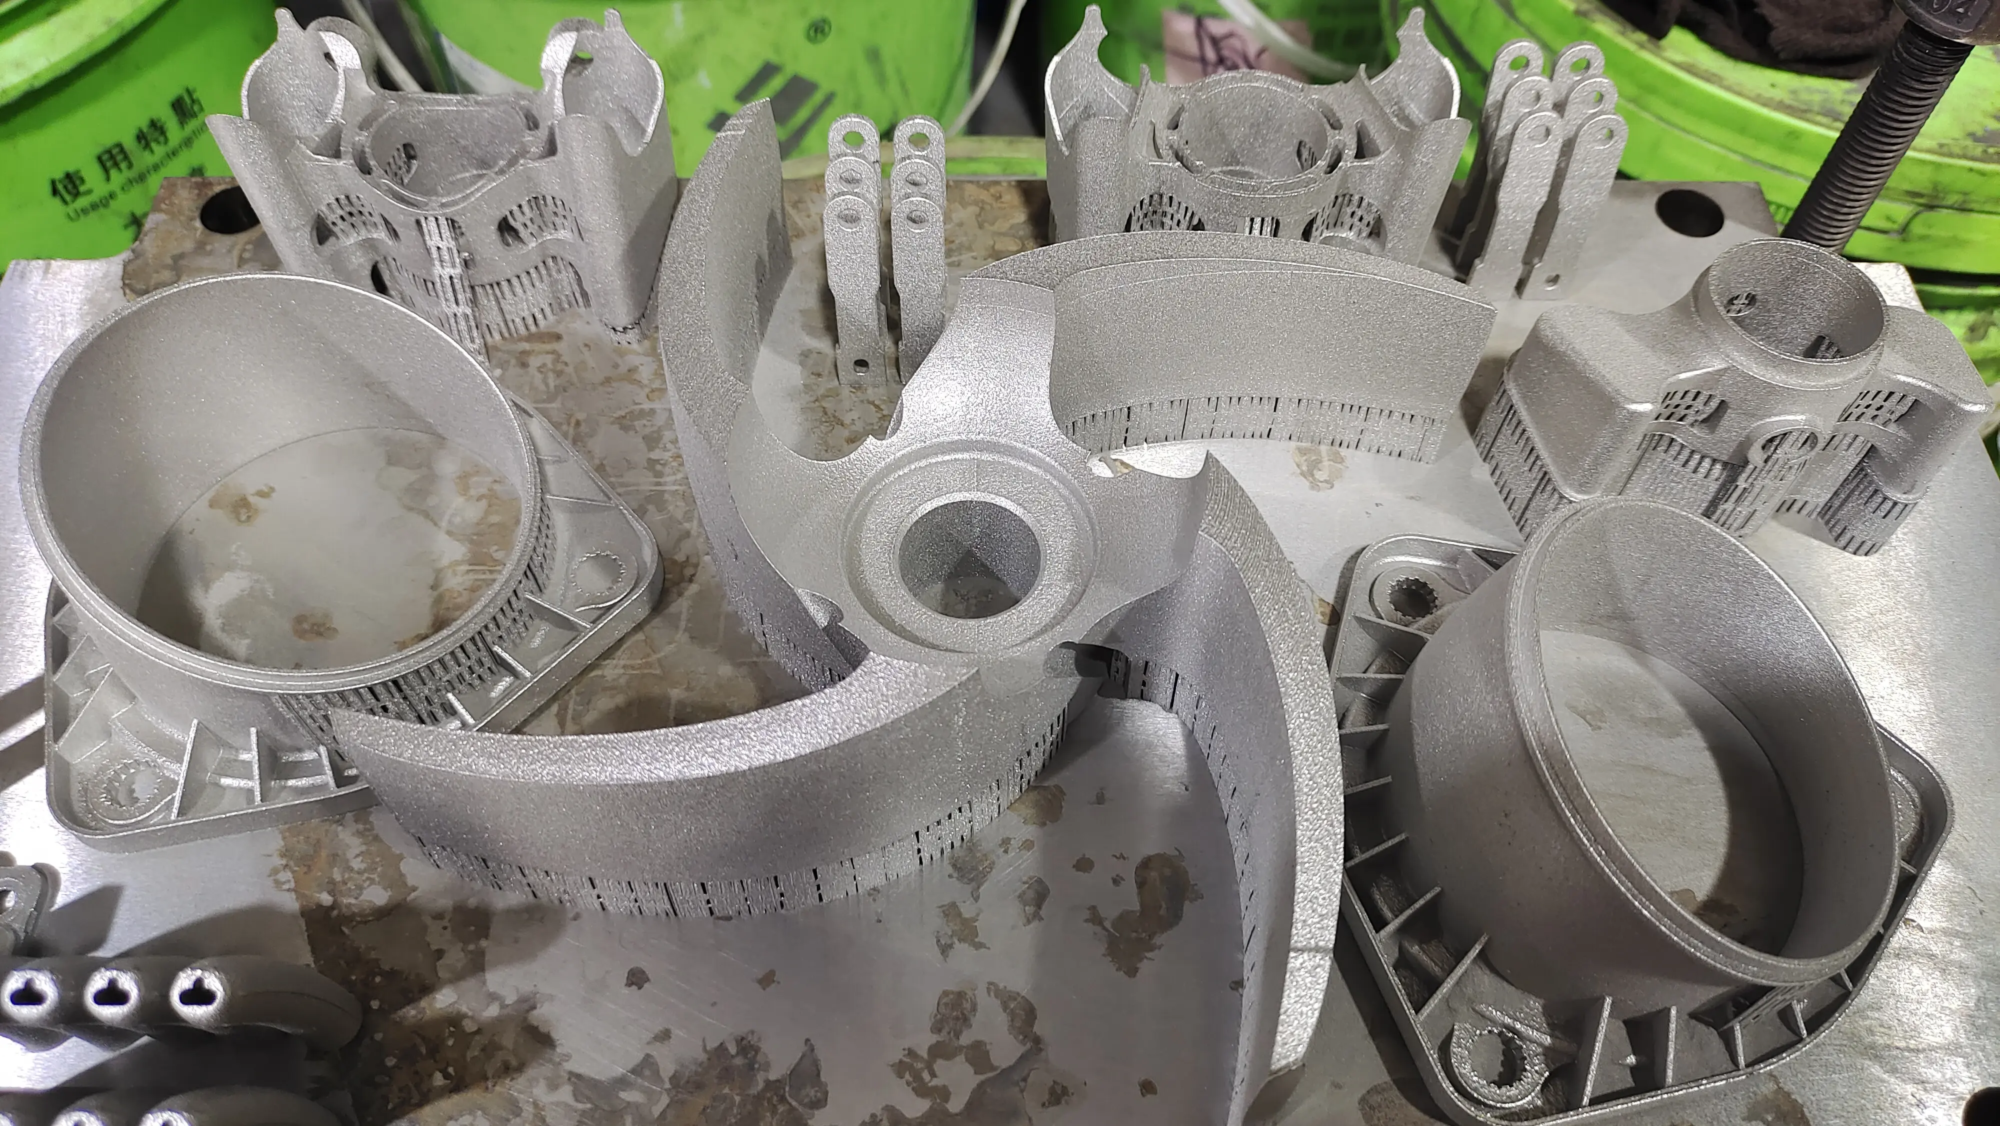
- Metal (GreatLight Edge): For ultimate durability, authenticity (weight) and functional performance, Metal 3D printing is king. our Selective Laser Melting (SLM) equipment:
- Create extremely strong, complex metal parts directly from digital designs.
- Ideal for use with pressed billy club components (trigger mechanisms, locking hinges), highly detailed metal busts or statues with weights, or solid armor replicas.
- Materials: Aluminum (lightweight, strong), stainless steel (durable, corrosion-resistant), titanium (high strength-to-weight ratio), etc., professionally and precisely processed.
- Solve problems that PLA, PETG or resin can’t: extreme strength requirements, heat resistance or achieving a true metallic feel. We handle the entire process, from design optimization to printing and complexity Post-processing (grinding, polishing, electroplating, powder coating) – Essential for achieving a flawless, professional-grade metal finish. Imagine a solid metal billy cue with a perfect red enamel finish or a chrome finish!
- Print run: Make sure the printer bed is level, the filament is dry, and the environmental conditions are stable. Monitor the first level closely, then let the machine work its magic!
The third stage: finishing – from layer line to legendary status
-
Post-processing basics:
- Support removal: Carefully remove the supports using scissors, pliers, or a utility knife. Metal tools are better suited to hard plastic or resin; use resin prints with caution. Next sand the small piece smooth.
- Polishing: This is critical! Start using coarse grit (120-220 grit) for major artifacts and layer lines, then work your way up to finer grit (600+, up to 2000+) for smooth surfaces. Wet sanding of resin produces excellent results. Gretel’s professional organizing services It can achieve a near-mirror polish on metal and a perfectly smooth surface on plastic, saving you a lot of time and energy.
- Gap filling / seam smoothing: Use model putty (such as Tamiya) or UV-curable resin for plastics/resins to fill in layer lines, support scars, and assemble seams. After drying/curing sand smooth.
-
Primer and Paint – for a deep red glow:
- Primer: Basic! Apply a high-fill automotive primer (in thin, even coats) to expose any remaining imperfections and create an even base for paint. If necessary, sand lightly between coats.
- Primer: Airbrushes provide the smoothest finish. Choose high-quality acrylics (Citadel, Vallejo, Tamiya). Daredevil primarily calls for deep, vibrant reds, blacks, and metallic golds/silvers. Multiple thin layers prevent dripping and enhance color depth.
- Detailed description: Use a fine brush to paint the “DD” logo, knuckle guards, armor decoration, and musculature highlighting/shading. A water wash (highly diluted dark paint) deepens the grooves; a dry brush with a lighter color accentuates the raised edges. A clear satin or matte varnish protects the paint and unifies the finish. A glossy coat on the red suit part can imitate leather.
- Assembly (if required): For multi-part prints (e.g. billy club parts, separate head/body), use plastic cement, resin and hybrid materials using superglue (CA)/epoxy, or use mechanical fasteners for strength. Make sure the alignment is perfect before gluing.
Stage Four: Professional Execution – When DIY Needs Strengthening
A DIY journey can be rewarding, but complex designs, demanding materials (such as metal) or the need for exhibition-grade quality may push one’s capabilities. This is where GreatLight shines:
- Beyond FDM: Leverage our advanced SLM metal 3D printers to print parts (metal billy clubs, structural components) that require unparalleled strength, durability and material authenticity.
- Accuracy guaranteed: Industrial-grade precision eliminates common issues like warping, dimensional inaccuracies, or failed prints.
- Materials expertise: Get a variety of metals and engineering-grade polymers customized for specific functionality and aesthetics.
- End-to-end perfection: We don’t just print. our Expert post-processing services Process each stage:
- Supports removal and surface refinement (sanding, media blasting).
- Heat treatment (annealing, stress relief).
- Advanced Finishing: Precision machining (tolerances down to microns), CNC smoothing to fit the design, various polish levels (brushed, mirror), electroplating (chrome, nickel, gold for badges), anodizing (colored aluminum), painting, texturing and custom finishes. Achieve the look of battle-hardened armor or the flawless heroic sheen.
- One-stop solution: From the initial sketch or model file to the final finished part in your hands, GreatLight manages the entire complex rapid prototyping workflow efficiently and professionally. We solve the toughest metal prototyping problems quickly. Customize your Daredevil dream piece with precision and speed now!
Conclusion: Meet the challenge
Creating the 3D printed Daredevil embodies the spirit of the character – overcoming challenges through skill, persistence and ingenuity. The DIY process provides great satisfaction and teaches valuable 3D printing techniques. From sourcing or creating the perfect model to the meticulous post-processing and painting required to capture the essence of The Devil of Hell’s Kitchen, this is a project worthy of any builder.
However, for those looking for flawless execution, especially in more demanding materials like metal for functional or highly display items, work with a professional rapid prototyping service such as huge light Transform ambition into extraordinary reality. Our advanced SLM technology, broad material selection and comprehensive One-stop finishing and post-processing solutions Make sure your Daredevil work is not just printed, but crafted with the precision, durability, and stunning beauty it deserves. Take on the challenge and bring your vision of Marvel’s most ruthless street hero to life!
Daredevil 3D Printing FAQs
Q1: Where can I find the best free/purchasable Daredevil 3D models?
A: Reputable 3D model marketplaces include Thingiverse, Cults3D, and MyMiniFactory. Search using specific keywords. Be sure to check the license terms. For a truly unique model, consider commissioning an artist or utilizing GreatLight’s Custom CAD Design Services.
Q2: Is my Daredevil figure made of PLA, PETG or resin? What’s the best?
- People’s Liberation Army: Suitable for prototyping, learning and simple presentation. Best suited for large busts or static figures where final detail is not important.
- Polyethylene glycol: Highly recommended for durable display pieces or articulated figures. Better heat resistance and toughness than PLA. Translucent red PETG is ideal for making suit components.
- Resin: Best suited for busts, statues or intricate details that require excellent surface quality and fine features (mask textures, facial details). Requires extensive post-processing (safety gear required).
Question 3: How to deal with challenging overhang issues on the mask corners or billy bar hinges?
Answer: The direction of the slicer is key. If possible, rotate the model to minimize overhang angles. Use organic/tree supports for better surface contact and easier removal. Make sure the fan is set to 100% and print slowly to work on tricky overhangs. GreatLight’s expertly optimized design, including strategically segmented models, essentially minimizes these challenges.
Q4: I want to make a functional billy club that I can actually operate. Which material is best?
A: For hobby-level use, high-strength materials are essential:
- Polyethylene glycol: Not bad, but may wear out over time.
- Nylon/CF Nylon: Excellent strength and durability, harder to print on.
- Metal (Premium Choice): SLM metals (such as aluminum, stainless steel or titanium) from huge light Delivering unparalleled robustness, true weight and long-term durability to functional parts without the risk of plastic fatigue or breakage. We ensure that our machinery has precise tolerances.
Question 5: How can I get perfectly smooth and professional results in printing?
A: Success lies in post-processing:
- Carefully remove supports and perform preliminary sanding.
- Fill gaps/joints with putty/resin filler.
- Thoroughly polish the process (Start thick and end very thin).
- Apply High fill primer coat.
- If necessary, sand gradually finer between coats of primer.
- Apply a thin layer of high-quality paint.
- Clear coat for protection/gloss.
Save sweat and time: GreatLight’s industrial post-processing (sanding, CNC smoothing, polishing, media blasting, coating) delivers perfectly smooth and durable results that go well beyond typical DIY capabilities, especially with difficult materials like metal.
Q6: What advantages does metal 3D printing have for projects like “Daredevil”?
A: Metal 3D printing (especially SLM) by GreatLight supply:
- Unparalleled Strength and Durability: Ideal for functional props (billy clubs with gripping parts, mechanical joints), load-bearing parts or heavy-duty display pieces. Will not deform or break under high temperatures.
- Exceptional detail and precision: Complex designs are possible.
- Professional aesthetics: Authentic metal look and feel. Can be polished to a mirror or textured finish.
- Material Versatility: Customized material properties (weight, strength, heat resistance) using aluminum, steel, titanium, etc.
- Seamless integration: We optimize designs through fabrication and intricate finishing for show-stopping results.
Q7: Can Ferrite handle the entire project, not just the final manufacturing?
one: Absolutely! Juguang is a Full-service rapid prototyping partner. We assist with:
- Concept and design: Convert ideas into printable, manufacturable documents.
- Material selection and consultation: Recommend the best materials for functionality and aesthetics.
- Precision SLM Metal and Polymer 3D Printing: Meet strict tolerances and quality standards.
- Comprehensive post-processing: All necessary finishing stages (support removal, machining, heat treatment, polishing, plating, painting, etc.).
- Assemble (as needed).
Let us handle the complexities so you can enjoy your final, stunning Daredevil project.


