The ultimate DIY guide to making your own 3D printed phone stand (plus pro tips!)
Tired of fragile, overpriced phone racks? The idea of creating a unique thing that is perfect for your device and style has attracted people’s attention? Don’t look again! 3D printing allows you to design and manufacture custom phone racks at home. This guide will introduce you to every step from concept to functional personalized accessories. It is surprisingly accessible, meaningful, and allows you to solve a common everyday problem with creative solutions.
Why use 3D printing to wear a mobile phone station?
- Perfect for: Design a cradle with a special profile your Phone model (even the case!).
- Unlimited customization: Choose a unique shape, pattern, include logo, or add additional features such as cable routing or charging coil cutouts. Express your style!
- Durability and strength: By choosing the right material and fill density, you can go beyond the quality of cheap mass-produced plastic tables.
- Cost-effective: Especially if you already own or can use a 3D printer, the material costs are very little.
- Study and Entertainment: This is an excellent entry-level project to learn the basics of CAD and the 3D printing workflow.
What you need:
- 3D printer (FDM/FFF type is recommended): Accessible filament printers (such as Creality, Prusa, Bambu Lab) are ideal for beginners.
- filament: PLA is perfect for aesthetics and easy to print. PETG provides increased heat resistance and toughness. ABS/ASA offers maximum durability, but requires more printing skills. The TPU can be used for anti-slip pads.
- 3D modeling software:
- Free CAD: Tinkercad (very suitable for beginners), Freecad (more advanced parameters), Fusion 360 (for personal/amateurs).
- Slicer software: Cura, Prusaslicer or Bambu Studio – Convert your model to printer instructions (G code).
- Basic tools: Side cutter (for disassembly support), sandpaper/file (for completion), probably tweezers and isopropanol for cleaning.
- Optional but recommended: Calipers (to accurately measure your phone size).
Step-by-step creation guide:
-
Define your requirements:
- equipment: The exact model and whether it will be in the case. Measure the thickness, width, and position of the volume button.
- Use cases: Just a portrait? landscape? Adjustable angle? Does it need to hold your tablet, too?
- Stablize: A wide base is needed to prevent tilting, especially with larger phones. Consider balanced design.
- portability: Should it be folded or compact?
- Custom features: Rope bracket? Headphone jack slot? MagSafe compatible magnet slot? The hook of the key?
-
Design Magic (select your path):
- Path 1: Modify existing model (beginner):
- Search for repositories such as Thingiverse, Printables, or Cults3d. Looking for phone rack designs.
- Design filters (angle, phone size, landscape/portrait) with desired features.
- Use your slicing software or simple CAD program to Adjustment Basic dimension. Change width, depth, or cell phone cradle size to fit your device notes. Adjusting the height may need to be scaled to maintain the expected angle.
- Path 2: Design from scratch (intermediate):
- sketch: A rough overview of your stand profile on paper – foundation, support column, telephone cradle.
- CAD process: Start your CAD. Sketch phone cradle size based on measurements. Extrusion/rotating foundation and supported features. Main things to note:
- angle: The optimal viewing angle for a phone screen is usually between 60-75 degrees (~120-105 degrees measured at the bottom of the support, see the image below). More vertical space savings; more horizontally accommodate higher screens. Use trigonometry or iterative size calculations.
- put one’s oar in: Make sure the stand does not block the camera, speaker, charging port or button.
- strength: Add fillets/rounded corners to corners to reduce stress concentration. Design the thicker parts where the load is the highest (bottom support joint, cradle edge). Avoid using thin walls that may be captured.
- Prevent slippage: Includes rubber foot pockets (to be glued in the TPU pad later), or design textured surfaces/bulging ridges on the cradle.
- Improve and inspect: If available, use simulation tools for basic stress testing. Visually check the model for potential printing problems, such as drape issues that require support.
Woolen cloth[](https://i.imgur.com/simplifiedanglediagram.png//imagine A simple chart showing the phone stand angle with alternative angles marked 60°, 70°, 75°)
- Path 1: Modify existing model (beginner):
-
Prepare to print (slice):
- Import the final STL/3MF file into the slicer of your choice.
- Set parameters: Key settings affect final appearance and functionality:
- Layer height: 0.15mm-0.20mm details and surface finish. It takes longer to reduce.
- Fill density: 15-30% (Grid/capacity/trithyroid pattern is recommended). Higher fillers make it heavier and stronger, but use more materials.
- Wall (perimeter): 3-4 walls provide rigidity and durability for structural parts.
- support: Enable drape over ~45-50 degrees, especially within the phone cradle groove. If available for less substance use and easier removal, use Tree Support (CURA) or Organic Support (Prusaslicer).
- Adhesion: Edges (5-10mm) help prevent warping, especially for larger bases. Always check the first layer of adhesion!.
- Material settings: Choose the correct curve for your filaments (PLA, PETG, etc.) and adjust the temperature as needed according to experience.
- Slice and preview: The G code obtained from visual inspection is previewed layer by layer. Looking for:
- Skip/discard support when needed.
- Gap or potential failure.
- The first layer is properly squeezed onto the build board.
-
Print masterpiece:
- Prepare the printer: Carefully tidy up the construction board. Clean with isopropanol. Make sure the filament is loaded correctly, the spool feeds smoothly and the nozzle is clear.
- Start printing: Transfer G code (via SD, USB or network). Start the print.
- Monitor: Especially the first floor! Long-term printing is usually reliable after the first 5-10 layers, but be careful to click (skip the extruder), layer movement or spaghetti monster invasion. If there is a major problem, please stop.
- be patient: Printing speed will affect quality. Standard speed (50-80mm/s on consumer printers) provides a good balance. Slower usually equals smoother.
- Post-processing is perfect:
- cool down: Cool completely (prevent warping) before removing it from the build board.
- Delete support: Use the rinsing cutter carefully to cut the support. Work gently to avoid breaking part of the shelf. Tweezers help tiny. Patience is the key!
- Clean up: Starting with ~200-400 sandpaper, the sand is rough with spots or supporting scars, gradually moving to the finer sandpaper (600+) to make it smoother. Pay attention to the area touched by your phone. Hobby files are suitable for the edge.
- Complete the touch (optional but recommended):
- glue: If you print with multiple parts (e.g., feet, wired clips), use Super Glue (CA) specifically for plastics (PLA/ABS/PETG type).
- Anti-slip pad: Cut vinyl, cork or printed TPU (flexible wire) into thin slices and/or the surface of the phone cradle.
- Painting/Paint: Spray paint (after startup) to make the appearance flawless. Remove coatings (such as polyurethane) from scratches and UV rays (especially PLA).
Conclusion: Your portal to personalized solutions
Congratulations! You have successfully navigated the process of designing, printing and completing the custom phone rack. This project embodies the incredible power of desktop 3D printing – transforming digital creativity into tangible functional objects and accurately adjusting your needs.
But what if your ambitions go beyond that? What if you need a stall made of robust metals such as aluminum or titanium? Or is it necessary to provide components with unparalleled accuracy, heat resistance or complex geometry? Maybe you need production-level quantities, or just lack time or resources for DIY complex parts? This is where expertise becomes crucial.
Introducing Greatlight: Precision engineering conforms to rapid prototyping excellence
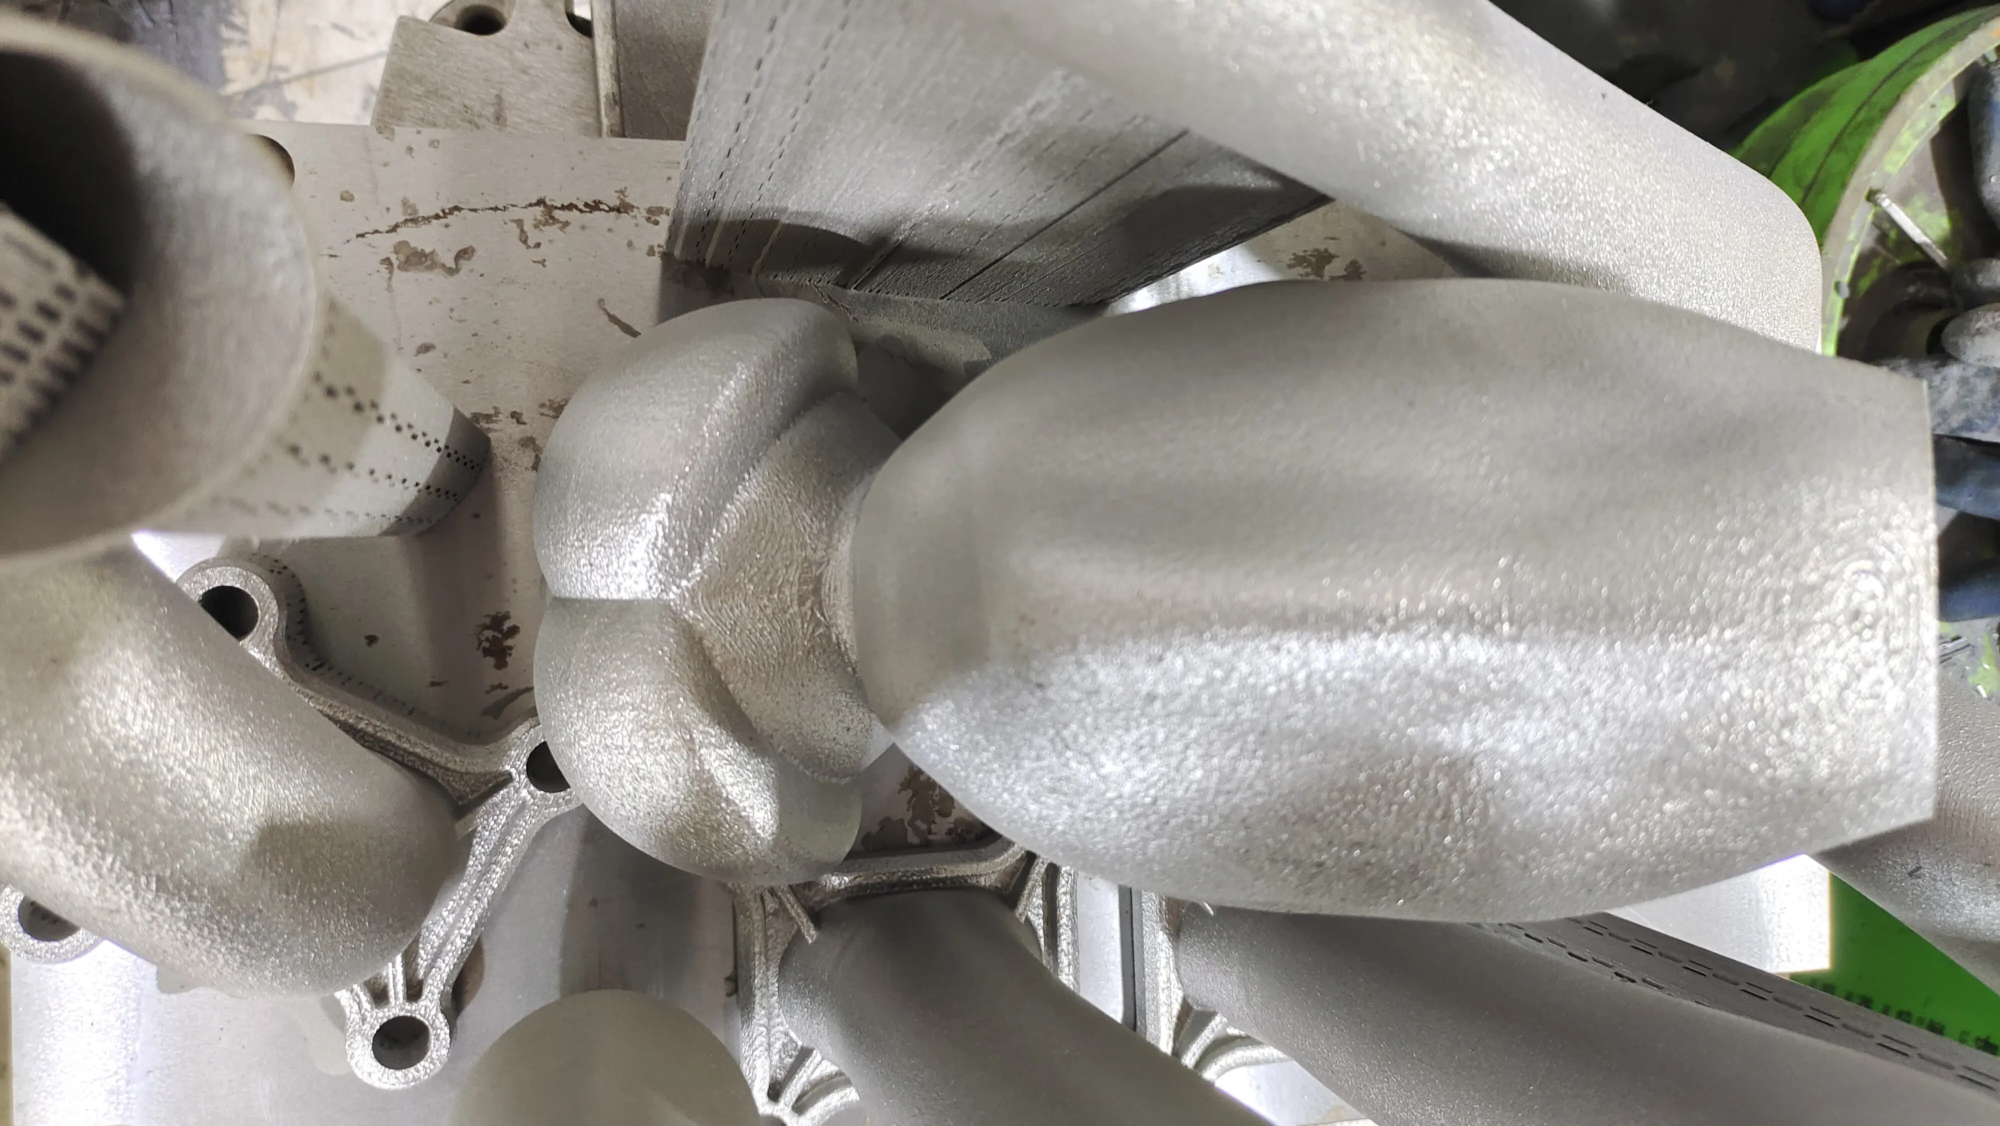
exist GreatWe specialize in the boundaries between rapid prototyping and precise manufacturing. We go beyond the capabilities of desktop printers Selective laser melting (SLM) 3D printing technology – Ability to build durable, complex, and high-precision equipment Metal parts Directly from the digital model. Consider integrating custom metal brackets into larger components? Need a phone stand chassis with aluminum cooling fins? GRESTLIGHT provides.
Our services are not just printing; it’s about providing End-to-end solution:
- Expert Materials Science: We use a variety of metal alloys to advise on the best materials on the requirements of a specific section.
- Advanced SLM devices: Ideal for complex geometric shapes and internal structures.
- Comprehensive post-processing: Heat treatment (annealing), pressure relief, precise CNC machining for critical tolerances, shooting, polishing, painting, anodizing, electroplating – converts original print into prepared components, ready for assembly. We handle it all.
- Quick customization and iteration: Need design adjustments? We move quickly to minimize your time to market.
- Cost-effective accuracy: Utilize our technology and expertise to obtain high-quality custom metal parts at competitive prices.
Whether you need rapid prototyping, functional test parts, low-volume production runs or highly customized machining components, Greglight is considered one of China’s leading rapid prototyping experts. We address complex engineering challenges with speed and accuracy.
Strengthen your ideas with professional manufacturing. [Link to Custom Order Page / Quote Request] Or explore our abilities today!
FAQ section: DIY 3D Printed Phone Rack
Q1: What is the best filament for a sturdy, durable phone stand?
Answer: For beginners, PLA Easy to print and looks great. To improve toughness, temperature resistance and durability, Petg Highly recommended. ABS/ASA Provides the highest durability and heat resistance, but can be trickier due to warping and smoke (using ventilation). If you add a sliding foot, TPU Great for those small pieces.
Q2: How do I prevent my phone from standing up?
one: Design is crucial: Ensure a wide, stable foundation that offsets the height and weight of the phone. Make the base longer than the front cradle. Adding anti-slip pads (even if not printed by yourself, or even sticky pads) can provide the necessary grip. For heavy duty phones/tablets, add weight to the basic grooves or design load structure accordingly.
Q3: How long does it take to print a 3D phone stand?
A: This varies greatly depending on size, complexity, layer height, fill speed and print speed. A small, simple stall may require 1-3 hours. Larger, more complex or more intensive designs may require 4-8 hours. Preview time in the slicer for accurate estimates.
Question 4: My phone fell out of the cradle! How can I solve it?
A: Usually redesign is required, but try these fixes first:
- Add anti-slip material: Stick a thin foam pad or rubber strip into the cradle groove.
- Increase the depth/width of the cradle: Print again with tighter or deeper mounting grooves (make sure the buttons/ports are not blocked).
- Design Grippy features: Add horizontal ridges or diamond/triangle shapes to the cradle wall to grab the sides of the phone.
Q5: How thick should the walls of a sturdy bracket be?
Answer: Minimum Wall thickness 2.0mm For most designs, it is usually a good starting point for rigidity with PLA or PETG. The critical load area (the junction of the foundation to the support) should be Thicker (for example 4-6mm). use At least 3 wall circumferences It is recommended to increase strength in addition to simple exterior wall thickness.
Question 6: Can I make a booth with my phone? and Wireless charging?
one: Absolutely! This is a popular combination.
- design: In the position where the phone is resting to accommodate the Qi wireless charging coil/receiver module, integrate a cavity on the base.
- Blinds/holes: Includes cutouts/slits in the front cradle structure to allow wireless signals to pass through the charging coil of the phone efficiently.
- Cable routing: Design an internal channel or rear groove to neatly view the charging cable as a line of sight. Great Excellent in manufacturing of such integrated metal shells at production scale or prototype level.
Q7: How to make the viewing angle adjustable?
- Multi-part design: Print the base and support it separately, then design the slot or position so that the support position follows the base slot at different angles and is secured with pins or friction.
- Bend backwards: Design a curved backrest so that the phone can swing to various positions. Adjustment of stability is required.
Question 8: I don’t have a 3D printer. How do I still get a custom stance?
one: Option 1: Upload the file and select the material/finish using the online printing service (Shapeways, I. Materialise, Pretchstock).
- Option 2 (meets highly customization or metal needs): Cooperate with it GreatIf your design requires precise metal manufacturing, complex finishes, or you need experts to optimize productivity and performance beyond desktop plastics, our industrial-grade SLM 3D printing and post-processing services deliver professional quality, durable results that can be customized completely to your specifications. Contact us for a quote to bring your custom stance concept to life!


