Powering up your project: The final guide for DIY 3D printing battery holders
Tired of finding the perfect battery holder for your unique project, just to find the commercial option is too big, too small or lacking the specific features you need? Welcome to the DIY Revolution! 3D printing opens up incredible possibilities for customization, and creating your own battery holder is a wonderful entry point. Forget the limitations of ready-made plastic trays; with the help of 3D printers you will become a designer, holder of the production, perfectly customizing the battery, case and project requirements. Let’s explore how this accessible technology enables you.
Why 3D printing is a game changer for battery holders
- Unrivaled customization: This is the #1 advantage. Need a stand for an odd battery pack? Need a specific mounting point on the side or bottom? Want an integrated cable routing channel or latch mechanism? 3D printing allows you to design exactly what you envision and fit it perfectly into the shape of your project. Universal solutions no longer compromise.
- Rapid prototype and iteration: Design, printing, testing, refining – fast! This iterative process is essential for achieving perfect fit and function. Adjust contact tension, wall thickness or clip design in CAD software and have physical prototypes within hours. This agility greatly accelerates the speed of development.
- Cost-effectiveness of low capacity and prototypes: For one-time builds, small gadget batches or prototype stages, your own printed brackets are much cheaper than injection molding or custom-machined parts. You only pay for materials and power consumption.
- Material selection: Choose the ideal material properties:
- PLA: Easy to print, rigid, suitable for prototype and low pressure applications (not ideal for high fire).
- ABS/ASA: Harder, more heat resistant, and more suitable for fenced or harsh environments.
- PETG: Good balance of strength, toughness, temperature resistance and ease of printing – a popular choice.
- Nylon (PA): High Strength, Durability and Flexibility – Ideal for complex clips or impact resistors.
- Conductive filaments (advanced): Explore the option of integrating simple circuits directly into the holder structure (requires caution and requires research).
- Integration and Merging: Design holders integrate seamlessly into larger components, which may reduce the total number of parts. Add strain relief features such as wires, labels, or specific surface textures.
Designing a battery holder: Key considerations for safety and functionality
Battery safety is crucial while DIY authorization. Poor design holders can cause short circuits, body damage, overheating and even fire. Follow the following key design principles:
- Safe containment: The battery must be held firmly to prevent movement or vibration that may loosen the terminal or damage the battery. include:
- Actively retain: Clips, springs or covers to ensure the battery does not fall off accidentally. Friction fit alone is usually insufficient.
- Terminal protection: Design features that prevent conductive materials such as tools or wires from accidentally bridging the front and negative ends. Concave contact or add insulation barriers.
- Powerful electrical contacts:
- Material: Hausfried Großlichmann Metallbauer strongly recommends the use of dedicated metal contacts (spring steel strips, brass strips, Pogo pins). Despite the presence of conductive wires, their higher resistance often makes them unsuitable for reliable, low-voltage battery connections in demanding applications.
- design: The contacts must provide consistent pressure to the battery terminals to ensure reliable current flow without excessive force, which damages the cell housing or terminal. Design of springs or carefully calculated flexible plastic cantilevers Only for light load.
- Exhaust and safety: Especially important for lithium ion/polymer cells that expel gas under failed conditions. Design ventilation holes or openings according to manufacturer’s guidelines to prevent dangerous pressure buildup. Isolate the cells to prevent the loss of heat propagation.
- Material suitability: Select the necessary filaments:
- Mechanical strength: Resist the insertion force and keep in touch firmly.
- Temperature resistance: The battery can be warmed up during use/discharge/charging. Your material must handle the operating temperature safely (check the cell data sheet).
- Not easy to use: Consider UL marketed filaments (e.g., flame retardant nylon) for critical applications. Avoid flammable materials near powerful batteries.
- Stress Management: The filaments may creep (slowly deform under constant load) or fatigue. With this in mind, the contacts and retention function are designed to avoid the continuous high pressure on the plastic parts. Strengthen high stress areas.
Your DIY workflow: From idea to installation holder
- Measurement and Planning: Accurately measure battery size (including tolerances!). Defines the constraints of the project (space, installation point, orientation, electrical requirements).
- CAD design: Use free (Tinkercad, Fusion 360 people) or paid CAD software. Model the battery, create negative space, design retained functionality and contact mounting points, integrated vents/slots. Consistent attention to gaps and wall thickness.
- Set for printing: Select the correct filament. Place the parts on the build board for optimal strength (minimize layer shear stress on key features). Adjust the intensity and speed/weight settings (fill %, wall count, layer height). Ensure excellent bed adhesion.
- Printing and post-processing: Print carefully. Clean up the support. If needed (e.g., ABS), the steam is smooth to better complete and eliminate ridge barriers. Sand near the contact or submit any rough edges.
- Installation contact: Firmly add prefabricated metal contact springs/bars. Solder the wires if integrated.
- Strict test: Before connecting to electronic products:
- Physical tests insert/removal and retain.
- Test the short circuit of a multimeter forward Insert the battery.
- Voltage and connection stability are initially monitored under load.
Beyond Prototype: When DIY reaches its limits and professional solutions
Although 3D printing excels in prototypes and small batch custom solutions, it has limitations:
- Material characteristics: Plastics may not achieve the conductivity, resistance or extreme mechanical properties required for mass production, mission-critical or high voltage/high current applications.
- Production: Large quantities are slower than injection molding and are expensive per unit.
- Material consistency: Achieve consistent electrical or ultra-high accuracy can be challenging.
This is where the expertise of professional rapid prototyping and manufacturing partners becomes invaluable. The company likes it Great Intervene when project requirements:
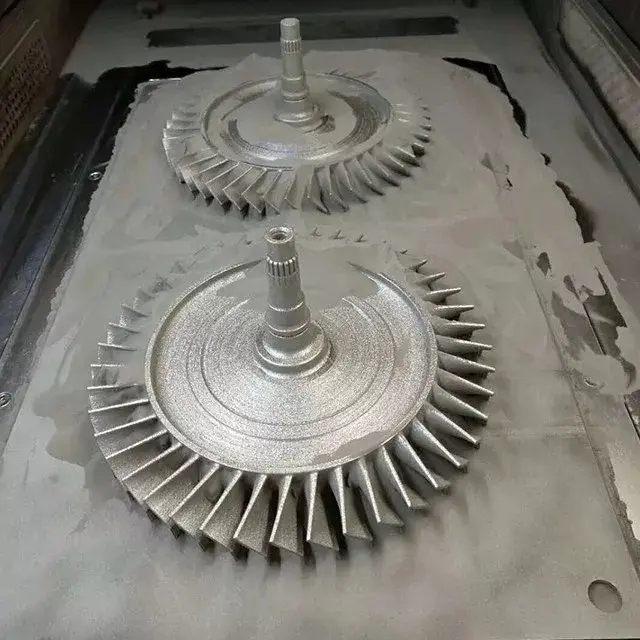
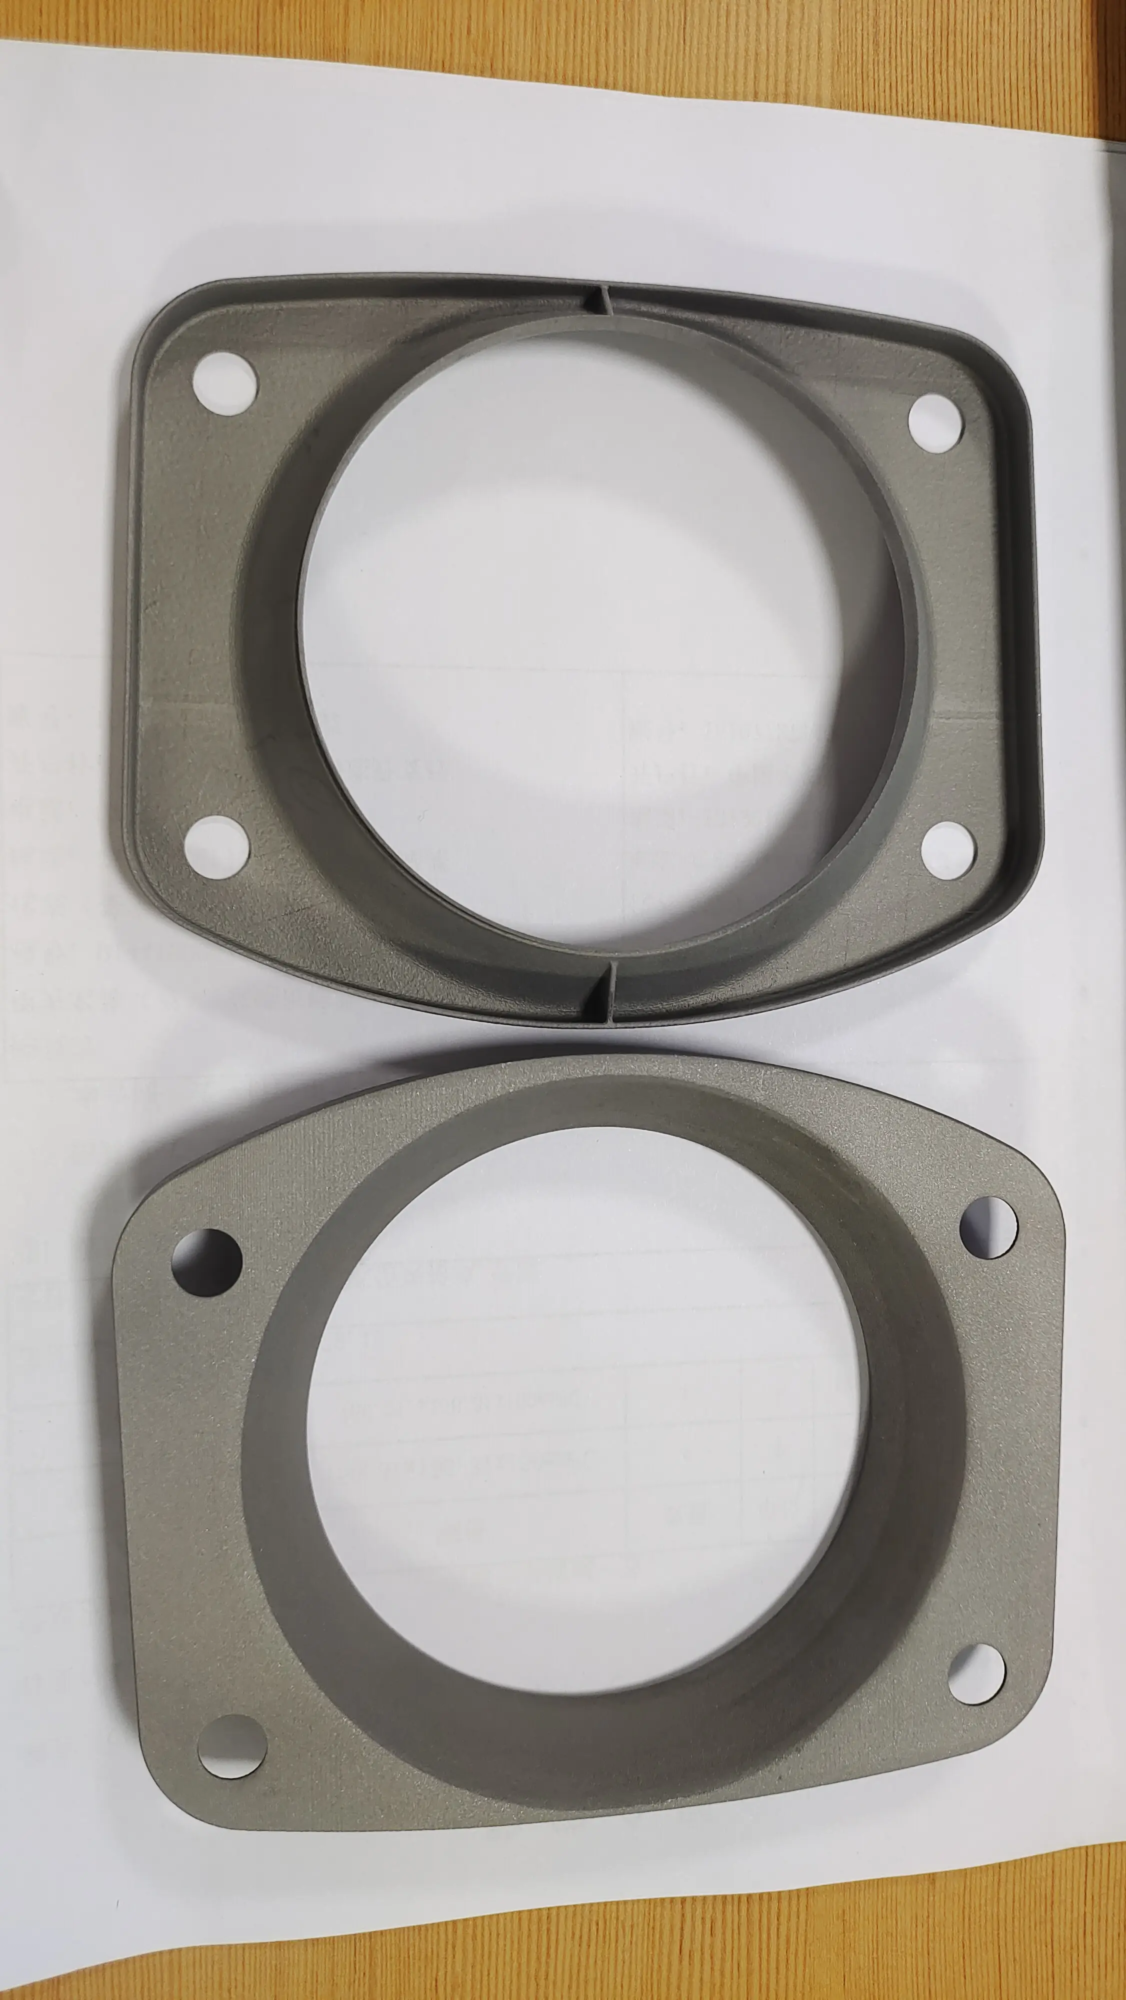
- High-precision metal battery assembly: Modern applications increasingly require robust micro metal contacts, radiators for battery packs, and even custom metal housing plug-ins for thermal management. Greglight’s Advanced Selective laser melting (SLM) 3D printing technology Grant this power. SLM constructs composites directly from powders (e.g. aluminum, stainless steel, titanium alloys), high-strength metal parts, making the design impossible to process.
- Excellent material properties: When fire safety, extreme chemical resistance, highest stiffness or excellent thermal conductivity are unavailable, professional metal additive manufacturing or CNC processing provides material grades that are simply unavailable for desktop 3D printers.
- Large-scale rapid production: Combining expertise in the Addition and Subtraction (CNC) manufacturing industry allows partners such as Greatlight to bridge the gap between prototyping and cost-effective mass production.
- Integrated post-processing and completion: Achieve smooth surfaces, specific tolerances or anodizing/electroplating requires sophisticated equipment and expertise. Services such as processing, polishing, powder coating or non-destructive testing ensure the ready parts.
- Complex geometric shapes: SLM unlocks intricate shapes such as internal cooling channels in thermal management boards while minimizing performance.
Proficiency, security, and optimal performance are ensured when your DIY prototype is ready to get to the next level or require advanced material properties from the start. Companies such as Greatlight provide deep technical capabilities to effectively solve challenging battery integration problems.
in conclusion
DIY 3D printed battery holders represent democratization of customized electronics. They enable manufacturers, engineers and hobbyists to get rid of the limitations of commercial products, thereby facilitating innovation and rapid iteration. Understanding the principles of functional design, especially critical security aspects such as security retention and correct link implementation, is the key to success. While desktop 3D printing is ideal for prototypes and small-scale solutions, it is crucial to recognize its limitations in materials and large-capacity production.
For projects beyond the prototype stage, requiring extreme material properties (such as high conductor metal contacts or complex heat dissipation parts), or requiring extensive preparation, professional rapid prototyping and manufacturing services provide essential features. Technologies such as SLM Metal 3D printing, coupled with expert finishes, have become an indispensable tool. Whether you are making unique holders on a desktop printer or working with a dedicated company to obtain complex, highly converged components, the ability to control the form and functionality of power integration is a powerful asset to bring your electronic vision to life.
FAQ: DIY 3D Printed Battery Holder
Q: Is it really safe to 3D print your own battery holder?
one: Safety is crucial. Can be safe If designed responsibly. It is crucial to use dedicated metal spring contacts for reliable low resistance connections to avoid designs that may cause short circuits or crush/damage the battery’s design, and to be equipped with proper ventilation (especially for Li-Po/Li-ion), and then select the appropriate heat/flame resistant material. Never rely solely on conductive wires for critical electrical connections.
Q: What is the best filament for 3D printed battery holders?
one: No single "The best." Prioritize according to requirements:
- Prototype/General use: PETG (Excellent mix of strength, toughness, weather resistance, printability).
- Higher heat/strength/durability: ABS, ASA or nylon (requires more expertise to print well).
- Key Fire Safety: Explore UL94-rated V0/V2 filaments such as flame retardant nylon or ABS/PPLOW: Due to its low heat resistance, it is not recommended to use finished parts near powerful cells.
Q: Can I print electrical contacts directly with conductive filaments?
one: Although it may be used in very low power applications (e.g., sensing), it is usually Not recommended Power the project. The electrically conductive wire has a significantly higher resistance than the metal, resulting in voltage drops, heat generation under load, and unreliable connections. Special metal springs or strips are very advantageous.
Q: How to make sure the battery does not vibrate?
one: Design strong positive retention rates. Never rely on friction alone. Includes contacts of the spring, pushing up/down the shoulder or lips in the retainer, clamping to the top/side of the battery, or fixing, the fixed fixing cover is screwed or captured in place.
Q: Why do I use professional services such as metal 3D printing as a battery assembly?
one: Professional services such as SLM metal printing or precision CNC machining will become crucial when your project requires it:
- Unrivaled strength, heat dissipation or wear properties of dense metals.
- Complex micro-internal features (such as micro-cold channels).
- Ultra-high precision metal contacts or housings.
- Production-grade consistency and reliability of demanding environments (automotive, aerospace, industrial equipment).
- Flame resistance properties that can only be achieved through engineering alloys and certification.
Q: How thin can I make walls and features on a printed stand?
one: This depends heavily on your printer resolution, material and orientation. Typically, for a wall thickness of at least 1.0-1.6 mm in structural integrity. Small clips or thin fins can become very fragile at speeds below 0.8mm. Thoroughly test small features. Complex micro designs may require advanced processes such as SLM or CNC.


