Bringing holiday magic to life: The ultimate guide to DIY 3D printed Christmas tree topper
The crowning glory of your Christmas tree should be something special. Forget mass-produced angels or generic stars—this year, why not inject your own personal creativity into your holiday decor? Enter the world of DIY 3D printed Christmas tree decorations: the perfect blend of technology, art and holiday spirit. This guide helps you design, print, and finish a truly unique masterpiece that will make your treetop shine.
Why go the DIY 3D printing route?
- Unparalleled customization: Design a star featuring the family’s initials, an angel modeled after a beloved pet, a geometric snowflake that fits your home’s modern aesthetic, or a detailed nativity scene. Your imagination sets the limits.
- Personal significance: Create a meaningful heirloom. Incorporate scanned reproductions of symbols, dates, or even sentimental ornaments for a deeply personal touch.
- Perfect fit and stability: The base is precisely designed to clip or slide securely over the top branches of your tree, ensuring it stays put all season long. Perfectly sized to the proportions of the tree.
- Surprisingly affordable: While commercial high-end topper can be expensive, printing it yourself (especially with a filament printer) is often very economical. Even complex designs use minimal materials.
- Creative satisfaction: The joy of seeing your digital creation become a tangible, sparkling centerpiece is unparalleled. This is a rewarding project for makers of all levels.
Create your unique topper: a step-by-step journey
1. Concept and design:
- Theme and style: What resonates with you about Christmas? Traditional (stars, angels, Moravian stars), modern (abstract forms, geometric patterns), whimsical (people, vehicles), naturally inspired (pine cones, reindeer) or religious?
- Find model:
- download: Explore repositories like Thingiverse, Printables, Cults3D or MyMiniFactory. search "Christmas tree topper STL." Filter by popularity, novelty, or printability ratings. Download the model that fits your vision.
- Design customization: Feeling ambitious? Use free (Tinkercad, Blender) or paid (Fusion 360) CAD software. Start simple with your first project. Make sure critical features like mounting mechanisms are sturdy and durable.
- Key design considerations:
- Dimensions and weight: Measure the tree’s top branch diameter and desired topper height/width. Infill is used strategically to achieve a lightweight structure (thin walls, internal voids/honeycomb). Heavy toppers can cause trees to collapse.
- Balance and center of gravity: Center the mounting point. Top-heavy designs should be avoided unless balanced.
- Installation mechanism: Common options:
- Deep sleeves cling to the top branches.
- Clips/mounting holes with fasteners (e.g. zip ties, wires, small bolts/nuts).
- Integrated bracket/plate for bonding.
- Print orientation and support: Consider how slicing direction will affect strength (especially of mounts) and the need for support structures. Carefully design overhangs greater than 45 degrees.
2. Successful slicing:
Convert STL to printable instructions (G-code) using slicing software (Cura, PrusaSlicer, Simplify3D).
- Material selection: PLA is ideal for most decorative finishes: easy to print, available in a variety of colors, and affordable. For extra shine, use silk PLA or metal-filled filament. Consider using PETG, which has slightly better temperature/moisture resistance.
- Fine-tune settings:
- Floor height: 0.15mm – 0.2mm provides excellent detail balance.
- filling: 10-20% is usually enough to provide adequate strength without going overboard (Gyro is usually a good lightweight model).
- support: Only enable it when really necessary. Tree supports are generally better suited to complex, organic shapes.
- Brim/raft: The edges help prevent warping/corner lifting on a large, flat base.
- Print speed: Moderate speed ensures detail quality. Don’t rush key features.
3. Making the magic happen: printing
- Bed flatness and adhesion: Make sure the bed is perfectly level and the surface is clean (use isopropyl alcohol). If necessary, apply adhesive (glue stick, hairspray) to the PVA surface or raft, especially PLA.
- First layer: Pay attention to the critical first layer – good squeeze and adhesion are crucial.
- monitor: Stay alert during initial stages and on complex overhangs/supports.
- Patience is key: Accept that high-detail models may take hours to print. Let it run without interruption.
4. Perfect post-processing:
- Support removal: Carefully remove the supports using scissors, pliers or tweezers. Work slowly around subtle details.
- Cleaning and polishing: Clean with water and mild soap to remove residue. For smooth, professional results:
- Start with coarse sandpaper for the main support marks/layer lines.
- Progress to finer granularity (up to 800-1200).
- Focus on the visible areas, especially the front and upper parts.
- Sanding pens are great for working on intricate details.
- Painting and Decoration: Unleash your artistic talents!
- Primer: Spray filler primer helps smooth layer lines. Apply multiple thin coats, sanding lightly between coats if necessary.
- Primer: Spray or brush acrylic paint.
- Detailed description: Use fine brushes to paint intricate elements. Acrylic paint is versatile.
- Finish:
- Glossiness: High gloss varnish for star or modern designs.
- Matte: Subtle, elegant finish suitable for angelic or natural designs.
- weathering: Add character with a dry brush for a rustic look.
- flash: Apply glitter glue or spray sealant and sprinkle with microglitter to dazzle.
- Holiday supplement: Glue on small crystal rhinestones, tassels, faux berries or sprigs of faux greenery. Carefully integrated micro LED lights.
- assembly: If your design has multiple parts (e.g., angel wings, star spikes), glue firmly using plastic superglue (CA glue) or epoxy for extra strength. Test for fit first.
5. Topping a tree safely:
- Double check the installation: Make sure the mounting mechanism is clean, smooth (sand the inside if too tight) and feels secure.
- position: Carefully place on top branches at a balanced angle. It should be placed horizontally.
- Reinforce with steel wire (optional): If stability is a concern, or if you’re outdoors, fine floral wire can be cleverly looped around the base of the topper and the branches below, and twisted securely at the back for extra security.
in conclusion
Creating your own 3D printed Christmas tree topper transforms you from decorator to holiday architect. It’s more than just making decorations; it’s about imbuing your celebration with a personal narrative and creative flair. The journey from digital dreams to tangible heritage embodies the magic of modern manufacturing. Whether you download a captivating design or create one from scratch, the result is a custom creation destined to spark conversations and capture hearts year after year. So fire up your printer, unleash your creativity, and give your Christmas tree a unique, memorable topper. This holiday season, let technology and tradition meet at the top!
FAQ
-
Q: I don’t have a 3D printer. Can I still have a custom 3D printed topper?
one: Absolutely! Many online 3D printing services (such as Shapeways, Craftcloud) accept custom STL files and print on demand in a variety of materials and finishes. All you have to do is upload your design, select your options and order. Or, check out a local makerspace or community library that offers 3D printing access. -
Q: Is PLA filament safe for Christmas tree decoration?
one: PLA is the safest general-purpose plastic for indoor tree tops. At typical household temperatures, the risk of it releasing harmful smoke is very low. Its low flammability meets safety standards for tree decorations. Avoid exposing PLA to direct heat sources (such as high-watt incandescent tree lights directly on the canopy) or leaving it outdoors in hot climates where it may deform. -
Q: How long does it usually take to print a treetop?
one: Print times vary greatly based on size, detail density, layer height, and infill. A small, simple star may take 1-3 hours. A larger, more detailed angel or intricate snowflake may take upwards of 12-24 hours. Check the estimated times in the sectioning software before printing. -
Q: My design requires metal components (such as a sturdy mounting bracket or metal trim). Can I 3D print it?
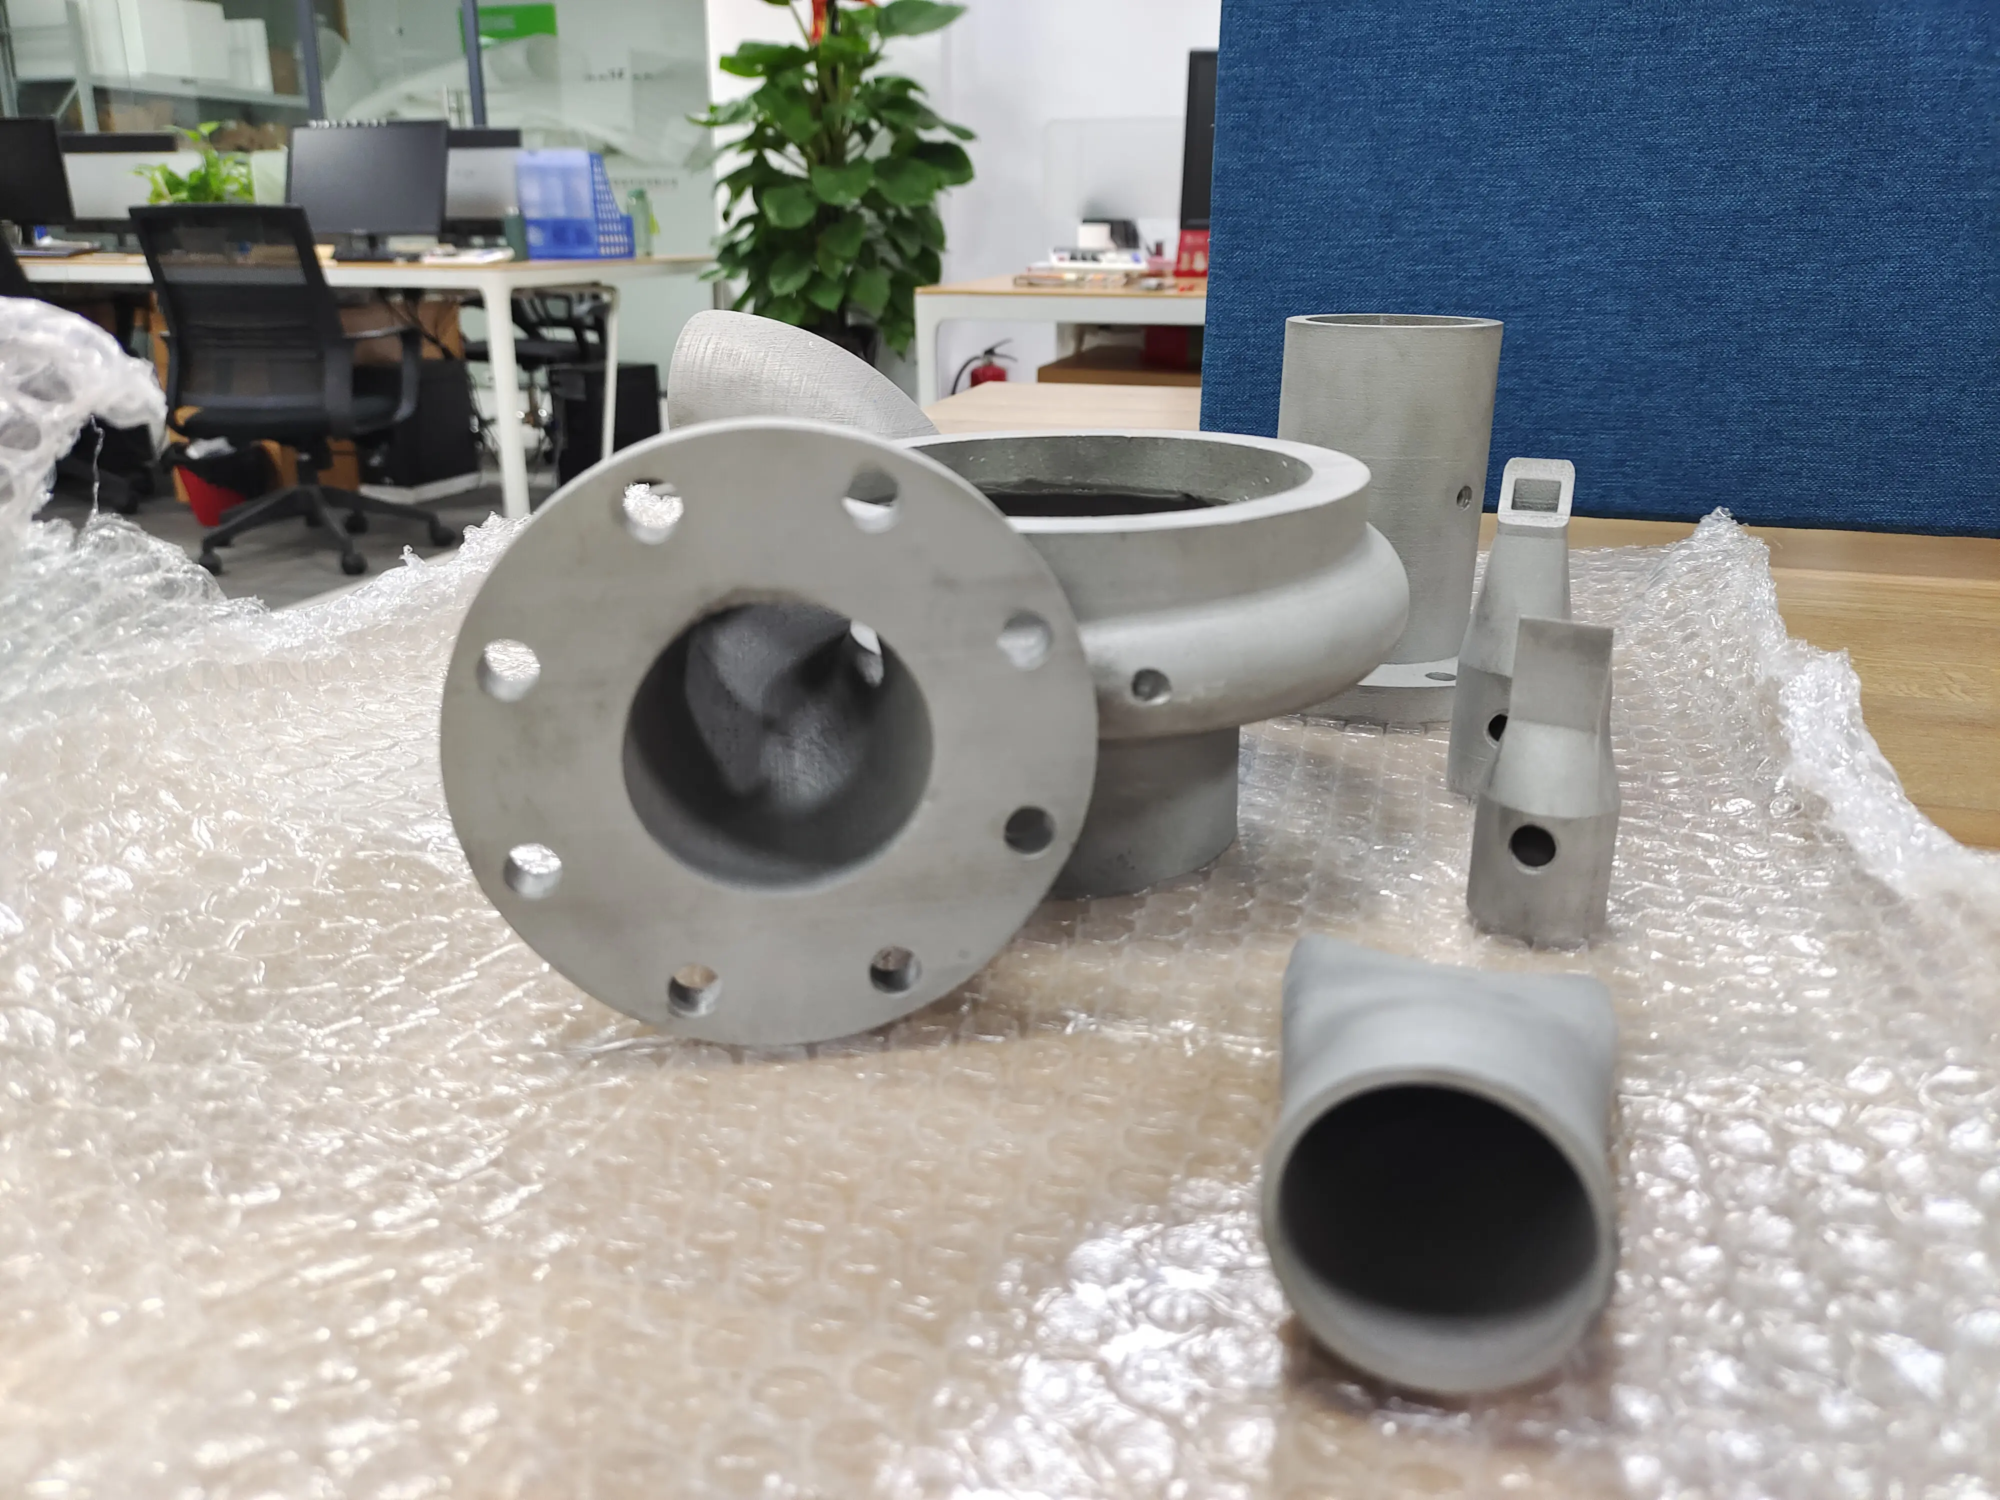
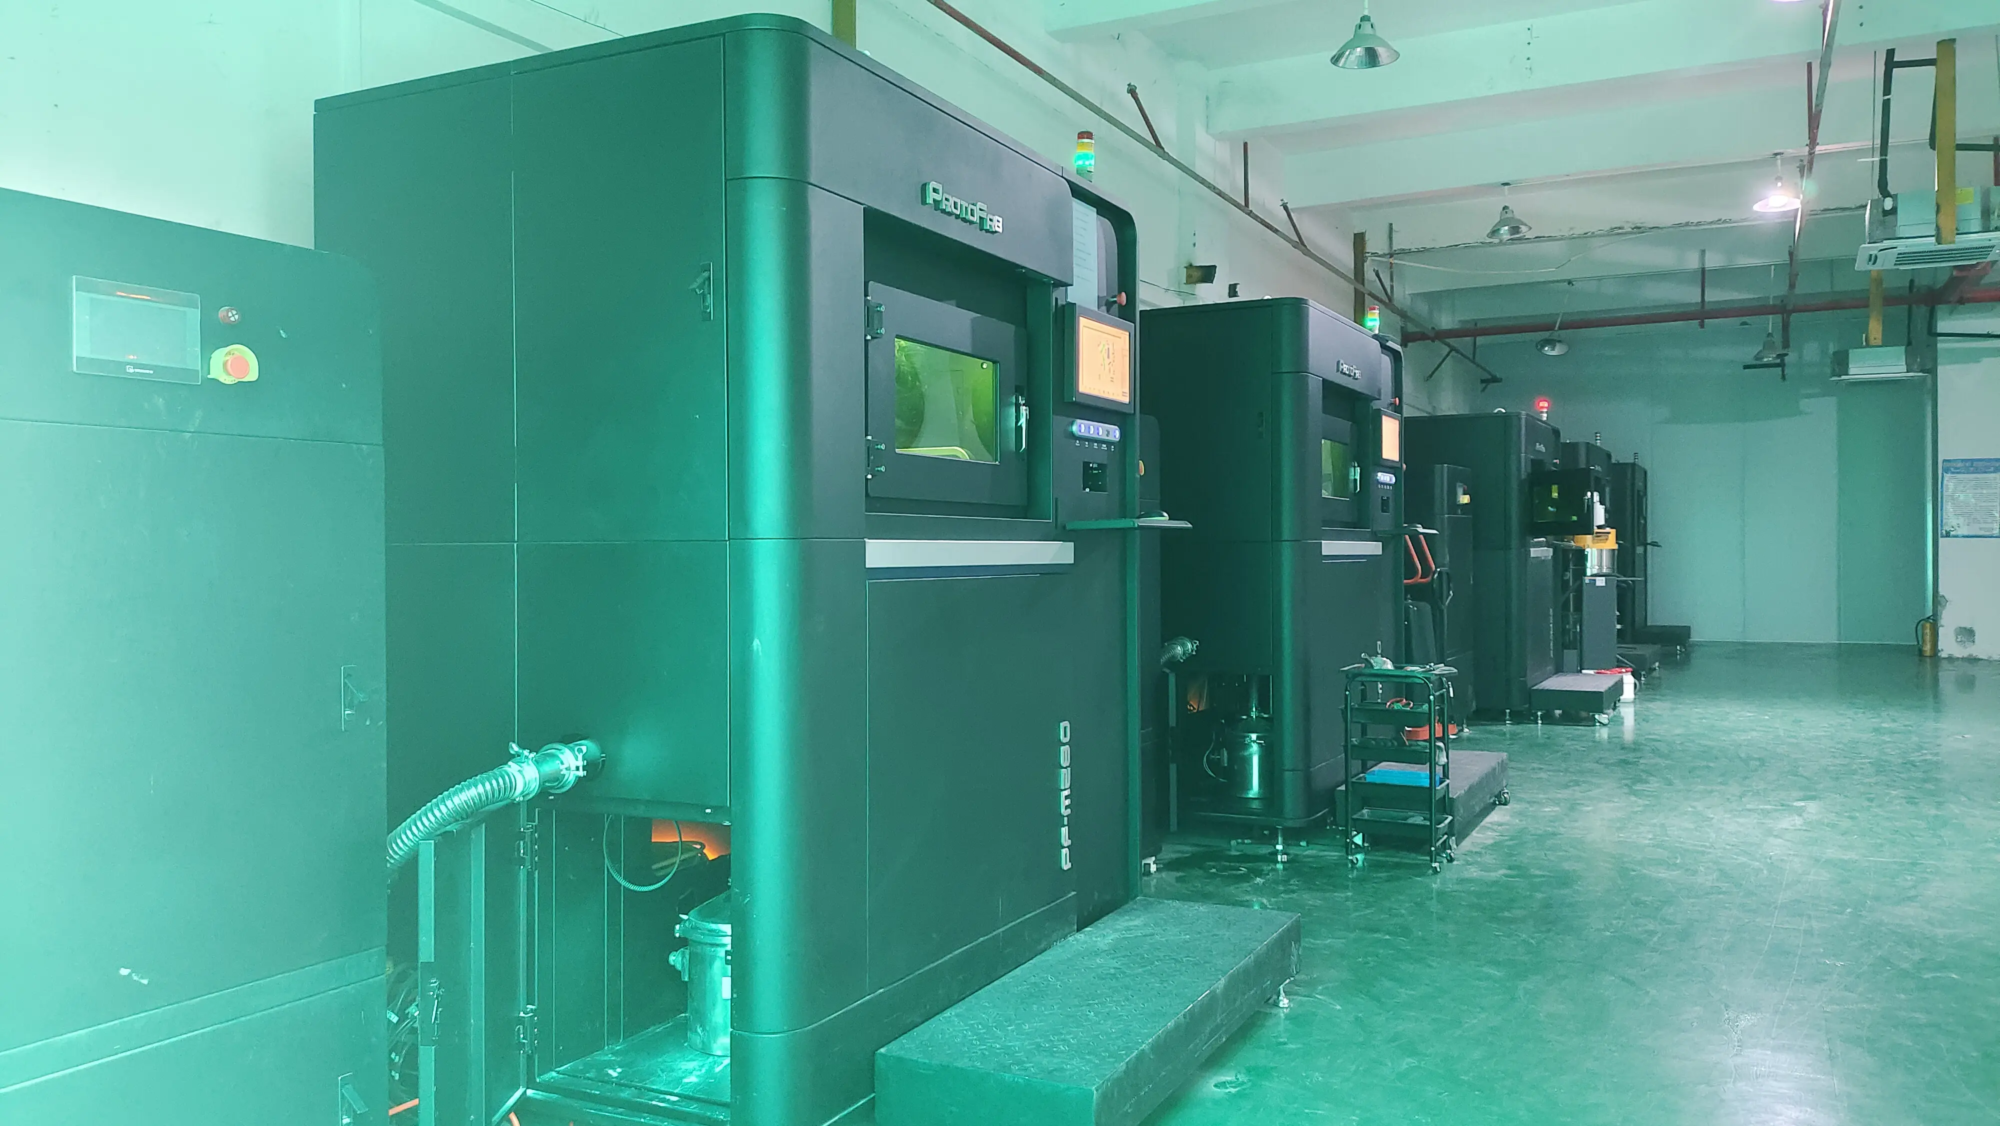
one: Although consumer FDM printers have encountered difficulties with metal, Metal 3D printing has become a reality Great for durable custom parts. Services such as huge light Take advantage of industry Selective Laser Melting (SLM) technology. We focus on quality Metal rapid prototypingproviding fusion printing from powder bed to One-stop post-processing and Precision machining. If your design requires high-strength metal parts, custom metal alloys, or precise manufacturing tolerances, Gretel provides expert solutionsensuring your innovative ideas become powerful, practical realities – including dedicated Christmas creations. we and Various materialsdeliver High customization Optimization potential cost For prototypes and short-run production. -
Q: How do I prevent my 3D printed topper from looking too ugly? "plastic"?
one: Post-processing is key! Sand the surface thoroughly. use Fill primer Sand again to smooth the layer lines. Quality painting using acrylics and the right finish (matte, satin, gloss, metallic spray paint) can create rich textures. Adding textured paint (like a stone effect) or physically adding details (rivets, fabric, glitter) can significantly enhance the look of the base plastic. Consider using filament types like wood fill or stone fill for a unique textured paint. - Q: Will tree lights damage my PLA topper?
one: Modern LED tree lights emit very little heat, making them very safe near PLA toppers. The main risk comes from old incandescent lamps placed Directly against the plastic long time. Stick with LEDs, make sure the light doesn’t wrap around the topper itself, and be cautious by periodically feeling the topper for unusual warmth.
Dream big, create bigger: Need precision metals? Ask Da Guang!
The DIY spirit thrives on possibility. But what if your final treetop vision involves complex wire, sturdy aerospace alloys, or custom-designed components that go beyond desktop printing? that’s there huge light Light the way.
As China’s leading rapid prototyping manufacturer, huge light Leverage cutting-edge technology SLM metal 3D printer and incomparable production technology. We solve complex Rapid prototyping challenges for metal parts Daily. Why choose us?
- Engineering Excellence: Addressing the need for authentic and ambitious design Precision machiningunparalleled strength or unique thermal/electrical properties and our metals expertise (aluminum, titanium, stainless steel, super alloys and more!).
- End-to-end service: Skip the assembly line stress. Feedback from design and advanced 3D printing Using high-performance powder bed fusion (SLM/DMLS) arrive Professional post-processing (heat treatment, surface treatment, machining, electroplating) – we are yours One stop solution.
- Speed and flexibility: Need it fast? Our optimized workflow ensures Quick turnaround Without sacrificing quality. Most materials are easily customizable.
- The most competitive quality and best value: We combine technological mastery with efficient manufacturing to ensure first-class Custom precision rapid prototyping parts in exceptional cases price.
Ready to transform your most demanding prototype design visions into stunning holiday centerpieces or year-round innovations? Don’t settle for limitations. Work with experts.
Customize your precision rapid prototyping metal parts with GreatLight today – combining your vision with industrial-grade reality. Get an instant quote now!


