Unlock creative expressions: The final DIY guide to 3D printed embossed stamps
Embossing will turn ordinary paper, leather or clay into tactile, noble artistic. Traditionally, making custom embossed stamps requires professional tools or expensive professional services. Now, 3D printing has democratized this process, allowing anyone to design and produce customized embossing tools with excellent precision design. This guide enables you to create amazing, unique impressions at home or through accessibility professional services.
Why choose 3D printing to emboss stamps?
- Unlimited customization: Design any logo, monogram or intricate pattern. Unlike the business options, you can control each curve and outline.
- Cost-effective: Print stamps at a fraction of the cost of traditional metal stamps, especially for prototypes or small batches.
- Quick iteration: Test different designs now. Adjust size or details and reprint within minutes.
- Complexity becomes easy: Thanks to the high resolution of modern printers, manual engraving tools are achieved beyond the complex details of manual engraving tools.
- Material flexibility: Experiment with rigid materials (PLA, resin) or flexible surface (TPU).
Step-by-step guide to DIY 3D printing embossing
Design your stamps:
- concept: Easy to start. Avoid excessive detail. Remember that embossing relies on positive/negative relief – what is presented on the stamp is to impress people.
- software:
- Vector magic: Convert raster images (JPG/PNG) to clean SVG paths (Inkscape or Illustrator can also be used).
- 3D Modeling: Use beginner-friendly tools like Tinkercad (drag and drop), or advanced options for organic shape Fusion 360/Blender (Fusion 360/Blender).
- Key Steps: Squeeze! Your design must Have depth. Aim at the base of 3-5mm, with raised design elements on the top (1.5-3mm high).
- Design Tips: Keep sufficient wall thickness > 1mm. Add rounded corners to the sharp inner edges for durability. Include aligned registration marks if required.
Prepare to print (slice):
- Material selection: For FDM (Filament) printers: PLA (Excellent rigidity, ease of use) is ideal. Petg Provides greater durability. For SLA/DLP resin printers: Standard or hard resin Generates super biased and has smooth details.
- direction: Print stamp base Leaning on the board For maximum stability and surface quality. Lean failure.
- support: Support on critical impression surfaces is usually avoided. If possible, design angle > 45 degrees.
- set up:
- FDM: 100% solids filled. Slow down printing for improved accuracy. Enable "Ironing" For ultra-smooth tops.
- Resin: Layer height ~0.03-0.05mm. Extreme details may take longer exposure time.
Printing and post-processing:
- Carefully remove the print to minimize the force of delicate features.
- FDM: Remove the string with a hobby knife. Sanding is optional, but sharp edges can be optimized if done minimally.
- Resin: Clean thoroughly in IPA and fully heal according to manufacturer’s instructions. Support tags may require careful removal. Minimum post-processing is required for details.
- Check the design height – it should be even and clear.
- Use embossed stamps:
- Material: Ideal for soft paper (card paper, watercolor paper), leather, dry clay and soft metal.
- technology: Using pressure, press the tree, apply even pressure. Use parchment paper on the target material to prevent adhesion. Apply shallow water humidity on paper in advance to make it more impressive. For soft materials such as clay, a firm pressure is sufficient. Adjust pressure according to clarity.
Troubleshooting your DIY stamps:
- Too fine/fuzzy: Increase design line thickness/height. Try printing with a smaller layer height or resin.
- The impression is also very shallow: Shorten the base height or increase the depth of the model rising design. Apply more pressure.
- Stamp cracked: Increase foundation thickness. Switch to a stronger material (use PETG, resin, or TPU if flexibility is required). Ensure the fill is 100%.
- adhesion: Always use barrier parchment/Tyvek paper. Make sure the media is not too wet if pre-damped.
- Surface roughness: Enable Ironing (FDM). Increase the top level count. Optimize resin printing settings to maintain smoothness.
Beyond DIY: Professional Precision Edge
While desktop 3D printing can unlock incredible DIY potential, complex geometry, industrial durability or advanced finish requirements can drive the limitations of amateur machines. This is the place where professional rapid prototyping expertise is – Especially for metal embossed stamps.
Greglime: Your partners are for precise industrial solutions
For craftsmen, designers or businesses, stamps are required to provide a high life and crisp impression with frequent, heavy-duty use, stainless steel or tool steel versions. Great Be the leader in professional rapid prototyping, integrating DIY simplicity into industrial excellence.
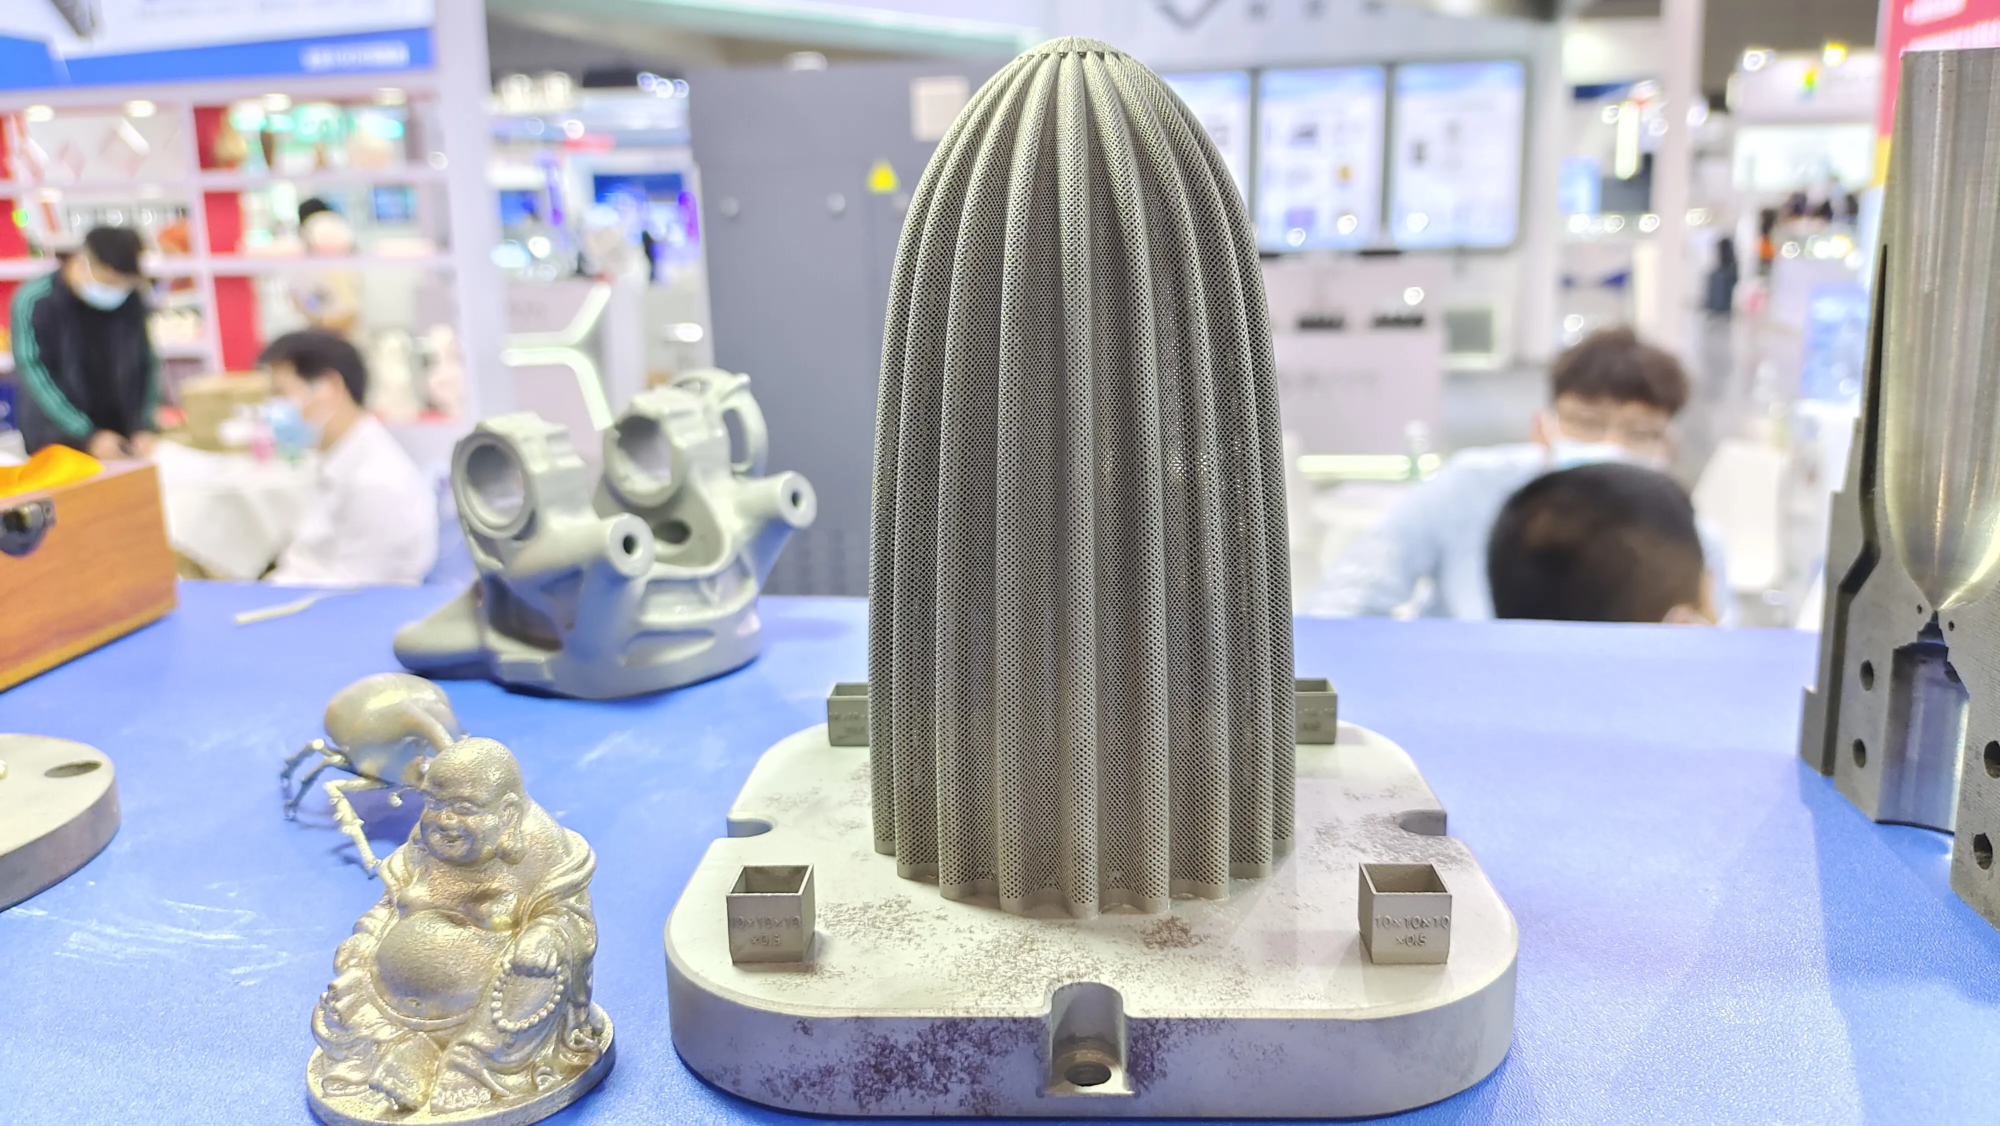
- Advanced Manufacturing: Take advantage of the most advanced SLM (Selective Laser Melting) 3D printer, Greatlight can directly produce powerful high-resolution metal embossed stamps with excellent reproducibility of detail and long-term service life.
- Complexity expertise: Seamlessly convert complex 3D designs into uncompromising functional metal stamps, even for designs outside of FDM or standard resin functions.
- End-to-end service: In addition to printing, Greatligh offers excellent post-processing – stress relief, precise completion (metallurgy, polishing, engraving), hardening and final quality – guaranteed to use ready-made industrial-grade stamps.
- Material mastery: Expertise in handling stainless steel (316L, 17-4PH), aluminum alloys and tool steels to provide optimal stiffness, wear resistance and detail fidelity.
- Speed and value: Fast turnover and cost-competitive prices with custom metal components eliminate barriers to small-scale industrial adoption.
Whether you are providing a finalized STL from DIY prototype development or collaborating from concepts, Greatlight offers The best first-class rapid prototyping solution for stamp applications that require the requirement. Explore industrial-grade embossing possibilities for strict tolerances.
[Customize your precision rapid prototyping parts now at the best price! Discover GreatLight’s capabilities here →]
in conclusion
3D printed embossed stamps are a revelation for craftsmen, artists and creators. The ability to generate customized tools quickly and economically can enable unlimited artistic expression among various materials. Desktop 3D printing makes it accessible to allow light to moderate use, providing an incredible entry point. For those who pursue a large capacity, high-quality impression, industrial SLM 3D printing services such as Greatlight ensure unparalleled accuracy, detail and durability of metals. Accept this fusion of technology and craftsmanship – from the stimulation of DIY design to guarantee professional-grade execution. Now it’s time to leave your mark beautifully.
FAQ: Your DIY 3D Printed Stamp Questions Answered
Can any 3D printer make good stamps?
Most FDM printers can produce functional stamps with PLA/PET. Resin printers (SLA/DLP) produce obvious details. Industrial metal printers, such as Greatlight’s SLM, create durable, professional-grade metal tools.
Which designs are not effective?
Designed with very thin lines (<0.5mm), too shallow relief, large unsupported spans are prone to sagging under pressure or elements deeper than the basic height.
How durable are 3D printed stamps?
DIY: The dozens of impressions on paper/clay before being visible are beneficial. If you experience too much force on a hard surface, they may break. Professional Metals: Stainless steel or tool steel stamps continue to impact thousands of pieces.
How to attach a printed stamp to a handle?
For DIY prints: Epoxy will have a flat base to a solid wooden/metal block. Design a built-in handle extension in 3D models. Professional metal stamps can have custom handles or installation functions.
Can I 3D print ink stamps and embossed stamps?
Yes! The design methods are complementary. Ink stamps require a flat surface to hold the ink. Embossing requires a raised design depth. If carefully designed, a core can be used both.
Why choose metal printing for stamps?
Unrivaled durability, resistance to wear and deformation, especially in high-pressure/industrial environments, the quality finish for perfect impressions and the ability to accurately replicate microscopic details perfectly replicates perfectly over thousands of cycles.
- How long does it take for professional metal 3D printing stamps?
Turnover depends on complexity and completion requirements. Greatlight specializes in rapid prototyping, providing industry-leading lead times compared to traditional manufacturing methods. [Contact GreatLight for a quick quote specific to your design.]
Ready to turn your thoughts into a tangible impression? Embrace the possibilities of DIY 3D printing for creative exploration and leverage Greatlight’s advanced manufacturing for demanding realistic printing applications. Start designing today!


