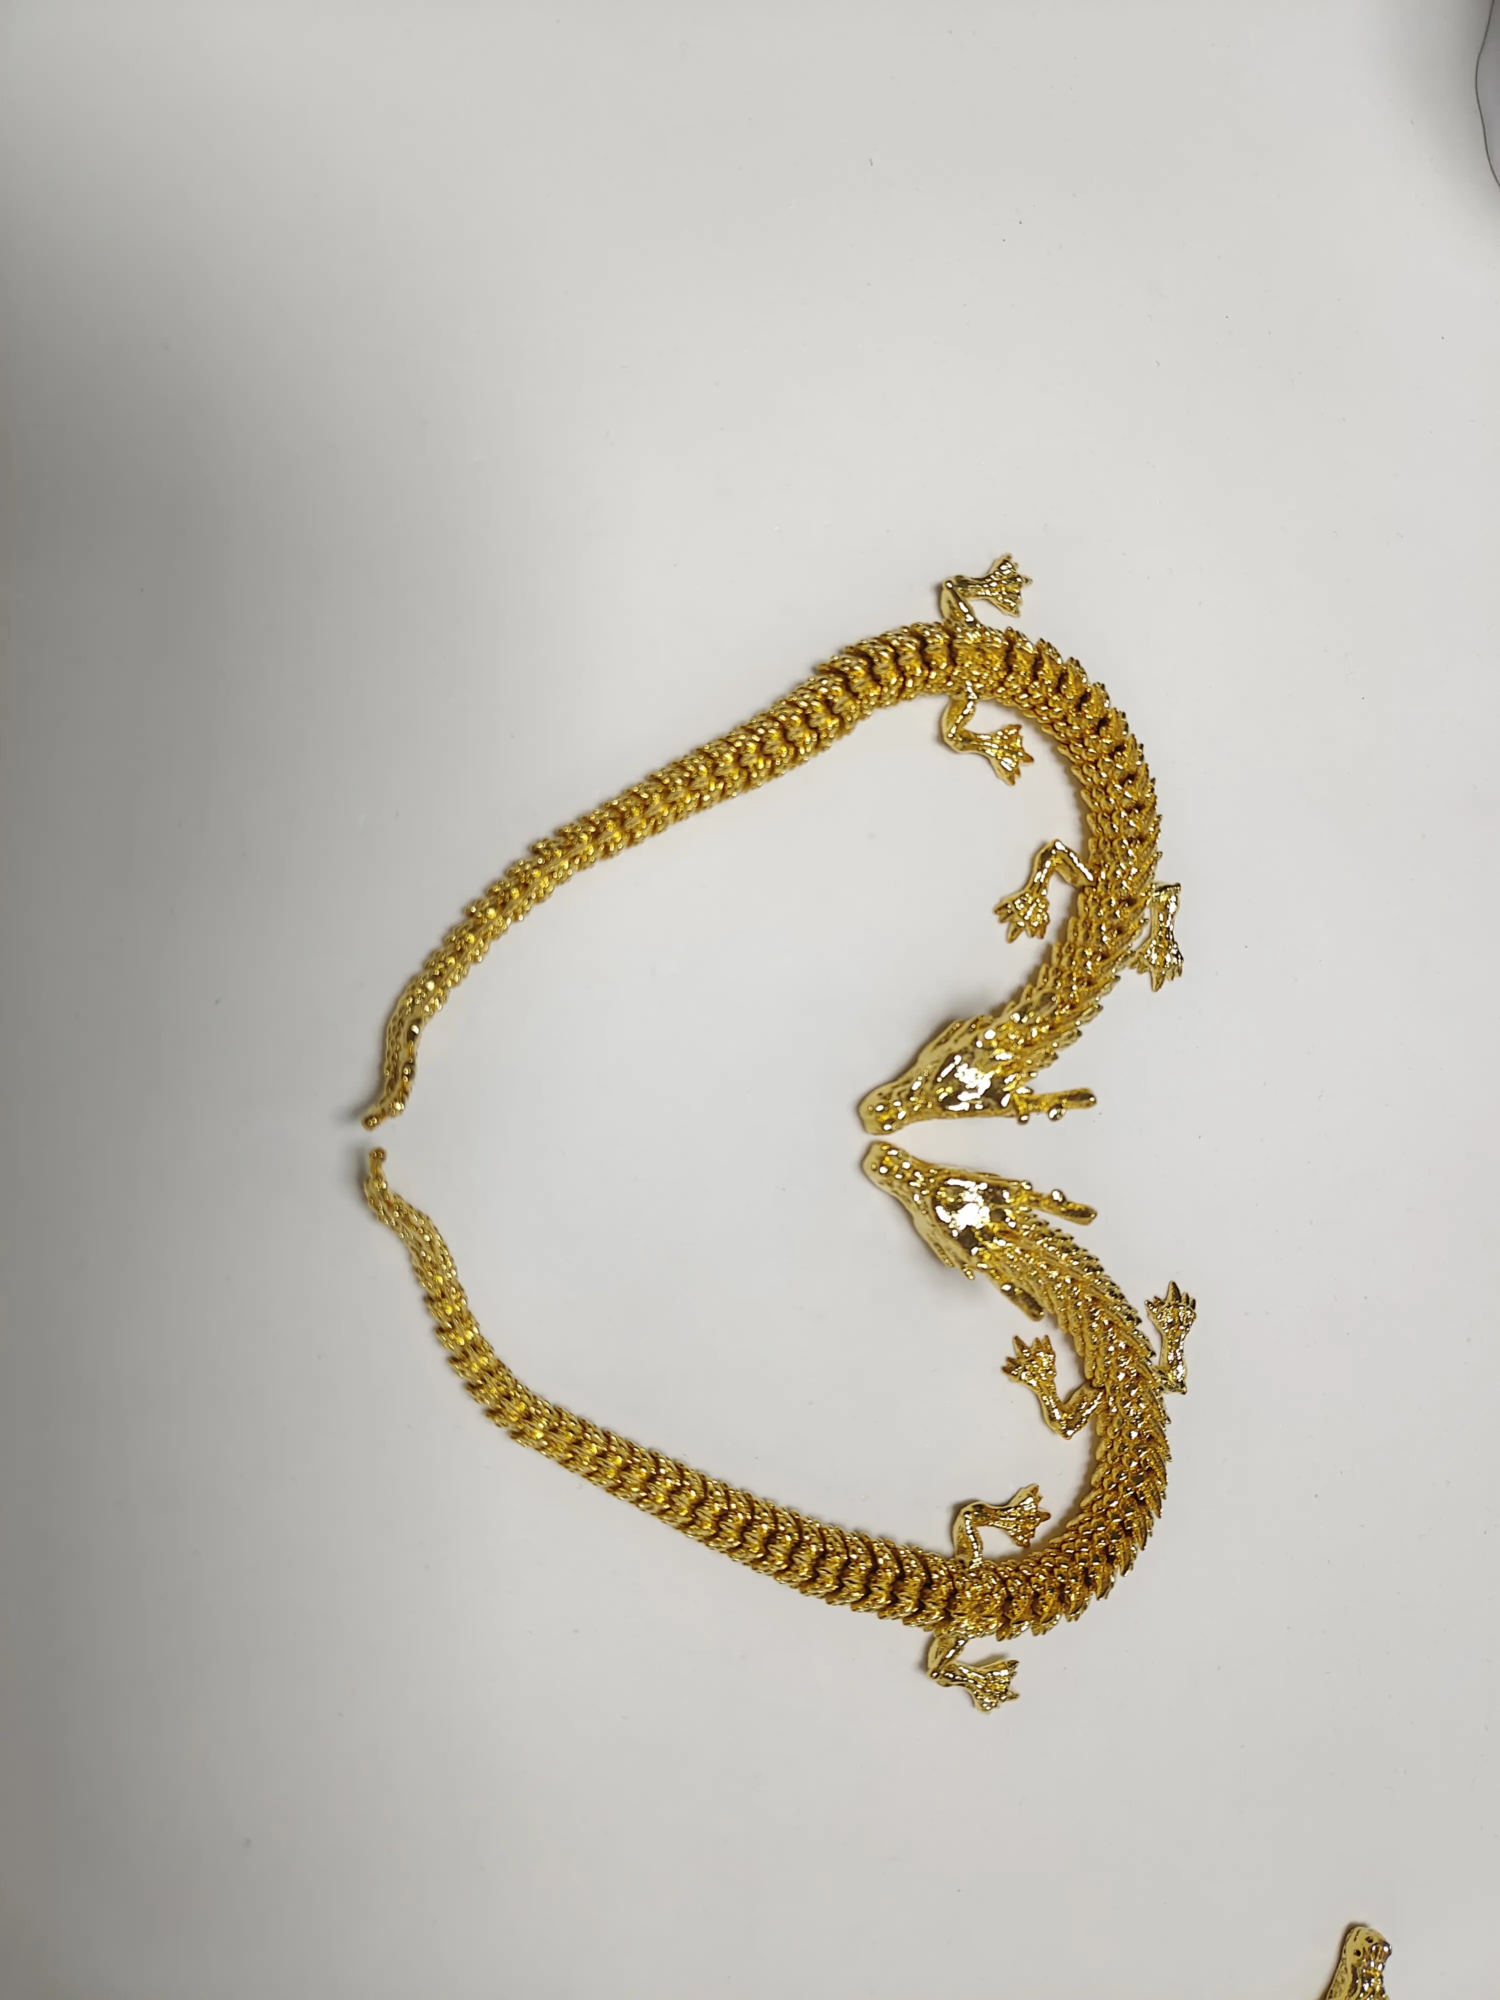
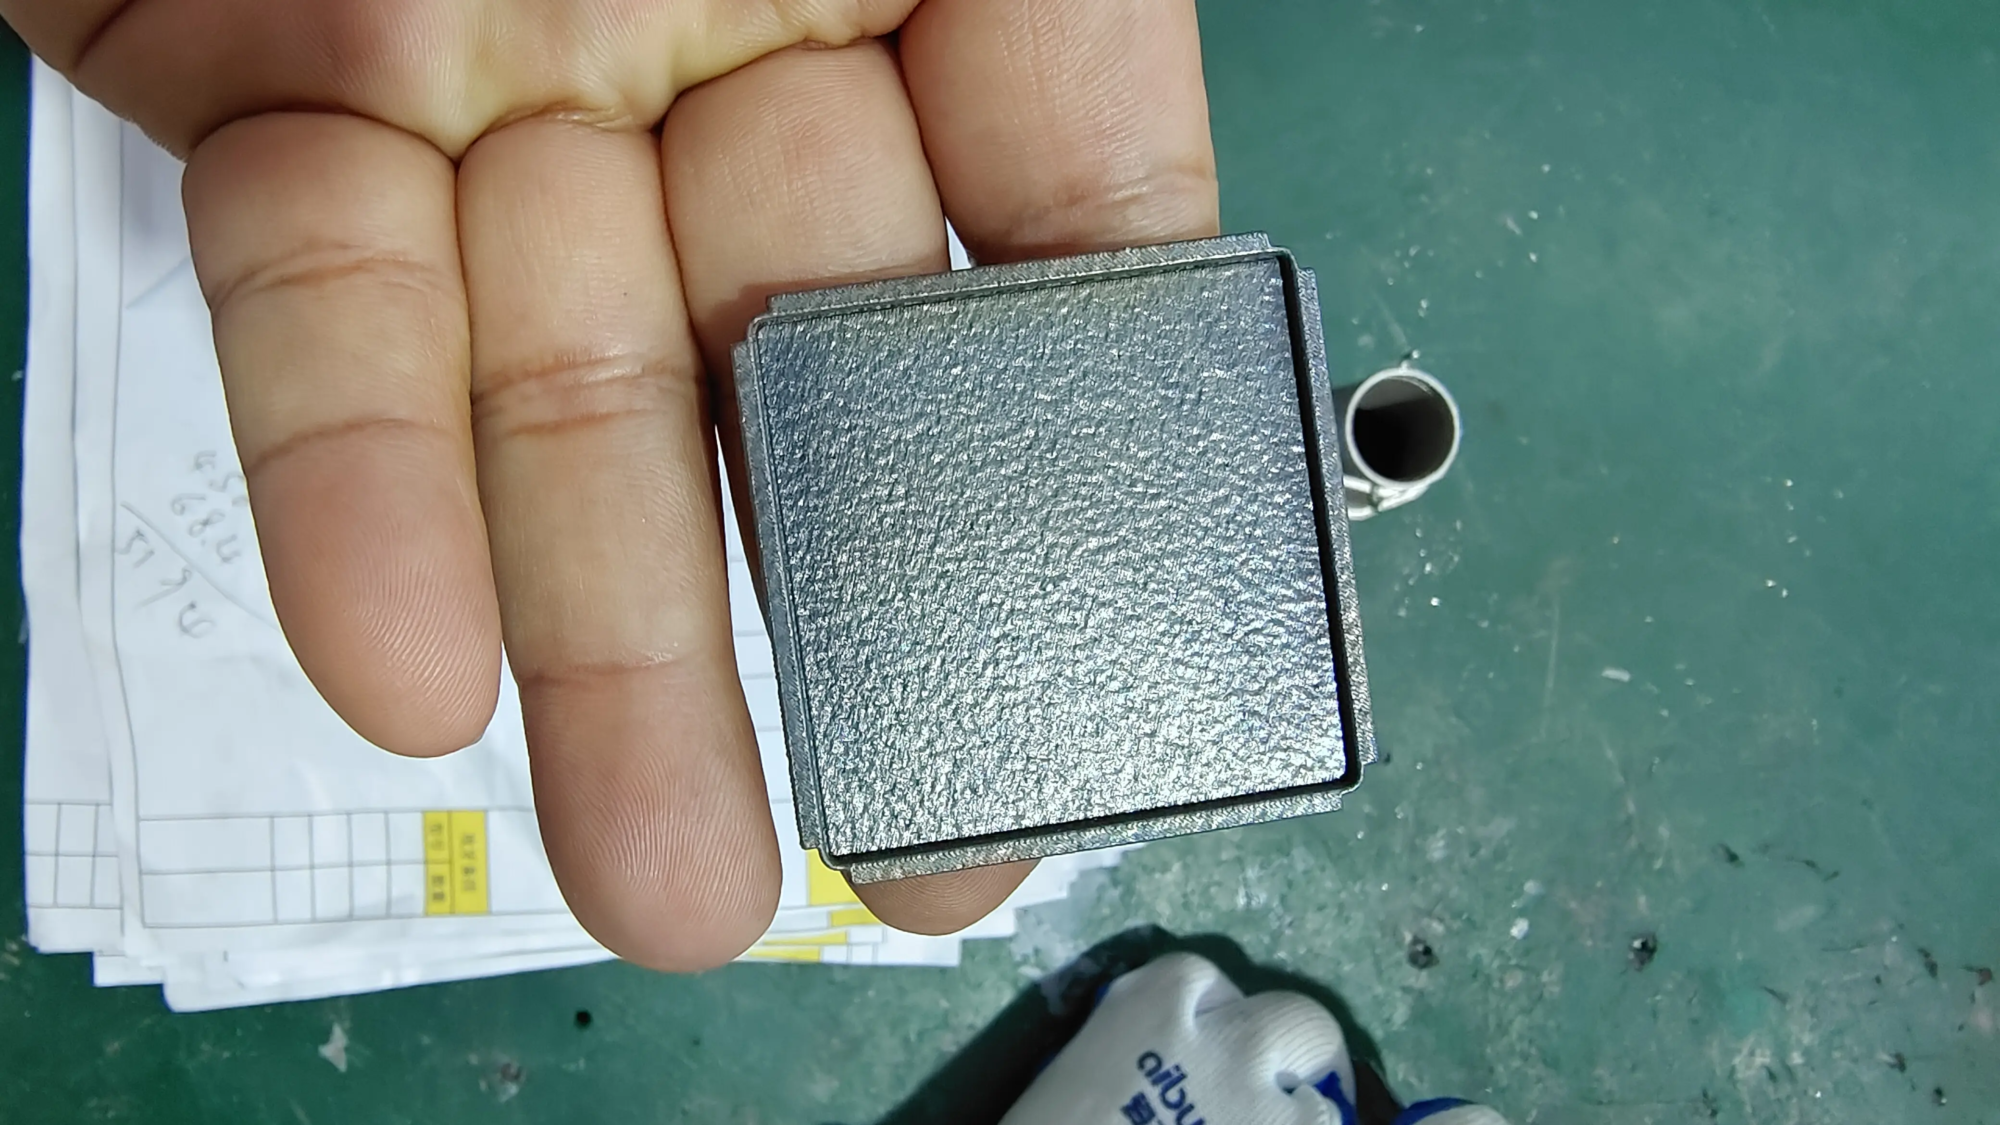
Embracing Innovation: The Rise of 3D Printed Fursuit Avatars in the Maker Community
The world of fur clothing is evolving at lightning speed, blending art, technology and imagination. Gone are the days when making a fursuit head required painstakingly sculpting foam or wrestling with resin molds for weeks. Today, DIY creators are turning to 3D printing Create stunning, personalized fursuit heads with unprecedented precision and efficiency. As a passionate maker and technology enthusiast, I’ve watched this revolution unfold, and I’m excited to explain why 3D printing is not only a trend, but a game-changer for furry crafters everywhere.
Why 3D printing dominates: Unparalleled advantages
Accuracy and repeatability: Traditional foam carving requires great skill to achieve symmetry and detail. With 3D printing, your digital models can be perfectly transformed into reality. Complex geometric shapes – such as intricate noses, ear cavities or embedded expressions – become replicable masterpieces.
Free customization:Imagine customizing each curve to match your beast’s unique features. Software like Blender or ZBrush allows you to sculpt digitally first, constantly adjusting proportions without wasting physical material.
time efficiency: Printing the head base can take 20-50 hours, but most of the time no manual intervention is required. Compared to weeks of handcrafted foam sculptures! Projects progress faster, allowing creators to focus on embellishments and details.
Material innovation: In addition to hobby-grade PLA, premium options such as PETG (durable) or TPU (flexible for moving jaws) open up new possibilities. Need lightweight strength? Carbon fiber composites are now available.
Your DIY Roadmap: From Pixels to Paws
1. Design and Modeling:
Start with a free tool like TinkerCAD, or spend a little money and buy Fusion 360 for precision. Use an app like Polycam to scan your head for a perfect fit. Pro Tip: Add a tolerance gap (1–2mm) around the wearer opening!
2. Printer settings and materials:
- printer: Ender 3 (budget) or Prusa i3 (reliability) work great. For large heads, a 300x300mm print platform is crucial.
- filament: PETG dominates: heat-resistant, sandable and less brittle than PLA. Avoid ABS unless you have an enclosed printer (toxic fumes).
- slice: Use Cura or PrusaSlicer. Orient the model to minimize support (for example, tilt the head back 30°). 15-20% filler balances weight and strength.
3. Print traps and fixes:
- Warp: Heat the bed to 70–80°C and use adhesive (glue stick or hairspray).
- layer movement: Tighten the belt and reduce the print speed to 40–60mm/s.
- support: Tree supports in Cura save filament and are easily removed.
4. Post-processing magic:
This is where GreatLight’s expertise enhances DIY projects. Their SLA/DLP printers achieve glass-smooth surfaces in resin – perfect for revealing stunning detail. For FDM printing:
- Sand in incremental steps (120 to 400 grit).
- Apply filler primer and then putty over the micro gaps.
- Seal against moisture using PlastiDip or epoxy.
GreatLight’s one-stop finishing service (sanding, priming, painting) is a lifesaver for flawless results.
5. Electronic integration:
Embed LEDs into the eye sockets using EL wire or programmable NeoPixels. Use servo motors to blink your eyelids or move your jaw – the Raspberry Pi Pico board provides plug-and-play control.
Beyond DIY: When to Work with a Professional
Not everyone owns an industrial printer or wants to process post-process sludge. that’s there huge light Sparkling. As leading rapid prototyping experts, they solve the following headaches:
- Use industrial printing integrated large head SLM/SLA Machine.
- Provides professional grade surface finish (mirror polished, vapor smoothed).
- Material Versatility: Need lightweight nylon? Heat resistant resin for LED setup? They customize it.
Their end-to-end service means you ship your model and receive a ready-made fur head base, reducing build time by 60% or more.
The future is hairy (and printed)
Not only are 3D printed fursuit heads cheaper and faster, they also democratize creativity. Global producers can now achieve Hollywood-level results at home. When desktop printer ambitions fall short, companies like GreatLight bridge the gap with manufacturing-grade technology. The fusion of DIY spirit and professional support makes each beast jump off the screen with precision and personality. So fire up the slicer, experiment without fear, and remember: community and technology are your best tools.
in conclusion
The fusion of 3D printing and fursuit craftsmanship marks a creative renaissance. What once required elite carving skills can now be achieved with available technology and ingenuity. Whether you print at home or work with an expert, e.g. huge lightthe results speak for themselves: a lighter, stronger, widely customizable head that pushes the boundaries. Embrace the future – the fursuit of your dreams is closer than you think.
Frequently Asked Questions About 3D Printing Fursuit Heads
Q1: Is it really cost-effective to 3D print fursuits?
Answer: Of course! An FDM printer costs $200 to $500, while consumables for a printhead cost $20 to $40. Compared to the $300+ for foam/resin material alone, printing can quickly pay off on multiple projects.
Q2: How durable is the 3D printing head?
A: PETG or nylon tips can withstand drops and crowding better than foam. For high-stress points, like the chin hinge, consider GreatLight’s Carbon Fiber Nylon for military-grade toughness.
Q3: Can I print a complete fursuit head?
Answer: On a consumer printer? Very little – segmentation is key. Industrial printers such as GreatLight’s SLM system can print heads up to 500mm in a single build.
Q4: Is the print head safe to wear?
Answer: Yes, after post-processing! Seal prints to avoid skin contact with fine dust. Always maintain good ventilation during sanding.
Q5: How do I scale the model to my head size?
A: Measure your head circumference/height, scale the 3D model, and print a test ring to verify fit. If math isn’t your strong suit, GreatLight offers model resizing services!
Q6: What if I don’t have a 3D printer?
Answer: Similar services glow rapid prototyping is your solution. Upload your model, choose materials/finishes, and have your prepared fur heads shipped worldwide – often cheaper than a DIY setup for a one-off project.
Cooperate with the future. GreatLight provides industrial 3D printing for creators, from aerospace prototypes to stunning fursuits. Ready to turn your vision into reality? Explore their customization options today.


