The final DIY guide to 3D printing custom GPU support bracket
The satisfying feeling of installing a powerful new graphics card quickly turns into attention when you find it starts to sag. GPU SAG is not only an aesthetic issue; it can distort PCIE slots, damage solder joints over time, and even affect cooling performance due to misalignment. Although there is commercial support, create your own 3D printed GPU support bracket Offers unparalleled customization, cost-effectiveness and DIY satisfaction. This guide walks you through designing, printing and perfecting your solution.
Why 3D printing is the ideal solution for GPU support:
- Perfect for: In each case, the motherboard and GPU combination is unique. DIY brackets can be customized Accurate The distance between the bottom of your case and the edge of the card ensures that there is no optimum support for pressure.
- Aesthetic Control: Match specific geometric shapes that your build theme, RGB requirements, or commercial brackets cannot provide. Design cutouts with cables, merge logos or choose colors that blend seamlessly.
- Cost-effective: The quality of a few cents is significantly better than the universal stand of $10-$30.
- Strength to weight ratio: Engineering designs using the right materials can be very powerful, but minimalist and lightweight.
- Quick iteration: Test designs quickly and cheaply. Adjust height, footprint or aesthetics and reprint with minimal wasted time or material waste.
Step by step: Design and Print Brackets
Accurate measurements are key:
- Height (key): Turn off the power to the PC and carefully measure with Inside the bottom of the interior arrive The lowest point at the edge of the GPU Need support. Accuracy of using calipers. Add 0.5-1.0mm as tolerance. Too high Can be pressed upward; too short invalid.
- footprint: Determine how much space there is under the GPU. Consider case support poles, cables and other components. Support requires a stable foundation. Measure available width and depth.
- Card interface: How will it contact the GPU? flat? Contour groove? Ensure that a considerable contact area (e.g., 15x15mm min) distributes pressure without damaging the card surface.
- Case interface: How will it sit on the box? Flat foundation? foot? If required, the model retains functionality. Anti-slip materials help.
Design brackets (using CAD):
- software: Use beginner-friendly tools like Tinkercad or more advanced options such as Fusion 360, Freecad, or Blender.
- Core structure:
- Start with the substrate (larger = greater stability). If space is allowed, aim at at least 50x50mm, gradually reducing if needed.
- Design a vertical pillar or adjustable mechanism to increase to your measured height (minus tolerance). The sturdy struts are simplest; if the printing tolerance is perfect, the telescopic/adjustable design provides flexibility.
- Add a top contact plate/pad with sufficient surface area to the GPU edge. Chamfer or rounded corners all sharp edges for strength and safety.
- Optimization for 3D printing:
- Walls and Fills: Use 3-5 surroundings (walls) and dense filling (30-50%+). Hexagonal or capability fill provides excellent strength weight. Solids fill the top ~5 layers around the GPU contact points and base.
- direction: Print vertically (if it is a pillar design), the base on the top of the base plate. This aligns the layer lines optimally with the compression load.
- Internal pressure relief: Avoid sharp inner corners; use fillets. If needed, add ribs or burrs for a higher design.
- tolerant: For fit or fit adjustable components, the design gap is 0.20-0.35mm for a typical FDM printer.
Select the correct filament:
- PLA: Stiff, easy to print, cheap. Ideal for lighter GPUs (up to 2 slots, medium weight). In warmer environments (~50°C+), creep can be sanitized under constant loads.
- PETG: Excellent balance. Stronger, more heat resistant (> 80°C), more impact resistant and slightly flexible (good for tolerance). Ideal for medium-sized cards. The best all-around choice.
- ABS/ASA: High heat resistance (> 85-100°C), strong. A chamber/shell that requires heating and good ventilation. Printing is more challenging, but excellent durability. Suitable for heavy/hot gpus.
- Nylon/Composite (optional): Extremely powerful if your printer can handle them. Unless one is supported Very Heavy truck.
- TPU/TPE (used in small quantities): It is only suitable for feet or anti-slip pads on the bracket base, not for major load-bearing structures.
Print for maximum strength:
- Popular Temperatures: Print on superior The manufacturer recommends your filament to end.
- Bed temperature: Optimize adhesion for specific materials/plates.
- speed: Medium printing speed for structural parts (40-60mm/s). Slower outer wall/peripheral speed (20-30mm/s) improves surface quality and bonding.
- Layer height: Balance speed and strength. 0.2mm is good; smaller layers (0.15mm) can slightly improve layer adhesion, but will greatly increase printing time.
- cool down: After the first few layers of PLA/PETG, complete fan cooling is essential for optimal layer bonding and bridging. Minimum/no cooling is used on ABS/ASA until the layer is stable.
Post-processing performance and polishing:
- Demolition and Cleanup: Be careful to remove the support. Use a rinse cutter, sandpaper (start ~120 grit, finish high 400 grain size) or Deburring tools to clean up spots, string up and sharp edges.
- Improve adhesion: Gently sanding the two contact points (GPU and housing) prevents slipping.
- Anti-slip solution: Add small, Soft TPU/silica foot or thin adhesive rubber pad on the base plate. no way Use hard plastic for GPU or housing without buffering.
- Complete the touch: Grinding, primer and painting are optional aesthetic steps. Vapor smoothing (mainly ABS/ASA) produces a smooth sealing effect.
- Installation and testing:
- place: Place the brackets firmly on the cabinet floor, below the sag point near the end of the GPU. Carefully check its stability and vertical alignment.
- Adjustment: Use a subtle wedge to lift or lower the bracket slightly (e.g., a thin washer under the foot of the shell near the bracket) forward Contact it with the GPU.
- touch: Apply That’s enough Pressure to upgrade the GPU – You should not force it to go up. Verify visually or straight edge detachment SAG.
- Long-term monitoring: Check regularly for signs of settlement or transfer, especially the latter days due to potential filamentous creep.
When DIY is not enough: Professional advantages
While FDM printing is very useful for most users, a truly large number of GPUs (such as flagship models or water-cooled cards) or systems in high-heat environments benefit from advanced materials and processes. This is a professional rapid prototype service like this Great shine.
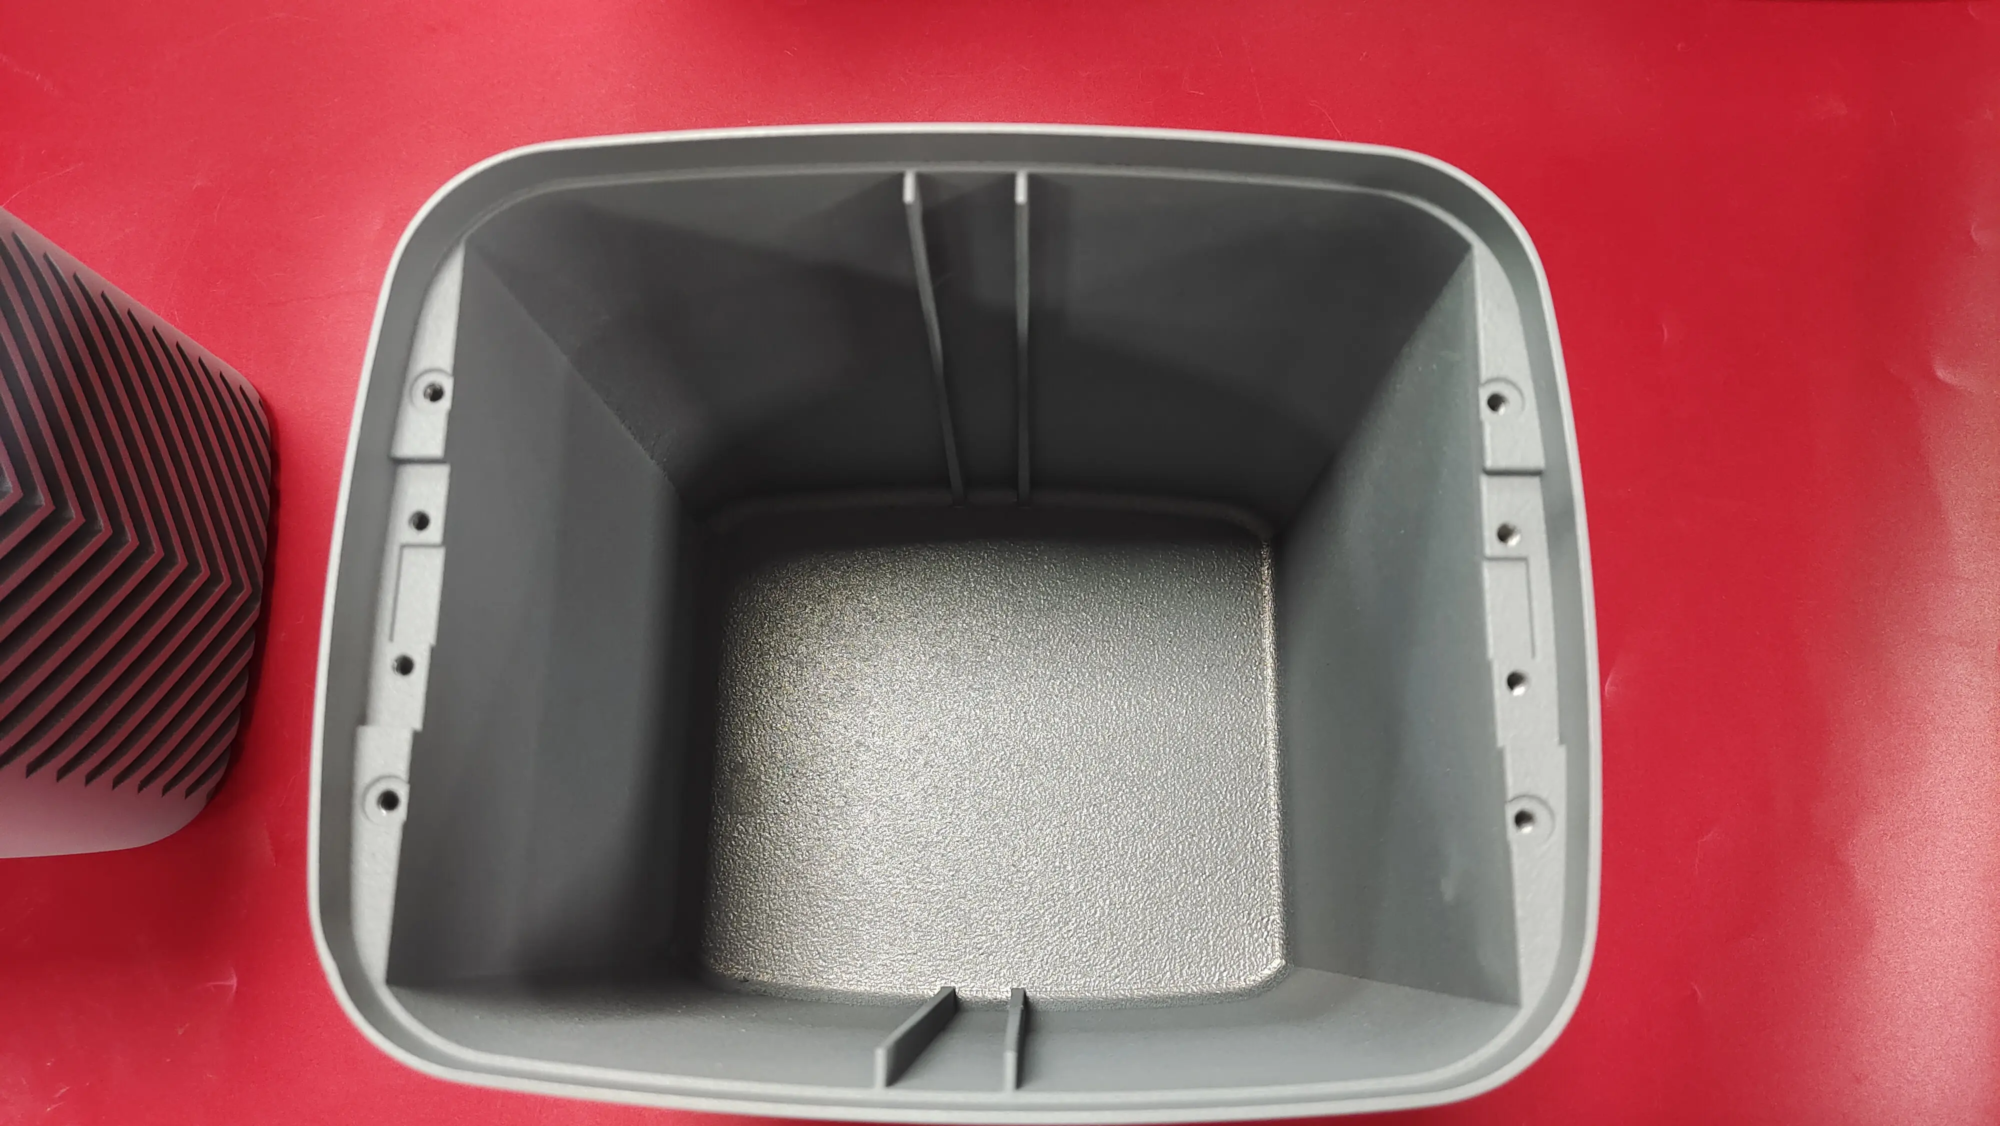
As a leading rapid prototype manufacturer, Great Deploy the latest Selective laser melting (SLM) 3D printer In addition to extensive post-processing capabilities. Why consider their GPU stand?
- Metal strength: Printed with solid aluminum alloy (ALSI10MG), titanium or stainless steel. These materials eliminate any potential creep, provide incredible load-bearing capacity and easily withstand the highest inner box temperatures.
- Precision and details: SLM can achieve tiny functional details and excellent dimensional accuracy through FDM. This is crucial for complex tunable mechanisms or precise force distribution interfaces.
- Professional surface: Request bead blasting, powder coating, CNC smoothing or factory-grade finishes that match high-end components.
- One-stop solution: From document optimization and material consultation to completion and inspection, Greatlight can effectively handle each stage.
- Speed and reliability: More than experimenting with multiple DIY iterations, especially in challenging materials, obtain custom high-performance brackets.
in conclusion
Using 3D printed support brackets to solve GPU SAG is a practical and meaningful DIY project. By carefully measuring, designing strength, selecting the right material and optimizing the print settings, you can create a durable, intangible material to protect your valuable hardware. For most users, at home, PETG or ABS/printing is the best choice. However, when the most demanding cards have top-notch durability, heat resistance and professional aesthetics are unsupported, leveraging the capabilities of professional fast prototype partners, e.g. Great Provide unparalleled solutions. They transform your digital design into precise engineered metal components ready to reliably protect your high-end GPU investment for years. Whether DIY or professionally manufactured, custom 3D printed brackets are the smart and elegant solution for GPU SAG.
FAQ (FAQ)
Is PLA powerful enough for GPU stand?
- PLA able In good cooling, it is effectively used for 2-slot cards of moderate size or lighter. However, this is the least ideal choice due to its relatively low glass transition temperature (~50-60°C). Over time, under continuous load in a warm environment, PLA can "Creep" (Slowly deformed). PETG is the recommended minimumproviding better heat resistance and durability.
How high should my bracket be?
- This is very important. Measure the gap Inside the bottom of the interior arrive The lowest point at the edge of the GPU Need support. Use digital calipers for precision. Add 0.5-1.0mm As tolerance/safety buffer. A card that is too high can be pressed upward on the card, which may damage the PCIE slot. Too short means not supported. measure Your specific settings.
Will the stand damage my GPU or a case?
- If the design and installation are correct, there is no. Use a large enough contact pad to distribute the pressure evenly. Avoid sharp edges. It is highly recommended that you add a thin piece of non-soaking material, such as soft rubber or felt, to the GPU contact point for additional protection and grip. Make sure the base does not interfere with case components or wires.
Can I make an adjustable bracket?
- Absolutely! Common adjustable designs include:
- Thread design: Screws/bolts allow precise height change.
- Telescope design: The inner pillar is suitable for the jacket.
- Modular stacking: Multiple shorter segments stack or clip together.
- Key design challenges involve tolerance. Plan a 0.2-0.35 mm gap for smooth movement without excessive swing. The slight flexibility of PETG can help achieve good friction in telescopic designs.
- Absolutely! Common adjustable designs include:
My printing stand feels flexible. Will you hold it?
- FDM printing has anisotropic strength. make sure:
- Optimal printing direction (the load direction perpendicular to the layer line).
- Enough wall count (4-5).
- Enough fill density (40%+, with powerful modes such as capability).
- Correct filament selection (PETG or ABS stronger/creep).
- Wall thickness (targeted for 2-3mm solid material in critical areas).
- If you support very heavy cards, consider adding a lot of these factors or exploring professional metal printing options.
- FDM printing has anisotropic strength. make sure:
- Why consider metal brackets through Greatlight?
- Professional SLM metal printing (aluminum, titanium, stainless steel) provided Final strength, stiffness, heat resistance (>300°C+) and eliminates any creep. This is crucial for heavy-duty flagship GPUs, water-cooled settings, or environments with confined spaces with extremely limited profiles. Greatlight provides expertise, precise machinery and finishing services to bring flawless high-performance components to your situation.
Looking for unparalleled durability and precision?
Don’t compromise on protecting your investment in high-end GPUs. Great Expertise in converting 3D models into powerful production-prepared parts using state-of-the-art SLM metal 3D printing technology. As one of the major rapid prototype companies from China, we offer fast turnaround, a wide range of premium metals and comprehensive finishing services, all of which are available at competitive prices. Customize your precision metal GPU stand now and experience unparalleled performance and peace of mind! Contact Greatlight now for a quote.


