introduce
Imagine your favorite songs playing with crystal clarity, with just the right amount of bass resonance without vibrations muddying the sound. Speaker stands play a vital role in audio quality that is often overlooked. Rather than buying a generic stand, why not design your own? DIY 3D printed speaker stands offer unparalleled customization, allowing you to customize the height, angle, and style to fit your space while saving money. Whether you’re a hobbyist or a budding audiophile, this guide will walk you through designing, printing, and assembling speaker stands like a pro.
Why use 3D printed speaker stands?
3D printing transforms passive listening into interactive creative projects. Benefits include:
- Precise acoustic tuning: Angle-adjustable base optimally directs sound.
- Custom size: Matches oddly shaped speakers or tight room layouts.
- Cost effective: Printed materials cost about $20 to $50, while commercial stalls cost upwards of $100.
- sustainable development: Use environmentally friendly filament, such as recycled PETG.
Key Design Considerations
Start with these non-negotiables:
- Stablize
- weight distribution: Speaker weight factor (e.g., 5–10 pounds). Add weights or hollow fillable bases as ballast.
- footprint: A wider base (e.g. 1.5 times speaker width) prevents tipping.
- Vibration reduction
- Use shock-absorbing designs like sorbothane pads or TPU printed dampers.
- height and angle
- The optimal tweeter height is at ear level (about 40 inches) when seated. Incorporate tilt (5°–15°) via angle brackets.
- aesthetic integration
- Integrate the stand into your decor: geometric, minimalist or retro design. Sites like Thingiverse and Printables offer templates that can be modified.
Material Selection: Balancing Strength and Style
- People’s Liberation Army: Rigid and easy to print, but avoid heavy speakers – they may deform under heat/load.
- Peteg: Impact and moisture resistant, ideal for mid-weight setups.
- ABS/ASA: Better heat/load tolerance, but requires ventilation during printing.
- thermoplastic polyurethane: Excellent for vibration damping spacers.
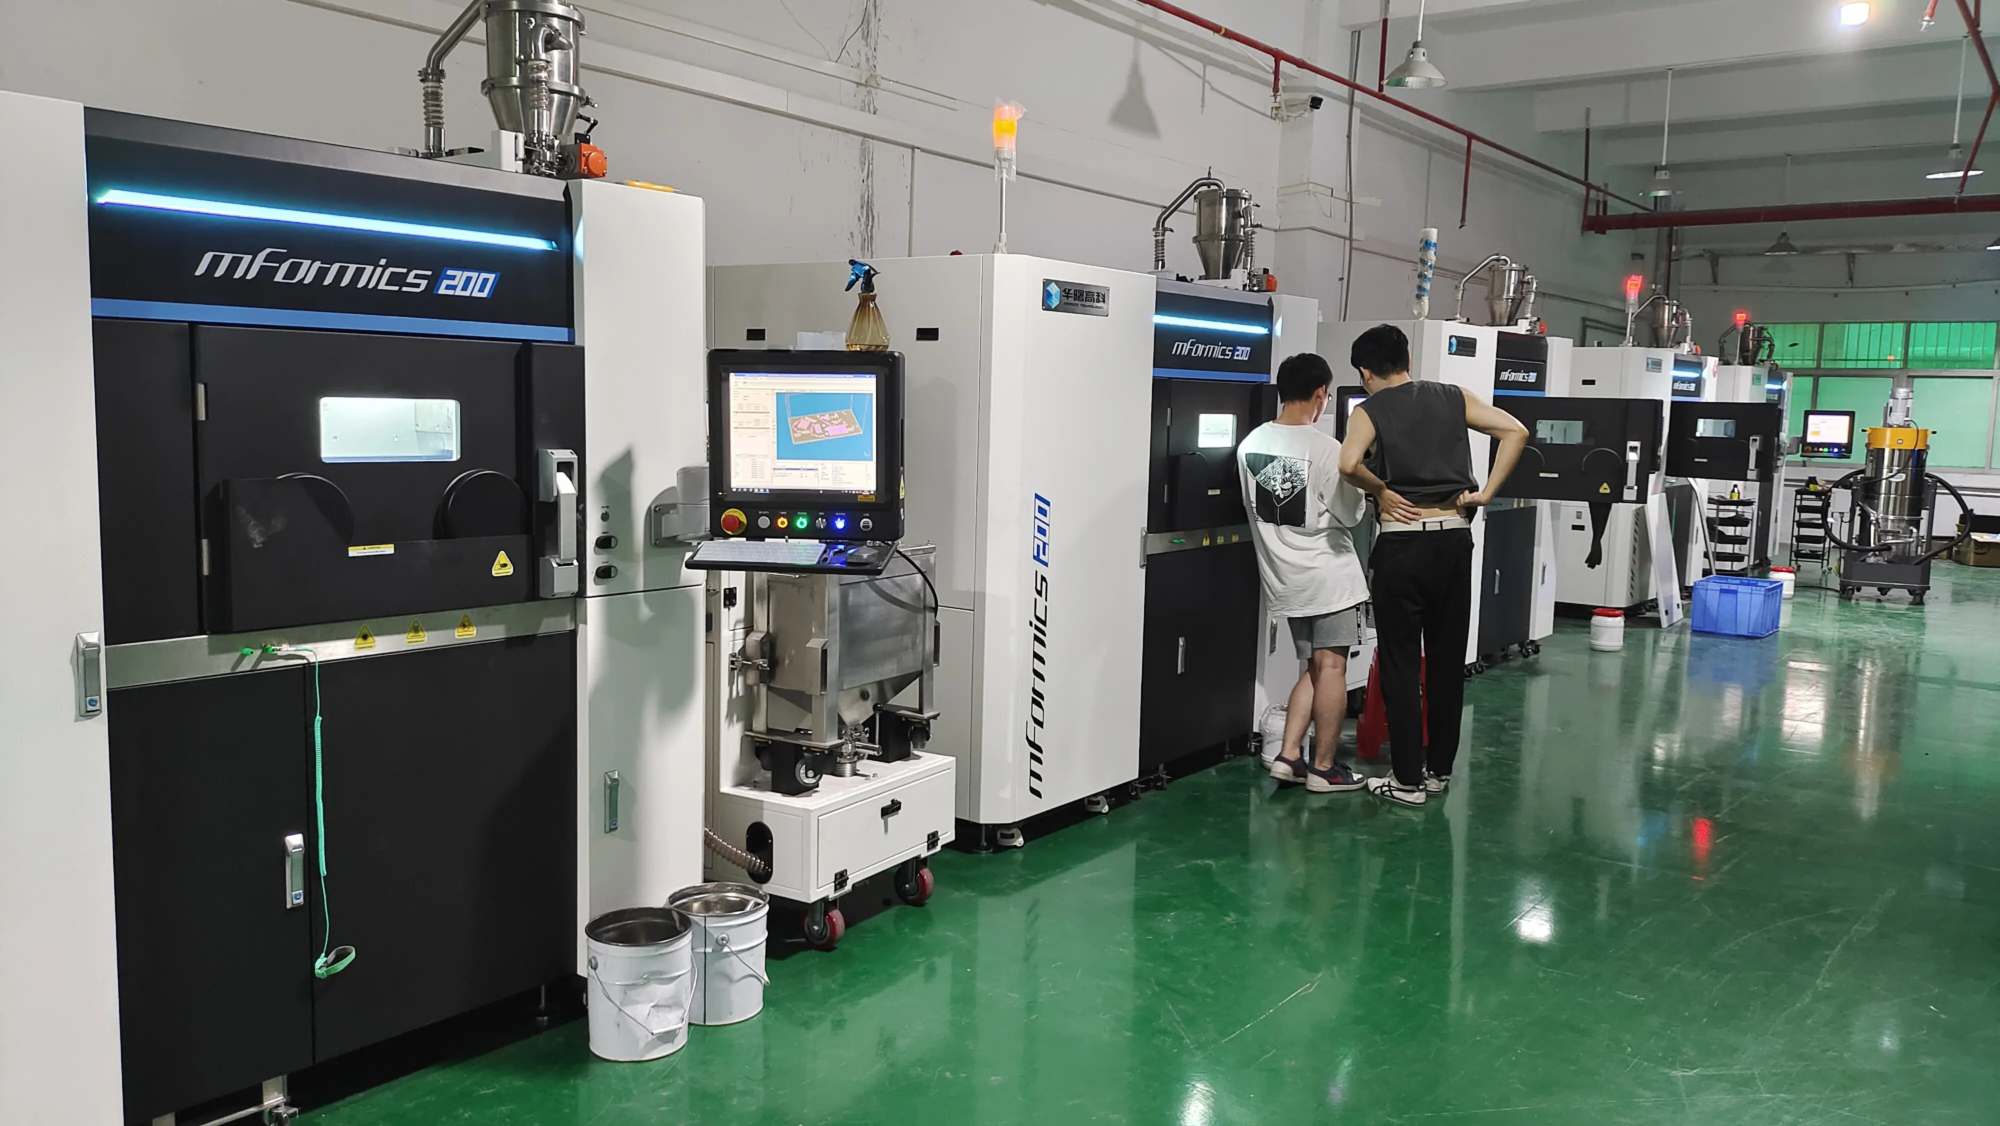
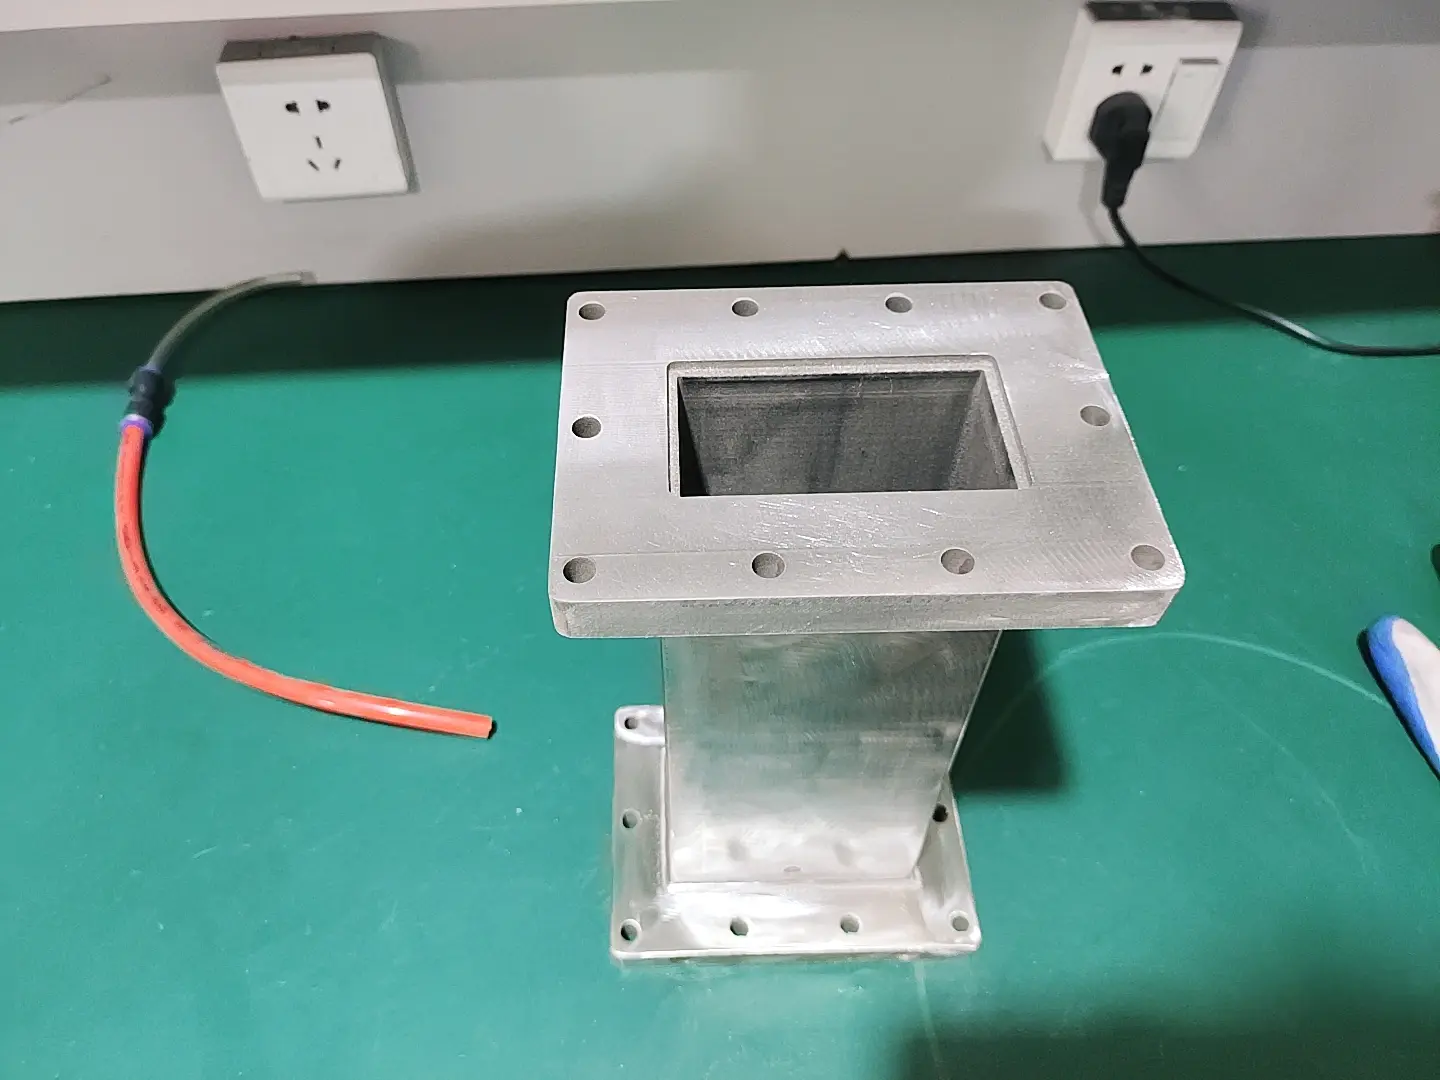
- Metal: For maximum durability. huge light—A leading rapid prototyping manufacturer—uses Industrial SLM (Selective Laser Melting) The printer produces aluminum or titanium brackets. They can withstand extreme weights (>50 lbs) and include optional CNC post-processing for a smooth anodized finish. If your design requires uncompromising strength, outsourcing to a professional service ensures performance without printing limitations.
Step by step tutorial
Step 1: Design your booth
Software: TinkerCAD (beginner) or Fusion 360 (advanced).
- Start with the base plate, vertical columns/structure and speaker platform.
- Add features like cable routing channels or adjustable feet.
- Export to STL.
Step 2: Print Setup and Techniques
- filling: 30–50% for rigid parts (hexagonal or spiral patterns).
- Floor height:0.2–0.3mm for balance of speed and detail.
- support: Use tree supports for angled parts.
- Print large parts: Segmented designs for small printers (e.g., screw-connected posts).
Step 3: Assemble after printing
Protect sections by:
- Epoxy glue: Permanently bonded to PLA/PETG.
- metal insert: Heat-set threaded inserts for future adjustments.
- damping pad: Stick the TPU pad between the stand and the speaker.
Step 4: Finishing work
- Sand (200–400 grit) and fill the layer lines with filler.
- Prime and paint with acoustic spray paint.
- Sealed with matte clear coat for longer life.
in conclusion
DIY 3D printed speaker stands enhance your audio experience through customization and innovation. While desktop FDM printers are suitable for lightweight setups, demanding projects benefit from specialized metal fabrication, especially for critical components. company likes huge light Embodying this expertise, we provide end-to-end solutions from SLM metal printing to post-processing, ensuring broadcast quality. Build your booth with confidence, experiment with designs, and change the way you listen—one layer at a time.
FAQ
Q: Can PLA handle heavy speakers?
A: Only suitable for speakers under approximately 8 pounds. For heavier loads, use PETG/ABS or metal printing through a service like Greatlight. PETG maintains strength longer than PLA.
Q: Do I need to add shock absorbers?
A: Critical to sound fidelity! Printed TPU pads or commercial sorbane sheets prevent sound distortion.
Q: How to avoid shaking?
A: Make sure the base to height ratio is 1:3 and use "Footprint expansion" Slicer tool. Adding sand or lead shot to the hollow base can improve stability.
Q: Can I adjust the stand to accommodate uneven floors?
A: Adjustable foot model with threads. Use self-leveling hardware such as M6 adjustable feet.
Q: Is it expensive to outsource metal printing?
A: Varies by material and size. Rough estimate: Aluminum brackets cost $80-$200 per pair through rapid prototyping partners. Greatlight’s consulting services help optimize designs to reduce costs.
Q: How long does DIY printing take?
A: Depends on size/filling. A pair usually takes 40-60 hours. Split parts onto the printer to speed things up.
Q: What is the weight limit for a homemade printed booth?
A: PETG has 50% filling and smart reinforcements and can withstand a weight of approximately 30 pounds. For heavier speakers, SLM-printed metal offers unparalleled safety advantages.
Design documents becoming complex? Encountering material bottlenecks? Gretel Simplify the journey – providing expert guidance from prototype to polished metal stand. [Explore their services here.]


