Reviving a Tradition: The Ultimate Guide to DIY 3D Printed Wax Stamp Making
In the age of digital communication, the elegant touch of a wax seal adds a deeply personal and timeless touch to a letter, invitation or gift. Imagine creating your own custom seal – perhaps a family monogram, the silhouette of a beloved pet or a unique logo. Traditionally, commissioning custom brass seals has been costly and slow. Enter 3D printing: A revolutionary DIY method that allows anyone to design and create intricate wax stamps at home. This guide takes an in-depth look at the process, materials, and incredible potential of 3D printing this fascinating craft.
Why 3D print wax seals?
- Unparalleled customization: Design anything imaginable – complex geometric shapes, intricate text, symbols – limited only by your creativity. Online tools like Tinkercad, Fusion 360, and even free SVG converters make designing easy to implement.
- Speed and accessibility: Prototype and iterate designs in hours using an affordable desktop FDM printer like Prusa or Creality, instead of waiting weeks for traditional manufacturing.
- Cost effectiveness: PLA filament printing is very economical for experimentation. Perfect for creating a unique stamp for a wedding, event or brand without breaking the bank.
- Empowerment and Learning: Gain valuable skills in CAD design and 3D printing while bringing your unique vision to life.
Make your DIY 3D printed wax seal: a step-by-step journey
-
Design your seal:
- Choose your image: Choose bold, high-contrast designs. Fine details (thinner than ~0.8mm) may not hold well in wax.
- Choose your software: Beginners: Get started with user-friendly 3D modeling with Tinkercad. Advanced users: FreeCAD, Fusion 360, Blender provide more control. Make sure your design is "mirrored" (On the contrary) This makes the impression correct.
- Focus on depth: The ideal relief depth is 1.5 mm to 3 mm. Too shallow will give a weak impression; too deep will make wax removal difficult and require more heat.
- Handle integration: Design a sturdy handle that attaches directly, or a flat plate to stick to a purchased handle. Integrated into ergonomics, comfortable to press.
-
Prepare to print (FDM printing – PLA recommended):
- Model orientation: Print the stamp face down on the build plate for the highest quality surface detail. use a raft and support Under complex overhangs (like letters) for stability and easier removal. enable "ironing" In a slicer (such as Cura) for a smoother sealing surface.
- set up:
- Material: PLA (polylactic acid). It’s sturdy, detail-oriented, affordable, and has a melting point that’s safely higher than typical wax temperatures (~80-110°C vs. 150°+).
- Floor height: 0.1mm or 0.15mm for best detail resolution.
- filling: 80-100% (solid). Maximum stiffness for consistent pressure.
- Wall (Perimeter): 3-4 durability. Top level: At least 5-6. Hat brim: Recommended for board attachment stability.
- Post-processing (vital!): Carefully remove supports. Sand the sealing surface with sandpaper gently Use fine sandpaper (400+ grit) under running water to minimize frictional drag in the wax. Make sure the surface is completely smooth and eliminate any stringiness. Clean and dry thoroughly.
- Using 3D Printed Stamps: Basic Techniques
- Adhesive: Securely attach the printed stamp side to its handle using a strong heat-resistant adhesive such as high-temperature epoxy or cyanoacrylate/superglue If not printed together. Allow to heal completely.
- Wax question: Traditional sealing wax rods often burn too hot and easily deform the PLA. choose:
- Low temperature glue gun wax stick: Versatile and designed for lower temperatures (approximately 90-110°C), ideal for PLA stamps. Easy to use.
- Spoon melted wax: Traditional beads are melted in a special spoon and poured onto your surface. let it cool slightly Before stamping (5-10 seconds). Time for testing!
- Stamping technology: Continuously press straight down into the almost solidified wax. Hold firmly for 5-15 seconds without shaking. gradually and carefully pull upward. Resist the rush—cold wax results in a cleaner pull. Practice on scrap paper first!
Beyond Plastic: The Professional Alternative – Metal 3D Printed Seals
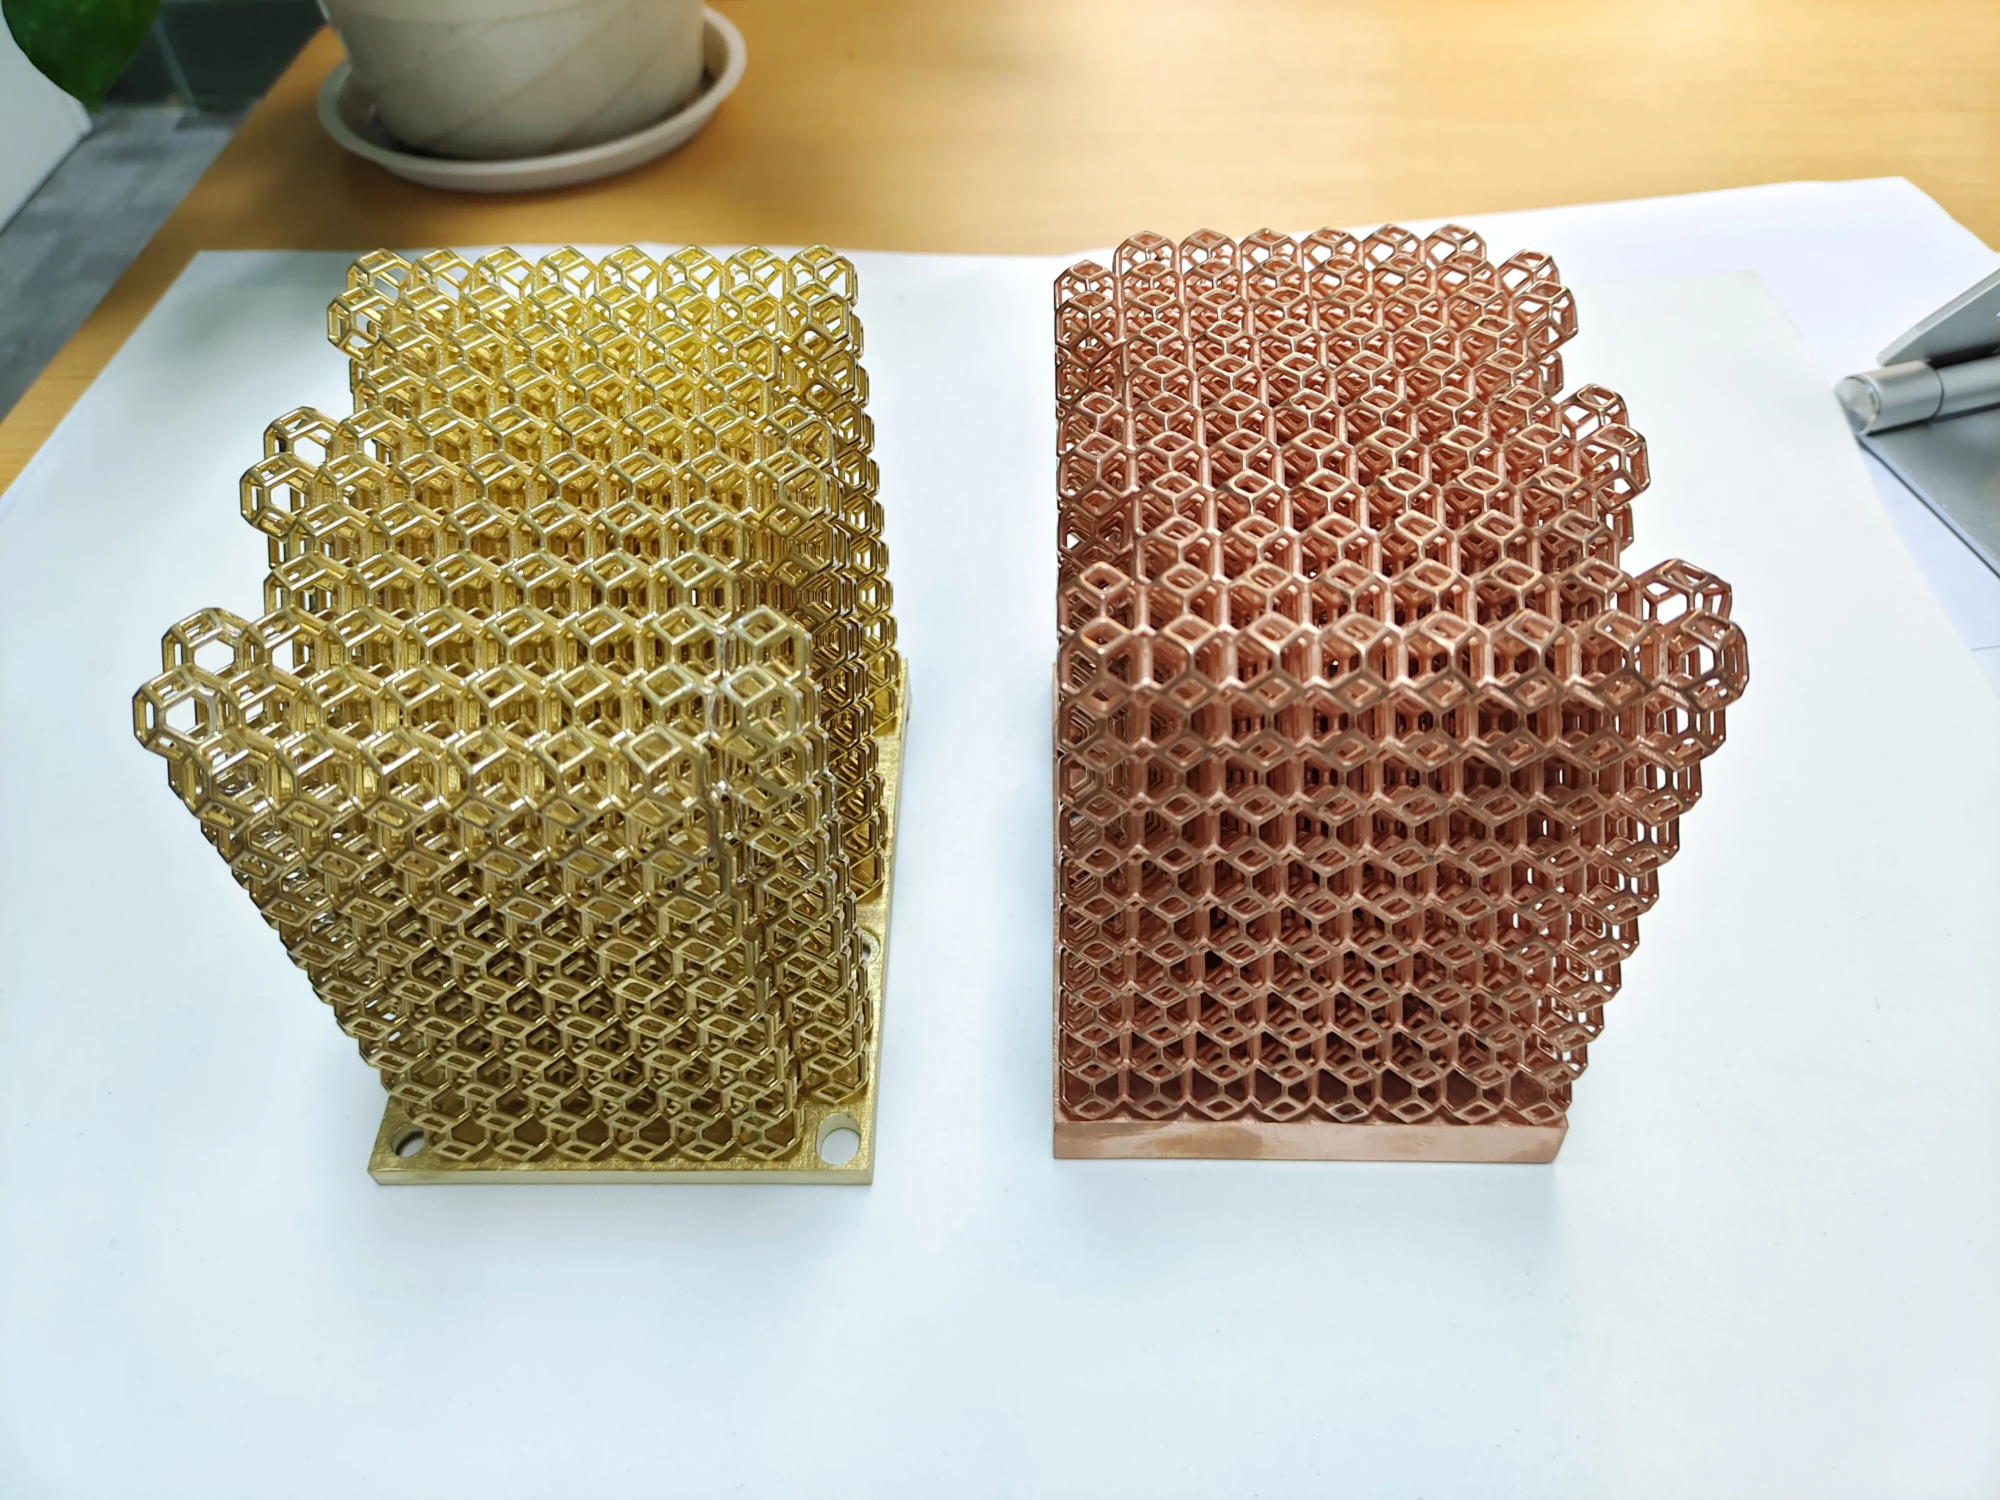
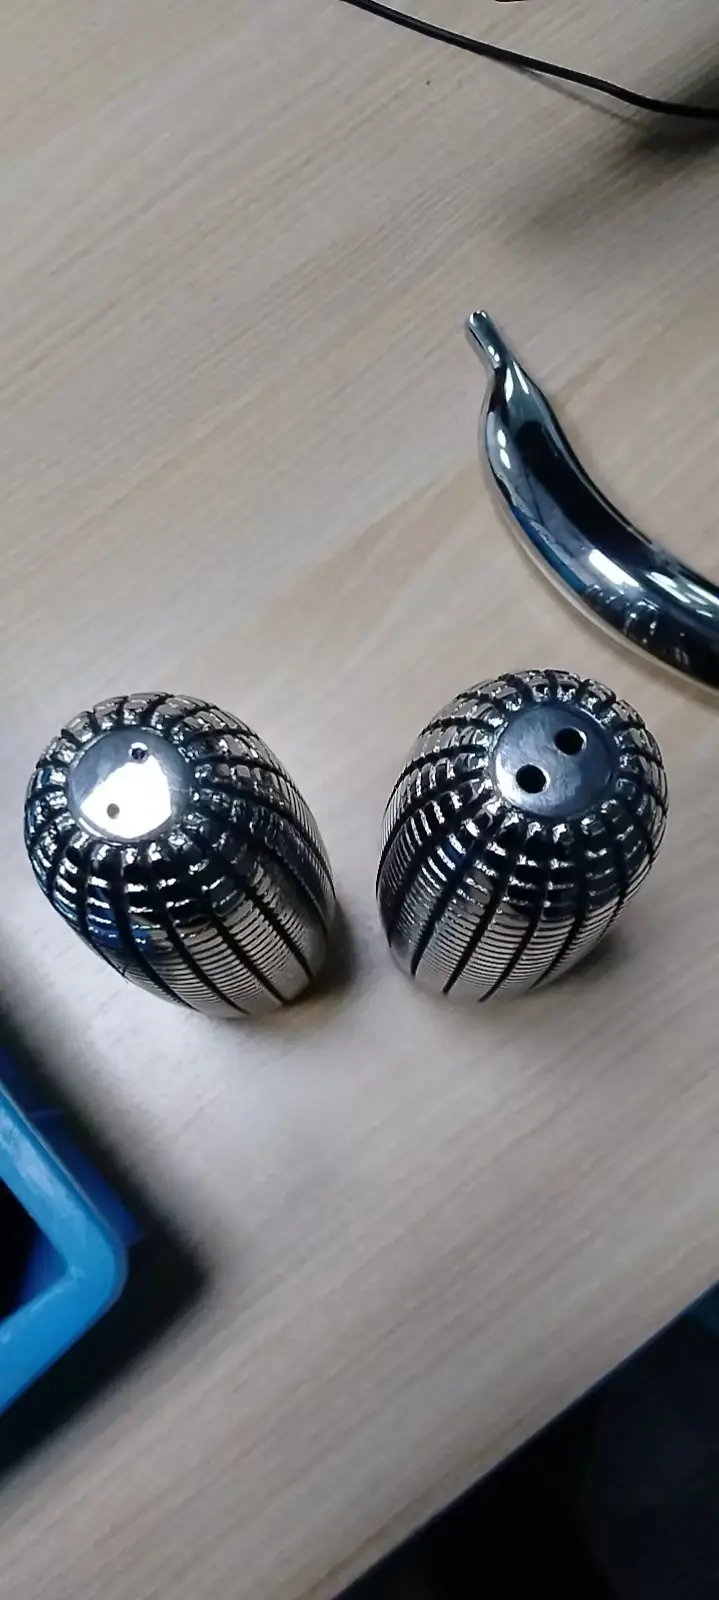
While PLA is great for frequently used hobby stamps, demanding applications (high-volume sealing, heirloom pieces, industrial applications) require the longevity and thermoresiliency of hardened metal. This is where professionalism comes in Metal 3D printing services shine. Technology such as Selective Laser Melting (SLM) The seal is built from fine metal powder and fused layer by layer with a precise laser. The result? Durable, heat-resistant wax seal stamps made from materials like stainless steel and even bronze can resist deformation and withstand repeated heat cycles that PLA cannot.
GreatLight: Your expert partner for professional metal wax sealing
Precision 3D printing services are critical when your DIY ambitions require unparalleled durability, exquisite detail, and professional-grade quality. GreatLight, the leader in rapid prototyping and manufacturingspecializes in bringing complex metal designs to life. Equipped with state-of-the-art SLM 3D printer With deep expertise in advanced production technologies, GreatLight specializes in solving challenging metal prototyping problems.
For complex wax stamp designs that require exceptional precision or demanding materials, GreatLight offers End-to-end solution. From expert design consultation to optimizing models for manufacturability and accuracy SLM printing and comprehensive post-processing (Including meticulous support removal, surface smoothing by polishing or tumbling, and heat treatment for optimal material properties), we handle every step. We understand the complex balance of aesthetics and functional robustness required to perfectly seal an imprint. Most metals can be sourced and processed quickly, ensuring your custom metal wax stamp is of the highest standard.
As one of the leading rapid prototyping companies in China, Gretel provides Competitive pricing for custom precision machining and prototyping projects. Transform your unique seal design into a lasting heirloom or professional branding tool with our reliable, quality service.
Conclusion: Embrace the fusion of old and new
3D printing has democratized the art of wax sealing, transforming it from a unique craft into an accessible DIY adventure. Starting with PLA and desktop printers inspires creativity and experimentation, resulting in unique and cost-effective results. For applications that demand the ultimate in durability and performance, professional metal 3D printing from experts like GreatLight provides a seamless path to create sophisticated, long-lasting professional seals. Whether you choose plastic or metal, now you can put your personal touch on your letter or packaging. Design, print, melt, stamp and rediscover the lasting magic of custom wax seals – crafted by you.
FAQ: DIY 3D Printed Wax Stamps
-
Q: Will my PLA wax seal melt when stamping with hot wax?
- one: PLA has a glass transition temperature of approximately 60°C and begins to deform significantly above 80-100°C. use Low temperature glue gun sealing wax (Design melting temperature is approximately 90-110°C) critical. Traditional wax melted with a spoon (cooled slightly) or soy wax are also safer options. Avoid direct contact with flame. PLA forms a slightly glossy protective layer after the first few uses, but is not foolproof against high temperatures and prolonged exposure to heat. Metal SLM printing is completely heat resistant to traditional wax.
-
Q: Why don’t the details of my design show up clearly in the wax print?
- one: Several factors:
- design: Lines/details may be too thin (< 0.8 mm). Increase line width/spacing.
- wax: Wax type/thickness affects flowability. experiment. Maybe your wax is too hot/too runny? Allow to cool slightly before stamping. Traditional wax captures detail better than many glue sticks.
- Polishing: Insufficient sanding can leave tiny printed lines. Carefully moisten the sand to give it a smoother surface.
- Stamping technology: Press straight down firmly without shaking. Hold firmly until the wax has set enough to release cleanly. Surface preparation (clean stamp, release agent such as a thin drop of oil) may help.
- one: Several factors:
-
Q: Can I use ABS or PETG instead of PLA?
- one: PLA is generally best suited for FDM printed seals against low temperature waxes.
- ABS: More heat resistant (deformation starts at ~100-110°C), but harder to print without deforming. Exhaust gas can be unpleasant. Use with caution, it may take longer for the wax to cool.
- Peteg: Heat resistance is about the same as ABS (~70-80°C glass transition temperature). Softer than PLA, may scratch/deform easily under pressure over time. Stick with PLA because of its rigidity and ease of printing, or metal because of its high heat resistance.
-
Q: My stamps are sticking to the wax! How can I prevent this?
- one: This is very common! Solution:
- Carefully polished: A perfectly smooth, polished mating surface is key (wet sand with fine grit).
- Make sure the wax is cool: Let the melted wax sit for 5-15 seconds before stamping.
- Use less wax: Excess wax flows into the gaps and around the sides of the stamp.
- Release agent: apply for one very thin Apply a layer of cooking oil (wipe off excess) or commercial release agent to cold Stamp on face before use. Reapply regularly. Copper core insert (brushed finish) is naturally non-stick.
- Pull straight up slowly and steadily.
- one: This is very common! Solution:
- Q: When should I consider metal 3D printed seals versus plastic DIY seals?
- one: Choose PLA for hobbies, low-volume personal projects or to cost-effectively prototype your designs. Choose professional metal 3D printing (such as SLM from GreatLight) for:
- High volume sealing (weddings, corporate events).
- Traditional hot pour wax is used regularly or exclusively.
- High durability requirements (long-term heirlooms, collectibles).
- Applications requiring superior thermal performance (e.g., branded candles).
- Achieving the absolute finest details possible.
- Projects that require the tactile weight and durability of metal.
- one: Choose PLA for hobbies, low-volume personal projects or to cost-effectively prototype your designs. Choose professional metal 3D printing (such as SLM from GreatLight) for:


