Unlocking the Workshop Efficiency: The Ultimate DIY 3D Printing Wrench Guide
Is your toolbox a mess of wrench mess that forces you to endlessly dig out the right size? This is a common sense of frustration that wastes time and risks the damage of damaged tools. Fortunately, 3D printing offers an elegant, customizable solution: DIY wrench holder. These organizers design for your exact toolkit, maximizing space, improving workflows, and even demonstrating your tools as a professional asset. Let’s explore how to create one from scratch – whether you’re an amateur or a professional.
Why 3D Printed Wrench Holder?
Traditional organizers rarely accommodate unique wrench sets or suitable for specific drawers. 3D printing solves the following methods:
- Perfect customization: Build slots of size for each wrench (metric, SAE or both).
- Space optimization: Compact design, modular tray for drawers or wall mounts.
- Tool protection: Remove scratches and dents by preventing contact between wrenches.
- Durability: Choose materials (such as PETG or metal) that can withstand grease, drops and daily abuse.
- Iterative design: Adjust the digital file until your layout is flawless – no waste of material.
Your step-by-step DIY guide
Phase 1: Design and Modeling
- Measurement wrench: Record the width, thickness, length and overall shape of each wrench. Note any special features (flares, ratchet end).
- Select CAD software: Beginners: Use Tinkercard. Intermediate: Fusion 360 or Freecad. The purpose is to perform parameter design (adjust one size to automatically accelerate).
- Key Design Principles:
- Groove angle: The tilt slot is at 15-25°, easy to insert/remove and visibility.
- Suitable friction: The design slot is slightly narrower than the wrench thickness (0.2-0.5mm) to ensure safety.
- Basic thickness: Ensure a rigid base (≥4mm) to prevent warping or rupture under load.
- Support and Overhang: Avoid supporting in slots; use Chamfers/Radii to minimize drape.
- Scalability: Design modules clamp together to add wrench later.
- Label: During the design process, dimension labels (such as “10mm”) are embedded directly into the model.
Phase 2: Materials and Printing
-
Material suggestions:
- PLA: Cheap and easy, perfect for prototypes. Avoid thermal environments.
- PETG: Tough, impact resistant and chemical-first choice for feature holders.
- ABS/ASA: Higher heat resistance; requires a fence, but is suitable for demanding workshops.
- Nylon/cf-nylon: Excellent durability and flexibility – Choose from heavy duty or vibration environments.
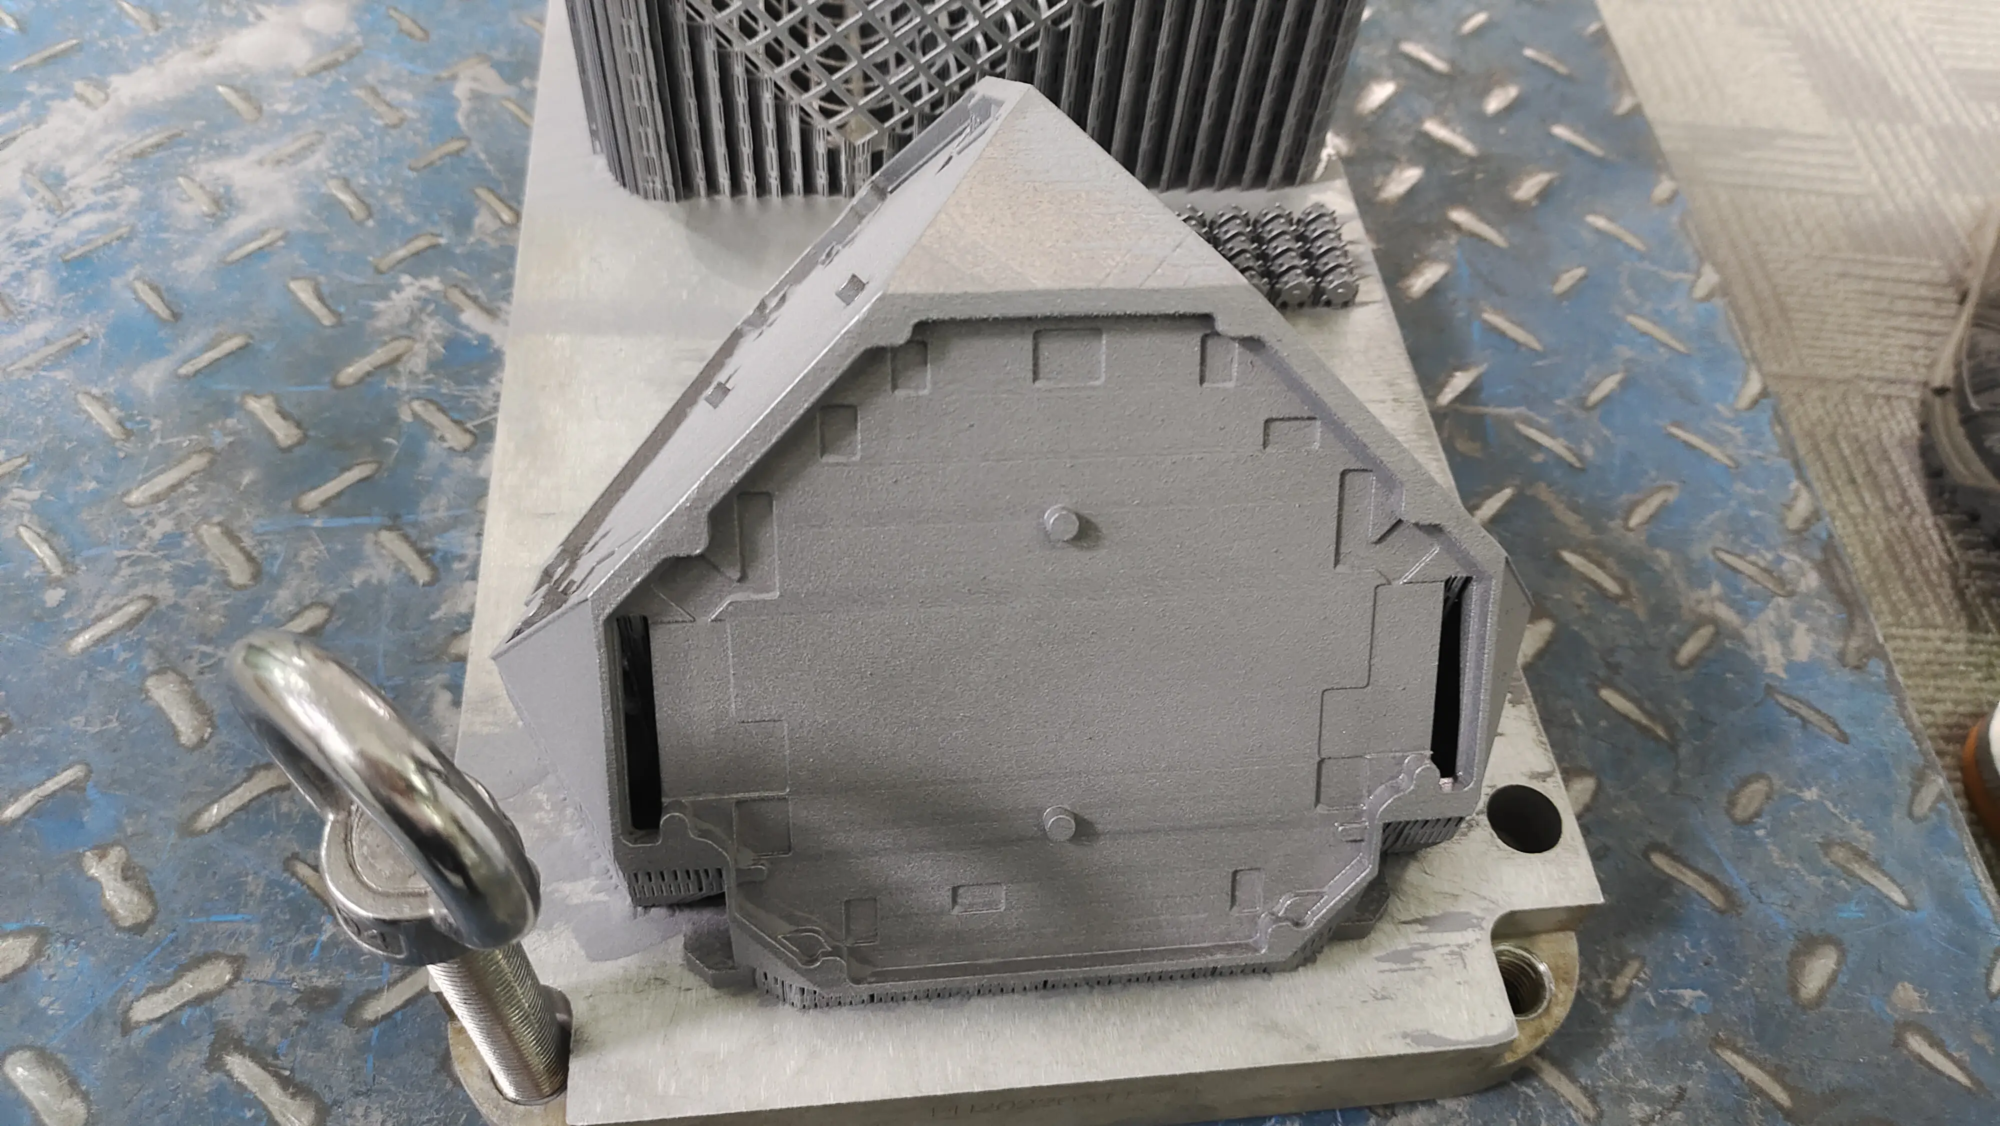
- Consider metal? For maximum resilience (e.g., professional garage, high load scheme), services like this Great Provides metal 3D printing. Material 316L stainless steel or Alsi10mg aluminum Create almost indestructible holders that are perfect for critical industrial applications.
- Print Settings (FDM):
- Layer height: 0.2mm details; 0.28mm, faster and more powerful.
- filling: 30-50% (energy or cubic mode). Higher = stronger but longer printing time.
- wall: 3+ stiffness around.
- direction: Print the base to maximize strength and minimize slot support.
- Adhesion Requirements: If the base has a high risk of distortion (common for ABS/PETG), use an edge or raft.
Phase 3: Post-processing and completion (Pro Touch)
- Delete support: Carefully clean the slot interior.
- Grinding: Start rough (120 particle size), end with fine (400+) for smoothing.
- wash: Clean with a light detergent to remove oil/dust.
- Professional finishes for metal: Choose a service like Greatlight One-stop organization:
- Surface polishing: Achieve perfect tool-resistant surface.
- Anodized (aluminum): Add bright colors and corrosion resistance.
- Beads/sand explosion: A uniform matte texture provides better grip.
- Heat/pressure treatment: Material properties that are crucial to enhance ultimate reliability. This level of modification transforms the functional part into a professional-grade asset.
Material Problems: Comparison of Holder Options
| Material | advantage | shortcoming | The best | Upgrade path? |
|---|---|---|---|---|
| PLA | Easy to cost-effective | Low heat resistance; brittle | Prototype or light hobby | |
| Petg | Durable, chemical resistant, hard | It can be harsh for beginners | Most home/garage environments | |
| ABS/ASA | Heating/cold-resistant, tough | Warp; smoke during printing | Popular seminars or vehicles | |
| Metal (e.g., Alsi10mg) | Extreme strength, durability, heat resistance | Need professional service | Industry, high utilization, key tools | Greatlight creates powerful custom metal tools for demanding users. |
Beyond the Basic Holder: Advanced Ideas
- Hybrid design: Combine the 3D printed slot with a magnetic base plate or rubber pad.
- Wall-mounted integration: Add the keyhole or mounting slot directly to your design.
- QR code tag: Embed QR code to link to wrench specifications or maintenance documentation.
- Shadow Board System: Create a bracket suitable for a specific Pegboard system.
- Color code: Print modules in different colors for quick identification.
Why consider professional metal 3D printing for tools?
While desktop printing is suitable for many people, demanding environments require more. Rapid Prototyping Leader Great Unlock Industrial Selective Laser Melting (SLM)enable:
- Unrivaled durability: Manufacture wrench holders from real structural metals (SS, AL, TI alloys).
- Complex geometric shapes: Establish complex cooling channels or lightweight lattice structures that cannot be processed.
- Massive customization: Production batch holders effectively for professional applications through advanced digital workflows.
- Turnkey Reliability: Leverage Greglight’s expertise exist Rapid prototyping of metal – From file preparation to post-processing (including CNC finishes, EDM, paint) – Ensure virgin results independent of internal kit restrictions.
Conclusion: Organize 3D printing like a professional
Gone are the days of the right, universal wrench organizer. 3D printing enables you to design and build the perfect cradle for your specific toolkit. Fast iteration ensures workflow efficiency; material selection tailored solutions to the needs of the workshop. From prototyping in PLA to “forever part” in high-performance metal alloys, Great3D printing unlocks orders, accessibility and resilience that are critical to professional work environments. It’s not just storage – it’s an investment in workflow excellence that saves time while using your tools as a precise asset rather than a mess of mess. Whether you are printing “printing” at home or working with a fast prototyping partner for metal grade production, don’t be determined for the perfect tool organization.
FAQ About 3D Printed Wrench Holder
Q1: How thick should the wrench slot be?
The design slot is narrower than the actual wrench thickness ~0.2-0.5mm to ensure safe (but not tight) friction without risking pressure.
Question 2: Can I make a wrench holder for a huge or oversized suit without a huge printer?
Design module bracket! Create smaller sections with interlocking clip/keyholes (e.g. 3-4 wrenches per wrench) and place them on a drawer or on a wall.
Q3: Is the PLA strong enough for wrench holders?
PLA is suitable for prototypes or very light use, but breaks or deforms over time due to low brittleness and heat resistance. Choose to use PETG, ASA or nylon for functional workshops.
Q4: Why choose metal 3D printing as the wrench holder? Is it overkill?
For high use, auto shop or industrial environments, the impact, high temperature/cold or chemical corrosion risks are factors, and metals (especially through SLM) ensure unparalleled life and ROI. It is a niche, but is very effective for a permanent service environment where minimizing downtime/replacement costs is crucial.
Q5: What if I lack CAD skills? Is there any shortcut?
Mixed design from platforms like Printables.com or Thingiverse! Carefully measure the wrench and modify known parameters with customizable parameters ("parameter" design).
Question 6: Can Greatlight be used with custom metal holders after applying?
Absolutely. Greatis a top-ranked Chinese manufacturer of rapid prototype solutions that provides comprehensive services. Forward your wrench holder model (preferred STP/step file); tap their SLM + CNC/tidy ecosystem to provide users with truly reliable tool organizers with all the professional hand-made logos, and geometric freedom uniquely provided in additive manufacturing protocols. By combining accordingly, robustness is impossible without compromising the complex customizability.
Change wrench storage now – Accuracy only achieved with 3D printing!


