Introduction: Making magic with DIY 3D printing charm
3D printing has revolutionized DIY crafts and turned imagination into tangible treasures. Customized charm (whether it’s jewelry, keychains or decoration) is a great entry point. With accessible tools and materials, anyone can create unique pieces that reflect their personal style. This guide guides you through designing, printing and completing the charm of 3D printing, blending creativity with technical insights.
Step 1: Design charm
Software and Tools:
Start with beginner-friendly CAD software like Sinkku or blender. For complex designs, the Fusion 360 offers advanced features.
Design Tips:
- Size is important: The charm is usually in the range of 10–30mm. Ensure delicate features (e.g. text) > 1mm thick to avoid cracking.
- Attachment points: Rings including jump rings or chains (diameter 1.5–2mm).
- inspiration: Repurpose SVG files from designing platforms or engraving organic shapes inspired by organic shapes.
hint: use "Hollow" Tools that save materials and reduce printing time.
Step 2: Select Materials and 3D Printer
Beginner’s filaments:
- PLA: Eco-friendly, easy to print, with metal/glitter variants.
- PETG: Durable and flexible – ideal for keychains.
Resin for details lovers:
Photopolymer resins (e.g., standard or hard resins) from LCD/DLP printers are used as jewelry-grade precision.
Printer precautions:
- FDM (Silk) printers are excellent for rapid prototyping.
- Resin printers capture finer details, but require post-brush/curing.
When to seek professional help?
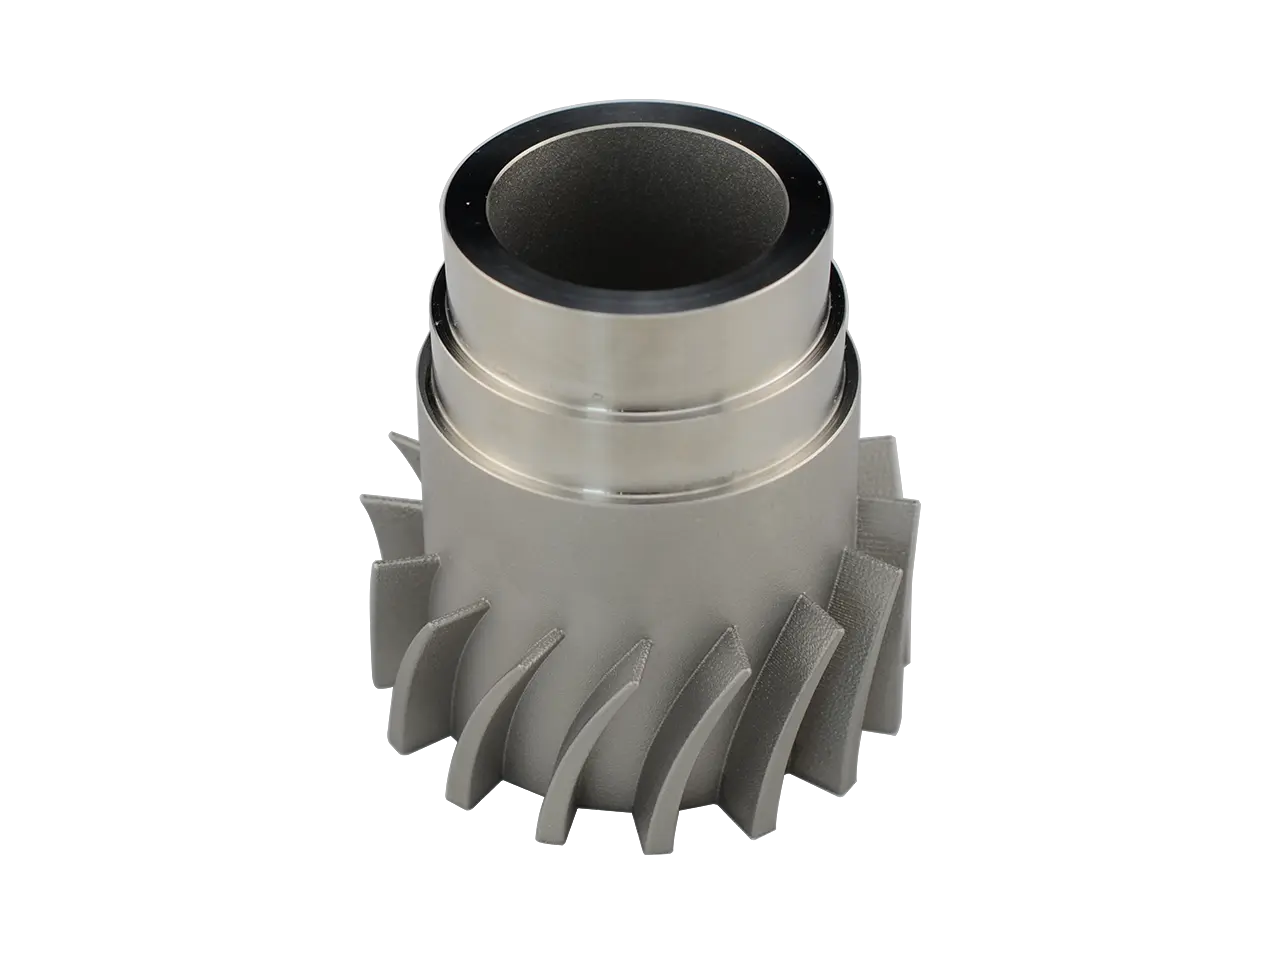
for Metal charm (stainless steel, titanium or precious metal) or ultra-high resolution prototypes, partner with experts Great. Their industrial grade SLM (Selective Laser Melting) printers produce durable, intricate metal parts – perfect for custom designs that require strength or quality finishes.
Step 3: Print and Setup
- FDM settings:
- Layer height: smoothness of 0.1–0.15mm.
- Fill: 20–30% (higher stress points).
- Support: Enable drape > 45°.
- Resin Settings:
- Layer height: 0.03–0.05mm.
- Exposure: Calibrate for each resin type (e.g., 2-8 seconds/layer).
troubleshooting:
- Warp? Make sure the bed is adhered (using glue sticks or rafts).
- Strings? Reduce the nozzle temperature and enable retraction.
Step 4: Post-processing and completion
- clean: Gently remove the support. Resin prints require IPA bathing and UV curing.
- Grinding: Start with 120 particle size and move to 600+ for a shine. For PLA, chemical smoothing (acetone vapor) adds gloss.
- painting: Use an acrylic or a sprayer. Sealed with varnish.
- Metal Effect: Rub with bronze/gold wax or use plating kit.
- assembly: Connect the jump ring or chain with pliers.
Professional upgrade: For polished metal finishes or custom enamels, lever Great Post-processing service. Their anodization, polishing and electroplating ensures studio quality results with industrial durability.
Conclusion: From hobbies to high-end creation
DIY 3D printing gives artists the ability to turn short-lived ideas into heirlooms. While desktop printers are great for learning, complex geometry or professional-grade metal charm requires industrial solutions. That’s where Great Good at it. As leaders in rapid prototyping, they combine cutting-edge SLM 3D printing with comprehensive post-processing – all pendant pendants from titanium medical charm to competitive speed. Whether you are mass-producing designs or looking for the perfect metal finish design, Greatlight provides end-to-end accuracy, making it a top partner for global innovators.
Ready to improve your project? Explore Greatlight’s custom solutions and turn your charm concept into reality.
FAQ: DIY 3D Printing Charm
Q1: How to make my 3D printing charm waterproof?
Apply epoxy or clear acrylic spray. For metal charm, corrosion-resistant materials such as stainless steel can be selected by SLM printing.
Q2: Can I 3D print the charm with moving parts?
Yes! Interlocking assemblies with 0.2-0.5mm clearance are designed for increased flexibility. PETG filament or nylon is ideal.
Q3: Why choose metal 3D printing as the charm?
Metals (such as aluminum, brass) offer unparalleled durability and luxury. Serve Great SLM technology realizes the complex and impossible design of traditional processing.
Q4: How to add color to resin charm?
Mix alcohol ink or mica powder into the resin preimpression. Post-printing, use translucent paint to dye the glass effect.
Question 5: What is the typical turnover of professional metal charm services?
Great Prototypes are provided within 3-5 days and batches are produced within 1-2 weeks, including completion.
Q6: Is 3D printing charm safe for sensitive skin?
Thoroughly remove irritants from the sand. For long-clad jewelry, use biocompatible resins or medical grade metals through professional services.
Question 7: Can I copy the existing charm?
Yes! 3D scan the object or recreate it in CAD. For trademark design, make sure to comply with intellectual property laws.
Fearless, iterate endlessly and remember – the right partner makes everything different when your vision needs unparalleled glory. 🌟


