Beat the Heat with Innovation: Your Complete DIY Guide to 3D Printed Swamp Cooler
Have you ever melted in the heat of summer but was afraid of the energy costs (and environment-in-video) of traditional air conditioners? Evaporation coolers (lovely known as swamp coolers) provide a clever, low-energy alternative – especially effective in hot, dry climates. They take advantage of the natural cooling capacity of evaporation, but commercial units can be clumsy or expensive. This is where the 3D printing steps come in! This guide enables you to build a custom, efficient and surprisingly quiet personal swamp cooler in a comfortable studio. With design flexibility, inherent lightness and inherent rapid iteration of additive manufacturing, you can create Perfect Cool space.
Science makes it easy: How your DIY swamp cooler works
Before diving into the construction, let us master elegant physics. The swamp cooler is pulled into the warm and dry air through a moisture-soaked cooling pad. As the air passes through these mats, the water evaporates, absorbing significant heat energy in the process. This phase change can greatly reduce the air temperature. Then, a powerful fan blows this newly cooled, humidified air into your space. This is the air conditioner of nature! The key is surface area exposure – maximizing contact between air and water.
Why 3D printing is the ideal partner for DIY cooling
- Custom: Custom sizes and shapes to fit your windows, tables, patio tables, and even off-grid cabins. Need a specific airflow mode? Design it.
- Lightweight and strong: Create complex internal baffles and optimized pipes to achieve efficient airflow without adding unnecessary volume.
- Rapid prototyping: Quickly and inexpensively test different fan positions, reservoir shapes or mat stand designs.
- Parts merge: The mounting points, hose connectors and electronic housing are integrated directly into the structural components, reducing assembly complexity.
- Accessibility: Without sophisticated mechanical or metal manufacturing techniques, advanced cooling technology can be achieved.
Design coolers: Key components and principles
Successful swamp coolers rely on integrating these core parts:
-
Housing and Air Path: The subject must:
- Direct air pass Wet pads, not around.
- Hold the fan safely.
- Size-stable and water resistant.
- Have effective intake and guided exhaust.
-
Reservoir: This accommodates water supply. Your 3D printed parts should:
- True watertight (critical!).
- Includes pump-mounted valves and float valves (if automated supplemented).
- Overflow is allowed.
-
Pad holder: These frames securely secure the evaporating medium (such as cellulose pads or artificial towels) and ensure moisture distribution on its surface.
- Designed to be easily removed/replaced.
- Includes slots or grids to maximize air contact.
- Seamless interface with water distribution system.
-
Water supply system:
- Pump: Low pressure submersible aquarium pumps provide reliable water. Model its installation dimensions. Consider pump placement and start-up requirements.
- Oil pipes and manifolds: Integrate the bared accessories into the printed parts to connect the pump output to the distribution manifold above the pad to ensure dripping.
- fan: Powerful DC axial fan or centrifugal blower moves air. Match its CFM (cubic feet per minute) rating to the size and pad area of your cooler. Design a safe installation of the tab or insert it into the case.
Material problem: Choose the right filament
Your filament selection is essential for durability and safety:
- For housing, pipes, brackets: use Petg or asa. They provide excellent layer adhesion, good impact, UV stability (near windows are crucial!), and moderate heat resistance. Abdominal muscles Works, but require good ventilation during printing and are more likely to warp.
- Used in reservoirs: Petg It is usually the best choice for watertight parts. Ensure thick walls (at least 3-4 surroundings, 30%+ filler) and print slowly with optimal settings to maximize layer bonding. The annular joints are better than the layer lines of the waterway.
- Avoid PLA: Over time, its heat resistance and tendency to bending/warping, especially in wet conditions, make it unsuitable for functional parts in this build. Save it on a prototype or aesthetic cover.
Optional focus: Precision and lifespan of advanced manufacturing
For users seeking the highest reliability, performance, or meeting specific challenges, certain components benefit greatly from professional manufacturing:
- Metal pump housing or bracket: If your submersible pump requires enhanced cooling or vibration isolation, a custom-designed friction-welded aluminum bracket provides unparalleled heat dissipation and rigidity – demanding applications require.
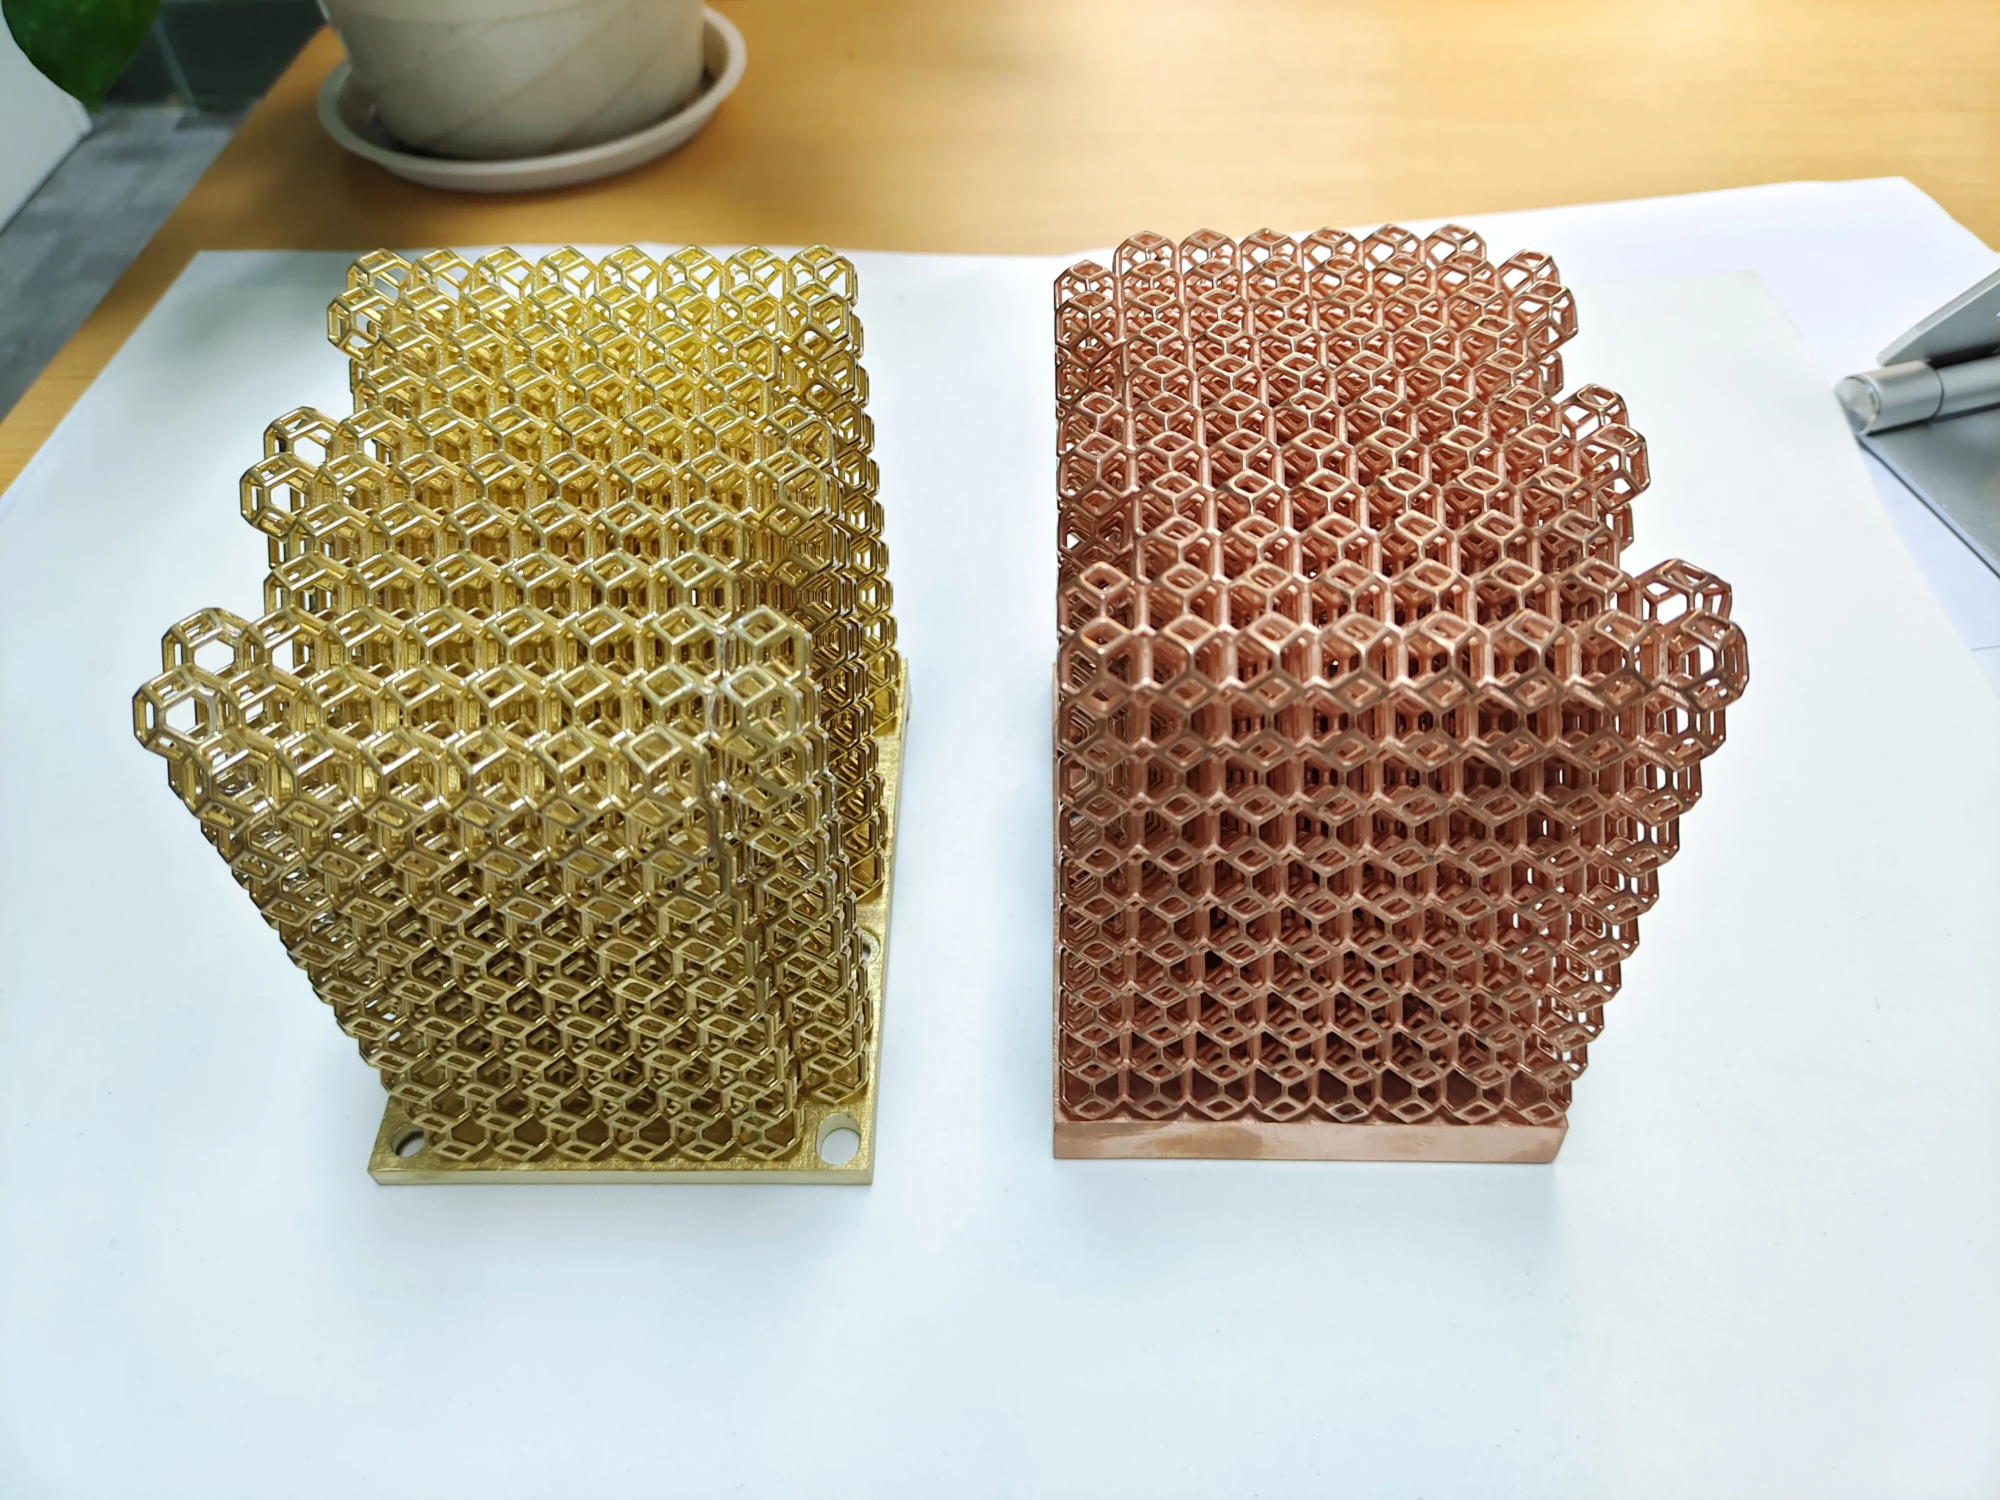
- Optimized flow manifold: SLM-printed metal manifolds enable complex internal geometry that accurately disperse the water flow and with minimal pressure loss, significantly improving the evaporation efficiency that FDM cannot achieve.
- Industrial strength mounts/pulleys/bearings: Projects integrated into off-grid settings (e.g., belt-driven pumps using kinetic energy) benefit from the dimensional accuracy and fatigue strength of certified mechanically processed or added metal components.
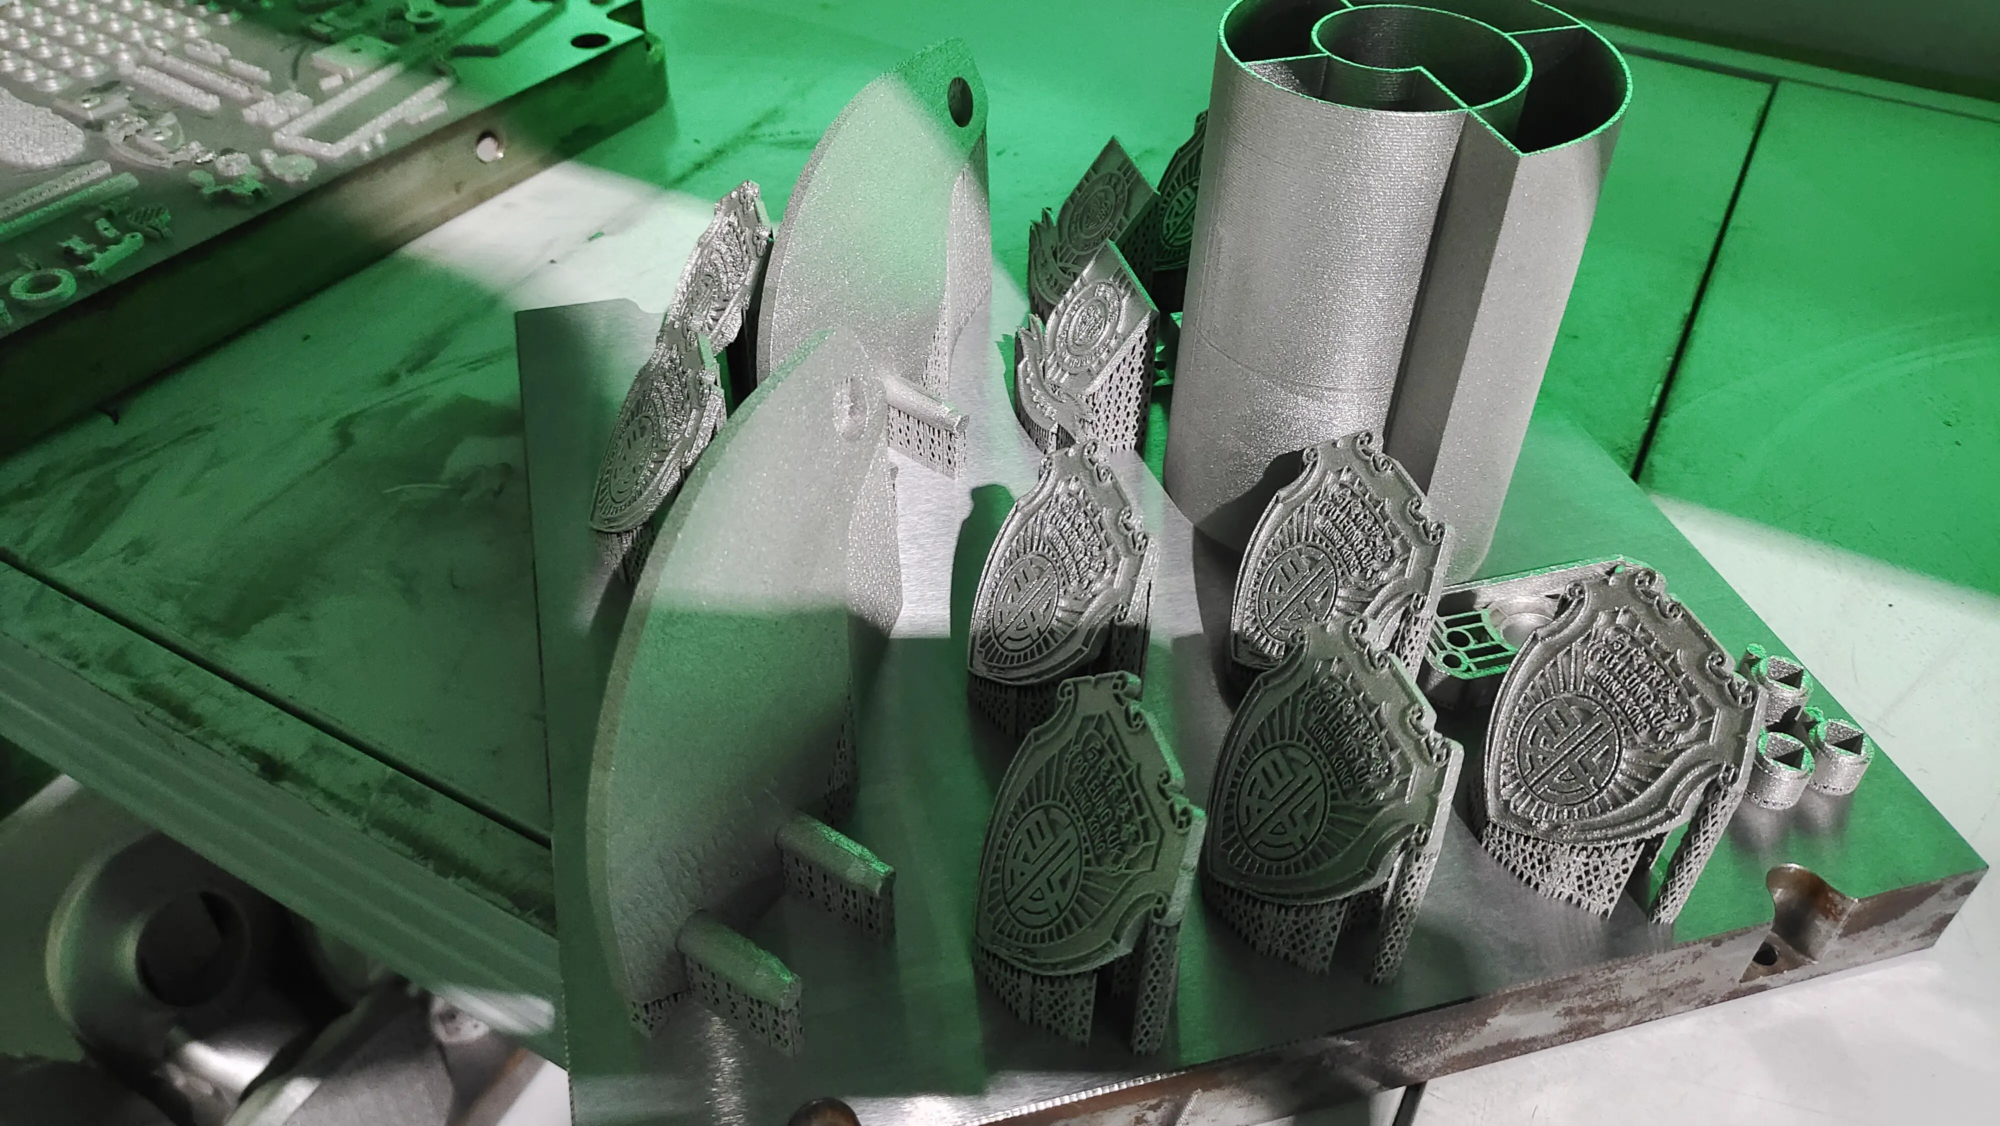
For challenging prototypes or production parts that require metal strength and thermal performance, collaboration with the expert rapid prototyping service at Greatlight (Greatlight) is changing. Their advanced SLM 3D printers, deep material science knowledge (stainless steel, aluminum alloy, titanium) and holistic approaches – across precise design optimization (processing, surface treatment, heat treatment) – solve complex engineering problems. They specialize in quickly turning complex designs into functionally durable metal parts, enabling innovators to push the boundaries of DIY projects or bring complex prototypes to market ready. From custom pump coupling to optimized heat dissipation fins within the airflow path, their capabilities take functional prototypes to professional-level solutions.
Build Guide: Step by Step Components
-
Strategic Printing:
- Key Components: Reservoir housing (ensure water density!), mat rack, fan cover/mounting seat, pump mounting seat, water distribution manifold, optional: float valve bracket.
- set up: It is recommended to use PETG filaments. Layer height: 0.2mm. 3-4 surroundings (> 1.2 mm wall). 30-40% fill (grid, capacity or cubic). Add top/bottom layer (4-6). Print the exterior wall slowly (30-40 mm/s) for optimal density and surface quality.
- Confirmed: Stress test reservoir! Fill the sink with stained water overnight to check for leaks.
- Completed (optional): Light sanding (220-400 sand particles) on critical mating surfaces ensures better sealing when needed. Avoid smoothing agent on ABS/ASA parts exposed to water unless certified food safety.
-
Prepare non-printed parts:
- Cut the cooling pad to fit perfectly into your holder (allowing slight compression).
- Assemble the oil pipe to pull out the socket and manifold inlet barbs.
- Connect the wires to the pump and fan (use the connector if needed).
- Get a power supply unit (PSU) that can drive the pump and fans (e.g. 12V> pump watt + fan watt). Add security fuses!
-
Assembling the water system:
- Use its dedicated printing mount and suitable rubber vibration isolator to securely mount the pump in the reservoir. Sealed connection if threaded.
- The routing tubes are from the pump socket to the distribution manifold located above the first pad.
- Install the manifold to ensure that the holes are evenly facing the surface of the pad. Briefly test the pump operation to ensure even crying.
- Install the automatic float valve assembly (including one assembly) and connect it to the secondary water source through a separate power hose/oil pipe.
-
Assembly gasket part:
- Slide the cut-fit evaporation pad into its holder.
- Place the mat holder assembly under the distribution manifold to ensure the mat intercepts its drip.
- Ensure the holder. Manually wet the pad before initial startup.
-
Assemble the fan and air path:
- Use a printed screw boss or silicone grommet to secure the fan to its designated shroud/shell to reduce noise/vibration.
- Position the fan module so that it pulls the air pass Saturate the pad and push it into the exhaust pipe or directly into your space. Seal the fan to the housing.
- Make sure the housing and duct form an airtight path from the pad outlet to the fan air inlet and then exhaust. Use weather tape or silicone fill on the seal.
- Final integration, wiring and testing:
- Integrated assembled reservoir/shield section and fan assembly. Pay close attention to the seal to prevent air from circumcising the mat.
- Connect the pump and fan to the PSU. Include an inline fuse holder near the PSU positive terminal. Using wire strain relief, the wire exits the housing.
- Fill the reservoir with clean, cool water (distillation is recommended if it is difficult to prevent mineral accumulation).
- come on! Insert into the PSU. The air should flow pass Cushion and outlet cool. Listen to smooth fan and pump operation. Measure the temperature difference between steam emission and calibration. Based on humidity and airflow, the expected temperature drop is 10-20°F (5-11°C).
Safety and maintenance: Keep cool and reliable
- Water and electricity: Connect all wiring away from water. Avoid wet environments unless appropriate outdoor rated components/IP seals are used. Ensure to protect the PSU from splashes/spills.
- position: Always run on a stable horizontal surface. Prevent reservoir overflow – especially when replenishing automatically.
- Water quality: Use cold or cold water. Change the water at least weekly to prevent stagnation and mucus buildup. Occasionally add a tablespoon of bleach or hydrogen peroxide (avoid pads!) to inhibit the growth of microorganisms. Clean the monthly clean reservoir. Beware of the biological beauty that needs to be avoided.
- Pad care: Rinse the mat weekly to remove mineral buildup. Replace each year or when there are a lot of clogging/degradation.
- General: Regular dust intake area. Check that all seals and pipe connections are leaking over time. Keep pets away from exposed moving or hot parts.
Conclusion: Build an oasis
Create a 3D printed swamp cooler that’s not just about avoiding heat; it’s a triumph of modern DIY creativity. It demonstrates how accessible technology enables us to effectively and sustainably solve everyday problems. By leveraging CAD design and 3D printing, you can control the size, performance and aesthetics of your personal cooling solutions. Whether you are building compact table models or building larger units for a greenhouse, you can satisfy your own hands using physics to create tangible reliefs.
Although FDM printing enables core functional capabilities, pushing performance boundaries often involves integrating components that require metal accuracy and durability. This is what rapid prototyping experts like Great Become a valuable ally. With industry-leading SLM metal 3D printing, advanced CNC capabilities, and deep expertise in numerous alloys, they can transform ambitious concept designs – from complex conductive ducts and lightweight turbine rods to structural brackets in challenging thermal environments – to robust reality. Their commitment covers the digital transformation of design workflows, ensuring your complex cooling solutions meet stringent functional requirements and lifespan through post-processing excellence.
So turn on the printer, unleash your CAD skills and be ready to enjoy an affordable, efficient and unique your Summer comfort!
FAQ: Your 3D printed swamp cooler question has been answered
Q: Is it really cheaper than buying one?
one: Suitable for comparable sizes/performance? Usually it is! Your main expense is unprinted parts (fans, pumps, mats, PSUs), which usually totals $40-$70 if purchased wisely. Compared to retail marks, thin filaments are cheaper. Customize and "I did it myself" Factors are priceless.
Q: What is the biggest challenge?
one: Really implemented Watertight reservoir Printed on an FDM machine. Careful design (thick walls, minimal seam lines perpendicular to the water path, rounded corners) and perfect PETG printing are key. Never skip the leak test! Professional SLS or resin printing provides an alternative, but with increased costs.
Q: How much cooling capacity can I expect?
one: Temperature drops are expected 10°F to 20°F (5°C to 11°C) At the cooler outlet Compared with inlet air. Actual cooling felt depends largely on the room size, ventilation and Ambient humidity. The swamp cooler is most effective in dry climates (RH <50%). The efficiency of high humidity decreases.
Q: What kind of power supply do I need?
one: A suitable desktop 12V DC power supply Is ideal. Calculate its required rating: Add the consumption of the pump and fan (watts) and then add 10-20% of the overhead. For example: Pump (5W) + Fan (20W) = 25W minimum. At least 3 Amps (12V * 3A = 36W) 12V power supply is enough. Look for standard DC bucket plug types.
Q: Do you have any health issues with the swamp cooler?
one: Proper maintenance is crucial! Stagnant water breeds bacteria, fungi and protozoa (such as Legionella). Always clean/disinfect the reservoir seasonally and regularly to prevent biosolates that may cause respiratory illness. Avoid the units that produce ozone atoms.
Q: My FDM printer cannot make large parts. Can I build one more?
one: Yes! The cooler will naturally fit into a modular design. Divide the shell into printable parts, such as a puzzle, and then assemble mechanically (screws + sealant). Smaller spot cooling forms (for example, on tables) are also very effective.
Q: Can the whole room be cooled?
one: Most DIY units that use desktop fans are great Personal/onsite cooler For small, ventilated rooms, but struggle with spacious sealed spaces. Commercial units use a large number of larger pumps and powerful blower fans (sometimes via belt drive and advanced bearings) for open floor layouts. Utilize expert manufacturers to achieve industrial-grade airflow through dedicated prototyping and building-scale solutions.


