Magic Comes to Life: Your Ultimate Guide to 3D Printing Howl
Studio Ghibli howling castle It has captivated audiences for decades, blending steampunk aesthetics with heartfelt storytelling. For makers and fans alike, recreating the iconic walking castle is not just a project, but a pilgrimage. But turning this fantasy into a tangible masterpiece requires precision, patience and the right tools. This guide will take you through every step from digital design to finished touch, while discovering why working with a professional rapid prototyping service great Can elevate your build from ambitious DIY to gallery-worthy art.
Why choose Howl’s Castle for 3D printing?
The castle’s intricate design – with layers of crumbling towers, mechanical legs and spinning gears – made it an ideal challenge for 3D printing. Unlike factory-built kits, printing it yourself allows for unparalleled customization: resize parts, modify details, and even engineer removable elements such as rotating gears or walking mechanisms. Plus, with materials ranging from bright polymers to industrial metals, you can match the whimsy or ruggedness of your castle.
Step-by-step DIY guide
1. design model
Successful building starts with a solid digital blueprint. If you’re modeling from scratch (using Blender or Fusion 360), please refer to concept art and film stills. Focus on:
- Modularity: Divide the castle into printable parts (e.g. legs, body, turret).
- Feature details: Integrated hinges for doors or axles for moving parts.
- optimization: Avoid overhangs > 45° to reduce support; keep wall thickness > 1.5mm for stability.
shortcut? Platforms like Thingiverse and Cults 3D offer pre-made models for 3D printing. Adjust the zoom scale to fit the printer’s bed size.
2. Material and printer selection
- Filament printing (PLA/PETG): Affordable for amateurs. Use PLA for crisp details or PETG for flexibility (ideal for thin gear).
- Resin printing (SLA/DLP): Best for ultra-fine textures (e.g. brickwork, window frames).
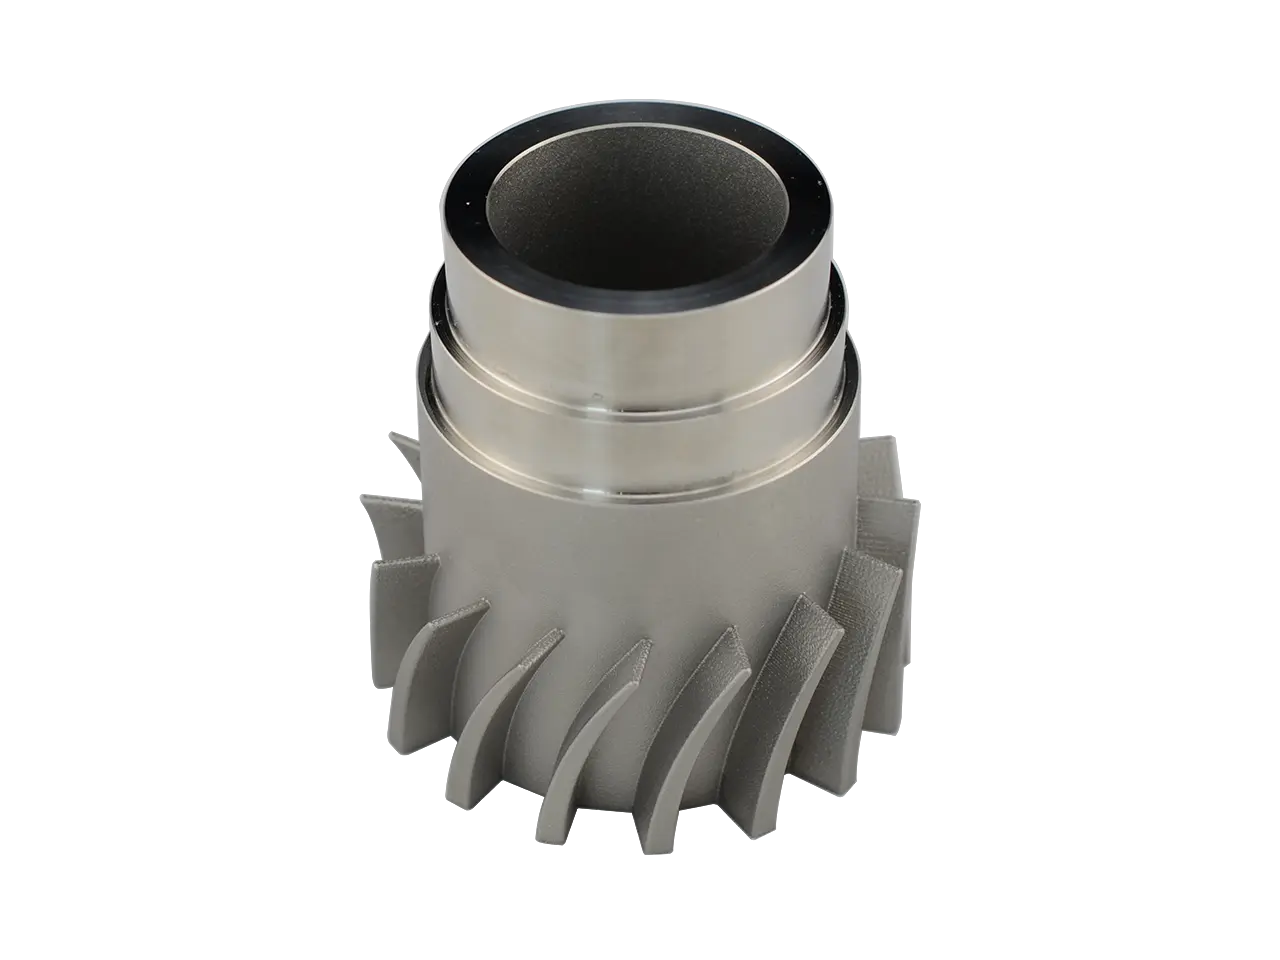
- Metal Printing (SLM): Durable version for display. Aluminum mimics the castle’s industrial look, while stainless steel adds weight. This is where Greatlight excels – industrial SLM printers handle the complex geometries that desktop machines struggle with.
3. Slice settings
- Floor height: 0.1-0.2mm of detail; faster draft speed of 0.3mm.
- support: Tree support minimizes scarring on resin prints; Zigzag provides great support for FDM.
- filling: Non-structural parts are 15-20%; legs/bottom are 30-50%.
hint: Use variable layer heights (for example, finer layers for sculptural decoration, thicker layers for solid walls) to save time.
4. Printing and troubleshooting
- Monitor the first layer: The twisted base breaks the multi-part assembly. Use a heated bed (PLA ±60°C) and adhesive (glue stick or hairspray).
- Management failed: If the legs collapse midway, add padding or add internal support.
Don’t have a printer? Greatlight’s online citation tool lets you upload models for instant pricing. Their SLM printer reduces the risk of distortion by 70%, while the house setup has a tolerance of ±0.02mm.
5. Post-processing and assembly
- Cleanup: Remove supports with a flush cutter; sand joints starting with 120 grit. For resin prints, an isopropyl alcohol bath is essential.
- assembly: Use Ca glue as an epoxy for plastic or metal. Pin joint with brass rod for movable part.
- finishing: Prime, then work with acrylics. Add a weathering effect (for example, dry brushing rust) for realism.
Outsourcing troubles: Available in sand blue, powder coating and CNC smoothing, Greatlight transforms rough prints into exhibition-ready pieces.
Why work with professional services?
While DIY construction makes sense, Howl’s Castle tests the limits of consumer printers. Its size and complexity often results in:
- Material waste: Print failure due to warping or layer movement.
- Time sinks: Hundreds of hours spent printing + labor intensive cleanup.
- Compromise on details: Desktop printers feature <0.5mm.
greatrapid prototyping leaders address these pitfalls:
- SLM metal printing: Craft lightweight yet strong aluminum or titanium parts for gears, joints and load-bearing structures.
- One-stop post-processing: From stress-relieving heat treatments to reflective polishes.
- Speed and scale: Print the castle parts simultaneously on industrial machines, reducing production time by 60%.
For creators who prioritize durability (for example, functional foliage or commissions), metal printing ensures longevity and premium aesthetics.
in conclusion
3D printed Howl’s Moving Castle blends nostalgia with cutting-edge technology. Whether you’re a hobbyist iterating on a desktop printer or a designer commissioning a metal masterpiece, this project celebrates craftsmanship. For those who are perfect without compromise, great Delivered: Industrial-grade SLM printer, 50+ material options and post-processing expertise. Ready to defy gravity? Start your journey – upload your design [GreatLight’s platform] Get a quick quote and own a piece of animation history.
FAQ
Question 1: Can I print Howl’s Castle on a budget FDM printer?
Yes! Divide the model into sections under 15 cm. Use Matte PLA to hide layer lines and minimize sanding. However, the print time is expected to be 80-150 hours, and detail on small elements such as gears is limited.
Q2: What is the best material "screen accurate" castle?
Resin captures textures best suited for micro scale (±20cm). For life-size props, Greatlight’s aluminum balances weight, strength and workability.
Q3: How much does metal printing cost?
Palm sized castle sections cost around $50 to $150, aluminum on aluminum (based on quantity/complexity). Prices for a full castle range from $600-$2,000 – cheaper than resin due to bulk efficiency.
Q4: How do I design moving parts like legs?
Interlocking joint model with gap clearance (0.2-0.5mm). For metal prints, Greatlight’s SLM handled complex mechanisms such as piston joints without assembly.
Q5: Can Greglight improve my crude oil STL files?
Yes. Their engineers can repurpose watertight models, add thickness for thin walls or optimize support structures, often at <10% of project expense.
Question 6: How long does professional printing take?
Usually 3-7 days including completion. Rush Services delivers SLA parts within 48 hours.
Question 7: What design pitfalls should be avoided?
- Unsupported bridges >10mm will sag.
- Metal prints on walls <1mm thick risk snapping.
- Always include multiple partially aligned registration markers.
Q8: Can I get it painted?
Greatlight offers color anodized sources for use on metal or primed surfaces after preparation for post-painting assembly.
Start designing → [Link to GreatLight] |Get a quote→ [Link to Quote Tool] |Browse gallery→ [Portfolio Link]


