Unlocking Perfect Prints: Mastering Flow Rate Calibration in 3D Printing
Achieving consistent, high-quality 3D printing is like striving for perfection. You adjust the temperature, level the bed, and optimize support, but the flaws remain: gaps between layers, patchy surfaces, weak bonding between layers, or inaccurate dimensions. Often the culprit is hidden in your slicing settings: flow. Ignoring this critical calibration undermines all other efforts. Understanding and optimizing extruder flow can transform good prints into superior prints with dimensional accuracy and surface integrity.
What is flow and why is it important?
traffic (or "Extrusion multiple")control volume of filament crossing your hot end every second. Think of it as the fuel injection system of a 3D printer. Too much filament (over-extrusion) can lead to elephant feet, messy surfaces, leaks, and clogged nozzles. Too little (not enough extrusion) and the layers will separate, corners will warp, strength will drop dramatically, and fill gaps will appear. The perfect flow rate ensures each layer bonds seamlessly, the wall conforms to its precise thickness, and details remain crisp.
The Science Behind Accuracy: Why Guessing Fails
Even within colors or batches of the same material brand, filament properties can vary widely. Factors affecting traffic include:
- Thermal expansion: The expansion of polymer melts varies with temperature.
- Shear thinning: Molten plastic flows under pressure and is less viscous, dynamically affecting the extrusion volume.
- Nozzle wear: Over time, worn nozzle holes will extrude inconsistently.
The default settings of dependent slicers ignore these variables. Calibration translates theoretical settings into real-world physics.
Calibrating Flow: A Step-by-Step Guide
Tools needed: digital calipers (accurate to 0.01 mm), fine ruler, permanent marker, filament and printer.
Method 1: Single-wall calibration cube (quick and practical)
- Print: Slice and print a hollow cube (20mm x 20mm x 20mm), 0% infill, zero top/bottom layers, 1 perimeter wall (line width = nozzle diameter), 2-3 skirt lines. Use your typical floor heights.
- measure: After cooling, use a caliper to measure the thickness of each wall at multiple points. Discard the first layer. Calculate the average thickness.
-
calculate: Target thickness = line width setting (eg 0.4mm). Measured average thickness = M.
Correction coefficient = target thickness/measured thickness
New flow rate (%) = current flow rate (%) * correction factor(Example: Target=0.4mm, Measurement=0.38mm. Coefficient=0.4/0.38 ≈ 1.05. If old flow=95%, then new flow=95 1.05 ≈ 100%).*
- Apply: renew "flow" Set up the slicer accordingly. Retest and fine-tune if necessary.
Method 2: Solid Cube linearity verification in advance
- Print: Cut a solid cube (30mm x 30mm x 30mm) with 100% infill and a concentric top/bottom pattern.
- observe: Look closely at the top layer (the knurled pattern).
- Concentric top layers should be consistent: Check for uniformity, especially around corners. Artifacts indicate inconsistent squeeze pressure and require firmware adjustments.
Pro tips for getting reliable results
- Filament specific calibration: Do this individually for each new filament spool or material type (especially flexible materials).
- Temperature consistency: Calibration flow back Find the optimal temperature of the filament.
- Slicer settings: make sure "flow" or "extrusion multiplier" are confusingly equivalent names.
- Beware of compound variables: Fix bed leveling and extrusion clarity before flow calibration testing.
When DIY calibration isn’t enough: Use professional precision
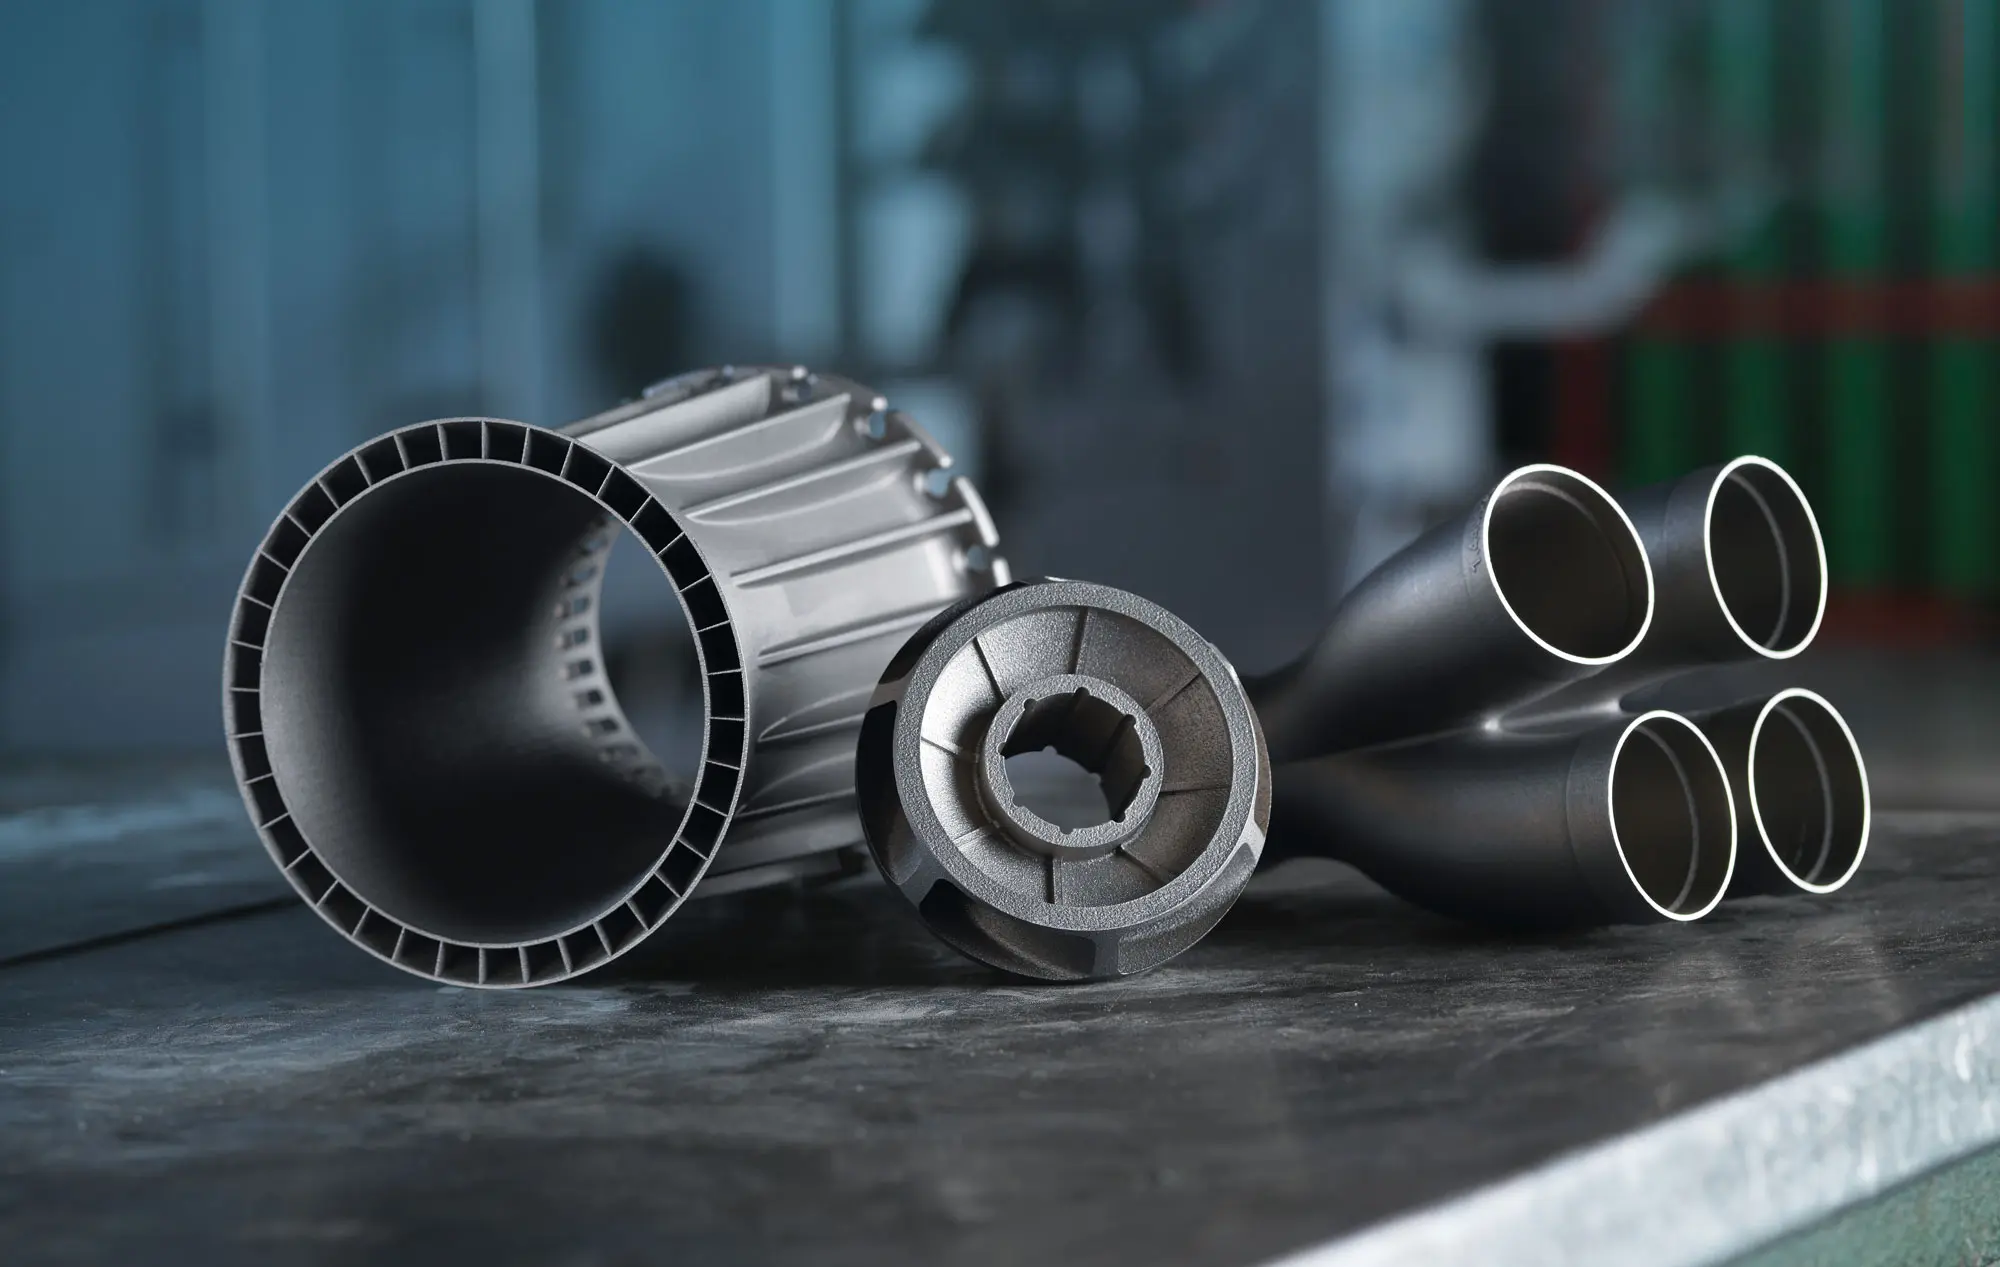
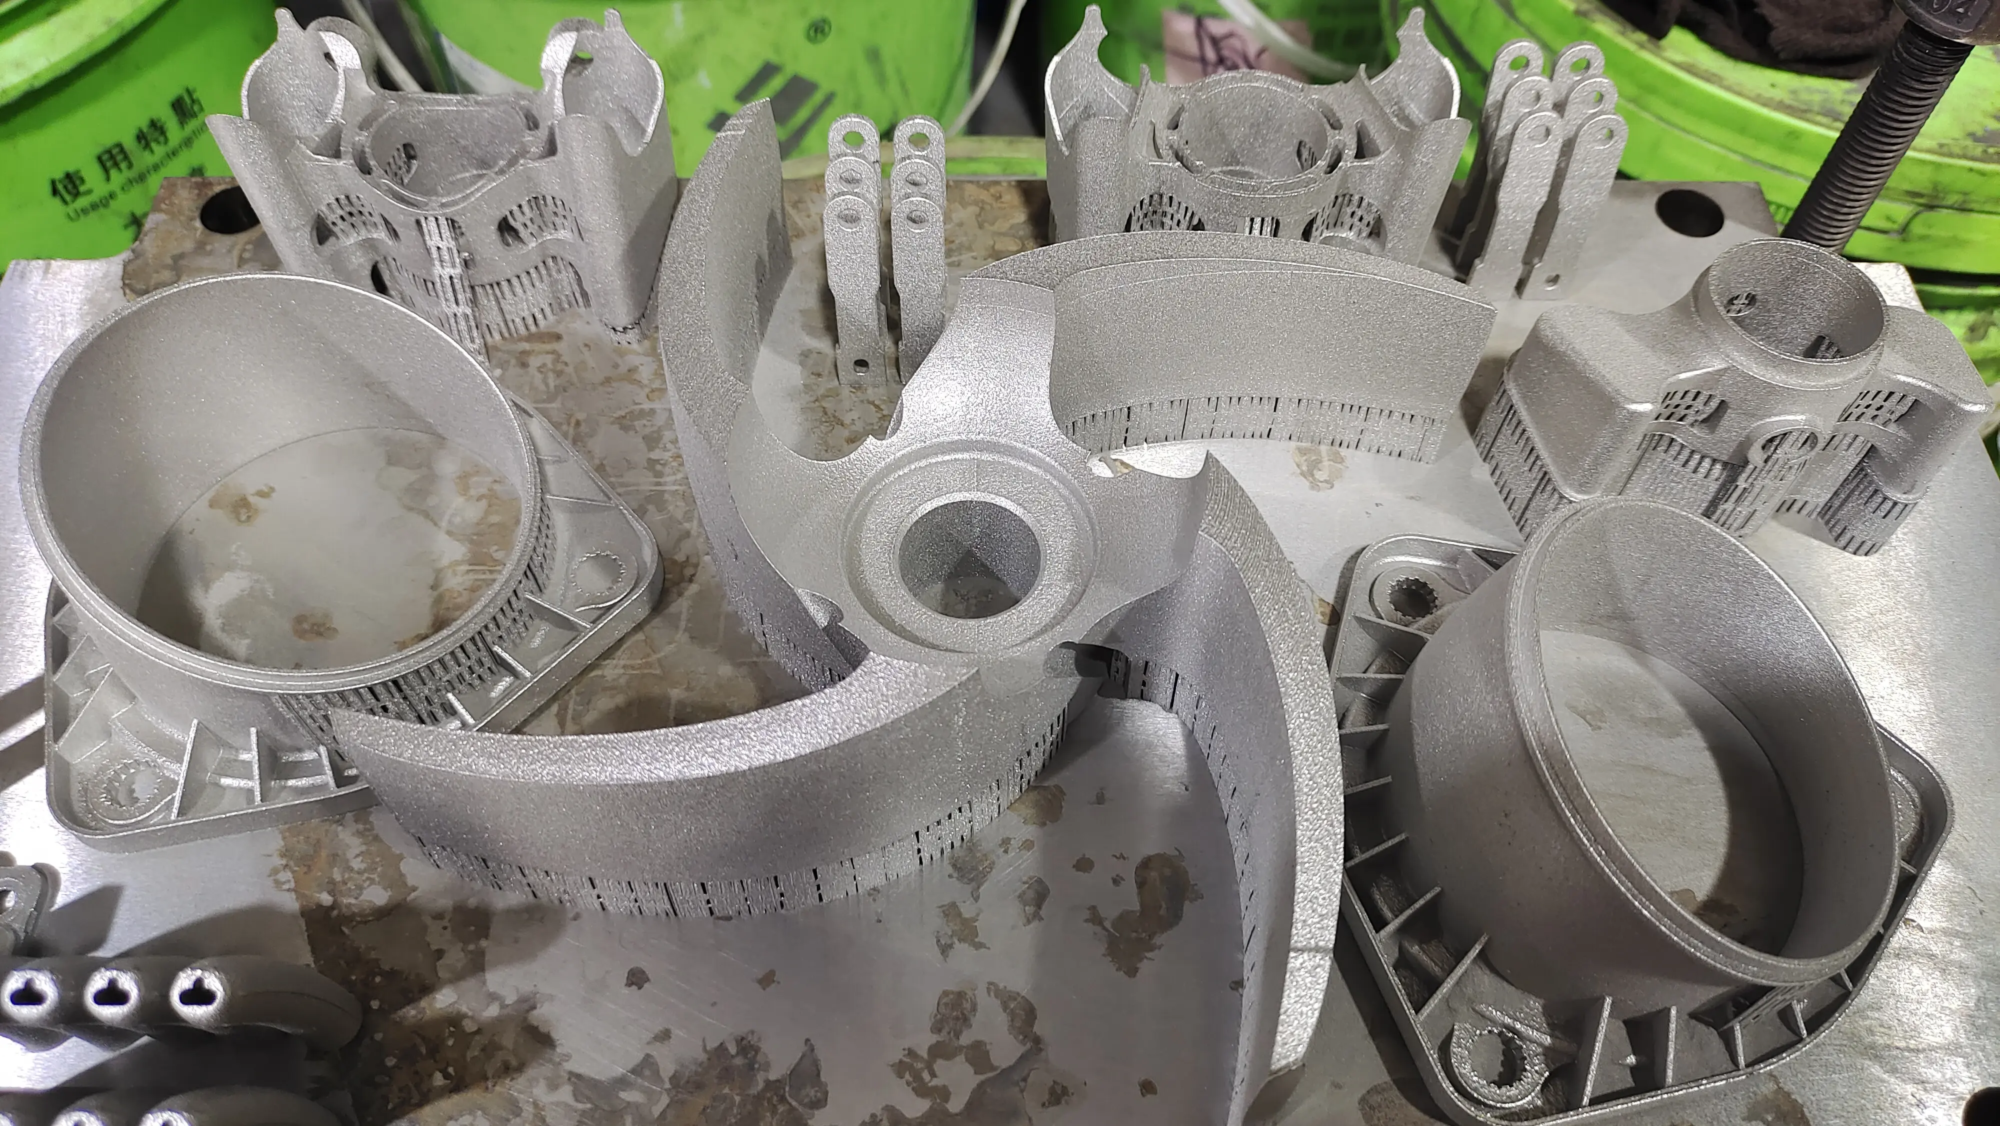
While careful adjustments can produce great results at home, industrial applications require zero error margins, especially metals like titanium, stainless steel or Inconel used in aerospace, medical or automotive prototyping. Maintaining nanosecond accuracy in temperature feedback instruments or large-scale calibrations requires specialized equipment beyond hobbyist machines.
This is the advantage of GreatLight. as a


