Floating Shelves Reimagined: The Ultimate Guide to 3D Printing Custom Solutions
Floating shelves are the epitome of modern minimalism, offering clean lines and uncluttered storage space. But what if you need something truly custom? Unique shape, unusual size, or extraordinary strength? Enter 3D printing. This transformative technology enables you to design and manufacture floating shelves that perfectly fit your vision and space, transcending off-the-shelf limitations. This guide delves into the entire process from design to installation, proving why 3D printing is the future of custom shelving.
Why 3D print floating shelves?
Traditional shelves have fixed dimensions and materials. 3D printing offers unprecedented advantages:
- Customized to perfection: Design shelves to fill awkward niches, curve corners, match specific dimensions or feature complex patterns not possible with traditional woodworking or injection molding. Your imagination sets the limits.
- Comprehensive features: Embed hidden cable management channels, mount LED lights into the structure, or design custom brackets that are part of the aesthetic rather than hidden. Design is holistic.
- Iterate quickly: Need a prototype to test fit or strength? Printed out overnight. Improvements are significantly faster and less expensive than remanufacturing standard parts.
- Material Versatility: Choose from a wide range of polymers with properties suitable for different needs (appearance, weight, strength, heat resistance) and even explore strong metals (more on that below).
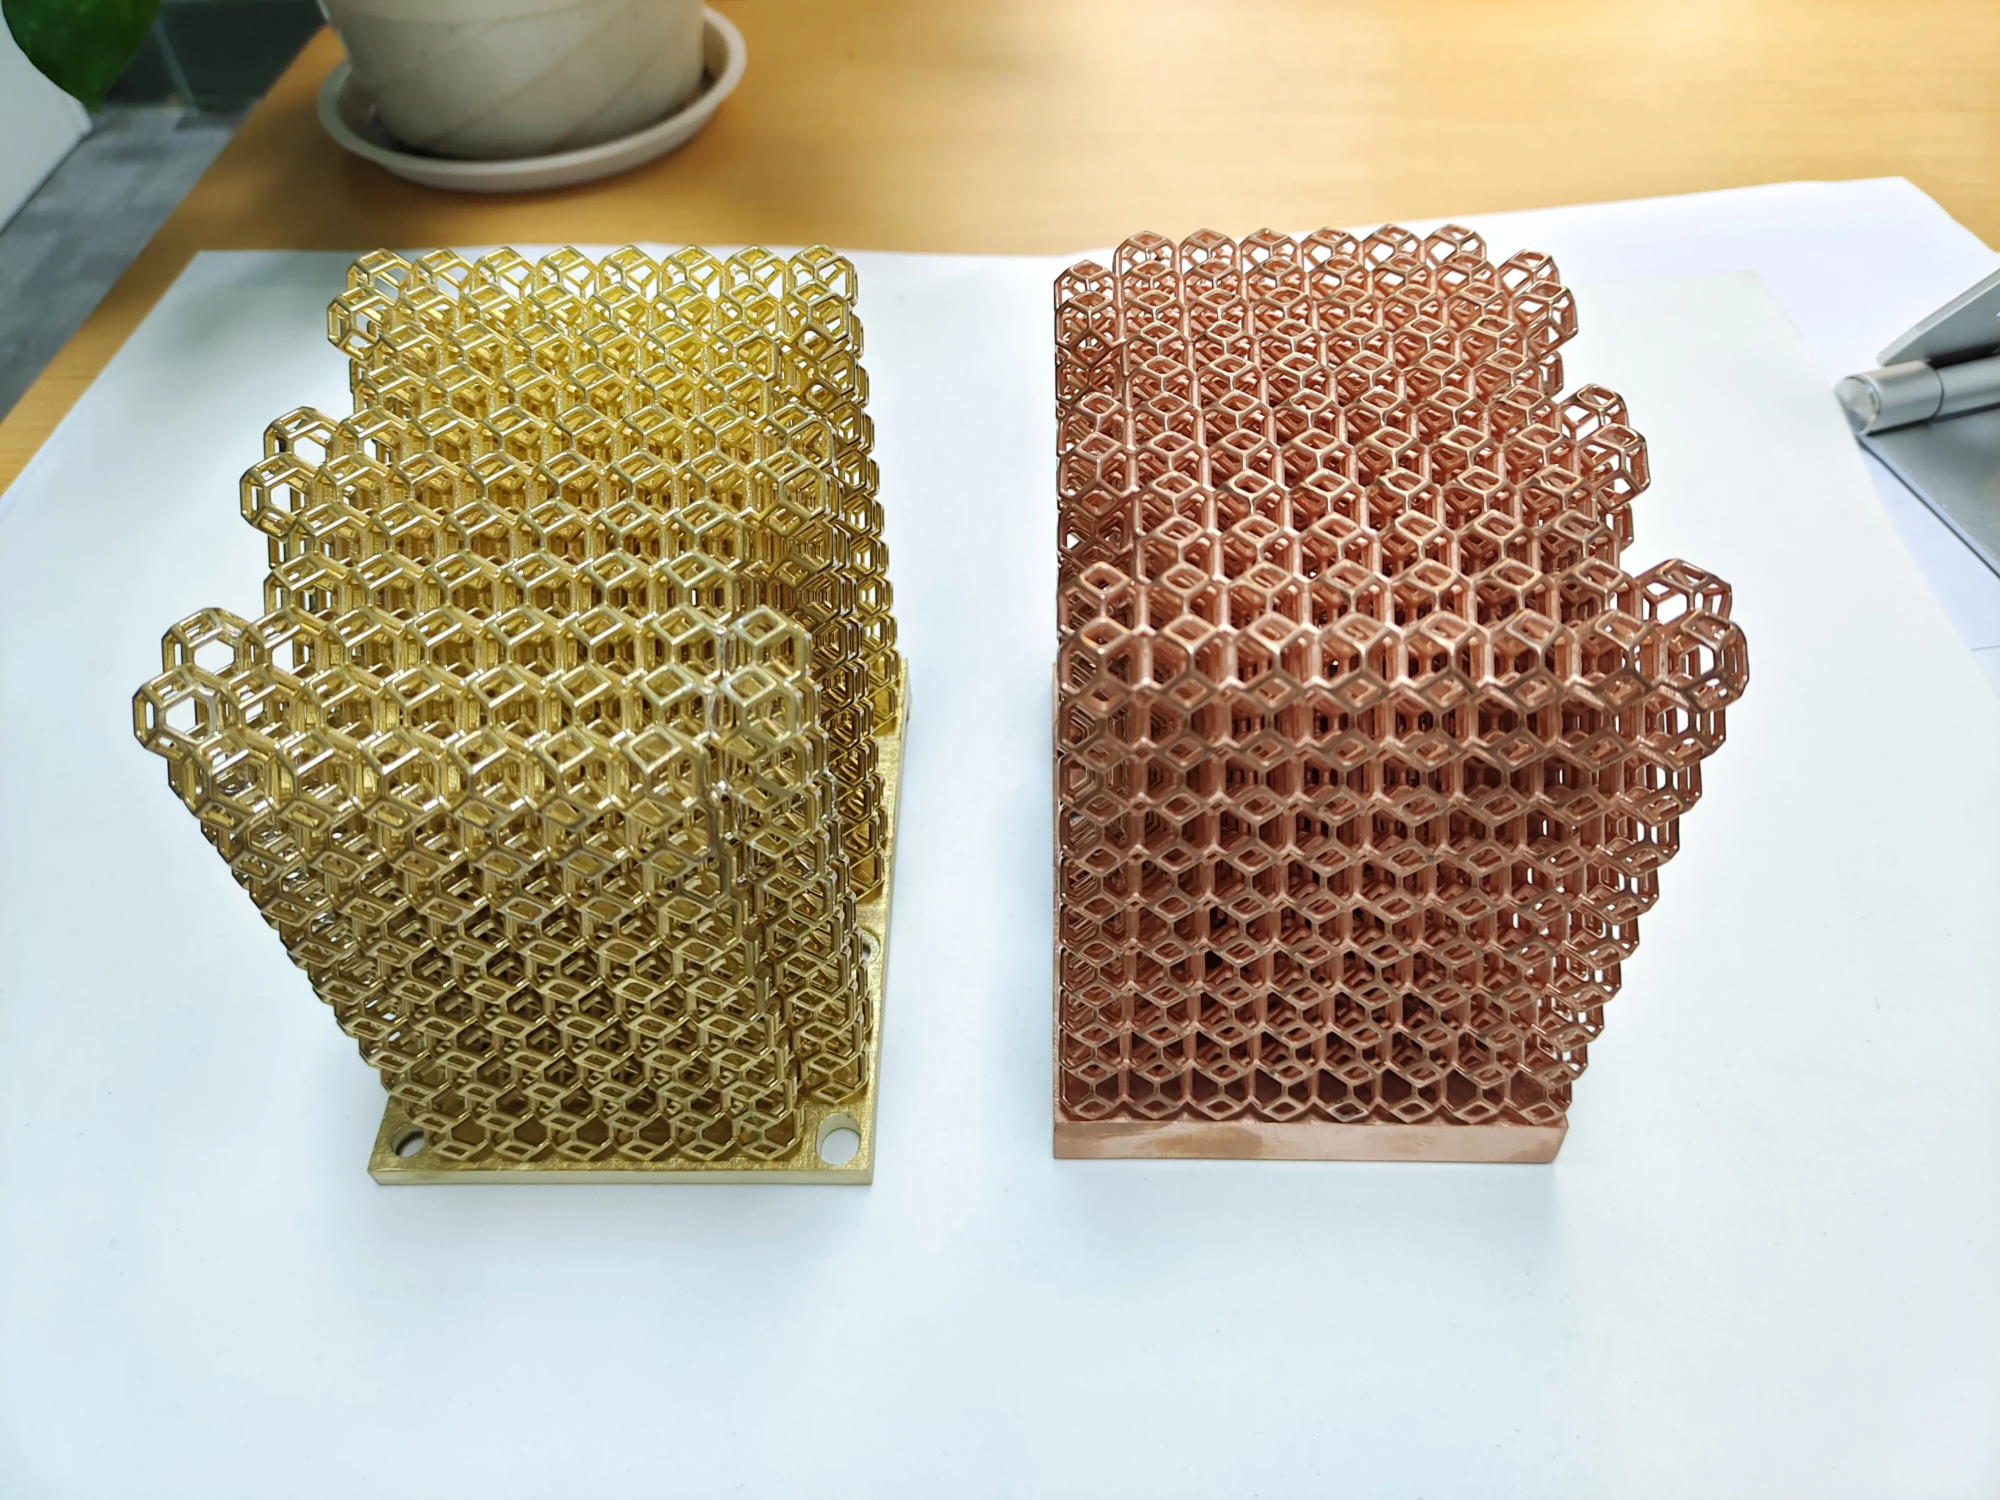
- Lightweight and strong: Optimized internal structures, such as lattice or honeycomb, maximize the strength-to-weight ratio and reduce stress on the wall while maintaining strength. This is especially valuable for metal shelves.
- Sustainability: Print only the material you need, reducing waste. Use recycled filament or sustainable powder materials wherever possible.
Key design considerations: More than just flat surfaces
Designing a functional and safe floating shelf requires careful planning:
- Load requirements: This is the most important thing! Calculate expected loads (books, plants, electronics). This directly determines:
- Wall Anchors: The rating must be significantly higher than the combination rack + maximum load weight.
- Bracket design: It should be the strongest component. Overdesign this part. Consider dividing the scaffold into multiple parts for easier printing and strength optimization (e.g., layers parallel to the load force).
- Install the system: Choose your method:
- Rear installation: Integrate a sturdy back panel into a shelf design that fastens to multiple wall points. Concealed grooved fasteners.
- Rod installation: Deep reinforced sleeves are designed into the shelves and slide onto horizontal metal rods fixed to the wall.
- French plywood: A sturdy cleat profile is integrated into the back of the shelf, locking to a matching wall-mounted cleat.
- Shelf dimensions and geometry: Consider the wall structure for anchor points. Make sure the design takes into account the irregularities of the wall. Add a subtle draft angle to any near-vertical face to make it easier to print and demold when needed.
- Thickness and padding: Shell/perimeter thickness determines edge stiffness. Packing density and pattern (straight lines, spirals) affect weight, strength and torsional stiffness (resistance to torsion). Higher loads require higher fill levels (usually 30-50%+ for PLA/PETG, for stronger metals lower fill levels are sufficient).
- Filing and chamfering: Add internal fillets at bracket connections to prevent stress concentration points. Exterior chamfers provide a professional finish and reduce the chance of first layer lifting.
Material Selection: Matching Properties to Purpose
The right materials determine aesthetics, durability and load capacity:
- PLA (polylactic acid): Easy to print, affordable, sturdy, and available in a variety of colors/textures. very suitable Lightweight A shelf for displaying decorative items. Prone to creep (sag) under constant load and break down/soften in hot environments.
- PETG (polyethylene terephthalate): A major improvement. Excellent layer adhesion, impact resistance, good UV stability and excellent temperature resistance compared to PLA. Good chemical resistance. very suitable medium size Bathroom or kitchen shelves. Reduce the risk of creep.
- ABS (acrylonitrile butadiene styrene): Strong, durable, impact resistant, and able to withstand higher temperatures. very suitable medium size app. Due to the tendency to warp, a heated bed and housing are required for reliable printing. Smoke is emitted during the printing process.
- ASA (Acrylonitrile Styrene Acrylate): usually called "Outdoor ABS." Compared with ABS, it has excellent UV resistance, weather resistance and thermal stability. Excellent choice medium size Shelves for sunny or outdoor spaces.
- Carbon fiber reinforced composite materials (such as CF-Nylon, CF-PETG): Significantly harder, stronger and more dimensionally stable than the base polymer. Highly resistant to deformation and bending (Creep resistance) is very suitable for heavy burden Full-featured shelves that can hold a lot of weight. Has abrasive effect on the hot end.
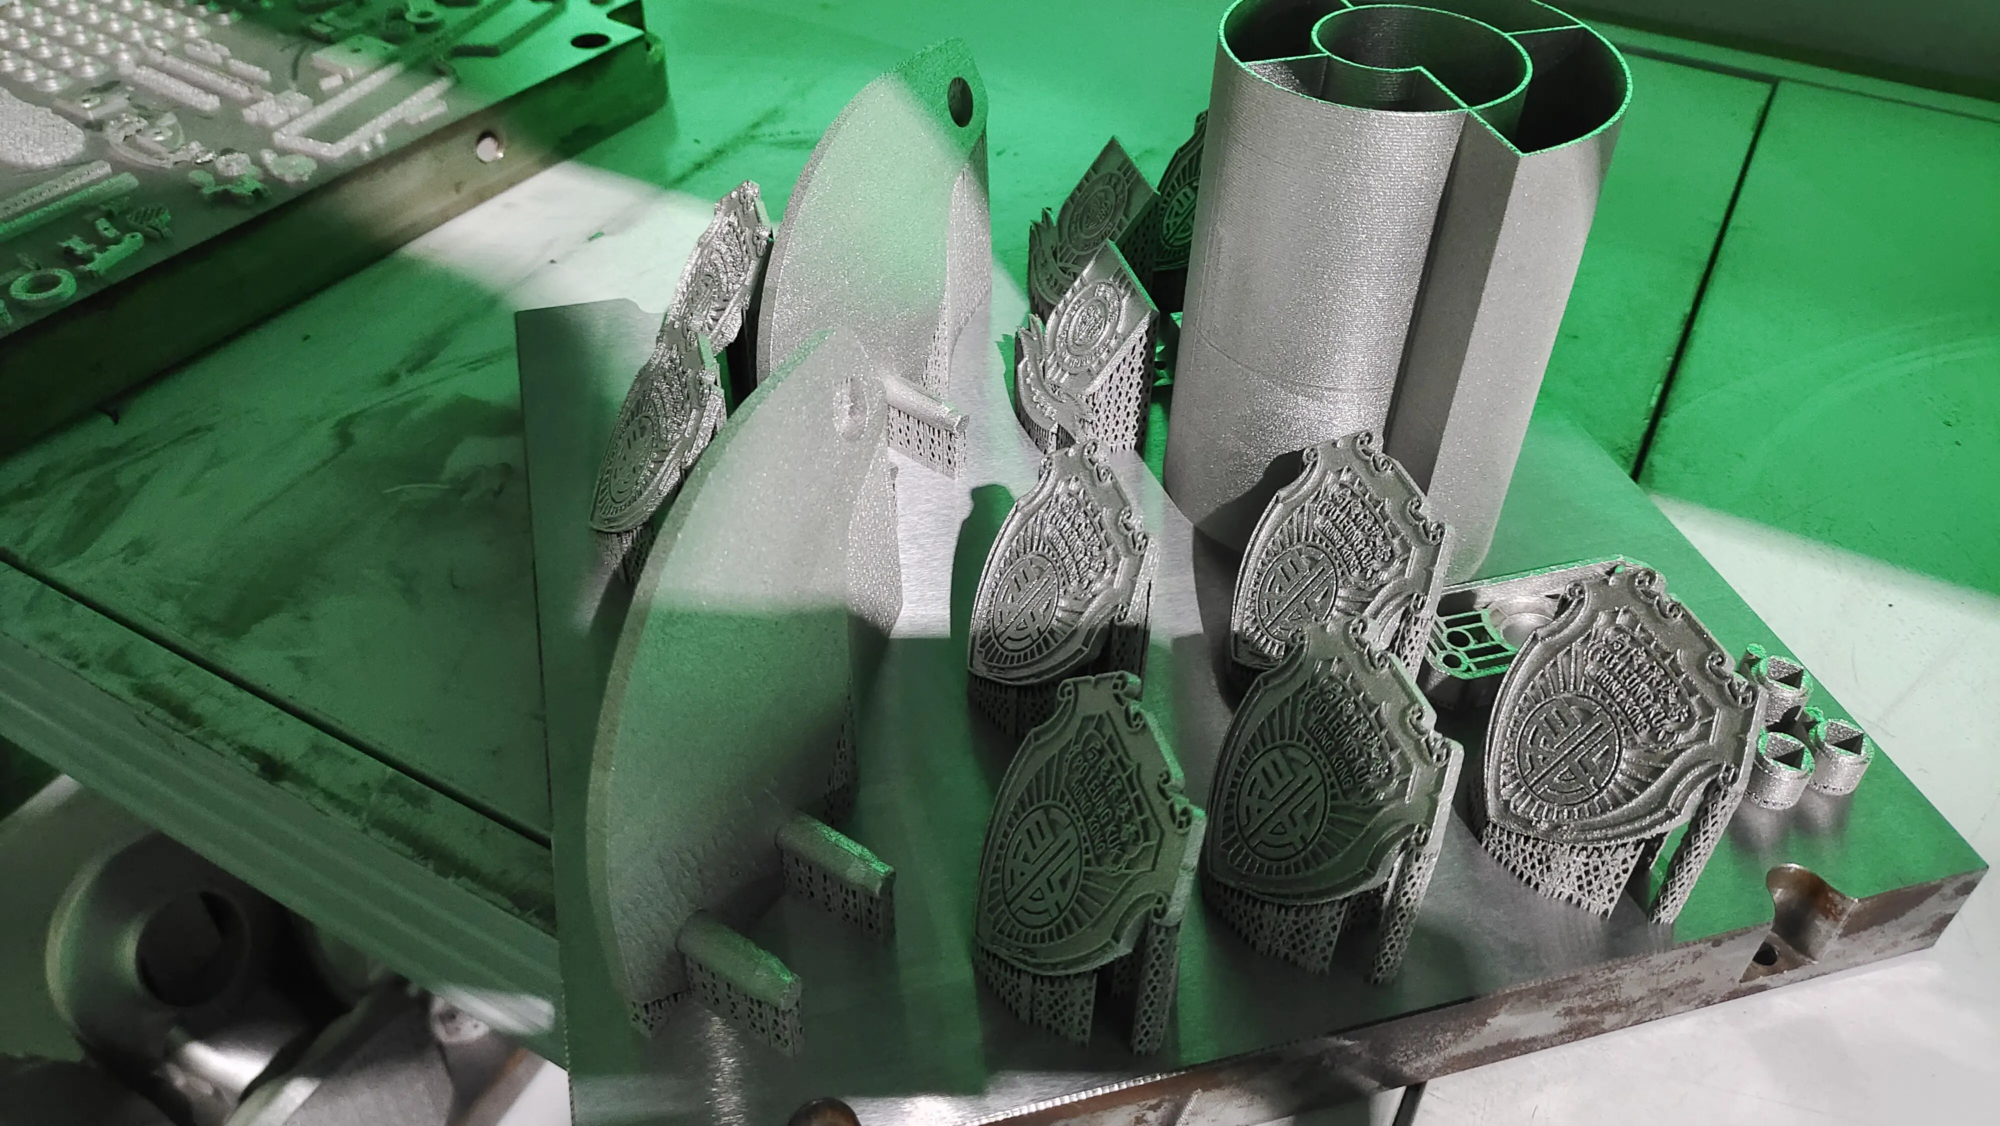
- Metals (Steel, Aluminum, Titanium): Ultimate strength, stiffness, heat resistance and longevity. absolutely necessary Industrial, high load or extreme environments Shelving (e.g. garage, workshop). Professional Grade Selective Laser Melting (SLM) Equipment required. (This is the advantage of GreatLight – see below).
The 3D printing process: from file to physical bookshelf
- Design and Slicing: Use CAD software (Fusion 360, Tinkercad, SolidWorks) to design racking and integrated racking systems. Export watertight model (
.STLor.3MF). Import the slicing software (PrusaSlicer, Cura). Carefully configure slicing parameters:- Floor height: Lower height = better quality, but longer print time. (e.g., 0.2 mm).
- Number of walls/perimeter: 3-5 girths significantly increases shell strength.
- filling: Density (30%-50%+ for plastic, depending on load) and pattern (Gyroid generally provides a good strength/weight balance).
- support: Critical to pendant support features. Removal is easier with a tree or organic support.
- direction: Print the brackets flat to maximize layer adhesion along critical load paths. Print the frame upside down to hide the support marks on the visible sides. Adhesion is key!
- speed: Slower speeds generally produce better layer adhesion and precision, which is critical to strength.
- print: Ensure a level bed, clean surface, and correct first layer extrusion. Use ABS/ASA/Nylon shell. Monitor your printing.
- Post-processing:
- move: Carefully detach the print from the build platform and remove the supports.
- clean: Clean support residue and filament booger.
- Polishing: The surface is smoother. Start with coarse-grained and gradually move to fine-grained. Suitable for PLA, PETG, ABS and other materials. Wear a mask.
- filling: If aesthetically required, use wood filler or epoxy (such as XTC-3D) to layer the lines, then sand again.
- finishing:
- plastic: Prime and paint. Solvent smoothing for ABS/ASA/Acetone (in a well ventilated area with PPE!).
- Metal: Professional finishes may require options such as tumbled, sanded, polished, sandblasted or electroplated. This is a significant advantage of professional metal printing services. GreatLight provides comprehensive post-processing to ensure metal racks meet functional and aesthetic requirements.
- examine: Check for layer adhesion, warping, or voids that could compromise integrity, especially in the stent area. Perform a light pressure test before installing heavy objects.
Install like a pro: safety first!
- Find studs: Use a high quality stud finder. Studs (wood or metal framing) provide reliable anchoring points. Installation into drywall/stucco only requires extremely high rated anchors.
- Plan anchor: Use a level to mark the exact bracket location points on the wall. Accurately transfer marks. All weight is transferred through these anchors. This step is non-negotiable.
- Pre-walkthrough: Drill pilot holes slightly smaller than the screw rod/toggle wings at the marked points.
- Anchor installation:
- Stud installation: Use long, thick wood screws (such as #10 or 1/4" Square head bolts) have a load rating much higher than the total load. Push them deep into the center of the stud.
- Drywall Anchors (Backup Only): Only suitable for very light racks. Choose heavy-duty anchors (e.g., deep toggle bolts, metal butterfly anchors) that are specifically rated (and tested!) for full load. Make sure they grip the entire drywall thickness.
- Shelf accessories: Attach the shelf’s brackets/hidden cleats to the wall anchors. Make sure it slides/crosses perfectly level.
- Final level check: Once the rack is in place, use the level again. If possible, fine-tune based on anchor type.
Conclusion: Embrace the power of customization and expertise
3D printing transforms a humble floating shelf into an expression of form and engineered function. You are freed from the constraints of mass production with a custom solution that perfectly fits your space and needs. While even beginners can use plastic racks to store lighter items, high-load applications or harsh environments require quality materials and manufacturing precision.
For truly strong, durable or architecturally significant metal floating shelves, professional SLM (Selective Laser Melting) metal 3D printing is essential. Companies like GreatLight that specialize in this technology bring critical expertise. Their advanced equipment, materials science knowledge, and comprehensive finishing services ensure that your custom metal floating shelves are not only beautiful, but also structurally sound and durable. This level of sophistication brings a level of design freedom and performance unmatched by traditional manufacturing or amateur printing.
Whether you’re printing bookshelves at home or working with an industrial bookshelf expert, 3D printing offers the perfect way to realize your ideal floating bookshelf. Design with care, print responsibly, install securely, and enjoy your unique space-saving creation!
Frequently Asked Questions (FAQ)
-
How much weight can 3D printed floating shelves bear?
- There is no single answer; it all depends Design, materials, fill density, wall thickness, installation methods and wall anchors. Well-designed PLA racks can safely carry a few kilograms of weight, while sturdy carbon fiber reinforced or professionally manufactured metal racks can carry tens of kilograms or more. Always over-engineer brackets and mounting systems and test with caution with added weight.
-
What materials are best for sturdy and durable 3D printed floating shelves?
- for Heavy duty plastic Shelves: Carbon fiber reinforced PETG or nylon has an excellent strength-to-weight ratio and is easier to print with consumer printers. ASA has good UV resistance.
- for Maximum load carrying capacity and lifespan: Print metals (aluminum, stainless steel, titanium) via Selective Laser Melting (SLM) is the gold standard. This requires professional services like those provided by GreatLight to ensure structural integrity and finish.
-
Can I use standard screws and anchors to mount my print stand?
- perhaps. The key factor is the wall structure. Always aim for installation Insert wall studs directly Use appropriately sized heavy lumber or load-rated construction screws/lag bolts. If studs are not available, use only specially rated anchors Significantly higher than your total weight load. Printed shelf bracket must Also designed to efficiently distribute load onto the anchor.
-
How to design a hidden stand for maximum strength?
- Pay attention to layer orientation: Print brackets so layer lines extend vertical Tension/shear force (usually horizontal). Avoid layer lines being pulled apart.
- Reinforce key joints: Use large fillets (rounded inside corners) where brackets meet horizontal supports or siding to reduce stress concentrations.
- Optimize geometry: Triangular gussets are great for adding stiffness. Thicker webs are better than thinner ones in a bracket structure.
- Multiple connection points: If possible, spread the load over multiple anchors/studs.
-
Over time, the shelves I printed in PLA began to sag. what happened?
- PLA is susceptible to Creep – It slowly deforms under sustained load, especially in warmer environments. Replace this with filler materials such as PETG, ASA, PP or CF-PETG/nylon, which have much better creep resistance. Make sure your original design/infill is adequate (at least 30-40%+ infill, good wall/perimeter thickness). For demanding applications, metal is necessary.
- Why should I consider professional metal 3D printing of shelves?
- Unparalleled strength: SLM metal parts have mechanical properties that approach or exceed those of conventionally manufactured metals.
- Free complexity: Achieve internal structure (lattice, conformal channels) that simultaneously optimizes strength and weight.
- High precision: Perfect fit and alignment of the mounting system is essential.
- Excellent durability: Metal can withstand heat, chemicals, shock and heavy loads better than plastic.
- Premium Finish: Professional services handle complex printing and offer various finishing options (smoothing, polishing, coating). Companies like GreatLight offer complete solutions that can handle everything from prototyping to finished, solid metal parts.


