Mastering Precision: A Comprehensive Guide to 3D Printing Paint Pens
You’ve just unpacked your new 3D print. The geometry was flawless and the details were crisp…but something was missing. Maybe it’s a lifeless gray prototype in need of color, or a miniature statue in need of expressive eyes. enter 3D printing paint pen– a handheld wonder that bridges the gap between digital creation and tangible art. Whether you’re a hobbyist, engineer, or designer, mastering this tool can open up a new dimension of finishing skills. Let’s take a closer look.
Why use paint pens for 3D printing?
Traditional paintbrushes and airbrushes can also be used, but they are overkill for tiny details. Paint pens deliver surgical precision:
- Micro details: Highlight embossed text, circuit patterns, or miniature facial features.
- Error correction: Repair layer lines, scratches, or support scars without repainting the entire model.
- speed: They bypass masking or setting and are ideal for quick touch-ups.
- Auxiliary functions: No fumes or bulky equipment – perfect for the home studio.
Choose your weapon: type of paint pen
Not all pens are created equal. Match your pen to your material:
-
Acrylic pen:
- Best for: PLA, PETG, resin.
- advantage: Quick drying, low odor, water soluble and easy to clean.
- shortcoming: Not as durable as enamel; may require sealing.
-
Enamel/oil-based pen:
- Best for: ABS, nylon, metal filling wire.
- advantage: Tough, glossy surface; adheres well to smooth surfaces.
- shortcoming: Longer drying time; solvent cleanup required.
- Professional pen:
- Metallic, glow-in-the-dark or primer pens can add a unique effect.
A step-by-step guide from the pros
#1 Prepare like a pro
- Clean: Use isopropyl alcohol (IPA) to remove dust.
- Prime Minister (optional): For matte surfaces like nylon, use a spray primer to enhance adhesion.
- sand: For the layer lines, sand lightly with 400 grit sandpaper.
#2 Pen Primer and Test
- Shake vigorously for 30 seconds.
- Press the pen tip down on the scrap paper until the ink flows evenly.
- Test the color and opacity of residual or hidden areas of the print.
#3 Drawing Tips
- Thin lines: Press lightly to maintain 45°.
- Fill area: Layer using a side-sweeping motion (wait 15 minutes between each coat).
- mix: For gradients, layer colors while wet or use a wet brush.
#4 Fix Openies
- Wet a cotton swab (for acrylics) to remove small smudges.
- For dry enamel, use lacquer thinner sparingly.
#5 Lock it down
Seal with spray varnish (matt/satin/gloss) to prevent chipping.
Perfect advanced techniques
- Masking tape template: Create sharp edges for your logo or symbol.
- Dry brushing: Once applied, lightly brush a light color over the raised areas to add depth.
- Washing effect: Dilute the paint with water/medium and apply to the gaps to create shadows.
Work with a Pro: When DIY Isn’t Enough
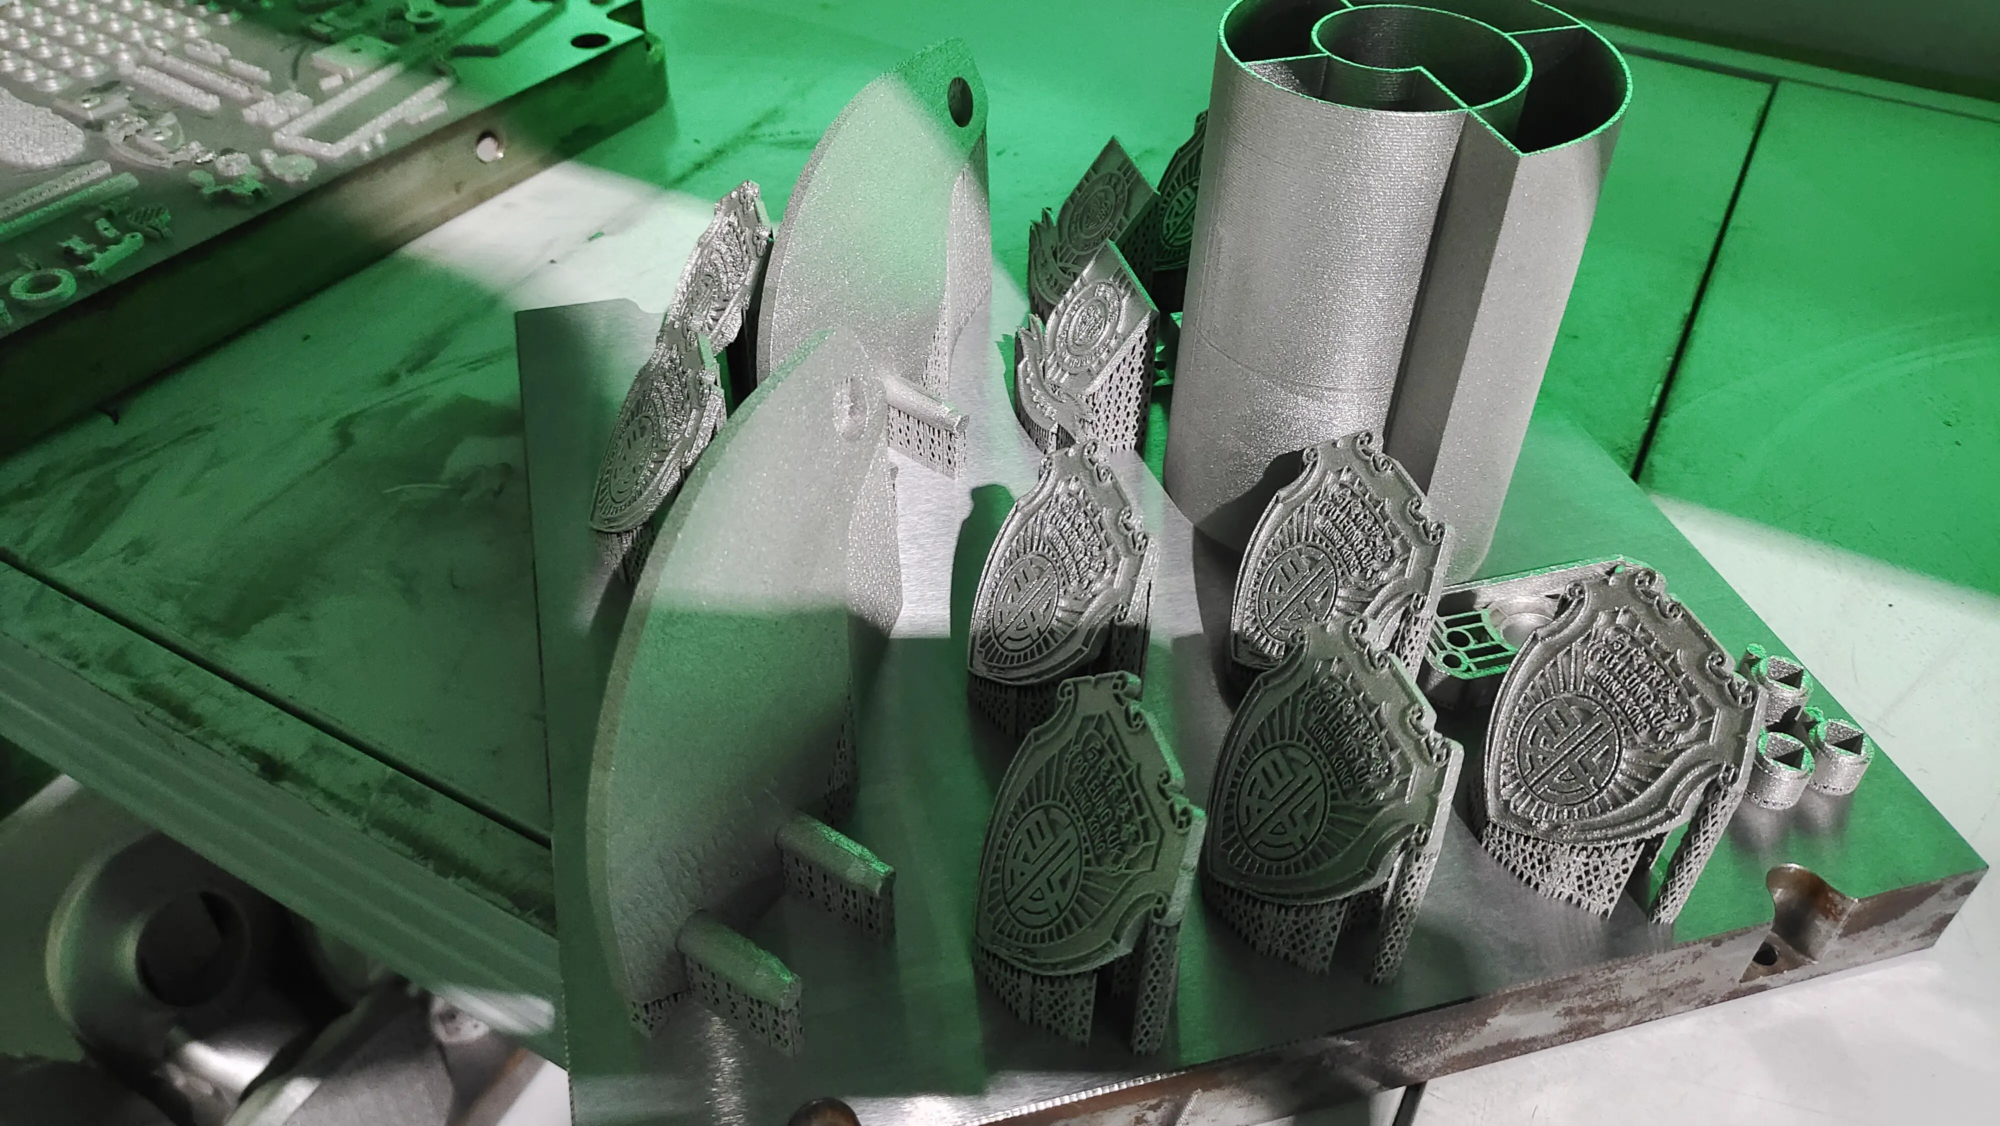
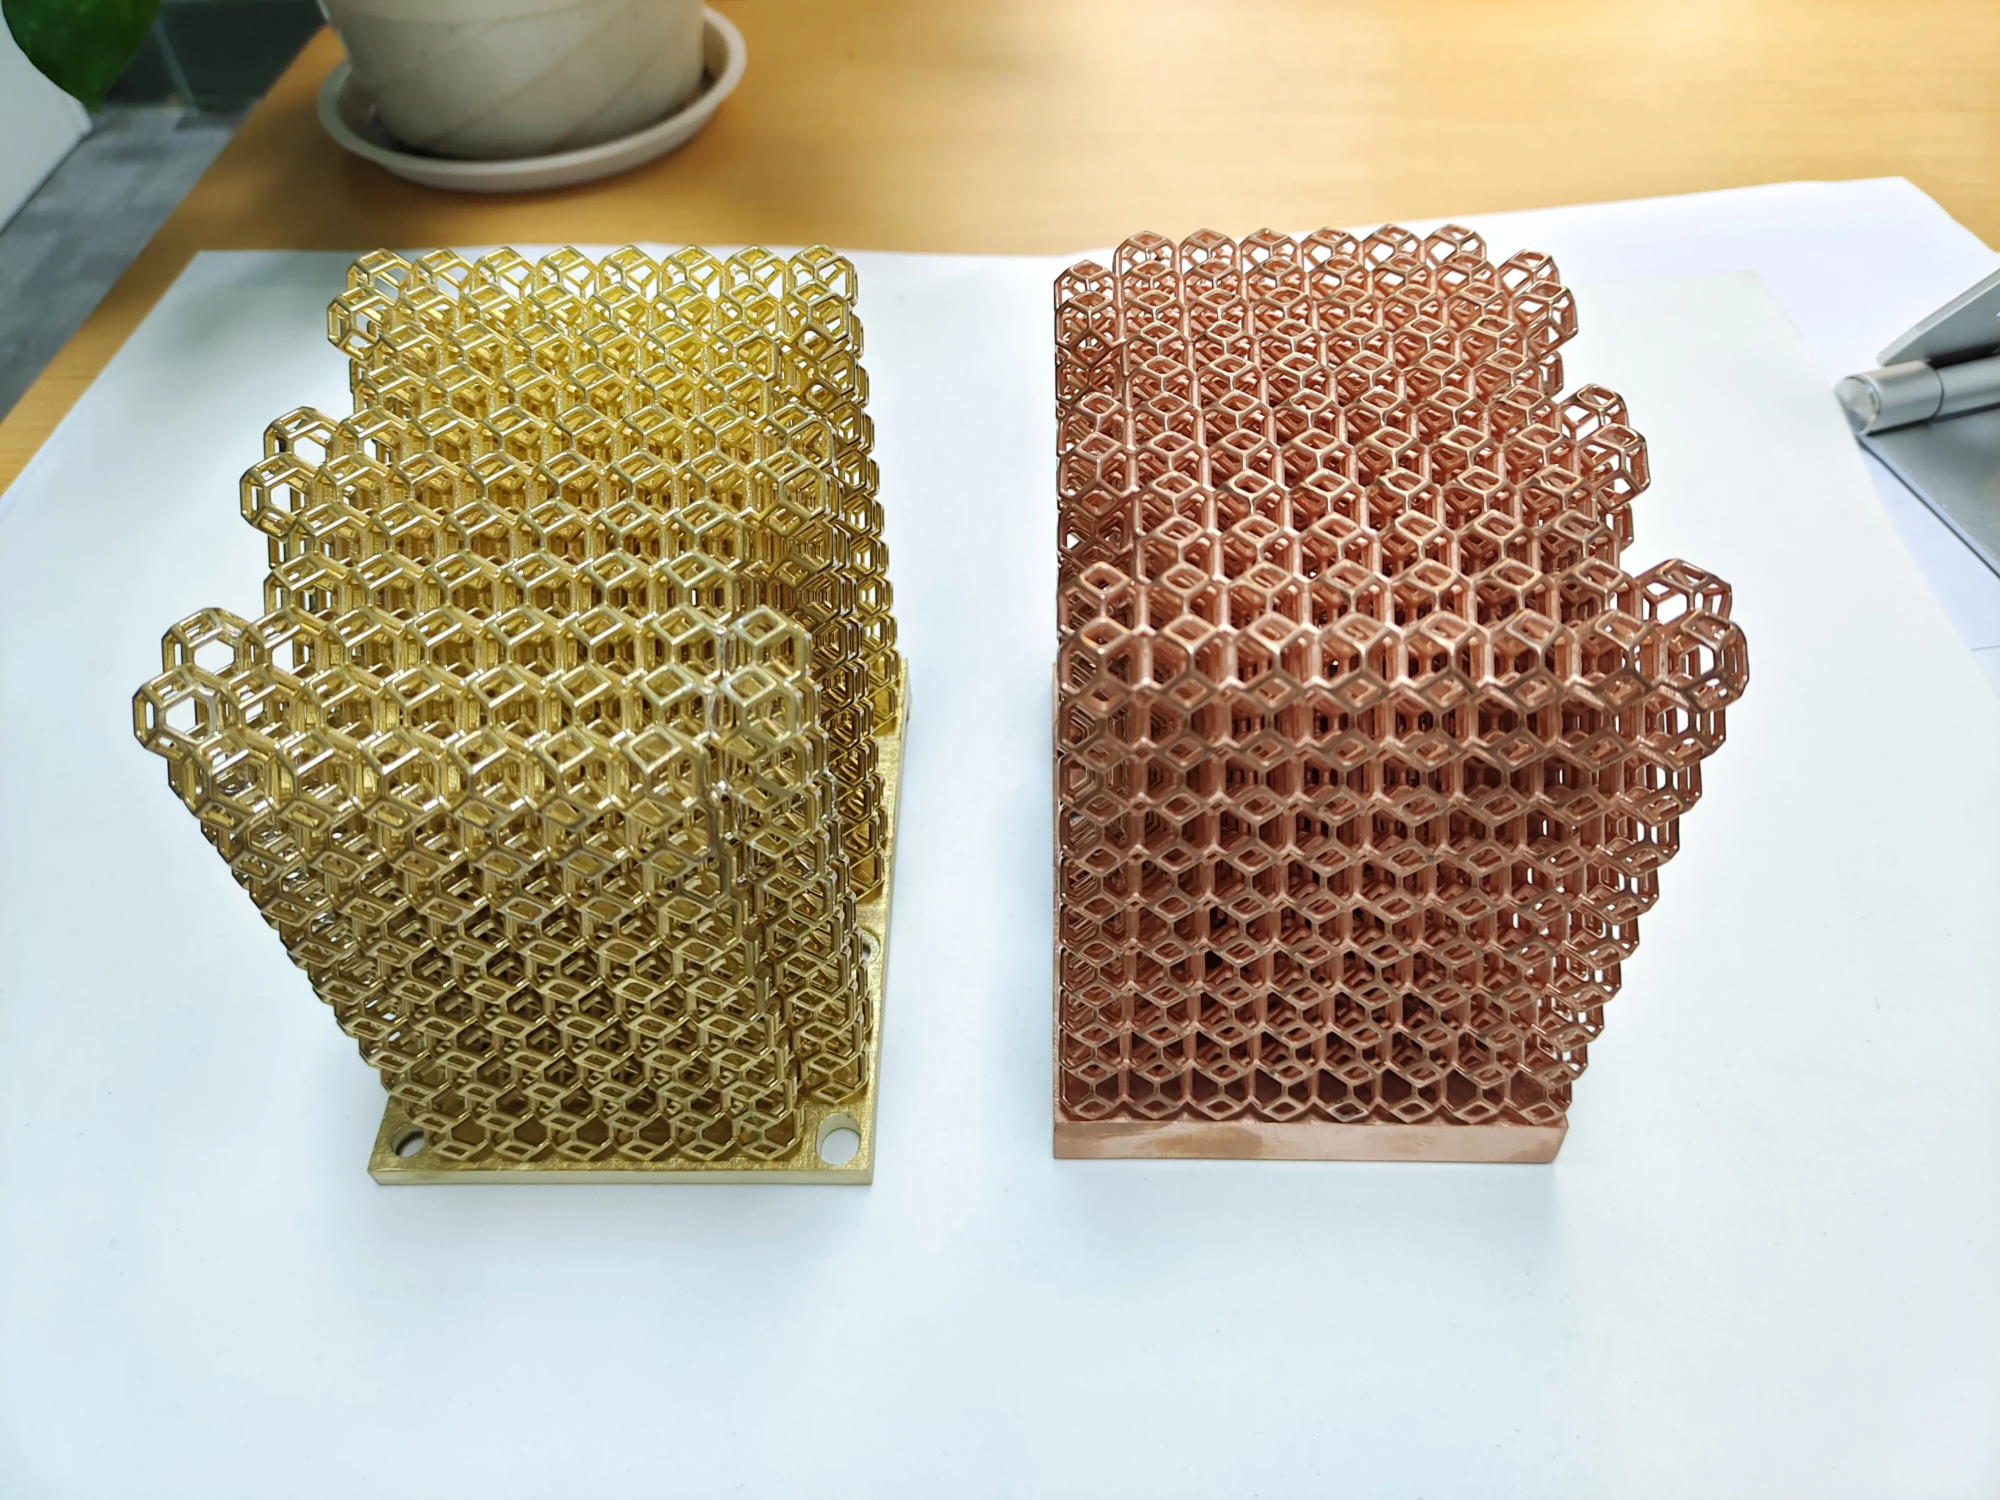
Sometimes precision requires industrial-grade execution—especially for metal prototype or mission-critical sections. This is what experts like huge light shine. As a leading rapid prototyping manufacturer, we combine advanced SLM 3D printing with turnkey post-processing:
- Precision painting and finishing: From faux metallic patinas to military spec coatings.
- Material mastery: Expertise in metals (stainless steel, titanium, aluminum) and engineering polymers.
- One-stop workflow: We handle everything from prototyping to surface texturing, saving you time and ensuring EAT (Expertise, Authoritativeness, Trustworthiness) for every part.
Discover perfect customization at competitive prices –Visit GreatLight to start your project.
in conclusion
A brush is more than just a tool, it’s your signature on the 3D canvas. By mastering stroke techniques and material compatibility, you can elevate functional prototypes into eye-catching visual assets. Whether you try it at home or outsource aerospace-grade finishes, remember: precision is in the details. What about those industrial projects? Trust professional skills.
FAQ: Uncovering the Secrets of 3D Printing Paint Pens
Q1: Can I use regular markers instead of paint pens?
A: Markers fade, are not UV protected, and come in limited colors. Paint pens offer durable, engineering-grade pigments formulated to adhere to plastic.
Q2: How to prevent paint "Bleeding" On a resin print?
A: Start by sealing the porous resin with clear acrylic spray. Apply it thinly to avoid oversaturation.
Q3: Will the paint on flexible TPU prints crack?
A: Avoid enamel – it hardens as it dries. Flexible acrylics like Posca pens can bend without splitting.
Q4: How long can stroke 3D printing last outdoors?
A: The service life of acrylic is 1-2 years (sealing); the service life of enamel is longer. For rugged and durable uses, choose industrial coating services.
Q5: Can Honglaite 3D print metal with spray paint?
Answer: Of course. We offer powder coating, anodizing and custom finishes for metal to ensure corrosion resistance and aesthetics.
Q6: What is the drying time?
A: Acrylic dries in 5-10 minutes; enamel takes 1-2 hours. Full cure takes 24-48 hours.
Q7: How to revive a dried paint pen?
A: Add a drop of pen restorer (acrylic) or thinner (enamel) to the nib, secure the cap tightly, and let soak overnight.
Have more questions? Ask our experts at GreatLight –Precision is our passion.


