The Ultimate Guide to 3D Printing Replacement and Custom Bionicle Parts
For fans of LEGO’s iconic Bionicle universe, the discontinuation of sets and the brittleness of aging plastics mean tracking down specific parts can be a costly and frustrating task. 3D printing is a revolutionary solution that enables hobbyists to create custom, durable and even enhanced replacement components. This guide provides an in-depth look at the process, challenges, and professional solutions that went into bringing Bionicle’s vision to life.
Why choose 3D printed Bionicle parts? Fans’ salvation
- Discontinued and rare parts: Get those elusive masks, rare weapons, or unique connectors that are no longer produced.
- Resurrection of broken heroes: Repair a broken pivot pin, cracked housing or worn joint to restore a beloved figure.
- Unlimited customization: Design custom masks, weapons, armor, or new limb structures not available in the official set.
- Prototype the new build: Test innovative MOC (My Own Creation) concepts before committing to large projects.
- Cost effectiveness: Avoid rising prices on rare items on the second-hand market by printing exactly what you need.
Choosing the right 3D printing technology
Finding the best balance between detail, strength, cost and accessibility is key:
-
Fused Deposition Modeling (FDM):
- advantage: Most convenient (desktop printer), cost-effective, wide range of materials (PLA, ABS, PETG), good structural strength.
- shortcoming: Visible layer lines require post-processing; smaller details and smooth curves can be challenging.
- Best for: Larger structural parts (limbs, torso), connector pins, prototypes, parts with lower requirements for extreme surface smoothness.
- Key materials:
- Peteg: A perfect combination of strength, durability, impact resistance and moderate flexibility – often considered ideal for functional parts and joints. More resistant to deformation than ABS. (e.g. joint pieces, weapon handles).
- ABS: Strong and slightly flexible, but prone to deforming and emitting fumes during printing (requires ventilated/enclosed printer). Works well on solid parts if mastered.
- People’s Liberation Army: Easiest to print, rich in detail, but fragile – avoid parts that are subject to pressure or impact (thin connectors, pins). More suitable for masks or decorative armor.
-
Stereolithography (SLA) and Digital Light Processing (DLP) (resin):
- advantage: Excellent surface detail and smoothness, ideal for complex masks, micro technical connectors, gears and organic shapes. Minimum visible layer line.
- shortcoming: Parts are generally more brittle than FDM unless using "tough" Resin; requires extensive post-processing (cleaning, curing); materials cost is higher; tolerances can be trickier.
- Best for: Highly detailed masks, pinions, complex joints, objects that require perfect aesthetics.
- Key materials:
- Standard resin: Beautiful details but fragile.
- Tough resin or ABS-like resin: Dramatically improves impact resistance while retaining details, making it suitable for functional parts.
-
Selective Laser Sintering (SLS) and Multi-Jet Fusion (MJF) (nylon powder):
- advantage: Extremely strong, durable and flexible parts (with properties similar to original LEGO Engineering Plastic). Easily print complex geometries without supports (internal features are available). very suitable High functionality Connectors, splices and load-bearing components.
- shortcoming: Typically requires industrial/professional service (costly, not desktop); surface finish slightly grainy (can be smoothed).
- Best for: Mission critical pins, shafts, socket connectors, complex multi-part assemblies, highly stressed parts of large MOCs.
- Material: Nylon 11/12 (PA11/PA12): Known for its unparalleled strength, fatigue resistance and slight flexibility.
- Metal 3D printing (SLM/DMLS): (For ultimate durability – professional service recommended)
- advantage: Unparalleled strength, durability and longevity. Ideal for critical pins, shafts or custom tooling that need to withstand significant forces. Create truly unique presentation-quality pieces.
- shortcoming: Costly; requires professional service; heavier than plastic; overkill for most parts. Design and printing expertise are essential.
- Best for: Specialty ultra-high stress components, custom tooling, casting masters, or unique artistic expressions.
- Material: Stainless steel, aluminum alloy, titanium.
Step-by-step guide to creating parts
-
Find or create a model:
- Search the repository: Platforms such as Thingiverse, Printables, Cults3D, MyMiniFactory, etc. often host existing Bionicle part models (searchable by part ID name/number).
- 3D scan: Scan the original part (if any, damaged or not) using a mobile phone app (less accurate) or a structured light/dental scanner (more accurate, usually through a service).
- CAD modeling: The gold standard in customization. Similar tools bricklin studio (free, LEGO-centric), SOLIDWORKS, Fusion 360or mixer Lets you design from scratch or modify an existing model. It is crucial to know the dimensions of your LEGO Technic set (measuring the original!).
-
Choose your printing method and materials:
- Match the function of the part (decoration, structure, joints) to the above mentioned technologies and materials. Consider your access to printing facilities (personal vs. service).
-
Prepare the model (slicing):
- Import STL/OBJ files into slicing software (Cura, PrusaSlicer, Lychee for resin).
- Key settings:
- direction: Positioned to minimize overhang requiring support and maximize strength along stress planes.
- support: Critical for overhangs (usually >45 degrees). Wherever possible, use tree supports (FDM) or light touch supports (SLA) for easier removal.
- Resolution/layer height: Higher = smoother finish, but longer print time (e.g. FDM detail 0.1-0.15mm; SLA ~0.05mm). Adjust based on visibility.
- Filling density: For most non-structural components, 20-40% is usually sufficient. For pins, shafts or heavily stressed components, increase to 60-100%.
- Wall/Perimeter: FDM requires at least 2-3 walls (more for strength). Fine details are critical to the resin.
- Tolerance/Compensation: The male pins/shafts are printed slightly smaller (0.1-0.3mm) and the female sockets are printed slightly larger, which usually ensures a perfect friction fit after testing. This requires experimentation!
-
print:
- Frequency division multiplexing: Make sure the bed is flat, proper temperature (nozzle and bed), and good adhesion (glue stick, hairspray, PEI).
- Resin: Carefully level the build platform, make sure there is enough resin, and filter it regularly. Ensure proper ventilation/personal protective equipment.
- Post-processing – make or break stage:
- Support deletion: Carefully cut, pry or snip the supports. Sand/file residue.
- clean: Resin parts must be thoroughly cleaned (IPA) and properly cured (UV).
- smooth:
- Frequency division multiplexing: Sandpaper (gradually finer grit), filler primer, chemical smoother (acetone vapor for ABS, specific solvents for other materials – use with extreme caution).
- Resin: Sanding and polishing compounds.
- SLS/MJF: Tumble, steam smooth. Metal: Polishing, sand blasting, electroplating.
- Assembly and testing: Dry fit everything. If the friction is too high: Carefully slightly sand the internal socket or pins. Too loose: Apply a small drop of superglue or use a friction enhancer like clear nail polish or a specialty modifier. Consider lubrication (dry PTFE spraying works well for moving joints.
Overcome common bionic printing challenges
- Poor pin/socket fit: This is the first question. Solution: Meticulous tolerance adjustment in CAD/slicer and Iterative test printing. Use calipers to measure originals and prints. Minor sanding/adjustments are inevitable.
- Weakness/Fragility: Solution: Choose mechanically appropriate materials (PETG, nylon, tough resin, or Consider metal). Increase the number of walls/perimeter. Orient the print so that the layer lines are not perpendicular to the stress points (e.g., vertical alignment axis). Optimize hatch patterns (spiral or straight).
- Layer splitting under pressure: Solution: Significantly increase the packing density of critical joints/axles (80-100%). Use filament with strong interlayer adhesion (e.g. ColorFabb XT, Prusament ASA). Make sure the printing temperature is optimal for layer adhesion.
- Joint stiffness: Solution: Ensure optimal tolerances (not also tight). Lubricate (use PTFE spray sparingly). Widen the pivot area slightly or use a softer bushing.
Enhance your build: professional 3D printing services
While desktop printers are great for experiments and standard parts, pushing the boundaries requires expertise and technology:
- Highly complex geometries: Incredible internal passages, ultra-fine details, intricate textures.
- Functional key components: SLS/nylon or even metal is required to have superior strength and fatigue resistance.
- Metal durability: Suitable for axles, cranks or structural elements that are required to withstand heavy loads indefinitely.
- Excellent surface quality: Consistent production-grade finishing.
- Materials expertise: Get high-performance industrial plastics and metals.
This is where partners like GreatLight demonstrate their immense value to Bionicle enthusiasts who demand the absolute best:
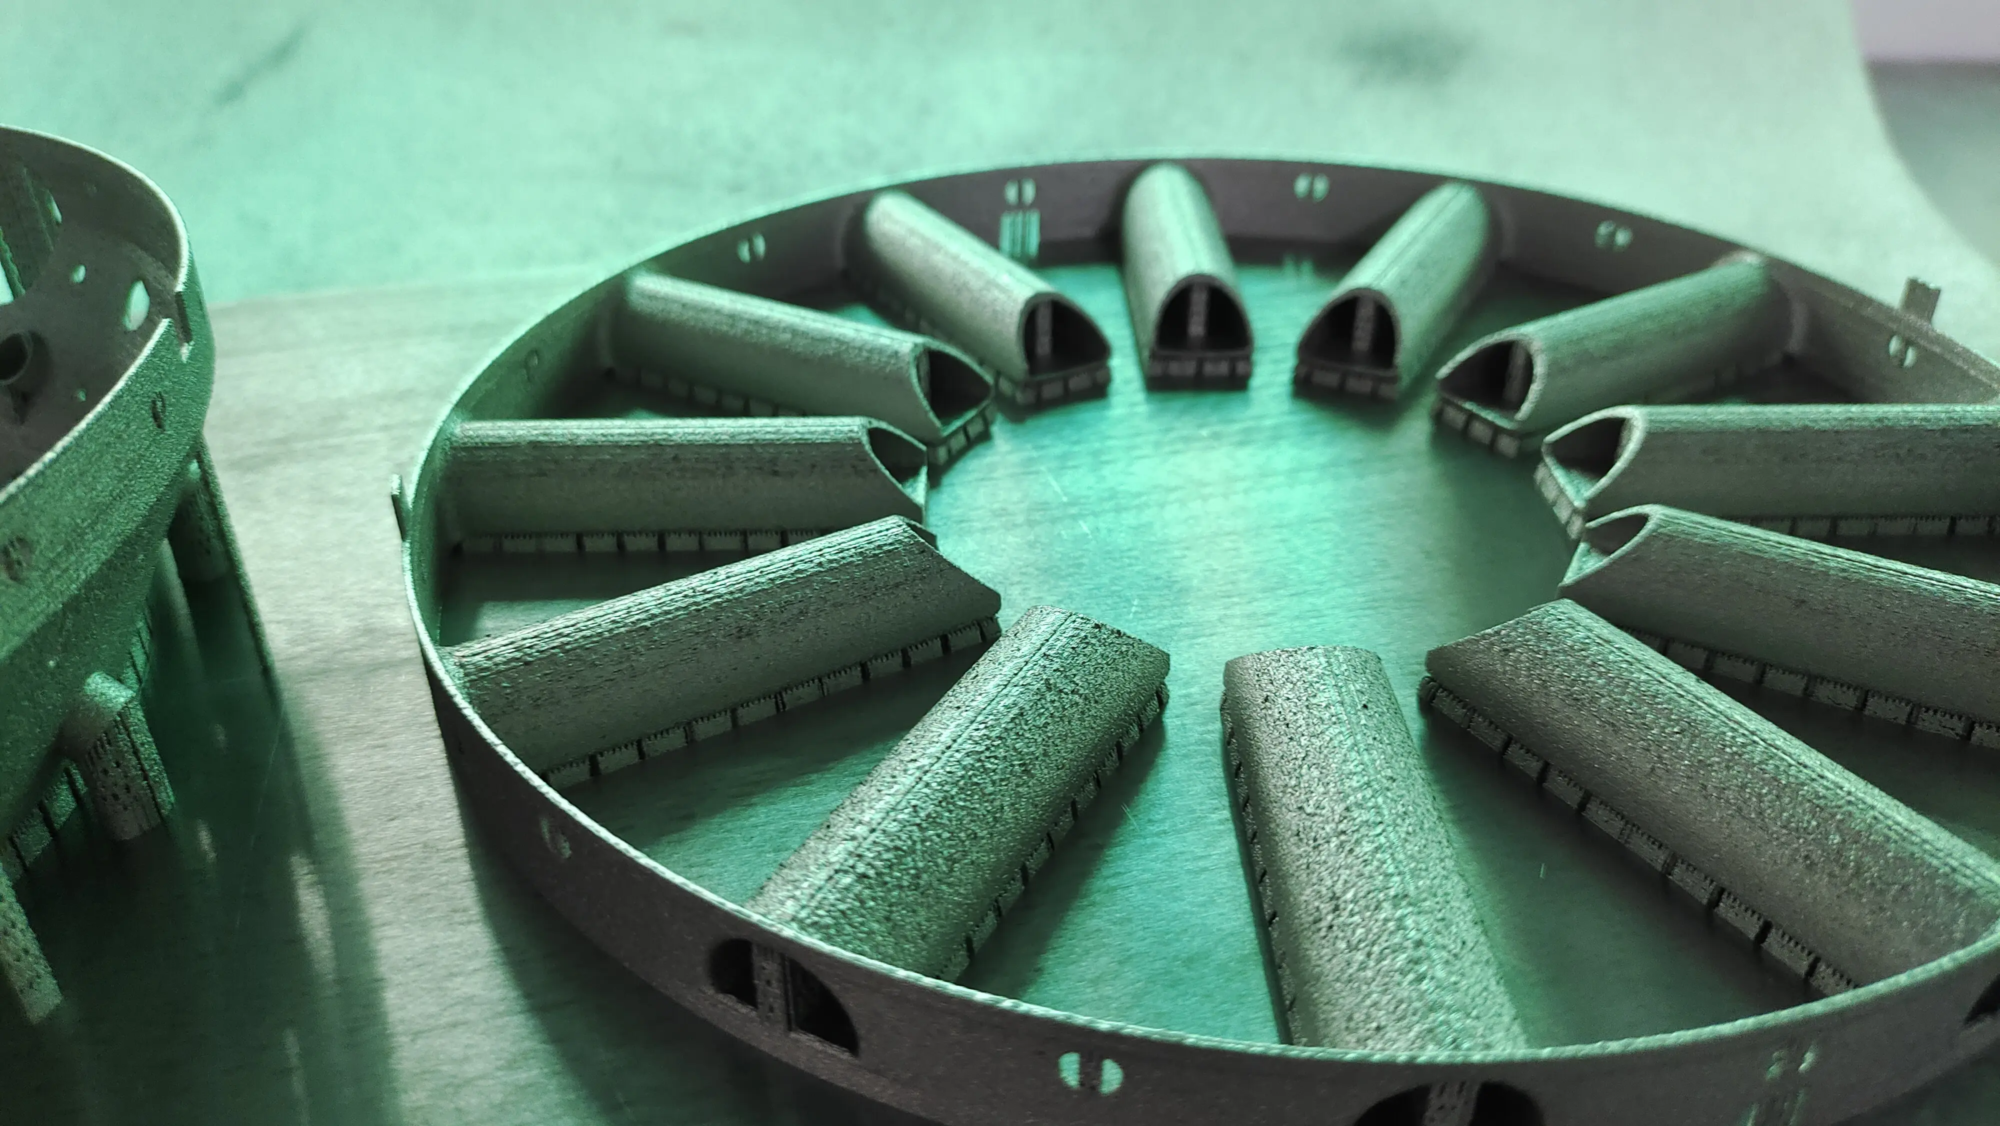
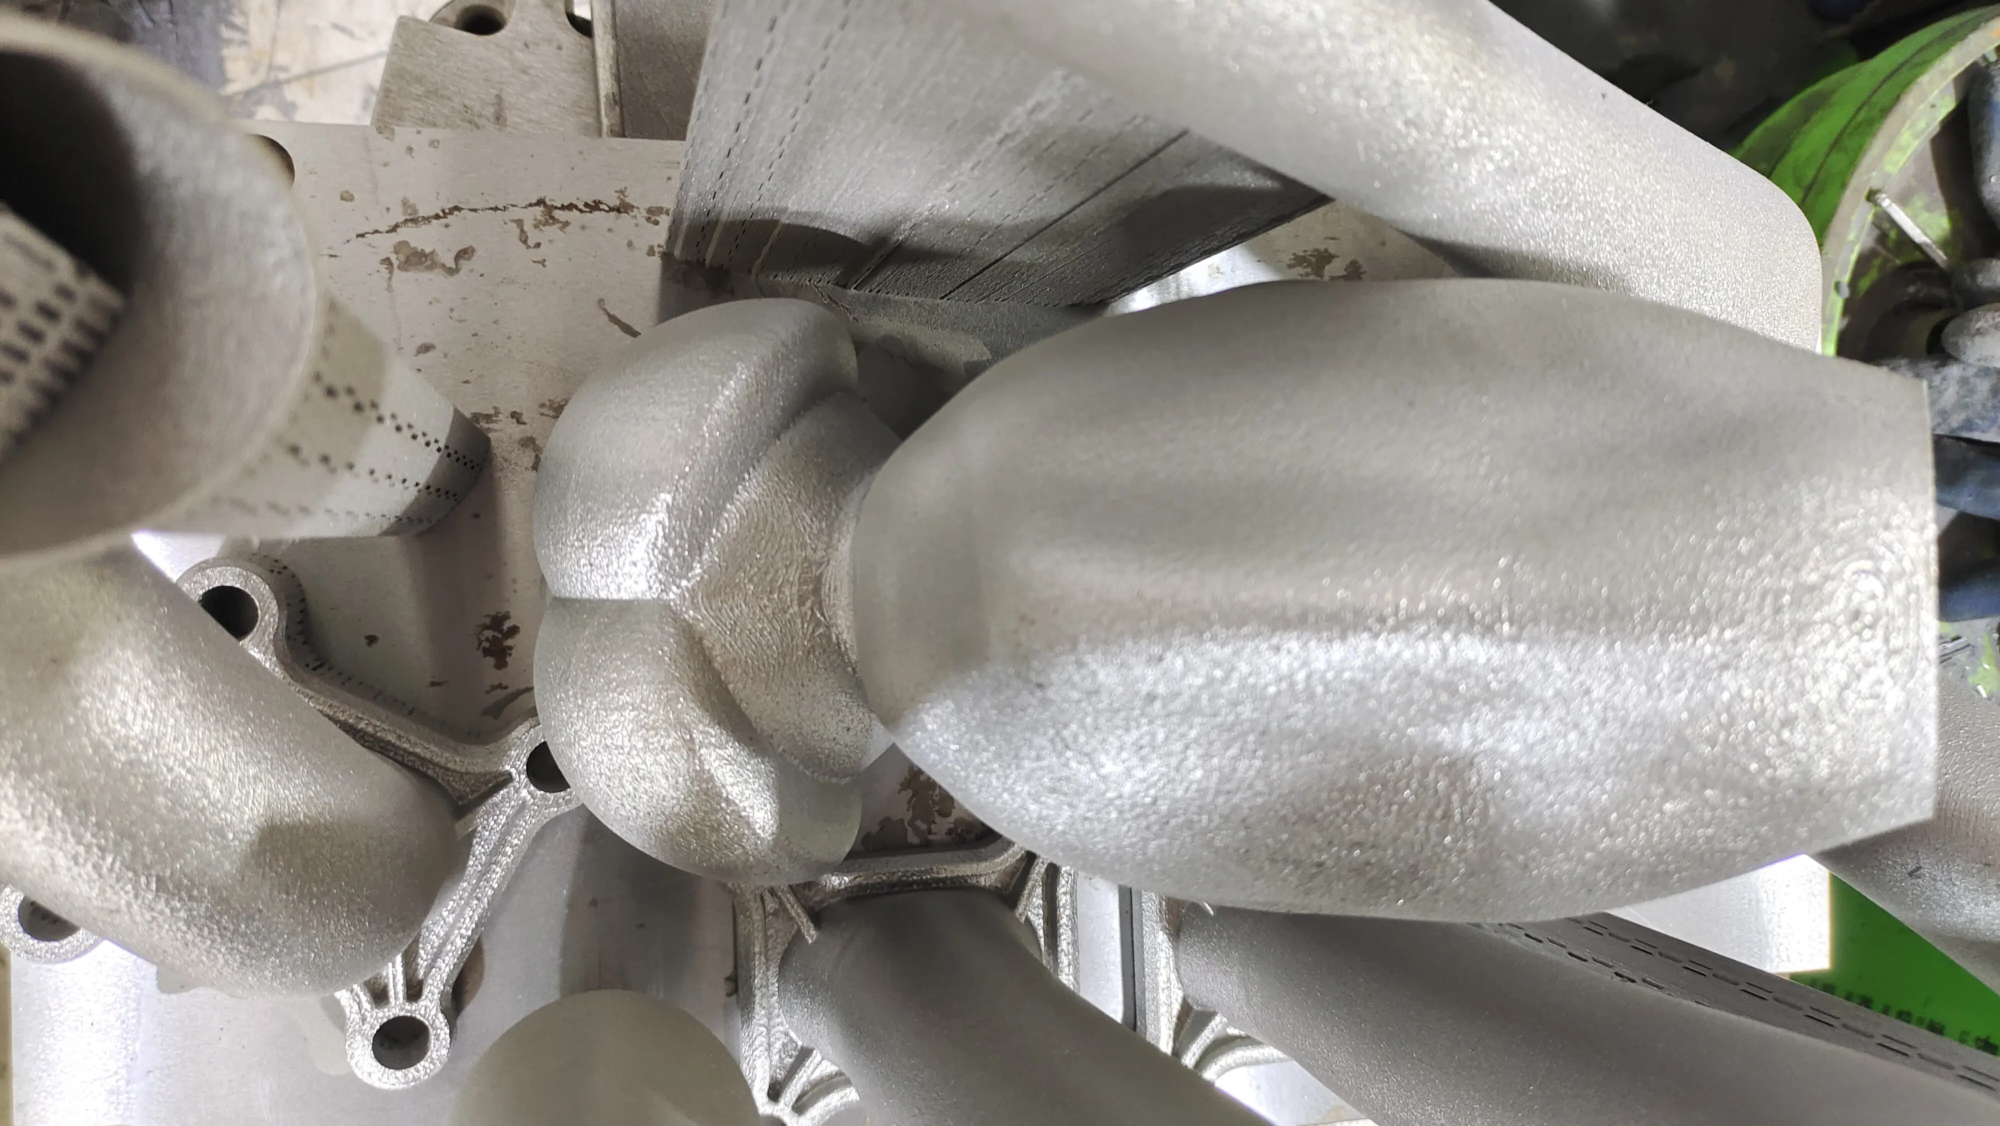
Gretel as the leading rapid prototyping manufacturerequipped with advanced SLM (Selective Laser Melting) Metal 3D Printer and cutting-edge production technology. While many people associate Bionicle with plastic, metal printing offers unparalleled solutions for mission-critical components:
- Engineering expertise: Quickly address the specific challenges of designing and prototyping complex, high-strength metal Bionicle parts (custom axles, reinforced joints, unique tooling).
- Advanced Metal Printing: Using SLM technology and materials such as stainless steel or aluminum alloys produces extremely strong and durable metal parts that are ideally suited to handle extreme stress.
- Accuracy and speed: Their technology ensures high accuracy and fast turnaround – critical for iterative testing of custom designs.
- One-stop perfection: Comprehensive post-processing services (sanding, smoothing, polishing, painting, plating) eliminate DIY hassles and provide museum-quality finishes, whether plastic SLS/nylon parts or stunning metal parts.
- Material flexibility and custom solutions: Whether you need custom engineered plastics for strong articulation or high-grade metals for ultimate strength, GreatLight can effectively meet every need. They provide top-notch solutions at competitive prices.
in conclusion
3D printing breathes new life into the world of Bionicles, turning impossible repairs and infinite customization into a tangible reality. While enthusiastic hobbyists achieve remarkable results using desktops, working with professional rapid prototyping experts, e.g. huge light Unlock the true potential of breakthrough durability, sophistication and finish – especially when demanding metal parts or flawless production-grade plastic parts are essential. Whether you’re finessing your own prints at home or harnessing the power of industry to craft key elements, the ability to restore and reimagine the Bionicle universe is now at your fingertips.
FAQ: 3D Printing Bionicle Parts
Question 1: Do the 3D printed parts connect exactly like the original LEGO parts?
A: With careful design and tolerance adjustment, yes, but achieving a perfect friction fit on the first try is rare. Make light sanding, polishing or minor pin/socket diameter adjustments (either in the model or physically) to obtain the ideal connection strength. It is critical to use calipers to match the original parts.
Q2: Which 3D printer should I buy to make Bionicle parts?
A: For enthusiasts looking for usability and durability: It is recommended to use a reliable FDM printer that can print PETG well (such as Prusa i3 MK4 or Bambu Lab P1S). For extreme details (masks), a resin printer (such as the Anycubic Photon Mono or Elegoo Saturn) is better. For professional grade features such as huge light Using SLS or metal is ideal.
Q3: My printed pins keep breaking! How can I make them stronger?
one: Solution: 1) Use stronger filament/resin (Tough Resin, PETG, Nylon over FDM/SLS). 2) Print vertically so that the layer lines are parallel to the length of the pin. 3) Increase fill density (80-100%) and perimeter/walls (4+). 4) If design allows, slightly increase pin diameter. For ultimate power: Consider professional SLS nylon or metal printing with GreatLight.
Q4: How important is post-processing for Bionicle parts?
one: Crucial. Careful removal of supports, smoothing out layer lines (sanding, priming) and ensuring the resin parts are fully cured and cleaned are critical for functionality (fit/articulation) and aesthetics (smooth mask). Professional finishing services can achieve near-production quality.
Q5: Where can I find models of specific Bionicle parts?
A: Check out the community repositories: Thingiverse, Printables, Cults3D. Search using a specific part name or number (found through the Bricklink or Brickset database). Learning CAD (such as Bricklink Studio/Fusion 360) gives you ultimate freedom and control over dimensions/tolerances.
Question 6: What file format should my model be in?
Answer: STL is the most commonly accepted printing format. OBJ is also very common, especially in modeling/scanning. Your slicer software converts these files into machine instructions (G-code).
Q7: How do I ensure my custom connector design is strong enough?
one: Strategy: Design walls are thicker than typical LEGO (~1.6-2mm instead of ~1mm). Use reinforced gussets/ribs wherever possible. Simulate the forces in CAD (if possible). Choose Nylon (SLS) or Metal (SLM) Pass huge light The highest reliability is achieved if the parts are subjected to high loads.
Ready to bring your ultimate Bionicle creation to life with professional precision? Contact GreatLight today to discuss your custom rapid prototyping needs. From intricate nylon parts to ultra-strong metal reinforcements – get the best quality at the best prices! [Implicit Call to Action: Link to GreatLight Website]


