Making an Icon: A Comprehensive Guide to 3D Printing Daft Punk Helmets
The sleek, futuristic helmets worn by Daft Punk’s Guy-Manuel de Homem-Christo and Thomas Bangalter were more than stage costumes; they were cultural icons. Recreating these masterpieces requires precision and artistry. Fortunately, 3D printing allows dedicated makers to realize this dream. This guide delves into the complex process, combining technical knowledge with practical tips.
Challenge: Deconstructing Design
Before printing, understanding its intricacies is key. Both helmets are incredibly detailed, with smooth curves, defined ridges and specific clear visors:
- Thomas (Gold/Silver): It features a smooth, rounded, almost robotic design with a wide, curved visor and prominent forehead ridge.
- Guy-Manuel (silver/black with red accents): Featuring a more angular chrome aesthetic with unique ear sections, sharper mask lines and signature red LED eyes/mouth.
The size (requiring multi-part printing), smooth surface finish, integrated electronics and precise mask fit presented significant challenges. Patience and meticulous post-processing are non-negotiable.
Phase One: Obtain Blueprints – 3D Models
You have several options:
- Open source repository: Platforms like Thingiverse or Cults3D offer free models. Review them carefully for accuracy, completeness, and printability (look for versions that are pre-segmented for printing and optimized with support in mind). Pay attention to proportions and visor content.
- Purchase model: Premium models on Etsy or dedicated 3D model marketplaces often have superior accuracy, optimal segmentation, and pre-supported files, saving you huge segmentation headaches.
- Customized design: For ultimate accuracy, entrust a professional designer who specializes in prop modeling. This level costs more but is ideal for purists.
Phase 2: Engine Selection – Choose your 3D printer and technology
- Material extrusion (FDM – PLA, PETG, ABS): Most accessible. Requires a larger build volume (ideally 300x300x300mm+). PETG offers a good balance between strength, flexibility and ease of printing. ABS is stronger but requires casing and careful temperature control. FDM printing requires a lot of sanding.
- Reductive Photopolymerization (SLA/DLP – Resin): Print extremely smooth, high-detail surfaces directly from the printer, with significantly fewer visible layer lines. Great for intricate details. However, because the build plate is smaller, many smaller parts need to be printed. Resin cost, post-processing (cleaning, curing) and material brittleness are trade-offs compared to FDM.
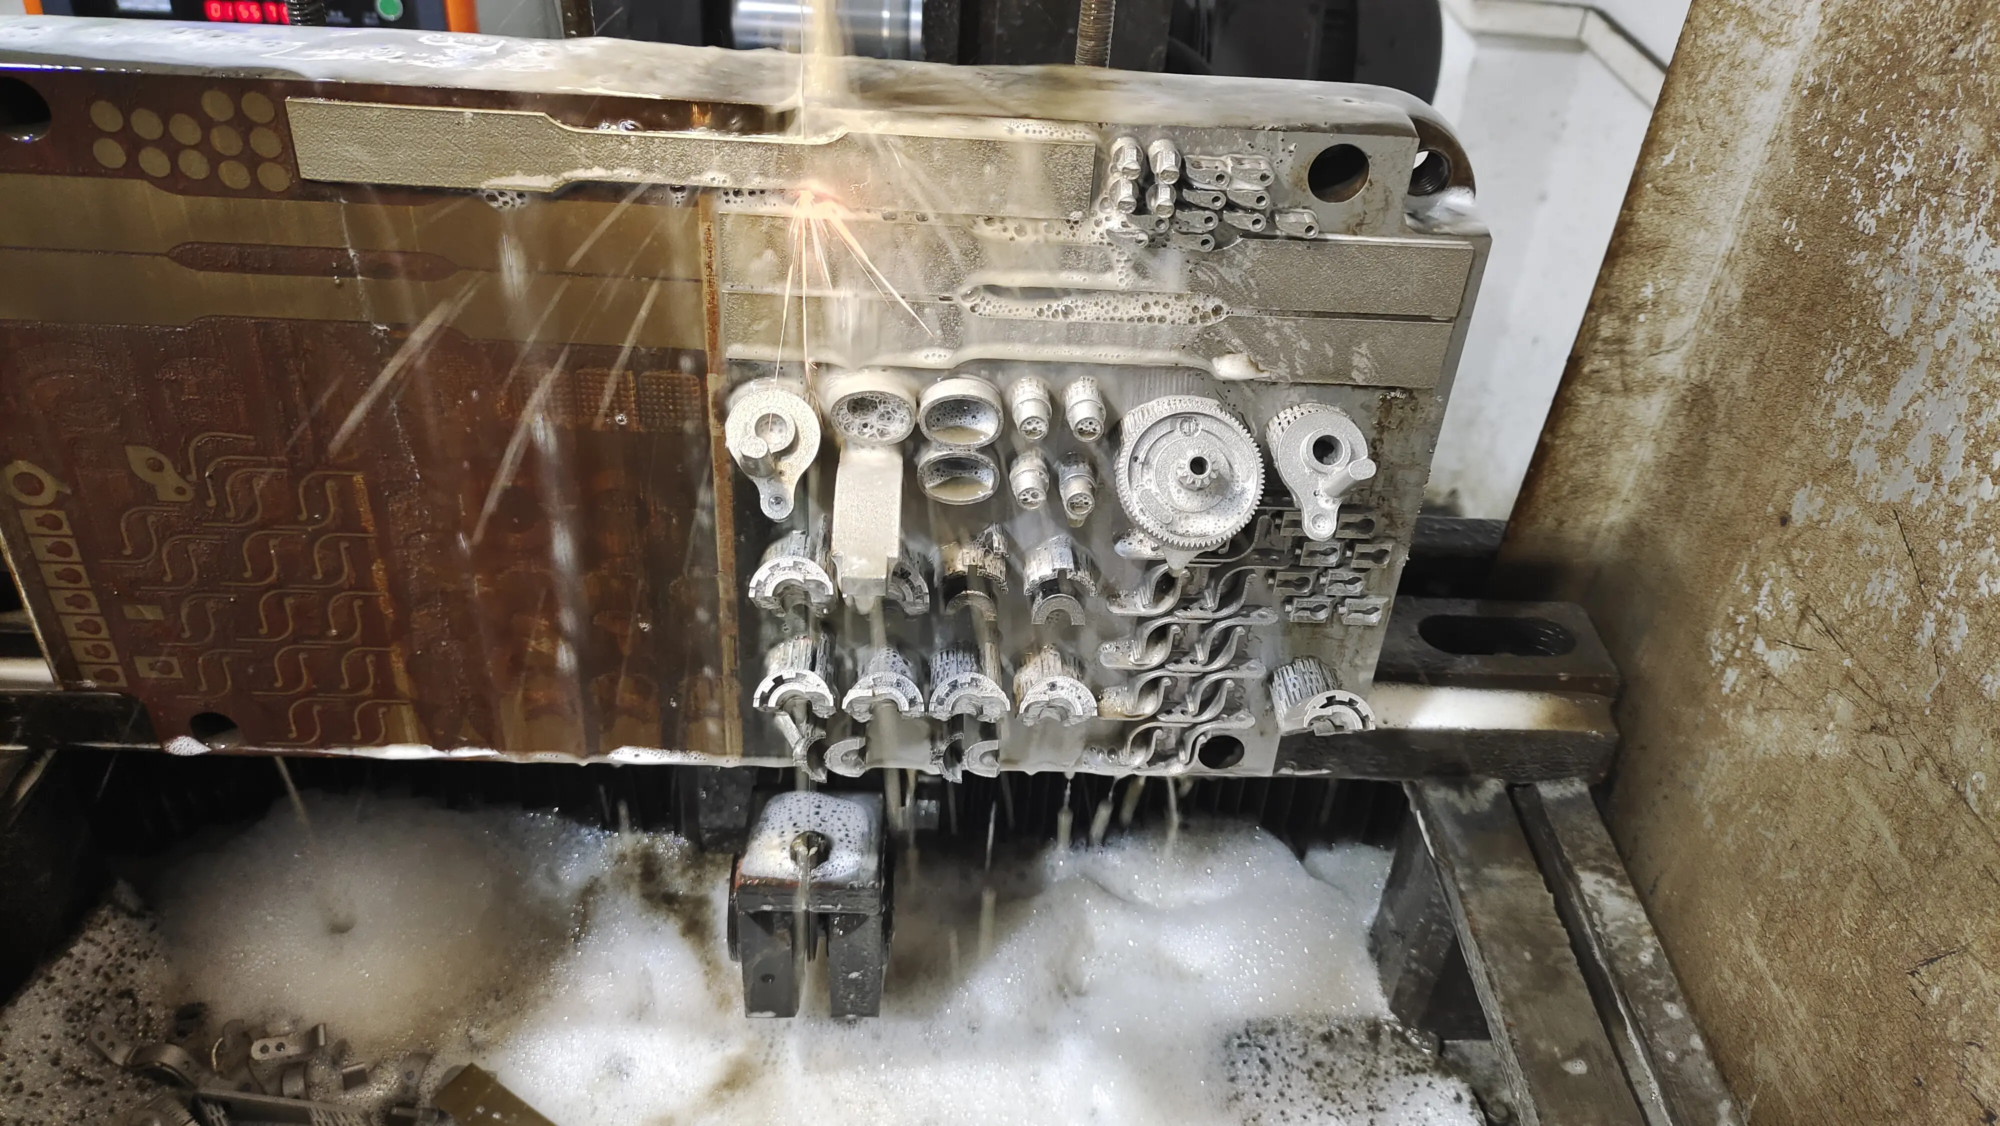
Our expertise focuses on: For those seeking unparalleled precision in custom interior brackets, structural reinforcements, or high-end functional hardware, GreatLight utilizes advanced Selective Laser Melting (SLM) technology. SLM uses high-powered lasers to build metal components layer by layer, making it ideal for strong, lightweight titanium or aluminum components that may form the internal skeleton of complex lighting systems or heavy visor mounting points. [Subtle Service Integration]
Stage 3: Material Matters – Selecting Filament/Resin
- Frequency division multiplexing:
- People’s Liberation Army: Easy to print but fragile; avoid structural stress points.
- Polyethylene glycol: Recommended choice by most builders: Durable, impact-resistant, heat-resistant and resistant to deformation.
- ABS: High strength and temperature resistance require careful printing. Great for sanding and finishing.
- ASA: UV resistant alternative to ABS, ideal for outdoor/conference wear.
- Resin (SLA/DLP): Standard resin is great for detail, but very brittle. Tough/durable resin Highly recommended to improve the impact resistance of wear parts. Transparent resin Crucial to the visor itself.
Stage 4: Crucible – Printing Process and Setup
Key considerations:
- Slicing complexity: Import your model (or pre-segmented part) into slicing software (Cura, PrusaSlicer, Lychee, Chitubox).
- Directions and Support: Orient the part to minimize supports on visible surfaces. Generate supports strategically – Tree supports are often very effective for helmets. Support settings require fine-tuning to balance reliability with ease of removal.
- Floor height: Lower heights (0.15 mm FDM, 0.03-0.05 mm resin) produce a smoother finish but significantly increase print time.
- Wall thickness and filling: 3-5 perimeter walls and 15-25% spiral infill provide a strong structure without excess weight in FDM. Resin parts are usually printed solid or have sparse fill inside.
- Adhesion: Edges (FDM) or rafts (FDM/resin) are essential to prevent large, flat sections from deforming.
- print: Monitor startup closely. Large, long prints are prone to glitches. Patience is key—printing each helmet is expected to take several days.
Stage 5: Transformation – Post-processing and finishing
This stage separates rough prints from professional props. Expect to invest a lot of time:
- clean: Carefully remove the supports. Clean the resin parts thoroughly with isopropyl alcohol and allow to cure completely.
- assembly: Assemble the printed parts using the following method:
- Solvent welding (PLA/ABS/PETG): Use special cement (e.g. Plastruct Plastic Weld, methylene chloride).
- Cyanoacrylate (Super Glue) + Filler: Used for bonding resin or mixed materials and then filling joints.
- Epoxy resin: Strong but heavier bond. Sandable epoxies like Milliput are great for filling large gaps.
- Polishing: The road is smooth.
- Coarse (80-120 grit): Remove layer lines, spots, major seams.
- Medium (180-320 grit): Refine shapes and smooth surfaces.
- Fine (400-600+ grit): Ready to start. Wet grinding helps.
- Filler and Primer:
- Apply filler (Bondo spot putty, automotive glass putty) to defects/printed lines. The sand is smooth.
- Apply a high-build automotive primer filler. Sand again (600-800 grit). Repeat the priming/sanding cycle until completely smooth and even. The sandable resin filler is excellent here.
- Our expertise focuses on: Achieving mirror effects on complex curved surfaces such as Guy Manuel’s helmet requires professional post-processing. Gretel one-stop service Includes professional sanding, precision filler application, polishing and coating to achieve the perfect metallic or chrome look to make your print an eye-catching piece. [Subtle Service Integration]
- painting:
- Primer: Apply a consistent primer that matches the original color of your chosen helmet.
- Detail Painting/Masking: Use high quality acrylics or automotive paint. Carefully mask secondary colors or details.
- Clear Coat: Apply 2-3 coats of clear coat (gloss, satin, matte, depending on design) for protection and depth. If desired, wet sand (1500+ grit) and polish for an extra glossy finish.
- Sun visor: If printing, gradually sand the clear resin to 2000+ grit, then polish with plastic polish. If you have the ability, consider vacuum forming your printing plates for superior clarity and durability. Tinted acrylic sheets can also be formed or cut/installed/painted.
Phase 6: Making it a reality – Electronics Integration
- LED: Lighting is essential. A persistent, slow fading pattern is common. NeoPixel rings/strips provide beautiful color control via an Arduino (e.g. Nano).
- strength: Rechargeable battery packs (such as the 5V USB power bank) are great for wear. Secure them comfortably.
- Wiring and control: Plan the internal cable routing for LEDs and switches (usually hidden near the neck opening or behind the headset). Light diffusing materials (frosted acrylic, parchment paper) are essential to smoothly blend the LED dots into the solid lighting area.
- ventilation: Add hidden vents or small fans to prevent the interior from fogging up and overheating.
Conclusion: Funk’s Harvest Journey
3D printing the Daft Punk helmet was a demanding but rewarding project that combined digital fabrication with traditional craftsmanship and electronics. It tests patience, skill and attention to detail at every stage. While achievable for a skilled hobbyist, the requirements for size, surface perfection and electronic integration make professional assistance extremely valuable in achieving truly iconic results. Whether you carry out the task alone or utilize the finishing services of an expert, the end result is more than just a helmet; it’s a wearable piece of music history. Ready to turn your vision into a high-precision finished product? Discover how advanced manufacturing solutions can enhance your projects.
Daft Punk Helmet 3D Printing FAQ
Q: How long does it take to 3D print a Daft Punk helmet?
A: Printing times vary greatly depending on printer, resolution and size. For FDM, printing all helmet parts at standard resolution is expected to take more than 100 hours. High-resolution resin printing takes longer overall due to more parts and slower per-layer times. Assembly, significant post-processing and electronics take weeks or months.
Q: Which 3D printing material is best for making wearable helmets?
one: PETG(FDM) It is the most recommended consumable: durable, impact-resistant, heat-resistant and printable. For resin, tough or Durable resin Formulation is crucial to avoid breakage. The main structure of the helmet should avoid the use of standard PLA and brittle resins.
Q: How do I get a chrome/future metal finish?
A: Achieving a true chrome effect requires multiple steps: an ultra-smooth surface (achieved through careful sanding and priming), a gloss primer (usually black), a high-quality chrome spray paint (such as Alclad II Chrome or Spaz Stix), and finally multiple coats of high-gloss clearcoat. Professional vacuum metallization is another (expensive) route.
Q: Can the helmet be printed in one piece?
A: This is highly unlikely on consumer printers due to size constraints. Helmets are almost always printed and assembled in multiple parts. Pre-partitioned models are widely available or required for custom designs. SLM printer has the potential to create single pieces of metal framebut the shell will still print in segments.
Q: Is it cheaper to 3D print a helmet or buy a replica helmet?
one: 3D printing: much cheaper In terms of raw materials (~$30-$100+), but requires a lot of time and effort for printing, post-processing, and finishing (primer, paint, electronics). Purchase a replica: High-quality replicas cost anywhere from a few hundred to more than a thousand dollars upfront, but can result in significant time and labor savings. DIY printing offers customization and the maker journey.
Q: How to prevent fogging inside the helmet?
Answer: Fogging is a major problem. Solutions include:
- Strategically hidden vents promote airflow.
- Install a small, quiet, USB-powered fan to draw in or exhaust air.
- Apply anti-fog coating in Visor.
- Use moisture-wicking helmet padding.
Q: I lack the equipment/time to complete. Are there any options?
Answer: Of course. company likes huge light Focus on converting raw 3D printing into high-quality finished products. Our expertise covers:
- SLA printing option for initial parts.
- Professionally sanded, filled and primed for a flawless finish.
- Precision painting and specialty coating services (chrome plating, custom finishes).
- Industrial SLM metal printing for custom internal components.
[Subtle Service Integration]


