Capturing the tenderness of nature: the art of 3D printed sloths
Sloths capture hearts around the world with their calm expressions and laid-back charm. Bringing the sloth to life through 3D printing combines creativity, technology and patience – reflecting the sloth’s own rhythm. Whether you’re a hobbyist making tabletop decorations or an educator creating tactile teaching tools, this guide details every step. For those who want industrial strength or quality metal parts, professional services include huge light Your vision can be enhanced through advanced Selective Laser Melting (SLM) technology and expert finishing.
Why sloth? The appeal of 3D printing
- Design richness: Their intricate fur textures, curved claws and unique anatomy test the accuracy of modeling and printing.
- Conversation begins: The detailed sloth model perfectly demonstrates 3D printing capabilities.
- Functional potential: Make bookends (using arms/paws), keychains, jewelry, or art.
- educate: Great for teaching biology concepts or sustainable manufacturing.
Step by step: Print your sloth
1. Get the model:
- source: Find pre-designed models on platforms like Thingiverse, Cults3D or MyMiniFactory (search "Lazy," "baby sloth," "sloth model"). Great designers often optimize documents for printability.
- Create your own (advanced): Fully customize using Blender, ZBrush or Fusion 360. Focus on manifold geometry, minimum overhang beyond 45 degrees, and adequate wall thickness.
2. Slice and prepare:
- software: Use Cura, PrusaSlicer or Lychee Slicer (for resin).
- Button settings:
- direction: A posture that minimizes the need for support—usually upright or slightly reclined. The head, arms, and paws often require support.
- support: Tree (organic) supports are ideal for complex shapes like paws and reduce contact scarring. Use automatic or manual placement wisely.
- Floor height: 0.1-0.2mm (FDM)/0.03-0.05mm (Resin) Balance detail and time.
- filling: 10-20% (decorative) or 30%+ (functional/structural).
- speed: Medium speed (40-60mm/s FDM) can improve surface quality.
- Brim/raft: Use on small contact points such as feet to prevent deformation.
3. Material selection:
- Polylactic acid (FDM): Best for beginners. Easy to print with wide color range. Choose a matte or silk finish to mimic the texture of fur in the post-processing.
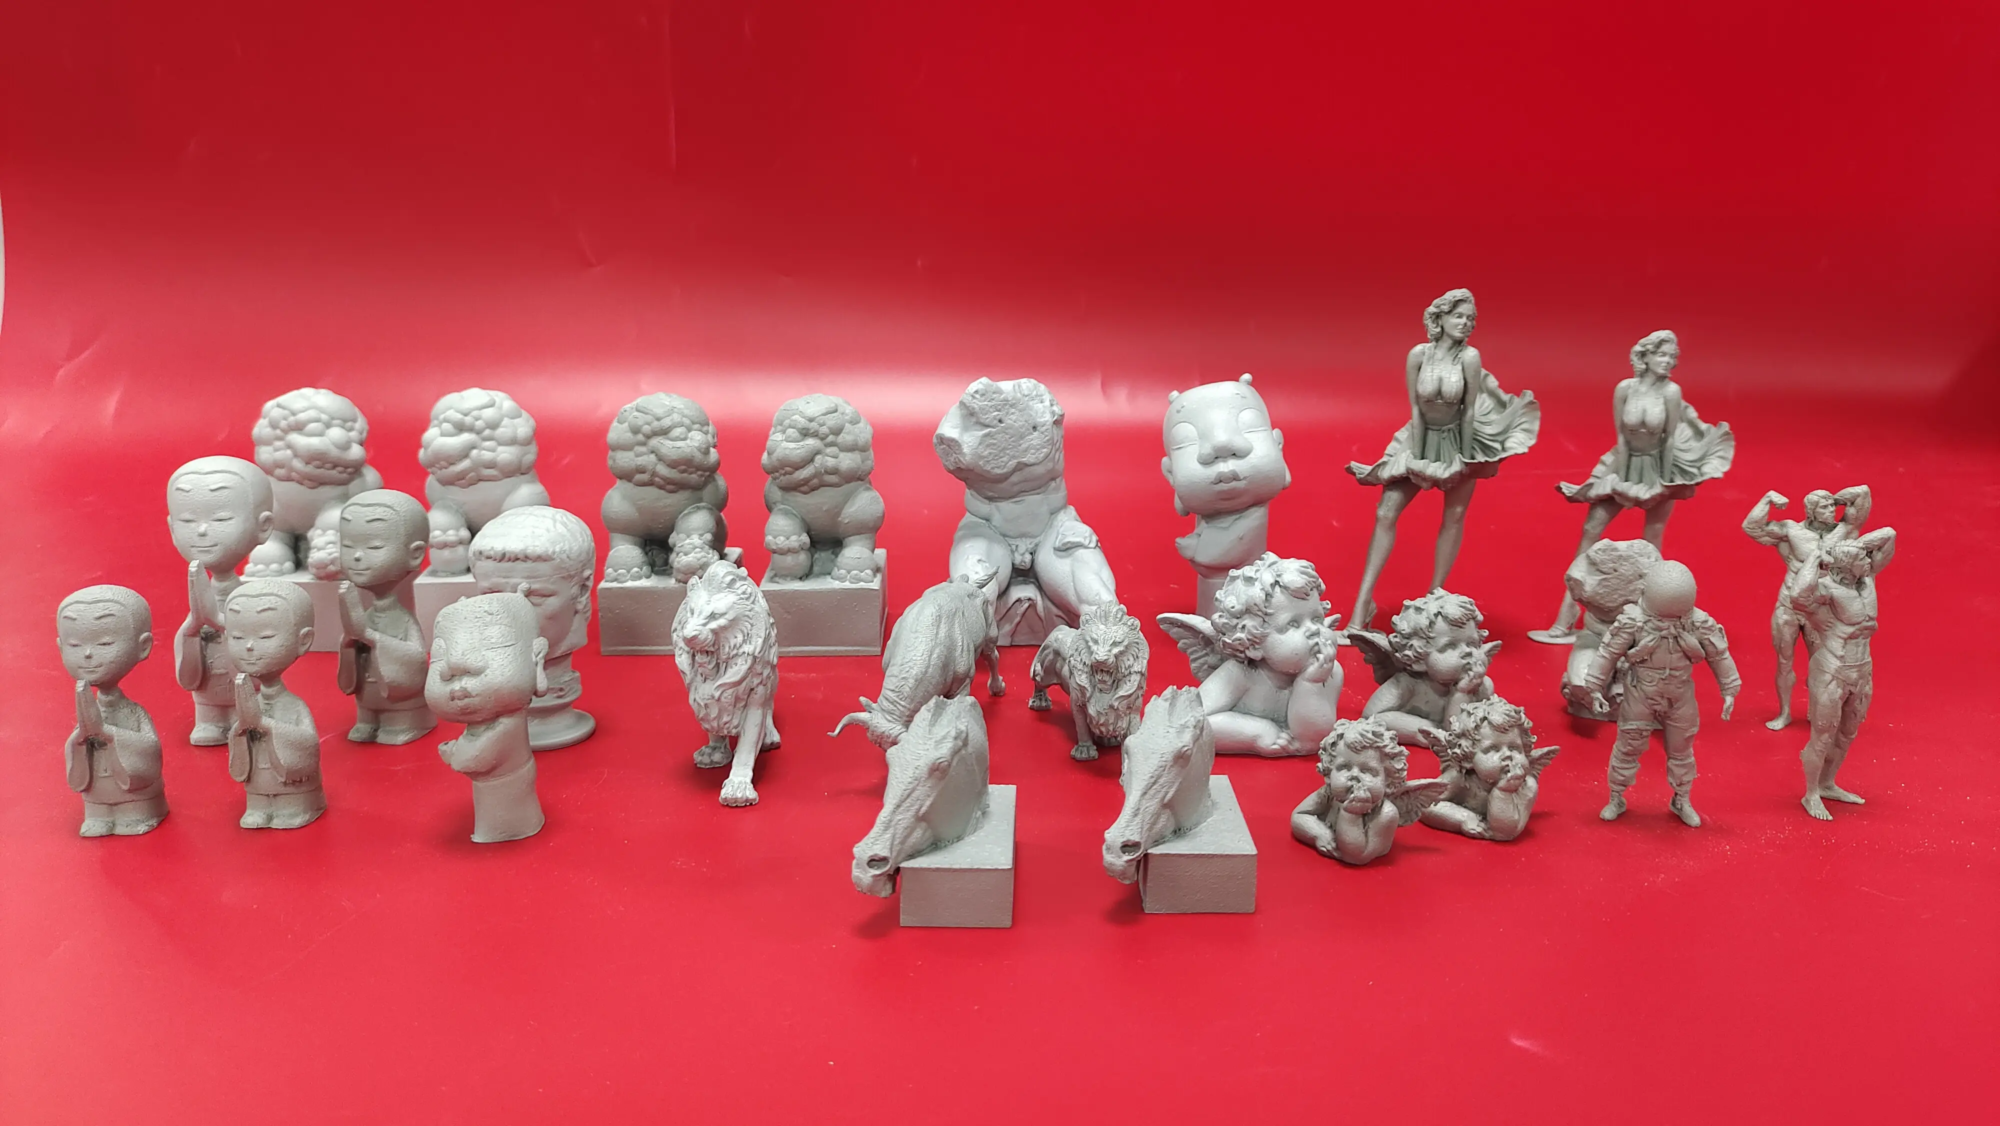
- Resin (SLA/MSLA): Provides unparalleled detail in fur and facial features. Use standard, durable or flexible resin. Perfect for miniature sloths.
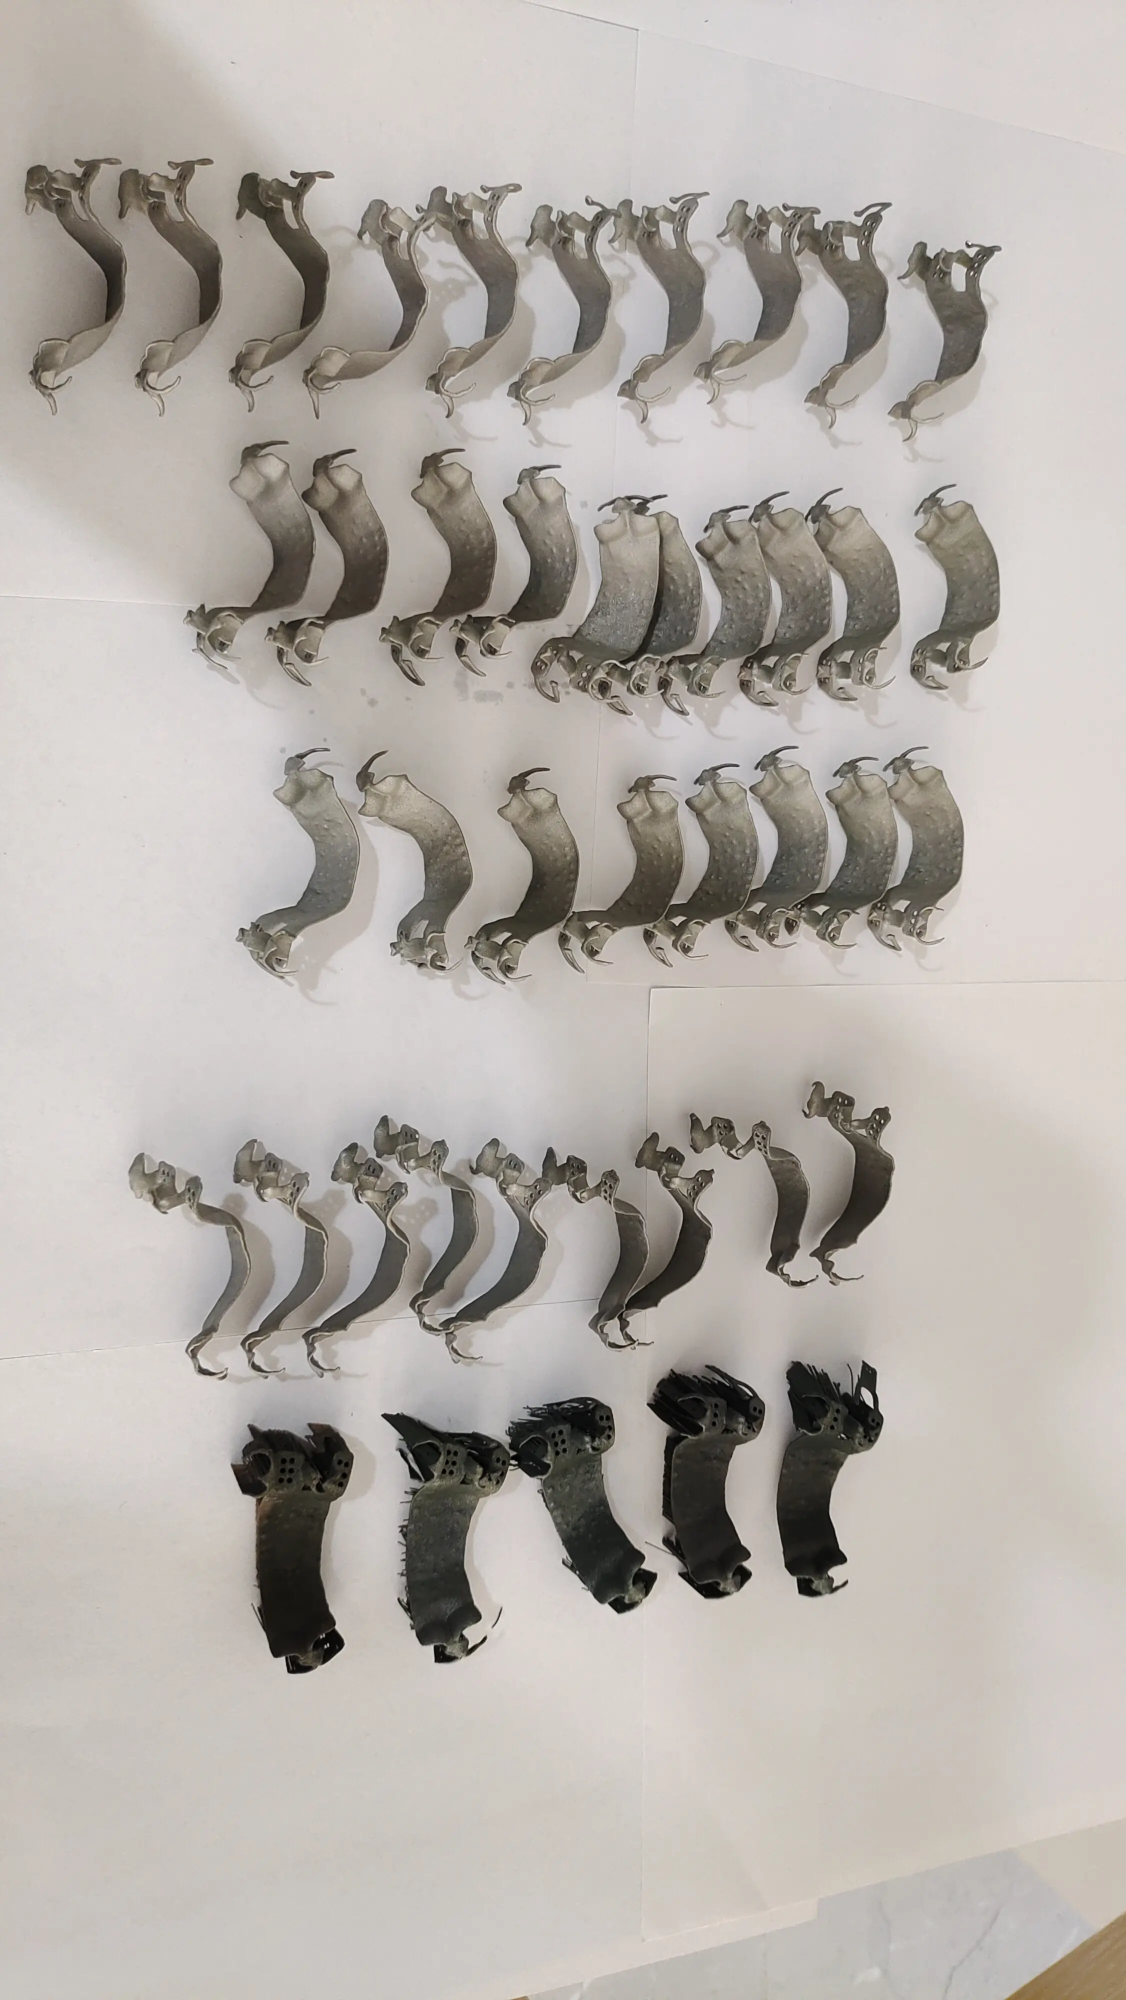
- Advanced options: For metal replicas with weight or heat resistance (stainless steel, titanium, aluminum alloys), SLM (Selective Laser Melting) is essential. Services such as huge light Industrial SLM printers are used to fuse fine metal powders layer by layer to produce ultra-strong, complex parts not possible with desktop methods. Ideal for jewelry, high-end decoration or functional components.
4. Printing process:
- Frequency division multiplexing: Ensure bed adhesion (clean surface, proper leveling), monitor first layer extrusion and check supports in the middle of the print. The casing helps reduce airflow on larger models.
- Resin: Carefully remove the model from the build platform. Follow safety procedures (gloves, ventilation). Wash uncured resin thoroughly in IPA.
- Metal SLM: industrial process (Handed by services such as GreatLight) A controlled inert gas environment, precise laser calibration and thermal management are required. Skip the DIY hurdles and get professional-grade results.
5. Post-processing – Make your sloth come to life:
- Support removal: Carefully cut off the FDM supports. Soak the resin print in warm water to soften the support.
- Sanding/Smoothing: Sand FDM prints from coarse (120 grit) to fine (800+ grit). Use filler primer on layer lines. As with resin, be careful when sanding delicate areas.
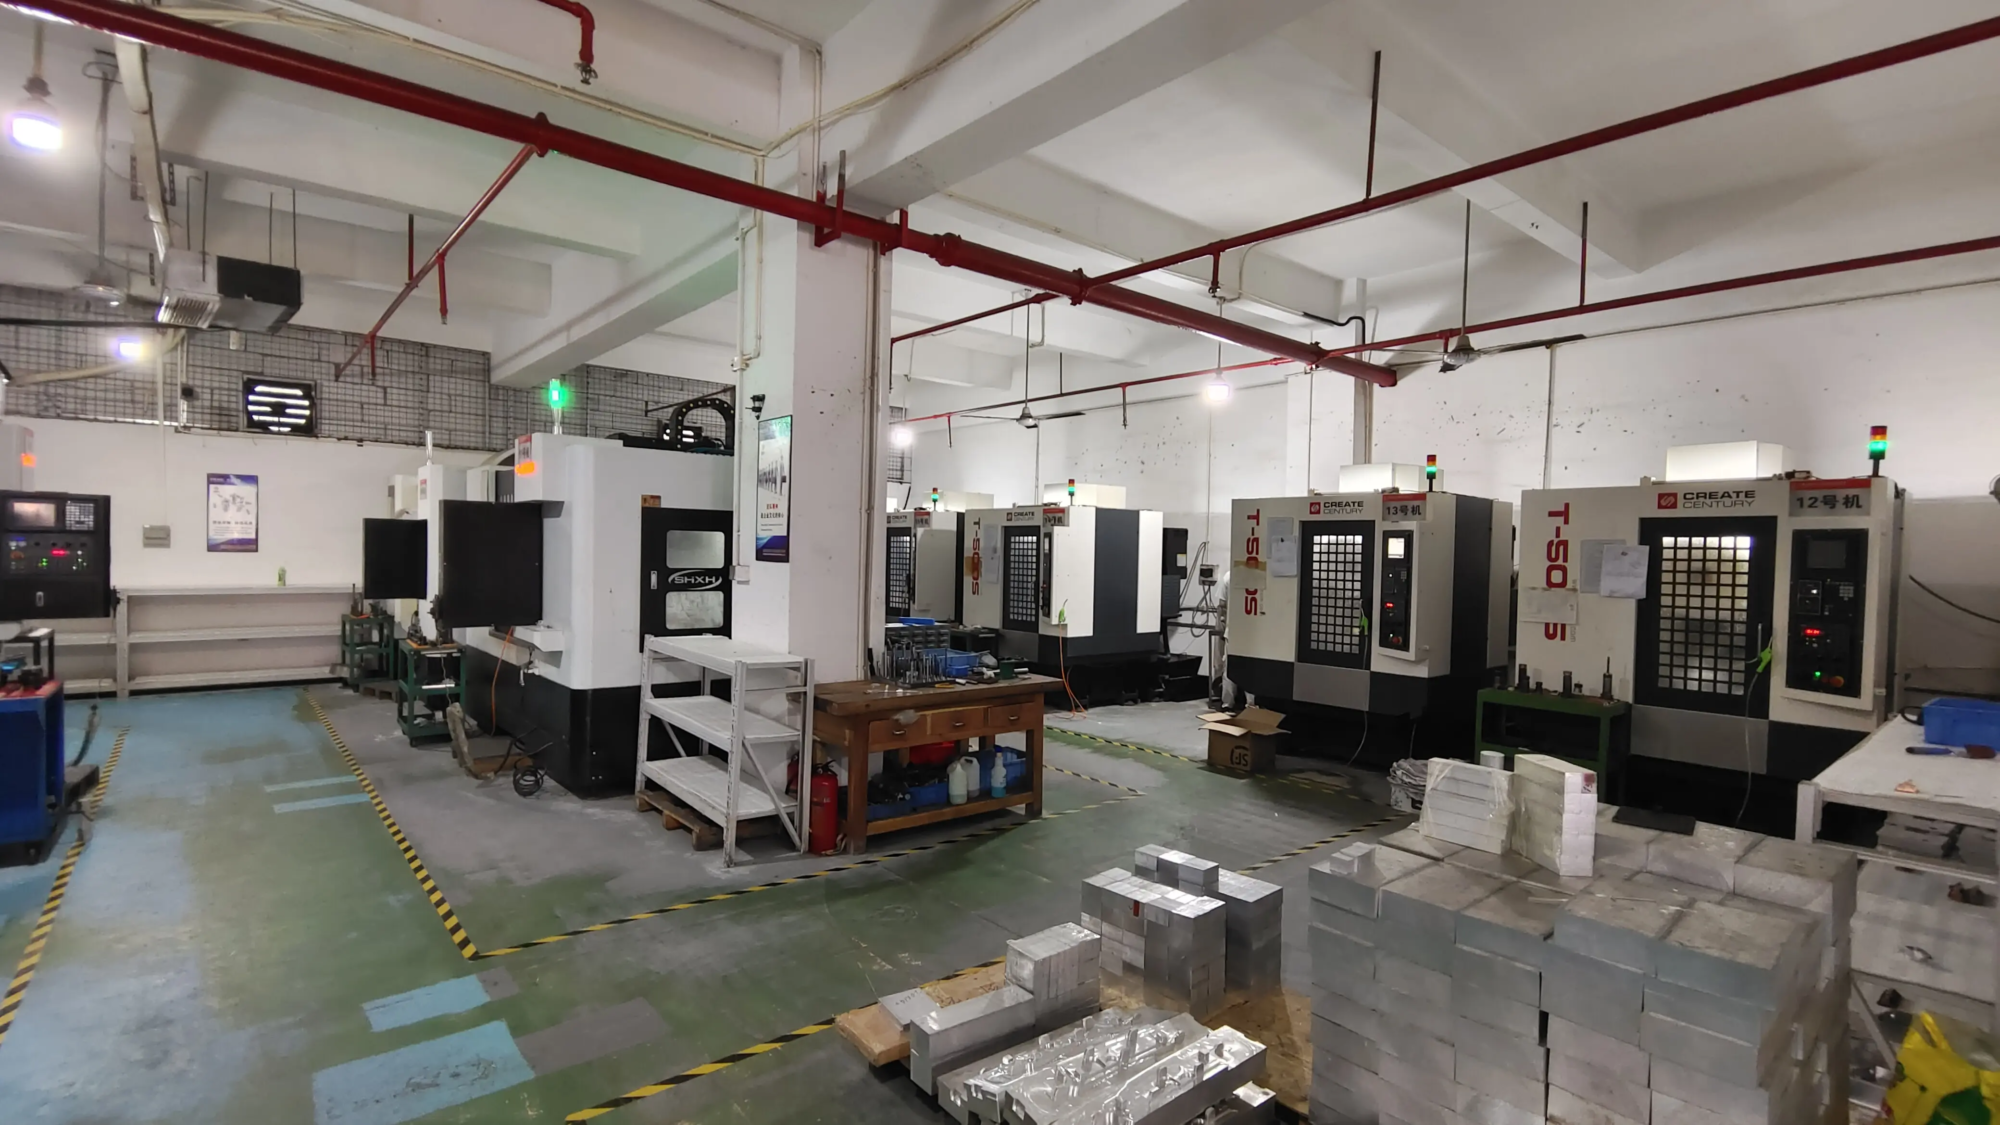
- Metal parts: Here’s where GreatLight’s products shine: Heat treatment (annealing), precision CNC machining, bead blasting, hand polishing or electroplating transform SLM printed blanks into showpieces. FDM and resin printing cannot match this durability or finish.
- Painting and details: Apply primer, then use acrylics or an airbrush. Dry brushing highlights fur texture. Seal with matt varnish.
- assembly: Use superglue (FDM/resin) or epoxy to glue multi-part prints. Metal parts can be professionally welded or brazed.
Overcoming the Challenge: Solutions for Sloths
- Drapes and supports: Strategic direction and a tested support setup are critical. Test small sections first.
- Fur details: Higher resolution printing (layer height ≤0.1mm FDM) or resin is key. Post-processing (dry brushing) enhances depth.
- Exquisite accessories: Slower print speeds ensure bonding. Optimize padding (gyro works well). Metal SLM can handle this problem effectively.
- Warpage (FDM): Use adhesive (glue stick, hairspray), case, and avoid cold drafts.
- Cure and Strength (Resin/Metal): UV light cures the resin completely. Metal SLM parts may require stress relief heat treatment to extend service life – a core service of SLM huge light.
in conclusion
3D printing a sloth is a rewarding project that blends art and engineering. From fun PLA tabletop statues to museum-quality titanium sculptures, the possibilities are endless. Desktop printers offer accessible creativity, but for projects that require unparalleled strength, surface finish, or complex geometries in metal, work with an expert like this huge light Unleash your true potential. Its advanced SLM capabilities, comprehensive post-processing including annealing, machining and polishing, and fast turnaround ensure your custom parts are reliably and accurately transformed from digital dreams to tangible treasures. Ready to create your own slow-motion masterpiece? Embrace the journey layer by layer.
FAQ: 3D Printing Sloths
Q1: Can I print a life-size sloth?
A: In theory, you can, segment the model for FDM printing and gluing the parts, or use an industrial large format printer, but the material cost will become very high. Metal versions require specialized industrial capabilities (e.g. glorious large SLM printers) and significant investments.
Q2: What is the best support strategy for paws?
A: Organic (tree) support works very well. When printing in resin, point the claws upward to make it easier to remove the supports. For metal SLM, engineers at suppliers like GreatLight algorithmically optimize supports to minimize scarring and material waste.
Q3: How to achieve realistic fur texture?
A: Resin printing best captures fine details. For FDM, use textured paint/dry brushing. specialized "blurred skin" Some slicer features can simulate rough coatings. Post sanding and priming help smooth the transition.
Q4: Can I make my 3D printed sloth functional?
Answer: Of course! Use flexible filament (TPU) to create bendable limbs, design hooks for cell phone holders, or create pendants. Metal printing enables wear-resistant mechanisms or structural applications.
Q5: Why choose metal 3D printing sloth? When is it worth it?
Answer: Choose Metal SLM for:
- Durability: Built to withstand wear and tear, outdoor use or load.
- Premium aesthetics: Unique metallic luster and polished effect.
- Complexity/Wall Thickness: Achieve fine details with a strength difficult to achieve with plastic.
- Options for institutional and professional applications (medical jewelry). Start a small batch service, e.g. huge light For custom metal designs.
Question 6: How can a service like GreatLight enhance plastic printing?
A: In addition to metal, they offer advanced finishing for FDM/resin parts: precise CNC machining for functional fit, professional painting/varnishing, impact-resistant coating or polishing for cost-effective near-SLA finishing—ideal for prototyping or volume production.


