introduce
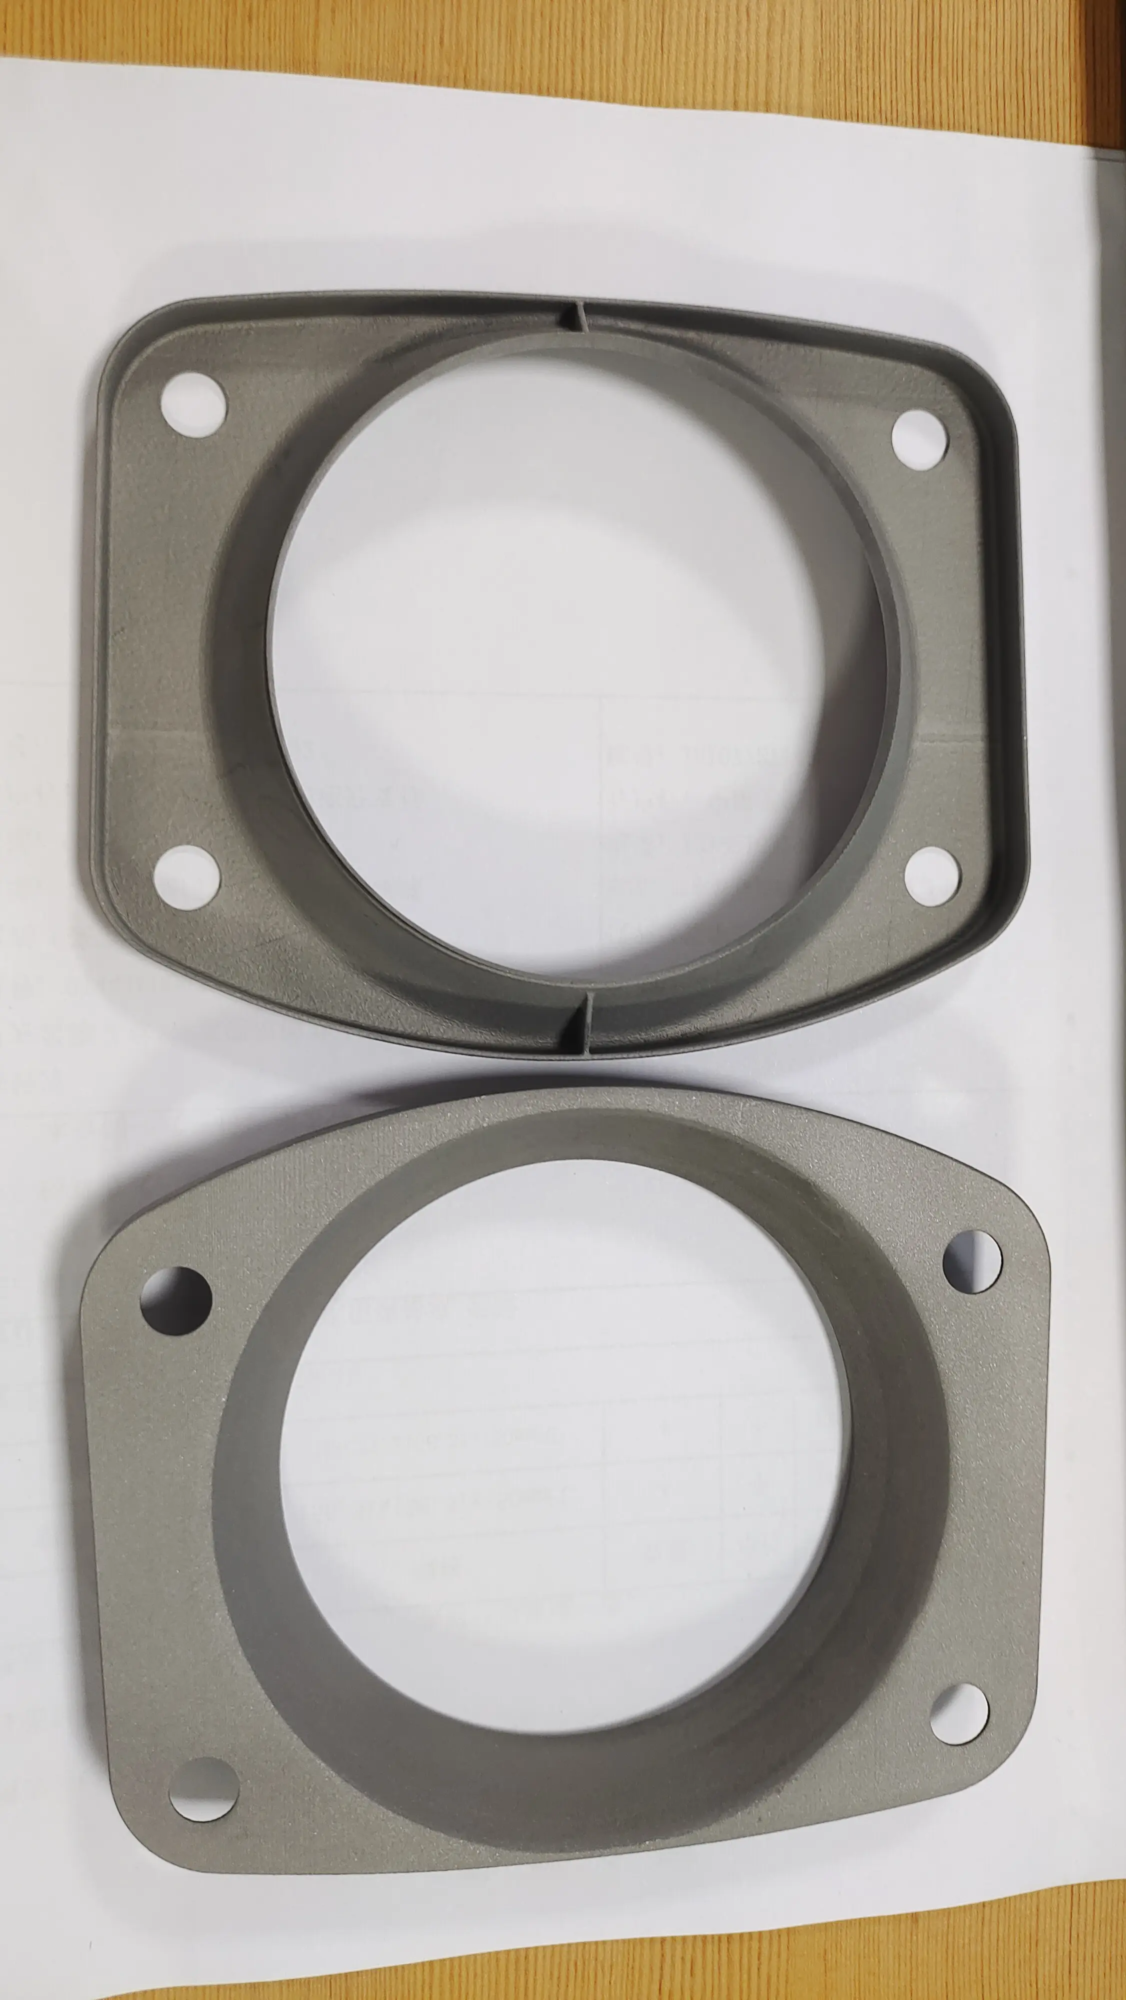
In the world of 3D printing, achieving a perfect smooth surface on finished parts is still the holy grail. While traditional methods such as grinding or chemical polishing can help you increase time and complexity. Enter Ironing– A slicer software technology that perfects the top layer of 3D printed, providing a glass-like finish without manual labor. This article provides an in-depth understanding of how ironing works, its benefits, and practical skills to master it.
What is ironing?
Ironing imitates the role of traditional clothing irons. Once one layer is completed, the printer’s thermal nozzle will perform a final pass through the melted defective melting surface (no extruded plastic). By applying controlled heat and pressure, it bounces back on the top layer, filling in the gaps and eliminating "ripple" Textures commonly found in FDM (Fused Deposition Modeling) printing.
How ironing works: Science
- Temperature control:
The nozzle heats existing plastic (usually 5-10°C below the printing temperature) to slightly melt the surface. - Zero ribs pass:
With extrusion disabled, the nozzle slides to the top layer, compressing the peaks through surface tension and filling the valley. - Precise path:
Slicers like Kura or Prusaslicer use algorithm-driven paths to avoid collisions, ensuring consistent pressure.
Key settings include Ironing speed (10–30 mm/s), Flow rate (5–15% material flow for microgap) and pattern (Twirl/Concentric).
Benefits of ironing
- Professional-grade surface:
Eliminate layer lines to create parts similar to injection quality. Ideal for visual prototypes or consumer-oriented products. - Time efficiency:
Reduce post-treatment hours – PLA, PETG or ABS required without sanding, primer or acetone vapor. - Enhanced adhesion:
A smooth surface improves the bonding of paint, adhesive or decorative paint. - Material efficiency:
Use minimal filaments during pass-through to avoid waste.
Challenges and solutions
Although revolutionary, ironing is not magic. Common pitfalls and solutions:
- Overheating/burning:
Make fixed: Reduce the ironing temperature by 5–10°C. - Nozzle resistance mark:
Make fixed: Reduce the ironing flow to ≤10%, and increase the Z offset by 0.05-0.1 mm. - Inconsistent results of complex geometric shapes:
Make fixed: Use concentric patterns to curve the surface; limit ironing to flat areas.
Material considerations: Best suitable for PLA, PETG and ASA. Avoid using TPU (too elastic) or filled filaments (absorbing).
Optimize your ironing settings
- Flow rate: Gloss finish starting at 5%; matte 10–15%.
- speed: 20 mm/s balance stationarity and time.
- pattern: Twisting in large flat areas; concentric curves.
- Layer alignment: Iron only Top level Save time.
Expert tips: Variable layer height– Thick bottom layer (0.1 mm) maximizes ironing efficiency.
in conclusion
Ironing transforms FDM printing from functional prototyping to end-use production. By mastering temperature, speed and flow, both amateurs and engineers can achieve aesthetic perfection without the need for boring post-processing. For the industry, this means faster iteration and lower costs, especially when paired with professional services.
Why choose Greatlime for your project?
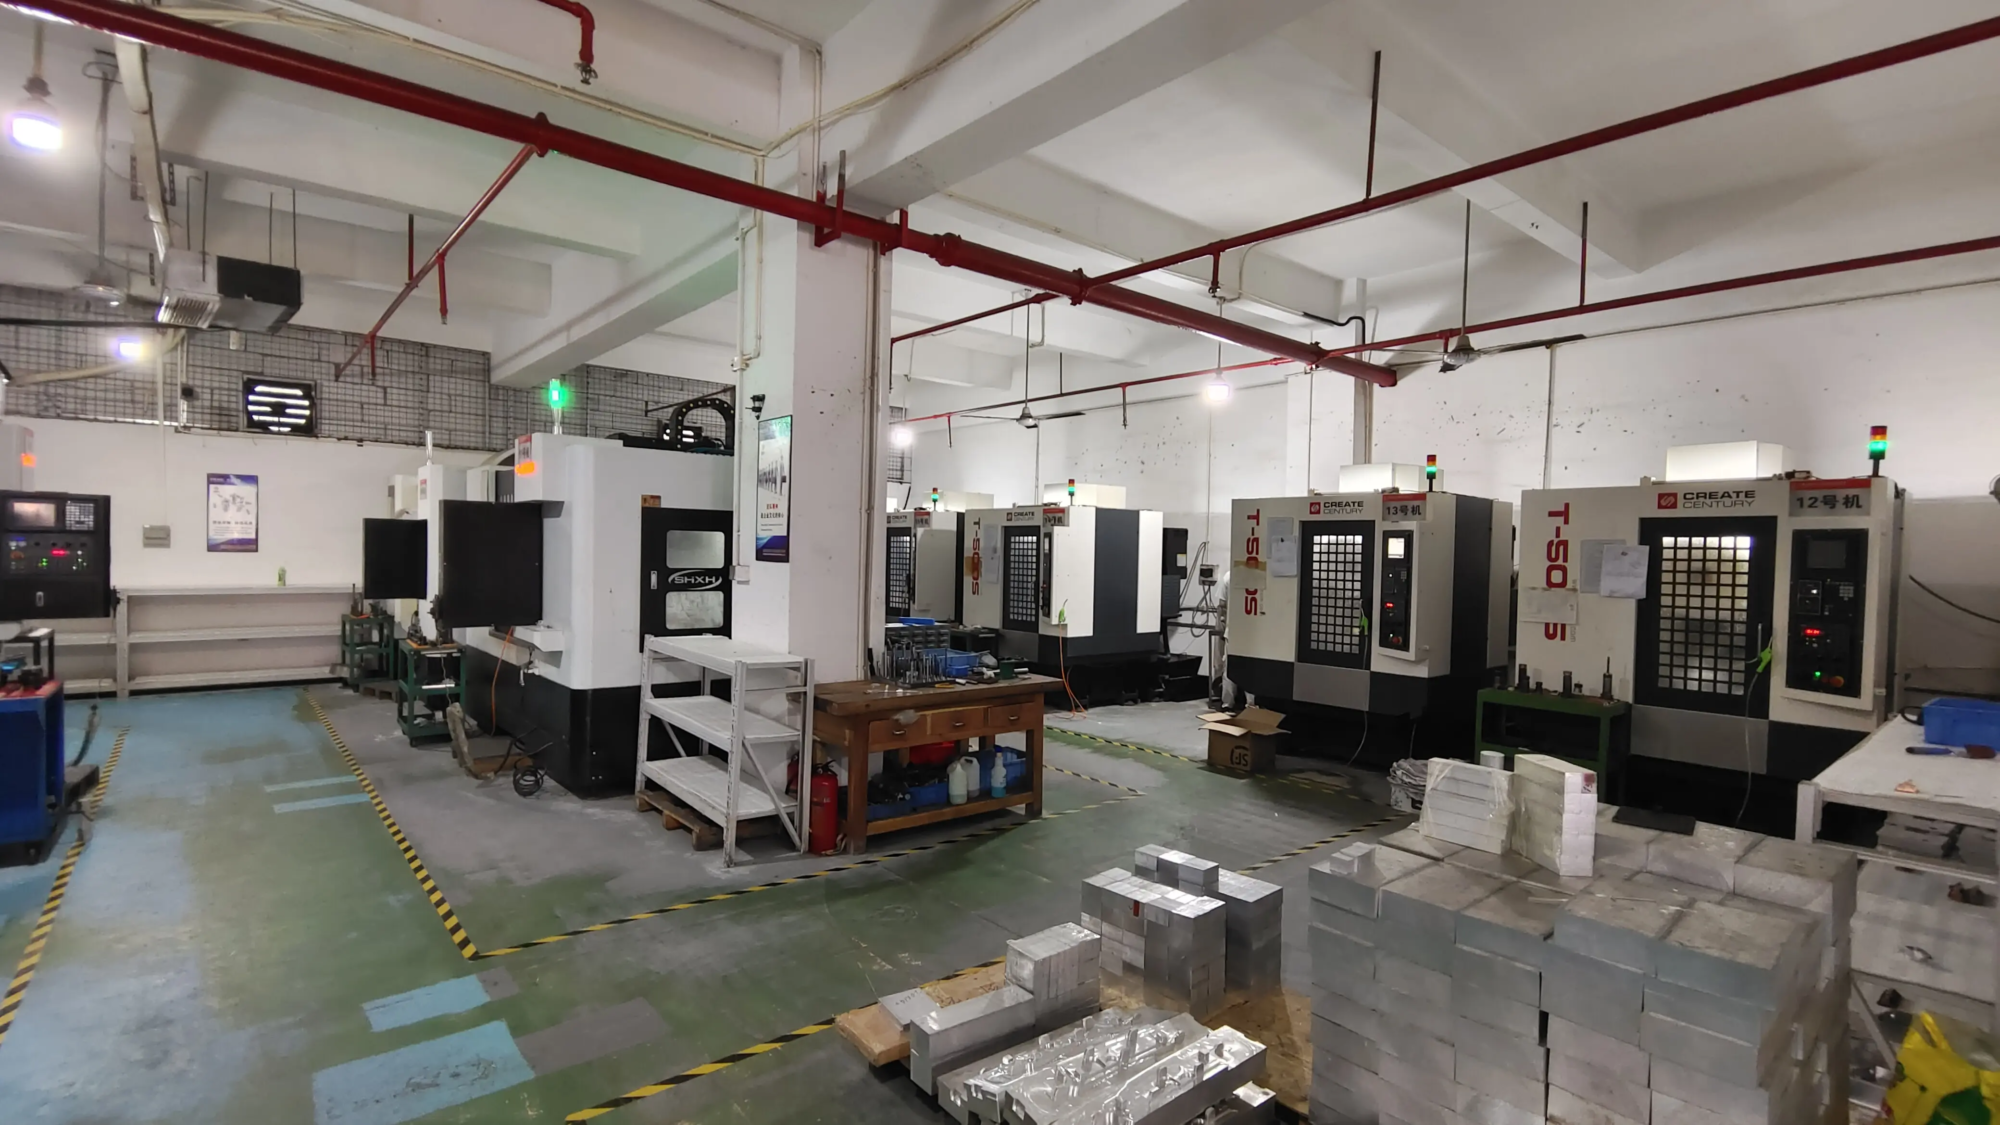
As a leader in rapid prototyping, Greatlight combines Advanced SLM 3D Printing and proprietary finishing techniques (including precise ironing) to provide impeccable surfaces of metal and polymer parts. From aerospace components to medical devices, our end-to-end services (printing, post-processing, custom finishing) ensure that your prototype meets the highest accuracy, durability and aesthetics. With fast turnaround and competitive pricing, Greglight is your innovative partner.
Customize your precision parts now →
FAQ
Q: Is ironing effective on all 3D printer models?
A: Yes, if your slicer supports ironing (e.g., Cura, Prusaslicer). The bed sheets and Corexy printers produce the best results due to stability.
Q: Can ironing replace the smoothness of acetone?
Answer: Part. Ironing can improve surface quality, but it cannot achieve the transparency or dark gloss of acetone. Use both for elite effects.
Q: Why does my ironing surface look bumpy?
A: Excessive production scheduling during the printing process will create uneven terrain. Calibrate electronic steps to reduce top-level flow and ensure stable cooling.
Q: Will ironing extend printing time?
Answer: It usually depends on the surface area of 10-25%. For large parts, enable ironing to minimize delays.
Q: Can Greatlight apply ironing on metal 3D prints?
A: Ironing is FDM-specific, we use Targeted laser re-melt Similar surface enhancement effects on metal parts during the SLM process.
Ready to upgrade the prototype? Contact Greatlight for a quote on 3D printing, finishing and rapid manufacturing solutions.


