Calibration Cornerstone: Mastering the Art of 3D Printer Test Cubes
In the intricacies of 3D printing, achieving consistent, high-quality results depends on one fundamental principle: calibration. At the center of this calibration ritual is often a humble but extremely powerful tool – the test cube. Mastering this seemingly simple object is often the critical first step in unlocking a printer’s true potential, ensuring dimensional accuracy, fine detail reproduction, and structural integrity for every project. Forget diving headfirst into complex models; embracing the test cube is where true mastery of printing begins.
Uncovering the Secrets of the Powerful Test Cube
A standard test cube is usually a 20x20x20mm cube (although the dimensions may vary), but it is more than just a geometric shape. It is a carefully designed diagnostic tool that integrates specific features that reveal key aspects of printer performance:
- X, Y, Z plane: Provides a clear surface for visual assessment of layer adhesion, surface finish (smoothness, consistency), and the presence of common artifacts such as ghosting/ringing or inconsistent extrusion.
- Embossed or engraved letters (X, Y, Z): These test the finer details and the printer’s ability to reproduce sharp corners and smooth curves, revealing issues with stepper motor calibration or extrusion consistency.
- Pinhole: Strategically positioned small round holes challenge dimensional accuracy (diameter) and pinpoint potential issues with XY alignment or extruder retraction settings causing hole deformation or clogging.
- Overhang features: Inclined sections (usually at specific angles such as 45°) increase the printer’s cooling capacity and extrusion flow control, exposing issues such as sagging or poor bridging.
- Top side: A flat surface is essential to evaluate top finish, bolster, gaps or extrusion deficiencies on critical surfaces.
- Overall geometry: The basic cube shape is rigorously measured to evaluate dimensional accuracy in all axes, identifying frame misalignment, belt tension issues or incorrect steps per millimeter calibration.
Why print a cube? reveal diagnosis
Printing test cubes provides immediate, tangible feedback in a number of ways:
- Dimensional accuracy: Use accurate calipers to measure the length, width, and height of the cube at multiple points. Consistent deviation pinpoints axis-specific mechanical or firmware step calibration errors. Precise dimensions are critical for functional parts that need to be assembled.
- Deconstructing surface defects:
- Brushing/bleeding: Tiny plastic bristles between features? Indicates insufficient retraction distance/speed or high nozzle temperature.
- Moving layers: Visible horizontal offset? Check belt tension, pulley grub screws, or stepper motor current/reference voltage.
- Ghosting/Ringing: Are there shadows or ripples near the sharp corners? Signals excessive acceleration/shock settings, loose machinery, or insufficient printer mass damping.
- Warp/Lift: Corners peeling off? Indicates poor bed adhesion (leveling issues, incorrect surface preparation/z-offset), insufficient bed temperature, or excessive cooling airflow.
- Poor overhang/bridging: Bridge/overhang sagging or drooping? Indicates insufficient cooling fan speed/position, printing too fast on the overhang, or too high a temperature.
- Insufficient clearance/squeeze: Are there visible holes in the top layer or weak perimeter? Could mean a clogged nozzle, incorrect filament diameter settings, extruder tension/electronic stepping issues, or volumetric flow restrictions.
- Straps/ribs: Regular vertical lines? Usually caused by Z-axis binding or wobble (screw alignment/cleanliness, coupler issues).
Calibration Workflow: Print and Analyze Your Cube
- Baseline settings: Start with the manufacturer’s recommended microtome settings for your filament type (PLA, PETG, ABS). Ensure meticulous bed leveling/shipping and correct nozzle height (Z-axis offset). Clean the nozzle beforehand.
- Print with purpose: Print cube No Initially use any bonding aids such as edges or rafts. These can mask warping/leveling issues. Look closely at the print.
- Visual inspection: Systematically examine each face as it prints and after finishing. Documentation observations: Surface uniformity, edge sharpness, hole quality, overhang performance, presence of strings/whiskers.
- Precision measurement: use digital caliper Conduct objective accuracy assessments. Measure each dimension (X, Y, Z) multiple times (top/middle/bottom). Calculate the average deviation. Measure the pin hole diameter in the X and Y planes.
- Explanation and adjustment: Relate observations and measurements to potential problems. Adjustment One setup at a time:
- Dimensions not accurate? → Adjust the number of steps per millimeter (
M92) for the axis in question. - Pull the string? → Increase retraction distance/speed; gradually reduce nozzle temperature (e.g., 5°C steps).
- Bad draping? → Improved cooling (fan speed, air duct design); slow printing speed, especially suitable for protruding parts in slicers.
- Warping? → Carefully re-level/adjust the bed; adjust z-axis offset; ensure clean bed and proper bonding method (PEI, glue stick, hairspray); optimize bed/nozzle temperature; eliminate drafts.
- Layer transfer? → Tighten belt/flat head screws; check stepper drive/motor for overheating; check for nozzle collision.
- Not enough squeeze? → Check/replace PTFE tube; clean/replace nozzle; calibrate extruder step E (
M92 E); Check the friction of the filament path.
- Dimensions not accurate? → Adjust the number of steps per millimeter (
- Iteration: print a new Test the cube after each adjustment. Repeat analysis. Calibration requires persistence.
Beyond the Basics: Advanced Cube Insights
- Material matters: Exchange filament? Calibrate again! PLA, PETG, ABS, Nylon or TPU all have very different ideal temperature, retraction, speed and cooling requirements that affect the cube results.
- Temperature Tower: Use cubic geometry modified as a temperature tower to visually identify optimal extrusion temperature ranges for new filament brands/types forward Run the calibration cube.
- Speed and traffic tests: Modify cube fill pattern or wall thickness to test volumetric flow restrictions and high speed effects.
Conclusion: Precision requires patience and courage
Test cubes are the unsung heroes of successful 3D printing. It enables you to isolate problems, eliminate guesswork, and systematically improve printer performance by turning a quick print into a powerful diagnostic session. For functional prototypes, jigs, fixtures and end-use parts, consistent dimensional accuracy and perfect surface quality cannot be ignored.
For professionals who require absolute precision and reliability In addition to the capabilities offered by hobbyist FDM printers (especially for advanced metals or intensive applications), meticulous machine calibration, expert process engineering, and top-of-the-line equipment become critical. This is where a dedicated rapid prototyping partner shines.
FAQ: Unraveling the Test Cube
-
Q1: Is a 20mm cube necessary? Can I use different sizes?
- A: While 20mm is a standard size (easy to scale/measure), size is more important than consistency. Make sure your CAD/slicer generates cubes with exact nominal dimensions (e.g. 15mm or 25mm). Diagnostic features (holes, letters, protrusions) are critical, not just size.
-
Q2: How often should I print a test cube?
- Answer: It depends on the situation! Key triggers include:
- After any major hardware changes/modifications.
- Switch to a new filament brand or material type.
- Observe print quality degradation in your project.
- Periodically (e.g. monthly) as preventive maintenance. Don’t wait to fail.
- Answer: It depends on the situation! Key triggers include:
-
Q3: What accuracy should I pursue?
- A: For consumer FDM printers: ±0.1 mm per 20 mm axis is typically achievable and excellent. For industrial-grade machines and applications, tolerances are often significantly tighter (±0.05mm or less). Realistic goals are key – perfection is elusive on a desktop.
-
Q4: My layers are fine, but the holes look oval or have rough edges. What’s wrong?
- A: This is a strong indication that there is a belt tension/alignment issue. Causes of loose belts "slope," Translates to poorer hole roundness and rounded corners instead of sharp vertices. Tighten the X-axis and Y-axis belts evenly. Also, check pulleys and rollers for wear or dirt.
- Q5: My cube printed perfectly. Does this mean I’m ready for any complex model?
- Answer: Not necessarily! Along with the main verification, the cube mainly tests basic geometries and common defects. Complex models come with challenges such as complex supports, stress on cooling due to different geometries, very small details, longer print times (stress on mechanics/temperature), and complex slicing requirements. Use the cube as a base and then work your way up to printing more complex calibration objects before tackling complex projects. Different geometries test different machine capabilities.
Elevate your requirements beyond the desktop?
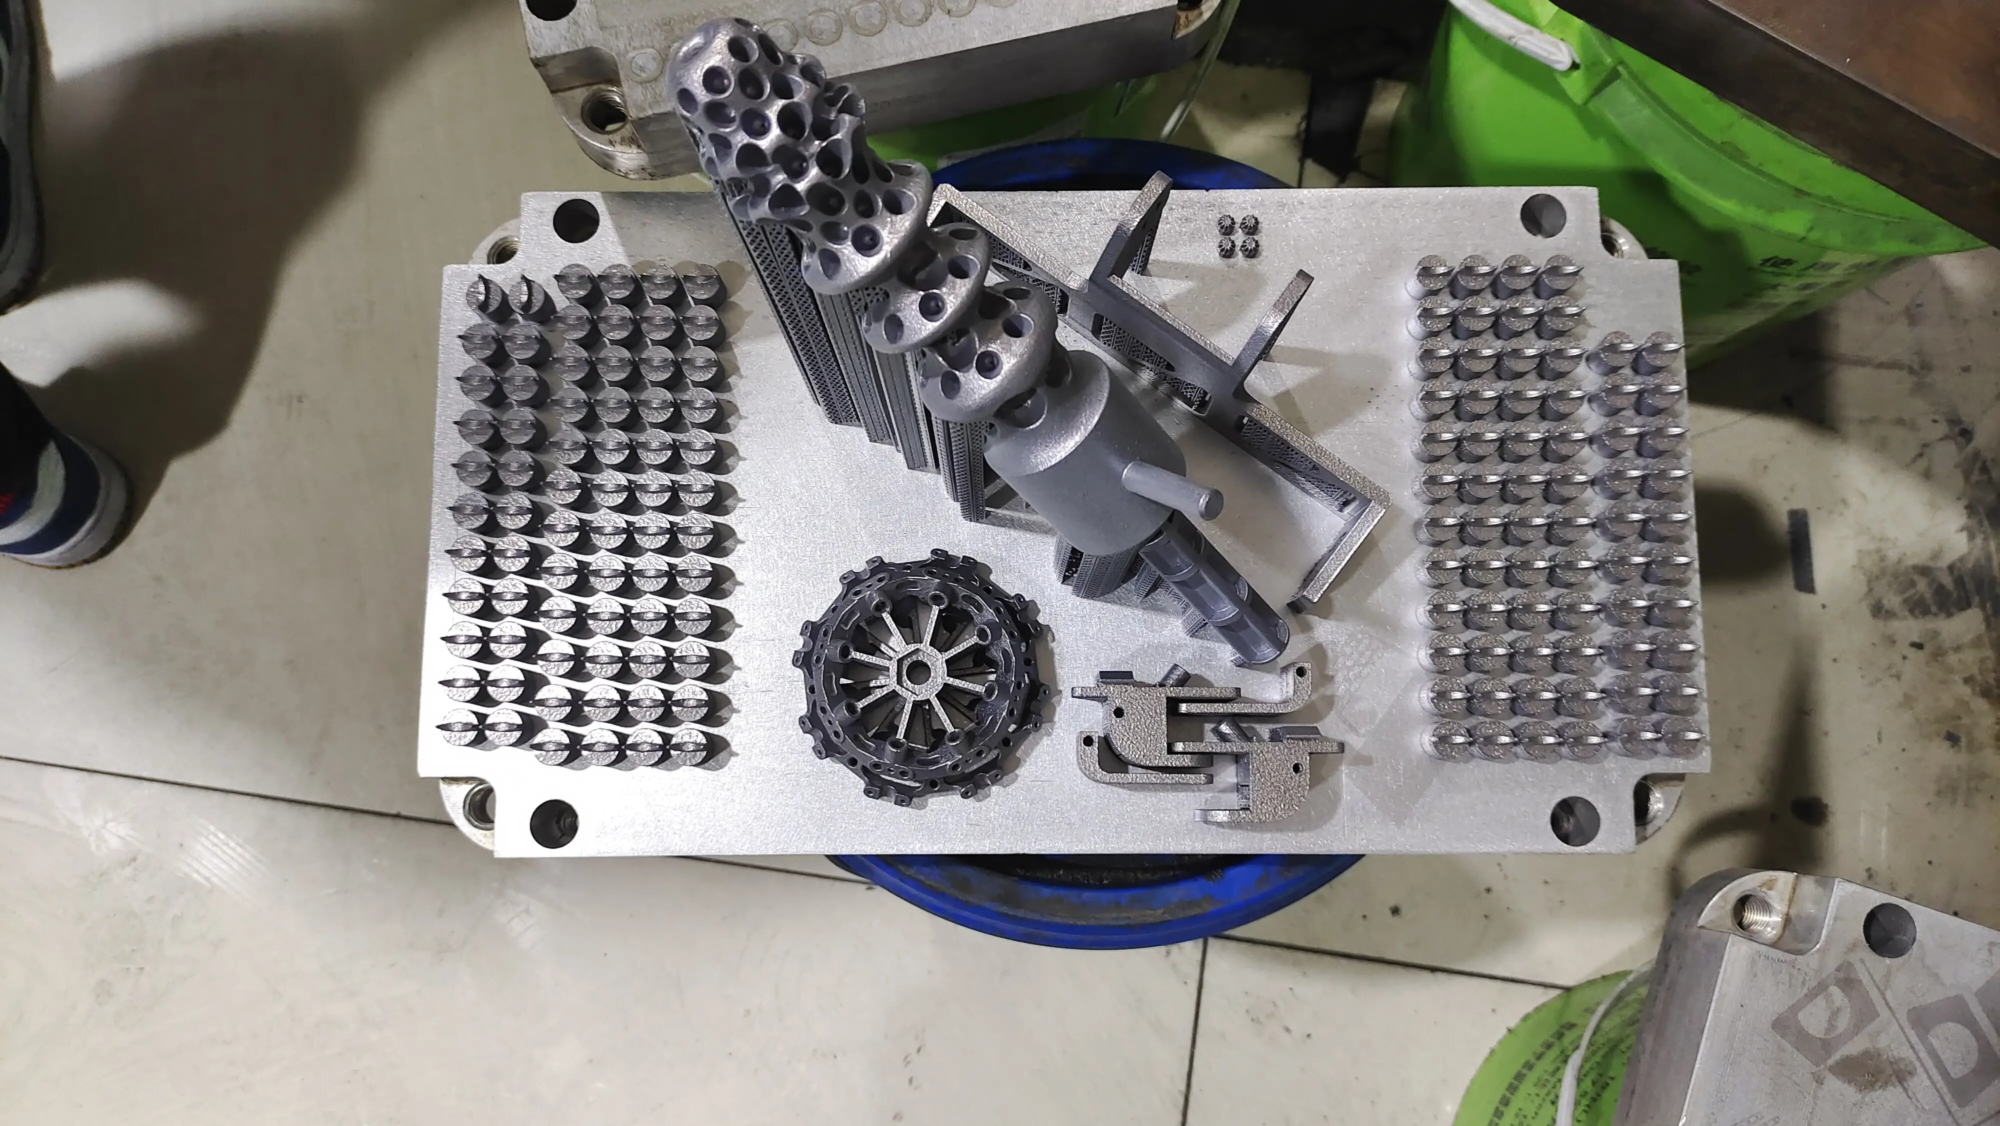
Leverage expertise for mission-critical applications that require uncompromising dimensional accuracy, superior material properties (especially in metals like titanium, aluminum, stainless steel, etc.) and impeccable surface finish Selective Laser Melting (SLM) Competence is crucial.
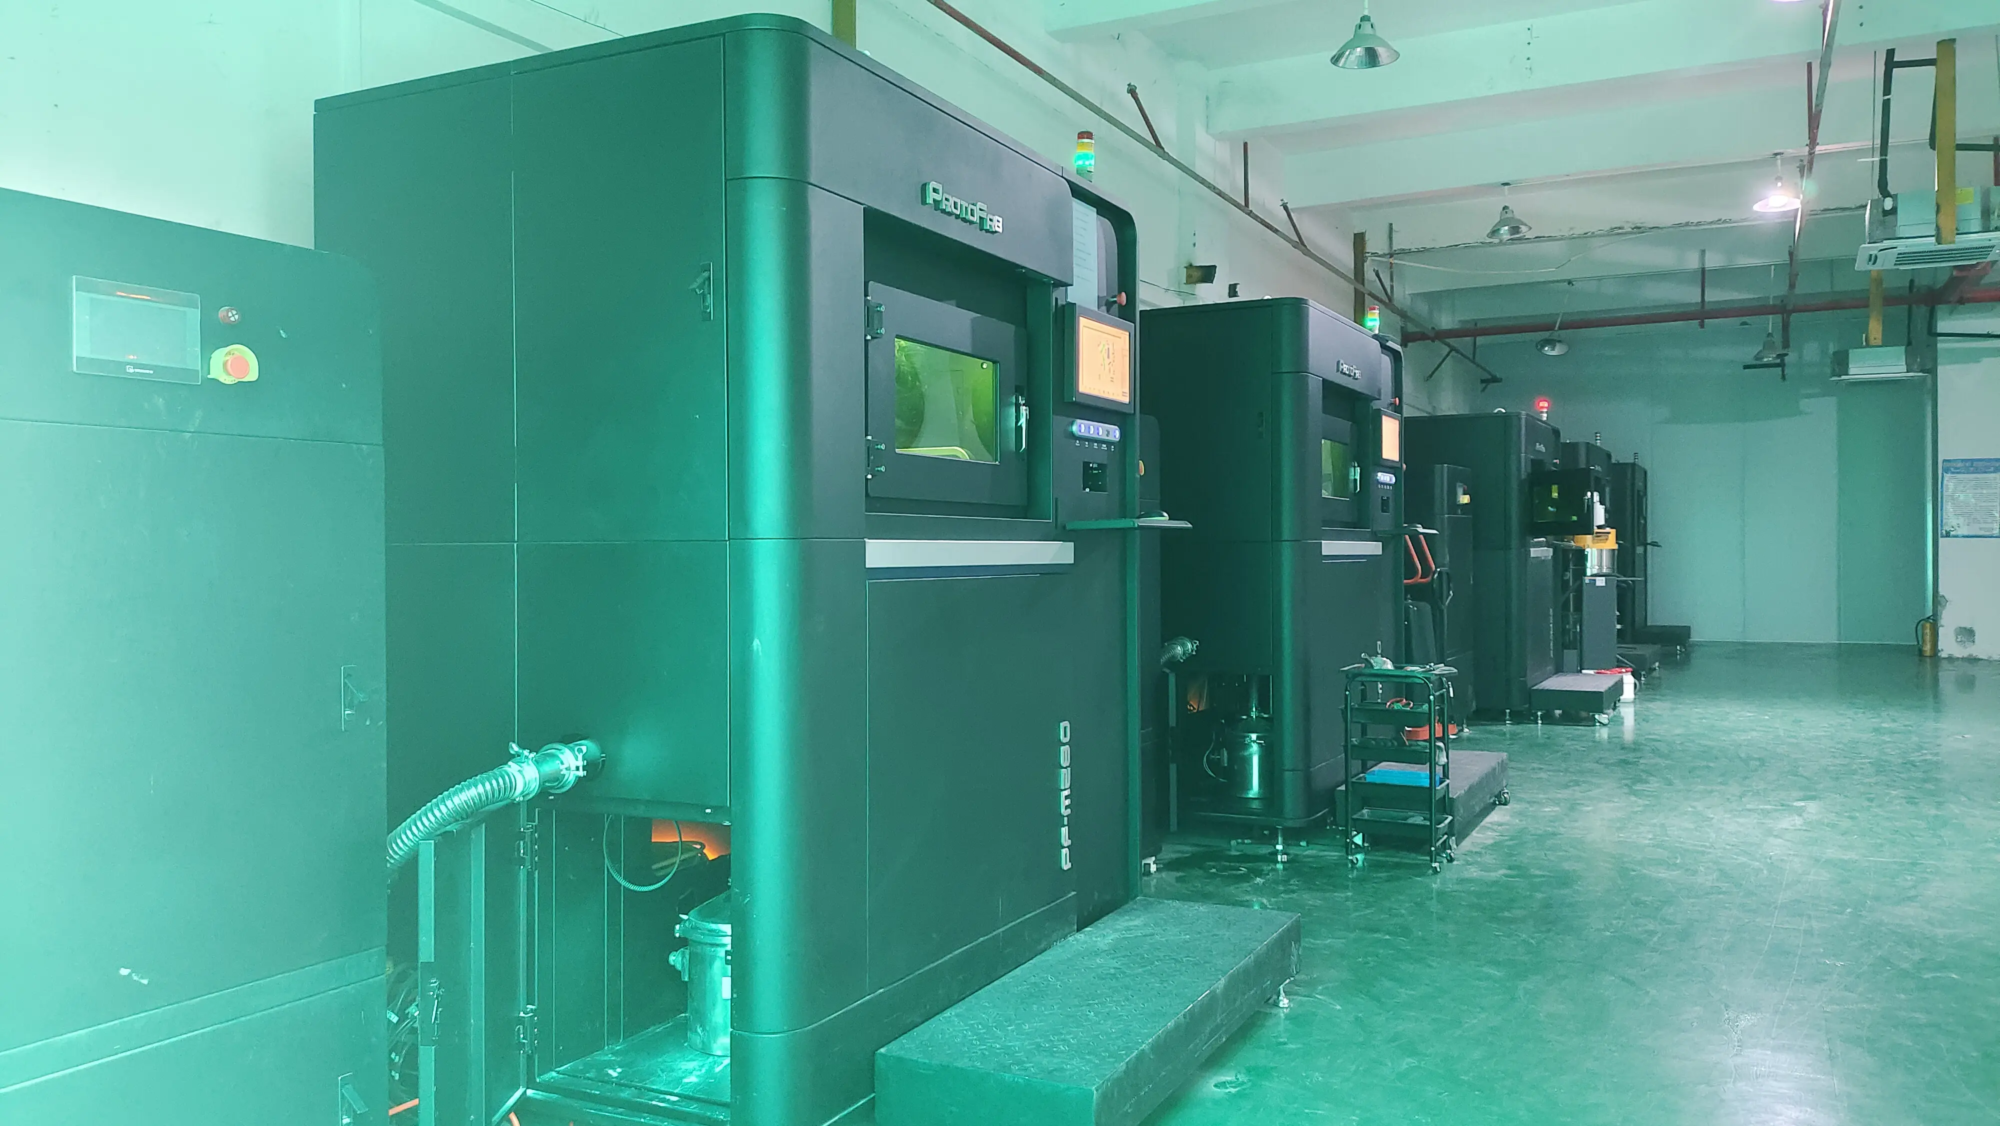
GreatLight exemplifies this type of expertise. As a leading rapid prototyping manufacturer equipped with advanced SLM 3D printers and superb production technology, we specialize in solving complex metal prototyping challenges. Utilizing rigorous calibration protocols (reminiscent of, but far beyond, a simple test cube), our process ensures extremely tight tolerances and flawless metallurgy. We offer comprehensive one-stop solutions including custom material selection, precision machining, meticulous post-processing (finishing) and expert finishing.
When precision, durability and speed are undisputed, discover how GreatLight can transform your vision into a flawlessly executed metal reality. Discover sophisticated rapid prototyping solutions crafted for optimal performance.


