Unleashing the Power of 3D Printing Nickel Plating: A Comprehensive Guide
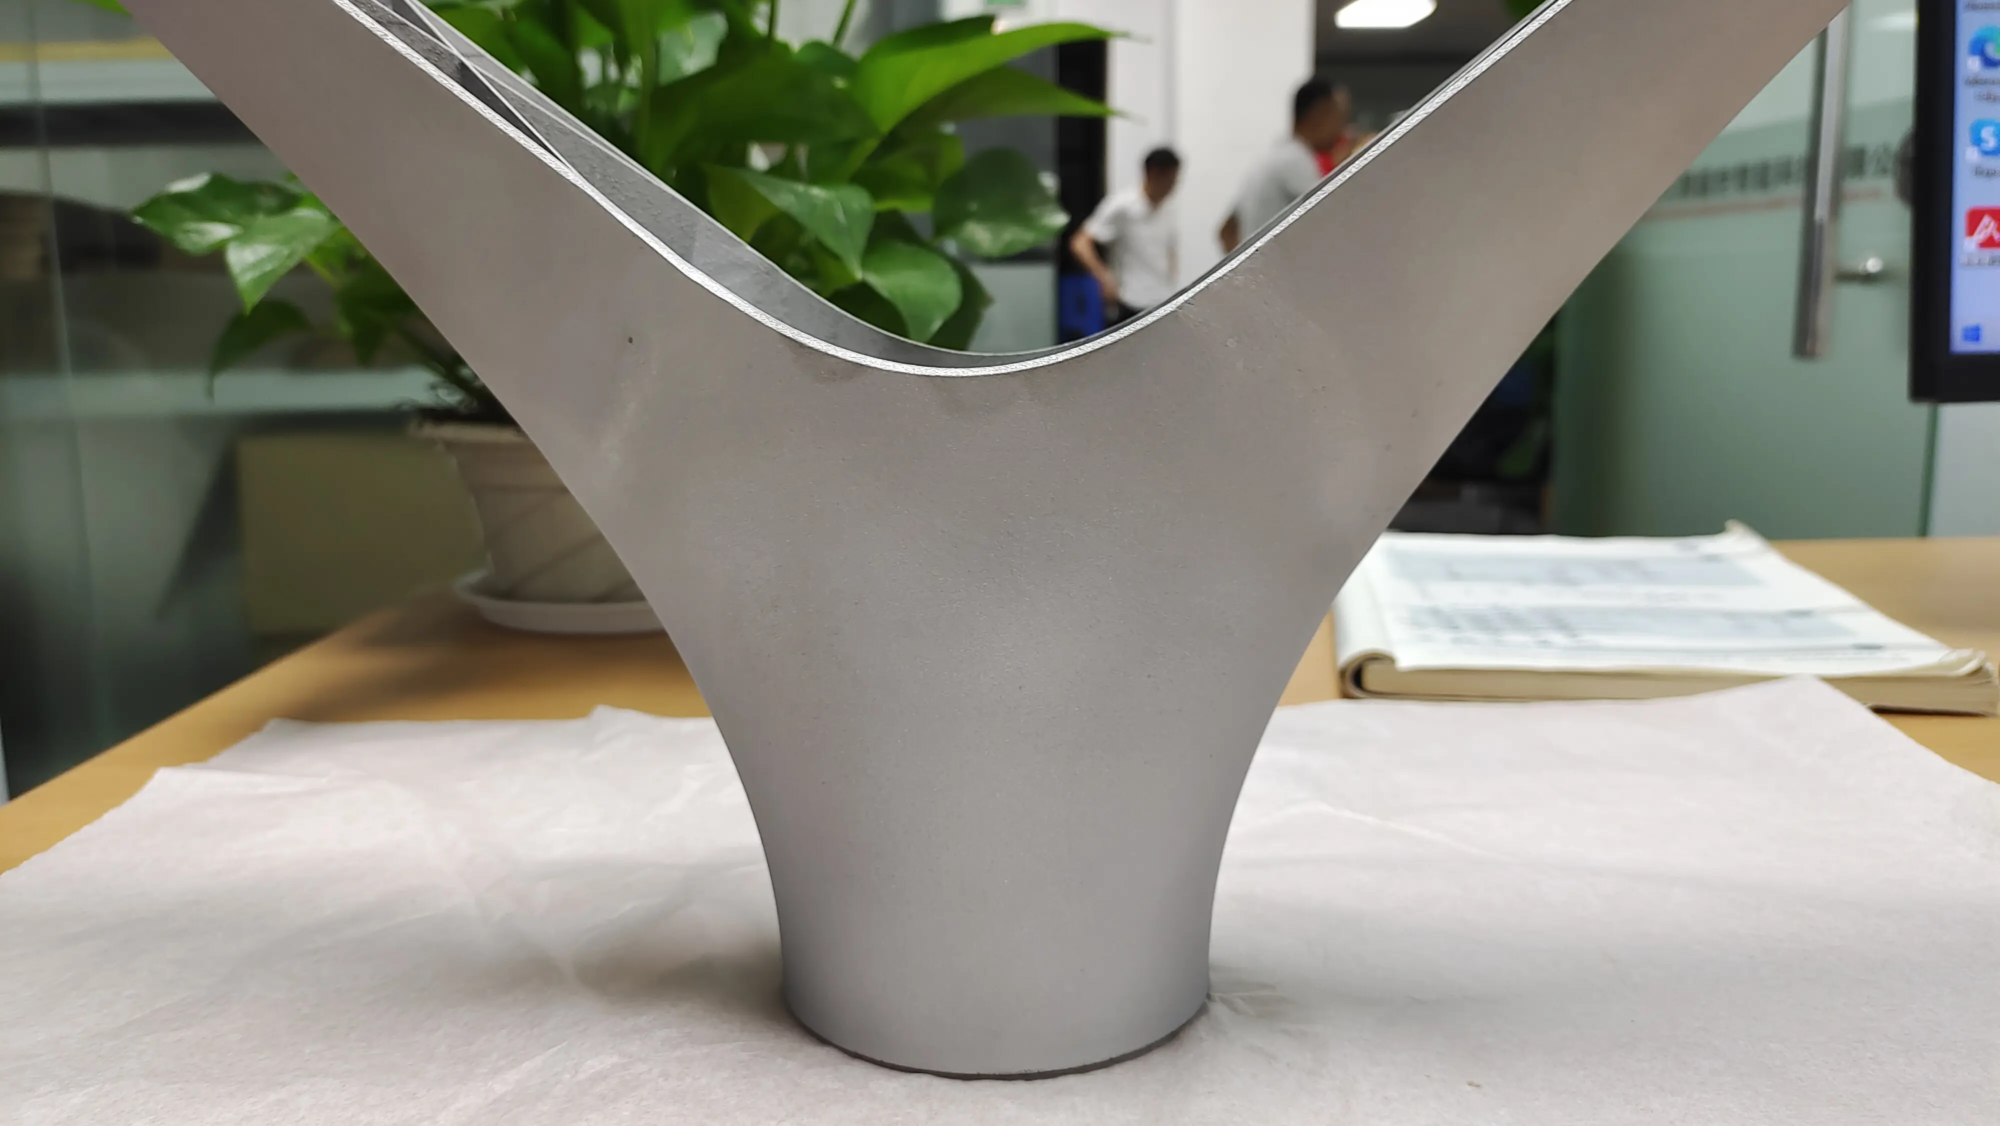
3D printing has revolutionized prototyping and manufacturing, but original prints often lack the aesthetics, durability or functional properties required for end-use parts. Nickel plating transforms ordinary plastic, resin or metal 3D printed parts into strong, corrosion-resistant, conductive parts with a professional metal finish. Whether you’re an engineer, a hobbyist, or a product designer, this guide will demystify the process and help you improve your prototypes.
Why choose nickel plate 3D printing?
Nickel plating is not just about aesthetics, it also enhances functionality:
- Durability: Increased wear resistance and structural reinforcement.
- Corrosion protection: Protect parts from moisture and chemicals.
- Conductivity: Can be used in electronic products (e.g. EMI shielding).
- Surface finish: Available in smooth, reflective or matte metallic looks.
- Thermal performance: Improves heat dissipation in high-temperature applications.
Materials suitable for nickel plating
Not all 3D printed plating effects are created equal. These materials produce the best results:
- ABS: It is ideal for electroplating due to its easy surface smoothing.
- Resin (SLA/DLP): Requires conductive coating (e.g. graphite, copper paint).
- Metal printing (SLM/SLS): Direct plating is possible, but surface refinement is required.
- avoid: Hydrophobic materials such as PP or unmodified PLA (poor adhesion).
Step-by-Step: Preparing for 3D Printing
1. Smoothing and post-processing:
- Polishing: Start with coarse grit (220) to remove layer lines and finally use 600+ grit to get a uniform surface.
- Chemical Smoothing: For ABS, use acetone vapor (control exposure to prevent melting).
- Fill primer: Apply a sandable primer to fill micropores.
2. Clean and activate:
- Degrease with isopropyl alcohol to remove grease.
- For non-conductive plastics:
- Etching: Immerse in chromic acid or a specialized etchant (such as ASTM D2092) for 1-5 minutes to create tiny holes for adhesion.
- Neutralize: Rinse with baking soda solution after etching.
Nickel plating method revealed
1. Electroplating
Best suited for conductive substrates (metal prints) or pre-metalized plastics.
process:
- Step 1: Apply the conductive layer
Spray graphite or copper-based conductive coating. - Step 2: Electrolyte Tank Setup
Use a nickel sulfate-based solution (such as Watts Bath). Maintain pH 3–4 and 45–60°C. - Step 3: Electroplating
Dip the part (cathode) next to the nickel anode. Apply 0.5–1 A/dm² for 30–90 minutes. Stir gently to avoid air bubbles.
advantage: Deposition is faster and coatings are thicker (up to 100+ microns).
shortcoming: Requires power, uneven coverage of complex geometries.
2. Electroless nickel plating
Best for complex geometries or non-conductive parts.
process:
- Step 1: Catalysis
Sensitization with tin chloride followed by activation of seeded nucleation sites with palladium chloride. - Step 2: Plating Tank
Immerse in a heated (85–95°C) solution containing nickel ions and a reducing agent such as sodium hypophosphite. No electricity is required—a chemical reaction automatically deposits the nickel. - Step 3: Rinse and dry
Remove after 30-120 minutes (layer thickness: 5-20 microns).
advantage: The coating is uniform and suitable for complex shapes without the need for a conductive layer.
shortcoming: Slower, expensive chemicals, limited thickness.
Best Practices After Plating
- rinsing: Rinse immediately with distilled water to stop the chemical reaction.
- seal: Apply varnish to prevent oxidation.
- polishing: Polish with a microfiber cloth for a mirror finish (optional).
FAQ Troubleshooting
- Poor adhesion: Caused by insufficient cleaning or etching. Re-etch and reactivate.
- Foaming: Trapped gas or moisture. Preheat parts before plating.
- Dull spots: Bath temperature is low or stirring is insufficient.
- Pitting corrosion: Bath solution is contaminated – filter solution regularly.
Conclusion: When to Choose Nickel Plating
Nickel plating is a game changer for functional prototypes, aerospace parts, automotive components or consumer products. While DIY methods are feasible for hobbyists, achieving industrial-grade results requires precision. For mission-critical applications, partner with experts who combine advanced 3D printing with professional post-processing.
Partner with GreatLight for the perfect metal finish
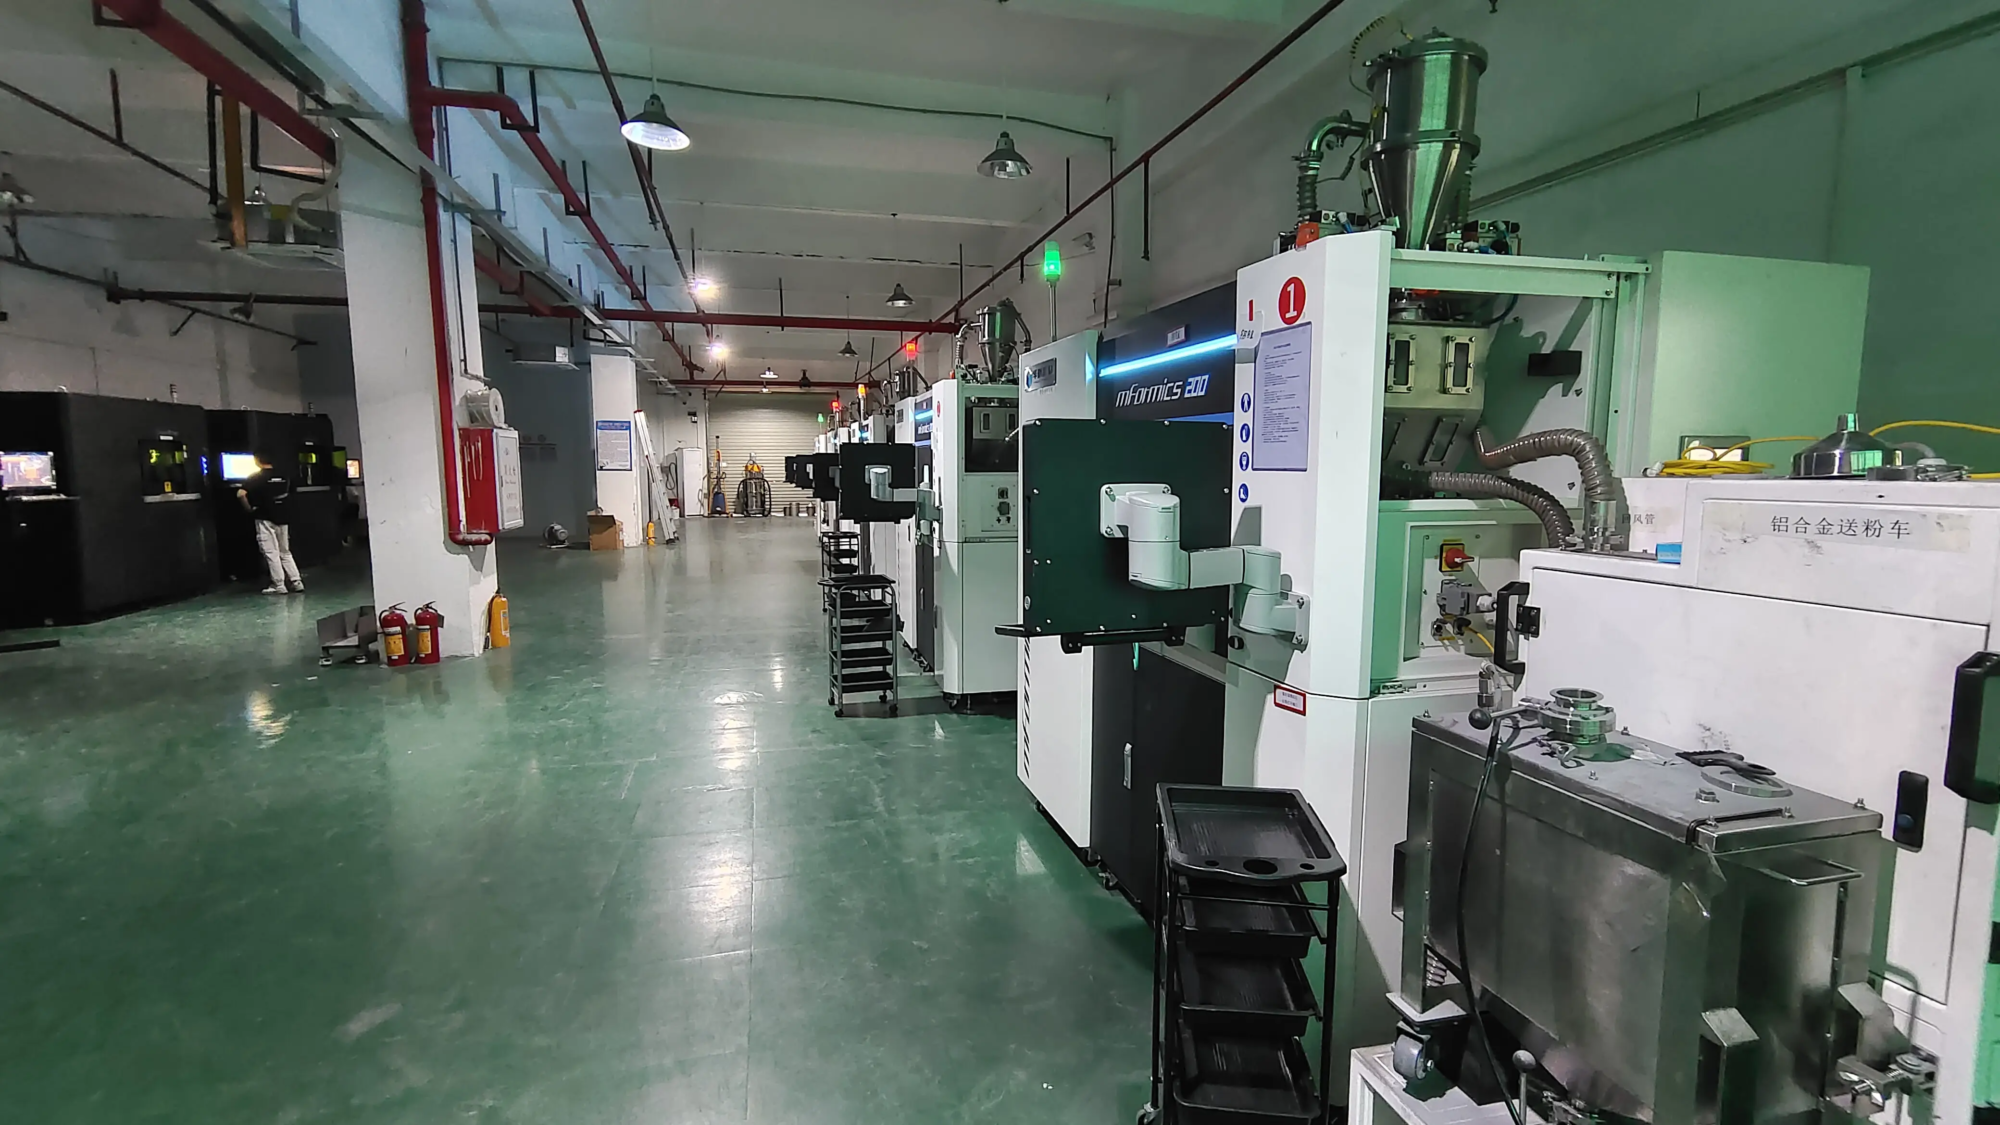
At GreatLight, we specialize in turning complex designs into high-performance metal parts. Have the most advanced SLM 3D printer and an in-house reprocessing laboratory, we provide nickel-plated prototypes to aerospace grade standards. From material selection to final finishing, our one-stop service ensures corrosion resistance, conductivity and aesthetics at competitive prices.
Customize your precision parts today → [Link to GreatLight’s Service]
FAQ: Nickel Plating 3D Printing
Q1: Can I electroplat PLA 3D prints?
Yes, but PLA requires a lot of preparation: sanding, epoxy coating, etching and conductive layers. ABS or resin are more reliable.
Q2: How thick should the nickel layer be?
- Decorative finishes: 0.5–5 micron.
- Functional/mechanical parts: 10–50 microns.
- EMI shielding: 1–3 micron (electroless nickel).
Q3: Is nickel plating food safe?
When properly passivated and sealed, electroless nickel phosphorus deposits meet FDA standards for food contact use.
Q4: Why do my plated parts crack under pressure?
Nickel is very brittle. For flexible parts (such as TPU), consider electroless plating with lower phosphorus content (3–5%).
Q5: Can the electroplated parts withstand outdoor use?
Yes – add a chrome or varnish topcoat for UV/weather resistance.
Q6: How to safely dispose of plating chemicals?
Neutralize acidic waste with an alkaline solution (e.g. NaOH) and dispose in a hazardous waste facility –no way Dump the sewer!
By mastering nickel plating, you can bridge the gap between prototypes and production-ready parts. For larger projects that demand perfection, professional services are available to ensure reliability straight from the print bed.


