introduce
Every 3D printing enthusiast knows the feeling of joy mixed with trepidation when a print is successfully completed, only to find it stubbornly welded to the bed. Removing a print too forcefully can damage the model, the build surface, and even the printer. Fortunately, with the right technique, you can uncover your print quickly and safely. Whether you’re a hobbyist working with FDM or a professional working with industrial-grade equipment like an SLM (selective laser melting) machine, these scientifically-backed methods will save you time, reduce frustration, and avoid costly accidents.
Mastering Print Removal: Techniques for Every Build Surface
1. Glass Bed: Freezing Method
Glass provides a super smooth surface but often bonds too well. Here’s how to overcome grip:
- calm down: Waste heat can soften materials such as PLA, PETG or ABS and act as glue. Wait for the bed to cool down (or use compressed air to speed up cooling). Heat shrinkage can cause the print to become loose when the material shrinks slightly.
- Use lubricant: As a precaution, apply a thin layer of hairspray or glue stick before printing. If the print still sticks, add a solvent like 90% isopropyl alcohol around the edges, it will weaken the adhesive layer but will not damage the glass.
- Gentle prying: Slide a thin, flexible metal spatula (never use a sharp blade) under the corner. Twist gently to break the vacuum seal.
2. PEI, BuildTak or Flex boards: Flexibility is key
Textured or flexible surfaces require skills:
- curvy and pop: For removable flex boards, remove the sheet and bend it back. This bending action cleanly breaks the sticking points.
- Thermal management: Using thermoplastics, try reheat Heat the bed to 40–50°C, enough to soften the material slightly so that it is easier to insert the spatula.
- Avoid scrapers: Hard tools scratch the surface. Use a plastic pry or a special print that is printed into the model to remove the label.
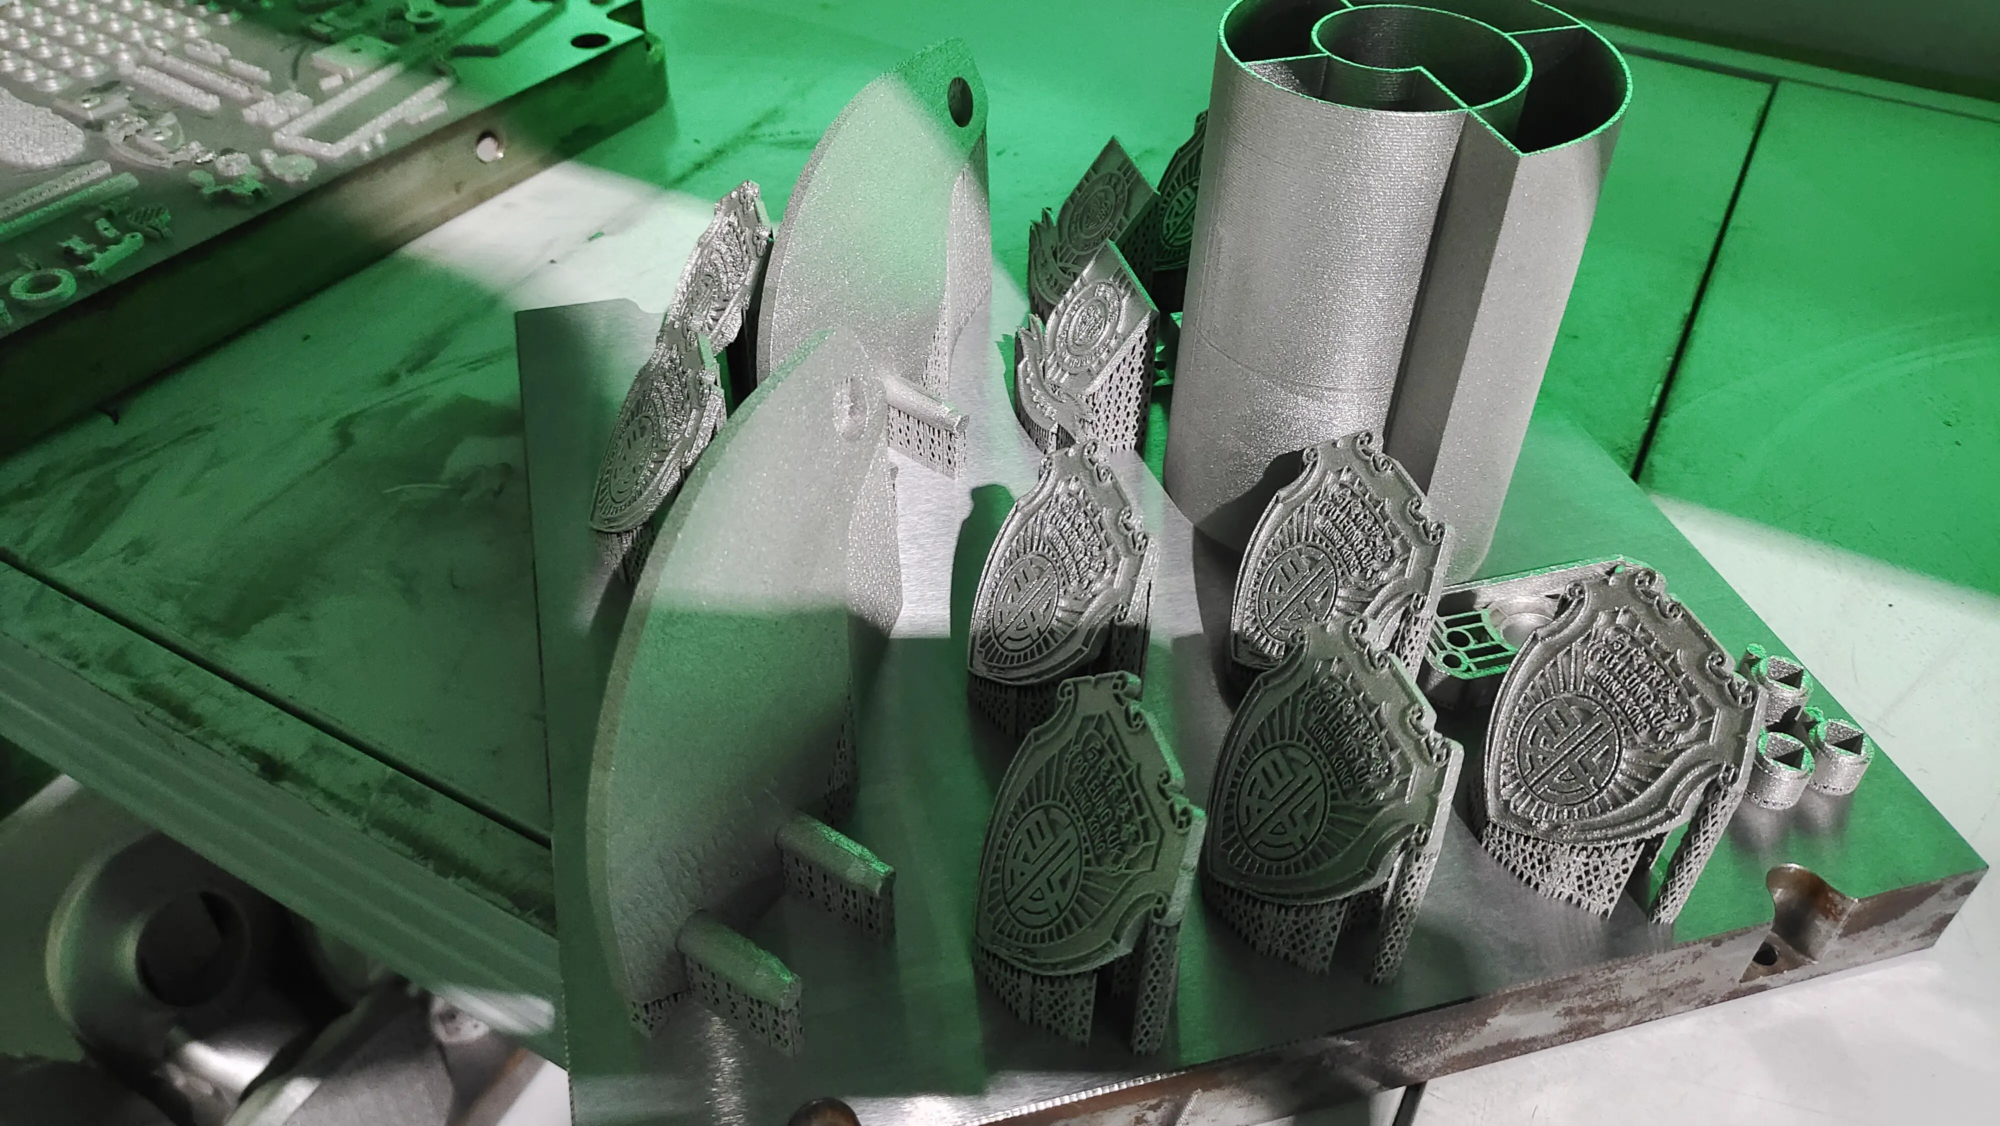
3. Special metal plates (SLM/DMLS construction)
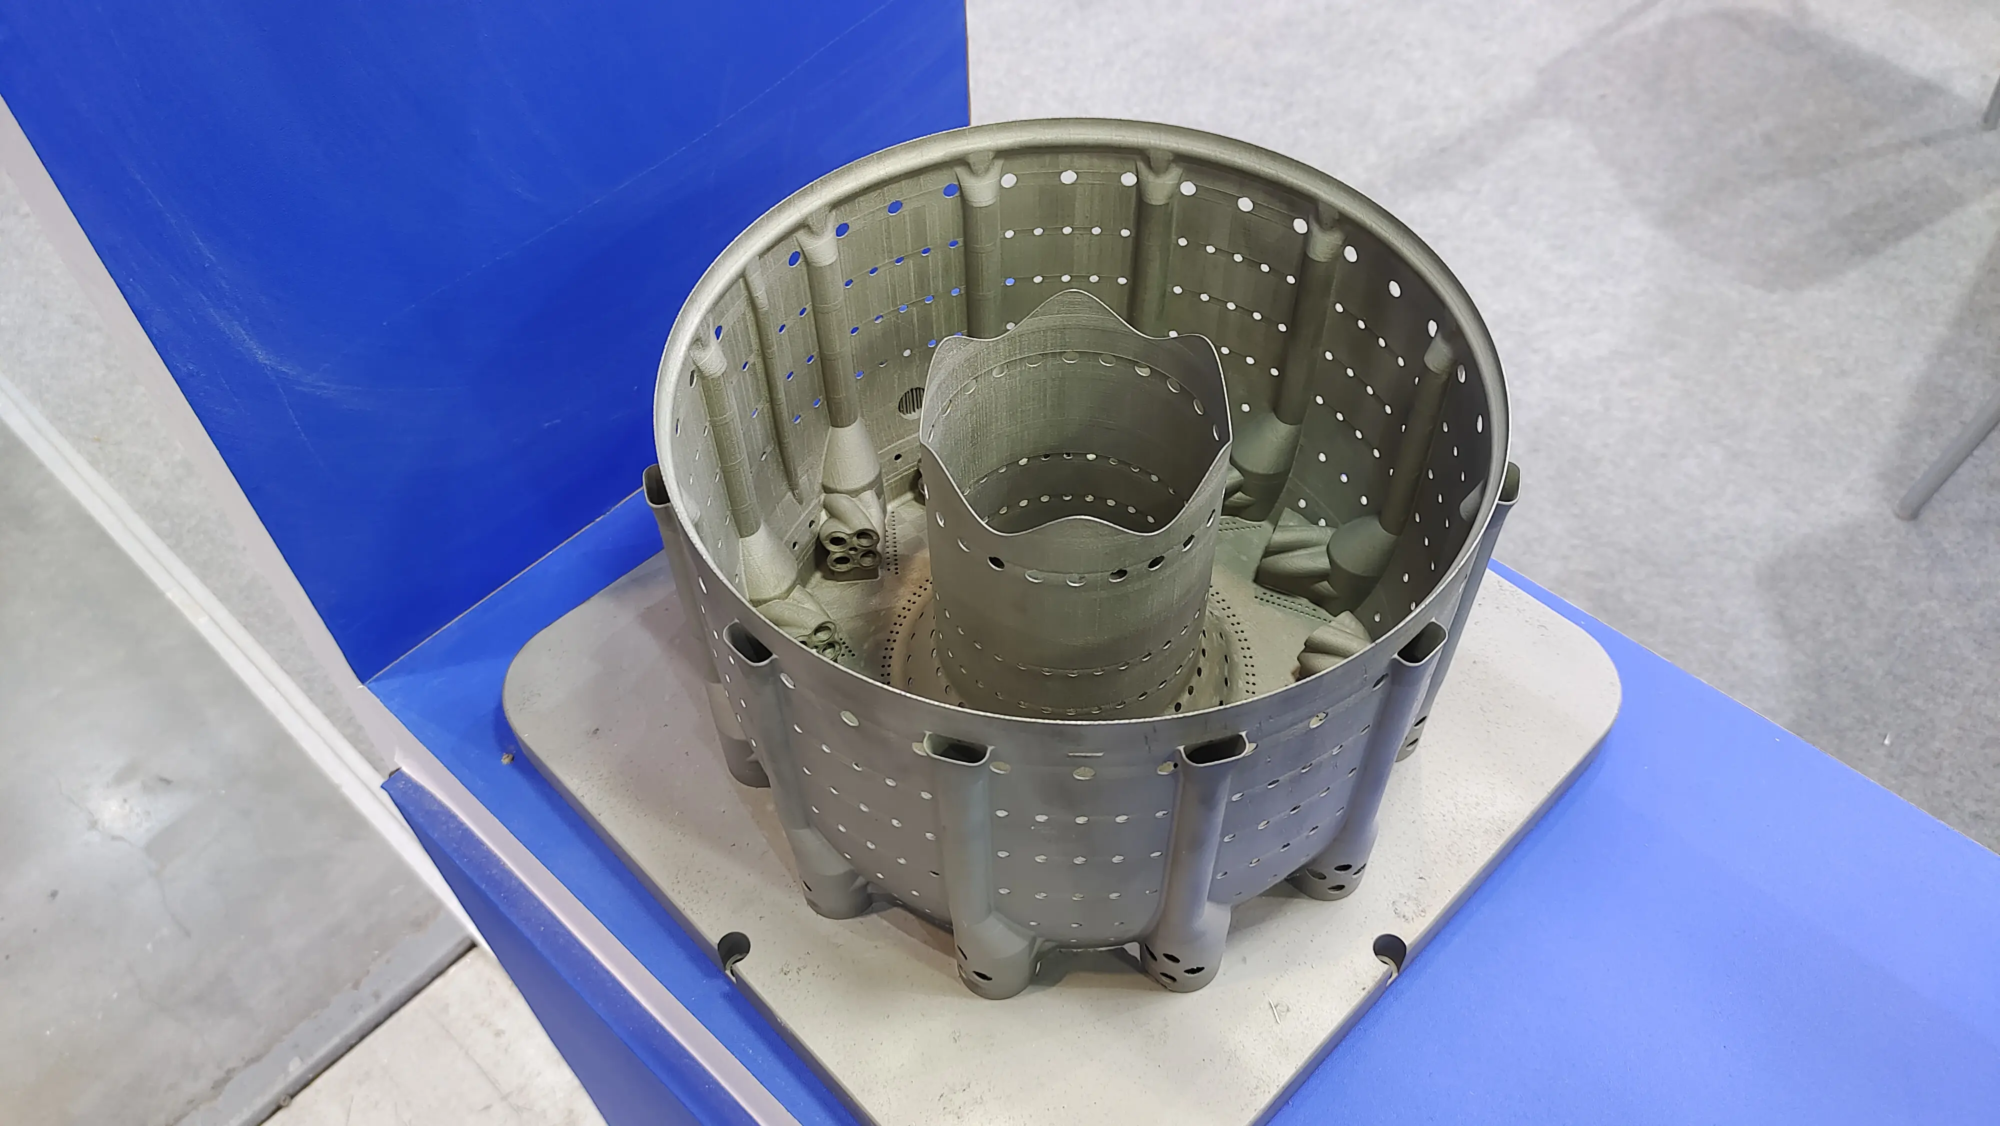
Industrial metal printing has extremely high adhesion thanks to high-energy lasers that melt titanium or aluminum powder. As a professional prototyping company, we deploy advanced protocols:
- controlled thermal cycling: The SLM printing platform undergoes programmed heating and cooling cycles that selectively stress the metal to minimize warping.
- electrochemical method: For reactive metals, electrolytic cells can dissolve the support structure without affecting the base print.
- mechanical removal: Fixtures and hydraulic lifts apply uniform force to large parts, and these technologies are covered in post-processing services like GreatLight.
4. Universal quick fixes
- freezing method: Place the entire print tray in the refrigerator for 10 minutes. Thermal shock causes most materials to shrink faster than the printing plate, causing the print to peel off.
Don’t rush, be gentle, and be patient! - heated spatula: Heated metal scraper softens the bottom layer of the print for easier sliding.
- Water immersion (nylon/PVA): Water-soluble supports dissolve in warm water, but check filament compatibility first.
Safety first: Always wear cut-resistant gloves and goggles. Do not use force with the tool as this may cause damage or micro-cracks in the printout.
Precaution: Stop holding on before you start
- surface treatment: Use an appropriate release agent – a glue stick for PLA, a PEI special lubricant for ABS, or a special adhesive for metal.
- Z-axis offset calibration: Make sure the nozzle is not too close to the bed; excessive “squeezing” will increase adhesion.
- raft and edge: These reduce the bed contact area and act as a sacrificial layer, making removal easier.
in conclusion
Uncovering a 3D print doesn’t have to be a battle of wills. By customizing your approach based on build surface, material, and printer type, you’ll preserve your model and equipment. exist huge lightwe take these principles to industrial scale every day. As a leader in rapid prototyping, we have an advanced team SLM 3D printer Integrated post-processing services enable precise processing of even the most complex metal parts. From custom materials to flawless finishes, we transform stubborn sticking points into seamless production, ensuring you get a functional prototype faster and at a competitive price.
Need a reliable partner for mission-critical prototypes? GreatLight delivers fast, end-to-end solutions – explore our capabilities today.
FAQ
Q1. Why won’t my print come off even after the bed cools down?
This usually results from excessive adhesion due to low bed clearance or excessive first layer flow. Prevent this from happening by adjusting the nozzle height and lowering the bed temperature by 5°C. Still stuck? Try using a refrigerator or isopropyl alcohol to break the bond.
Q2. Can water help remove fingerprints?
Only if the material or carrier is water-soluble (e.g. PVA). As with most thermoplastics, moisture can weaken the layers or corrode the metal layers. Please use a solvent such as isopropyl alcohol instead.
Q3. What if my print breaks during removal?
Thin-walled models are prone to cracking. Print at higher temperatures to improve layer adhesion, or add chamfers to edges for better tool use. In metal printing, we optimize laser parameters to control internal stress.
Q4. Is it safe to use force or a hammer?
Absolutely not. Impact may cause invisible micro-cracks. Use thermal methods or a flex plate for pressure-free removal.
Q5. How do professionals deal with the printing residue problem in metal additive manufacturing?
Industrial shops like GreatLight use a combination of thermal stress analysis, precision tooling and electrochemical removal techniques to ensure safety and maintain part integrity.
Have more questions? Share your challenges in the comments below, or request a consultation with GreatLight’s engineering team!


